How to Build a PC Guide
November 10, 2018
build pc guide hardware gamingIntroduction
Back in 2014 when I was really into PC gaming, I ran a community website at Xydre.com. As part of the the effort to entice people to join, I wrote several guides trying to spread information on how to “get the most out of PC gaming”, including how to build your own gaming PC.
The content of this post is a copy and paste of the original article I wrote from Xydre.com, thus some of the information is outdated now and hardware has moved on since, but I think that as a general guide the majority of the content is still relevant.
Build Guide
How-To Build A PC Guide: £1200 Rendering Machine - i7 Extreme 4930K, X79, GTX 770, H80i, 200R
In this guide, I will be explaining step-by-step how to assemble a PC from scratch. Whilst this specific build is an extremely powerful top-end rendering machine for producing 3D scenes with lighting and shadows from the CAD/CAM work we do at the company I work for, this guide will also serve as a basic and general PC building tutorial for almost any modern machine setup.
I will be adding steps for other common parts, such as how to attach the cooler I am using to more widely used CPUs as well as to the i7 Extreme that I am using here.
If there is anything that I miss, or any suggestion which you would like to make to this guide, please feel free to reply to this thread and I will make any necessary changes.
Let’s get started!
- Intel i7 Extreme 4930K Ivybridge-E CPU
- 3.4Ghz clock speed
- 6 physical cores
- 12 processing threads
- 12MB L3 cache
- 130W TDP
- Socket LGA-2011
- Gigabyte GA-X79-UP4 ATX Motherboard
- Intel X79 Chipset
- 8x DDR3 memory slots
- 64GB max RAM
- Intel Gigabit LAN
- Realtek HD Audio
- 2-, 3- and 4-way SLI or Crossfire
- Corsair Vengeance 16GB (4x4GB) RAM
- DDR3 RAM
- 1866MHz memory speed
- CL9 latency timing
- Gigabyte GTX 770 4GB Graphics Card
- Nvidia GTX 770 GPU
- 4096MB GDDR5 memory
- 1536 CUDA cores
- 1137MHz base clock
- 1189MHz boost clock
- Gigabyte Windforce 3 cooling
- Samsung 840 EVO 250GB Solid State Drive
- 250GB capacity
- SATA 6Gb/s interface
- Sequential read up to 540 MB/s
- Sequential write up to 520 MB/s
- Random read up to 97,000 IOPS
- Random write up to 66,000 IOPS
- Corsair RM650 Power Supply Unit
- 650W max power
- 80 PLUS gold efficiency rating
- Zero fan RPM below 40% load
- Corsair Link compatibility
- Corsair Obsidian 200R Case
- Mini ITX, Micro ITX or ATX support
- Mid-Tower case
- 497mm x 210mm x 430mm
- Provides good airflow
- 2x front USB 3.0 ports
- Corsair H80i AIO Liquid CPU Cooler
- 120mm radiator, compatible with most cases
- 38mm thick radiator
- 2x Corsair SP120L fans included
- LiteOn iHAS124 24x DVD Writer
- Basic £12 DVD drive
- 24x DVD Write Speed
- 16x DVD Read Speed
- SATA Interface
- LG 24MP55HQ-P 24” LED Monitor
- 1920x1080 Full HD resolution
- 5ms response time
- IPS technology
- 16:9 aspect ratio
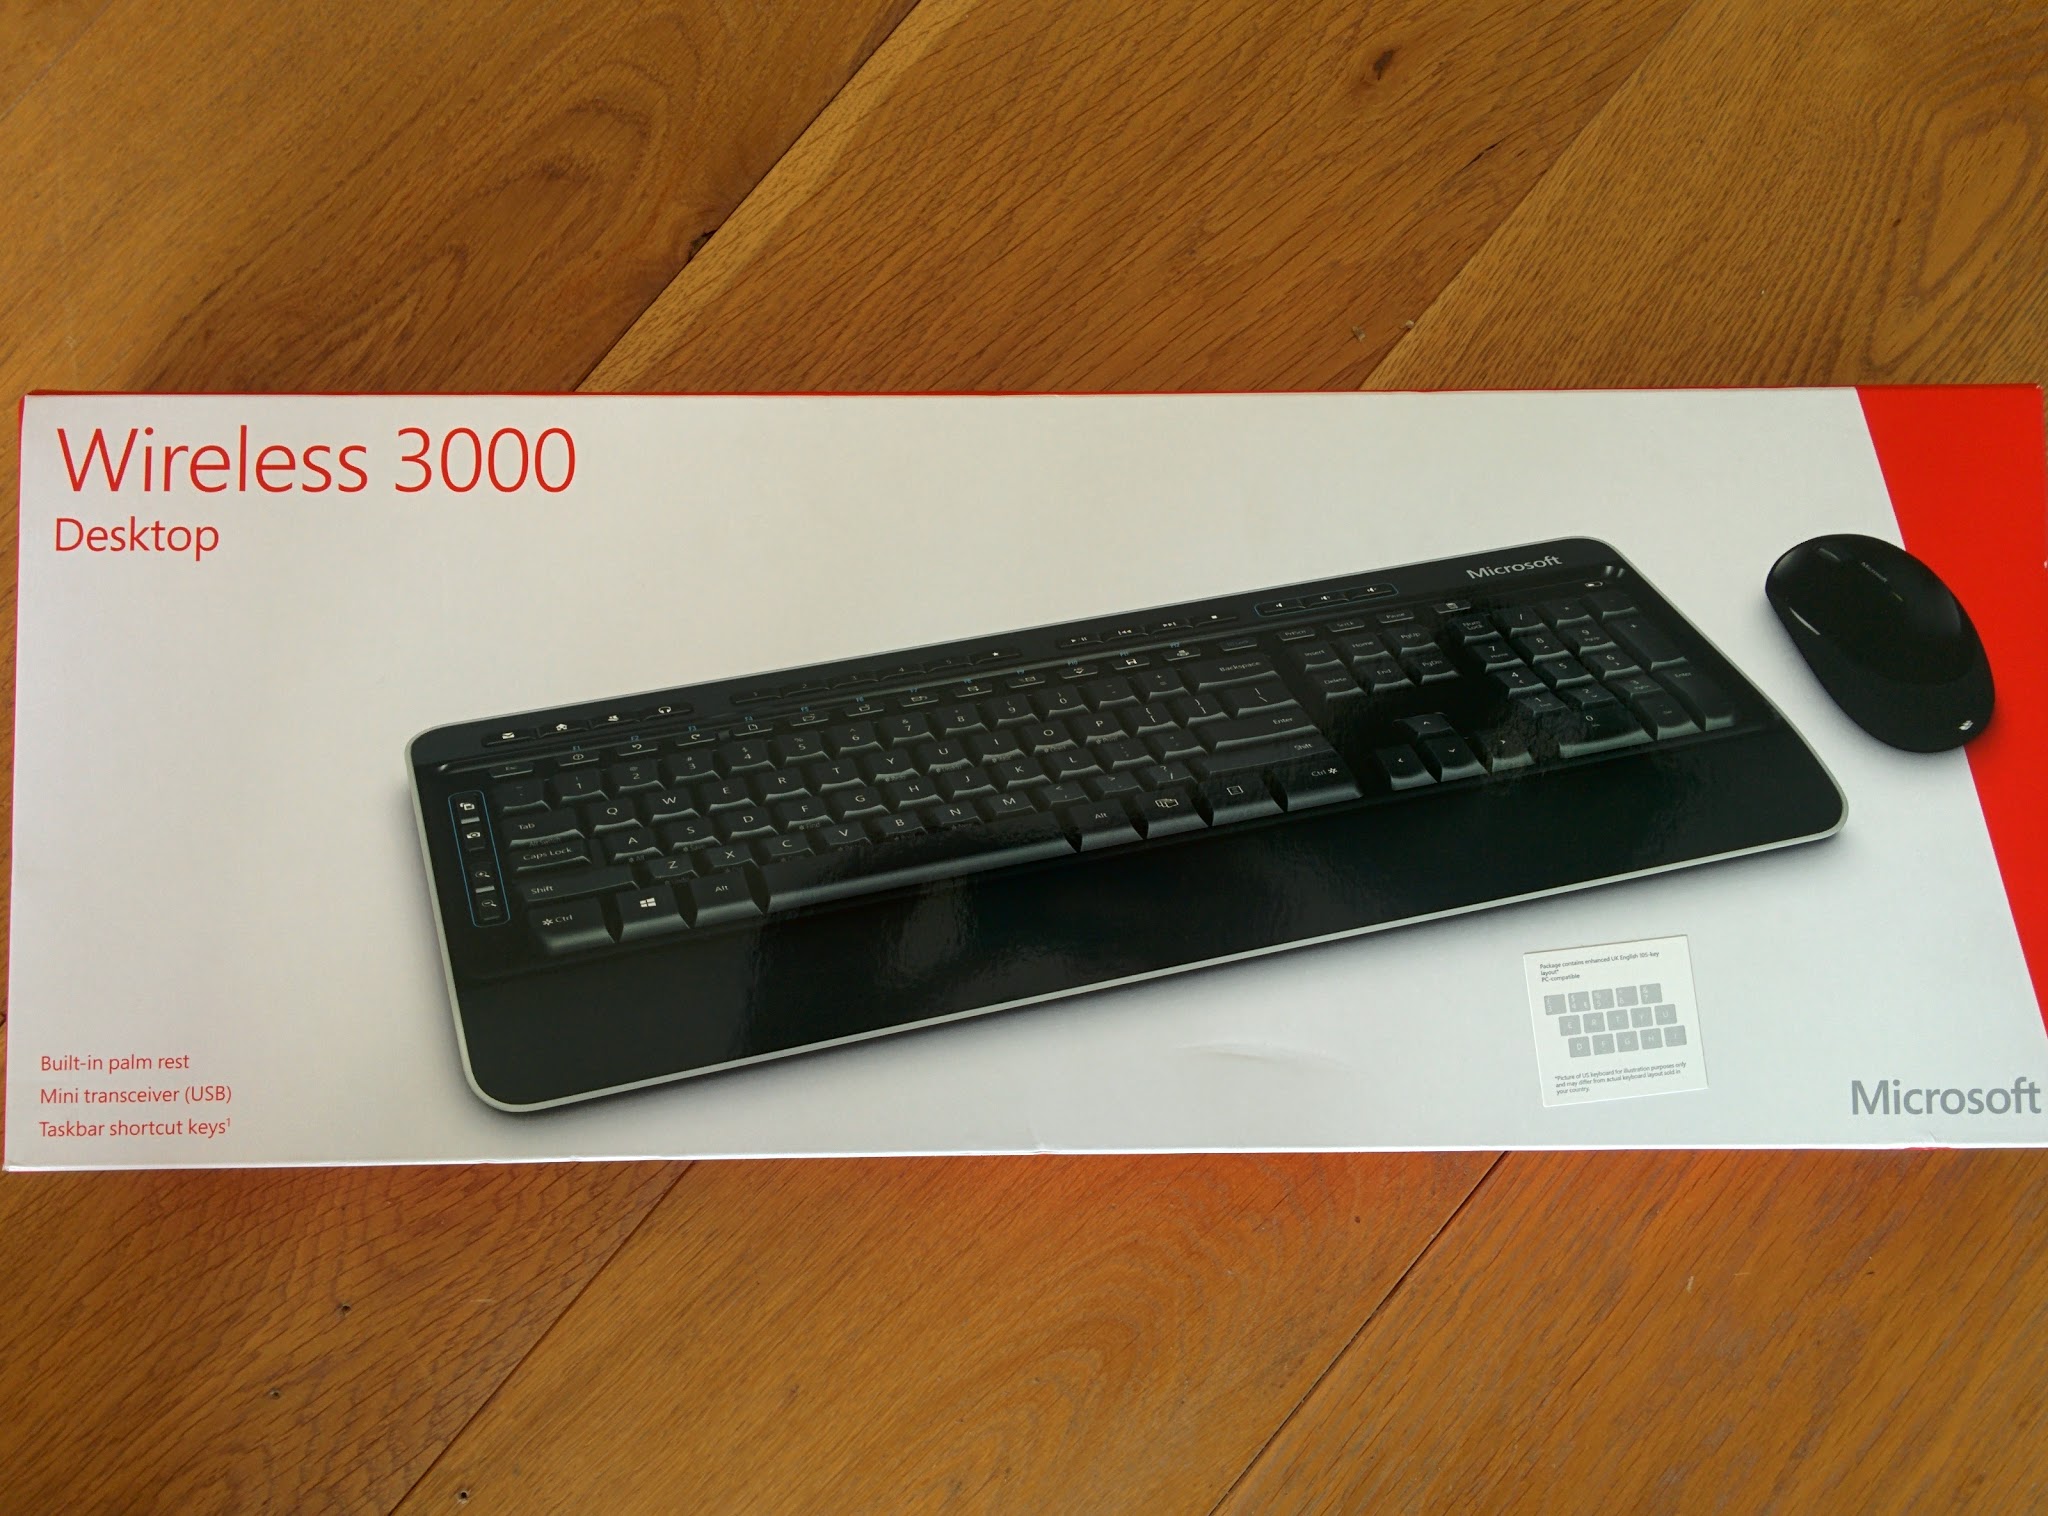
- Microsoft Desktop 3000
- Wireless keyboard and mouse
- Bluetrack sensor works on most surfaces
- Good wireless range
- Media and function keys
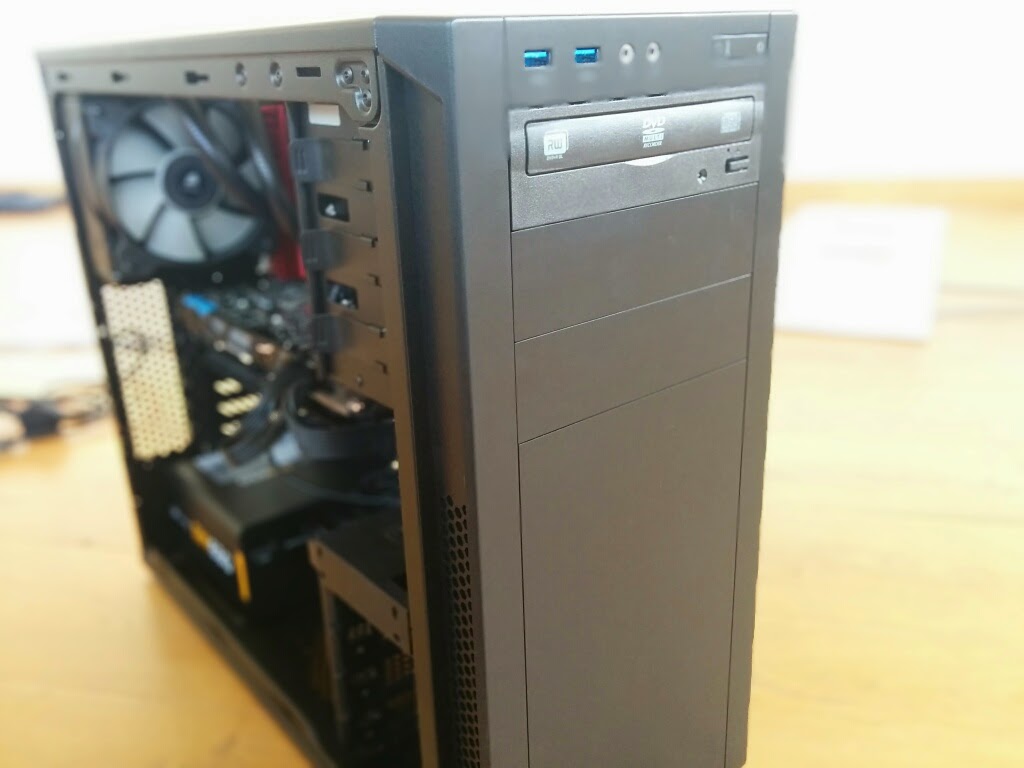
Case

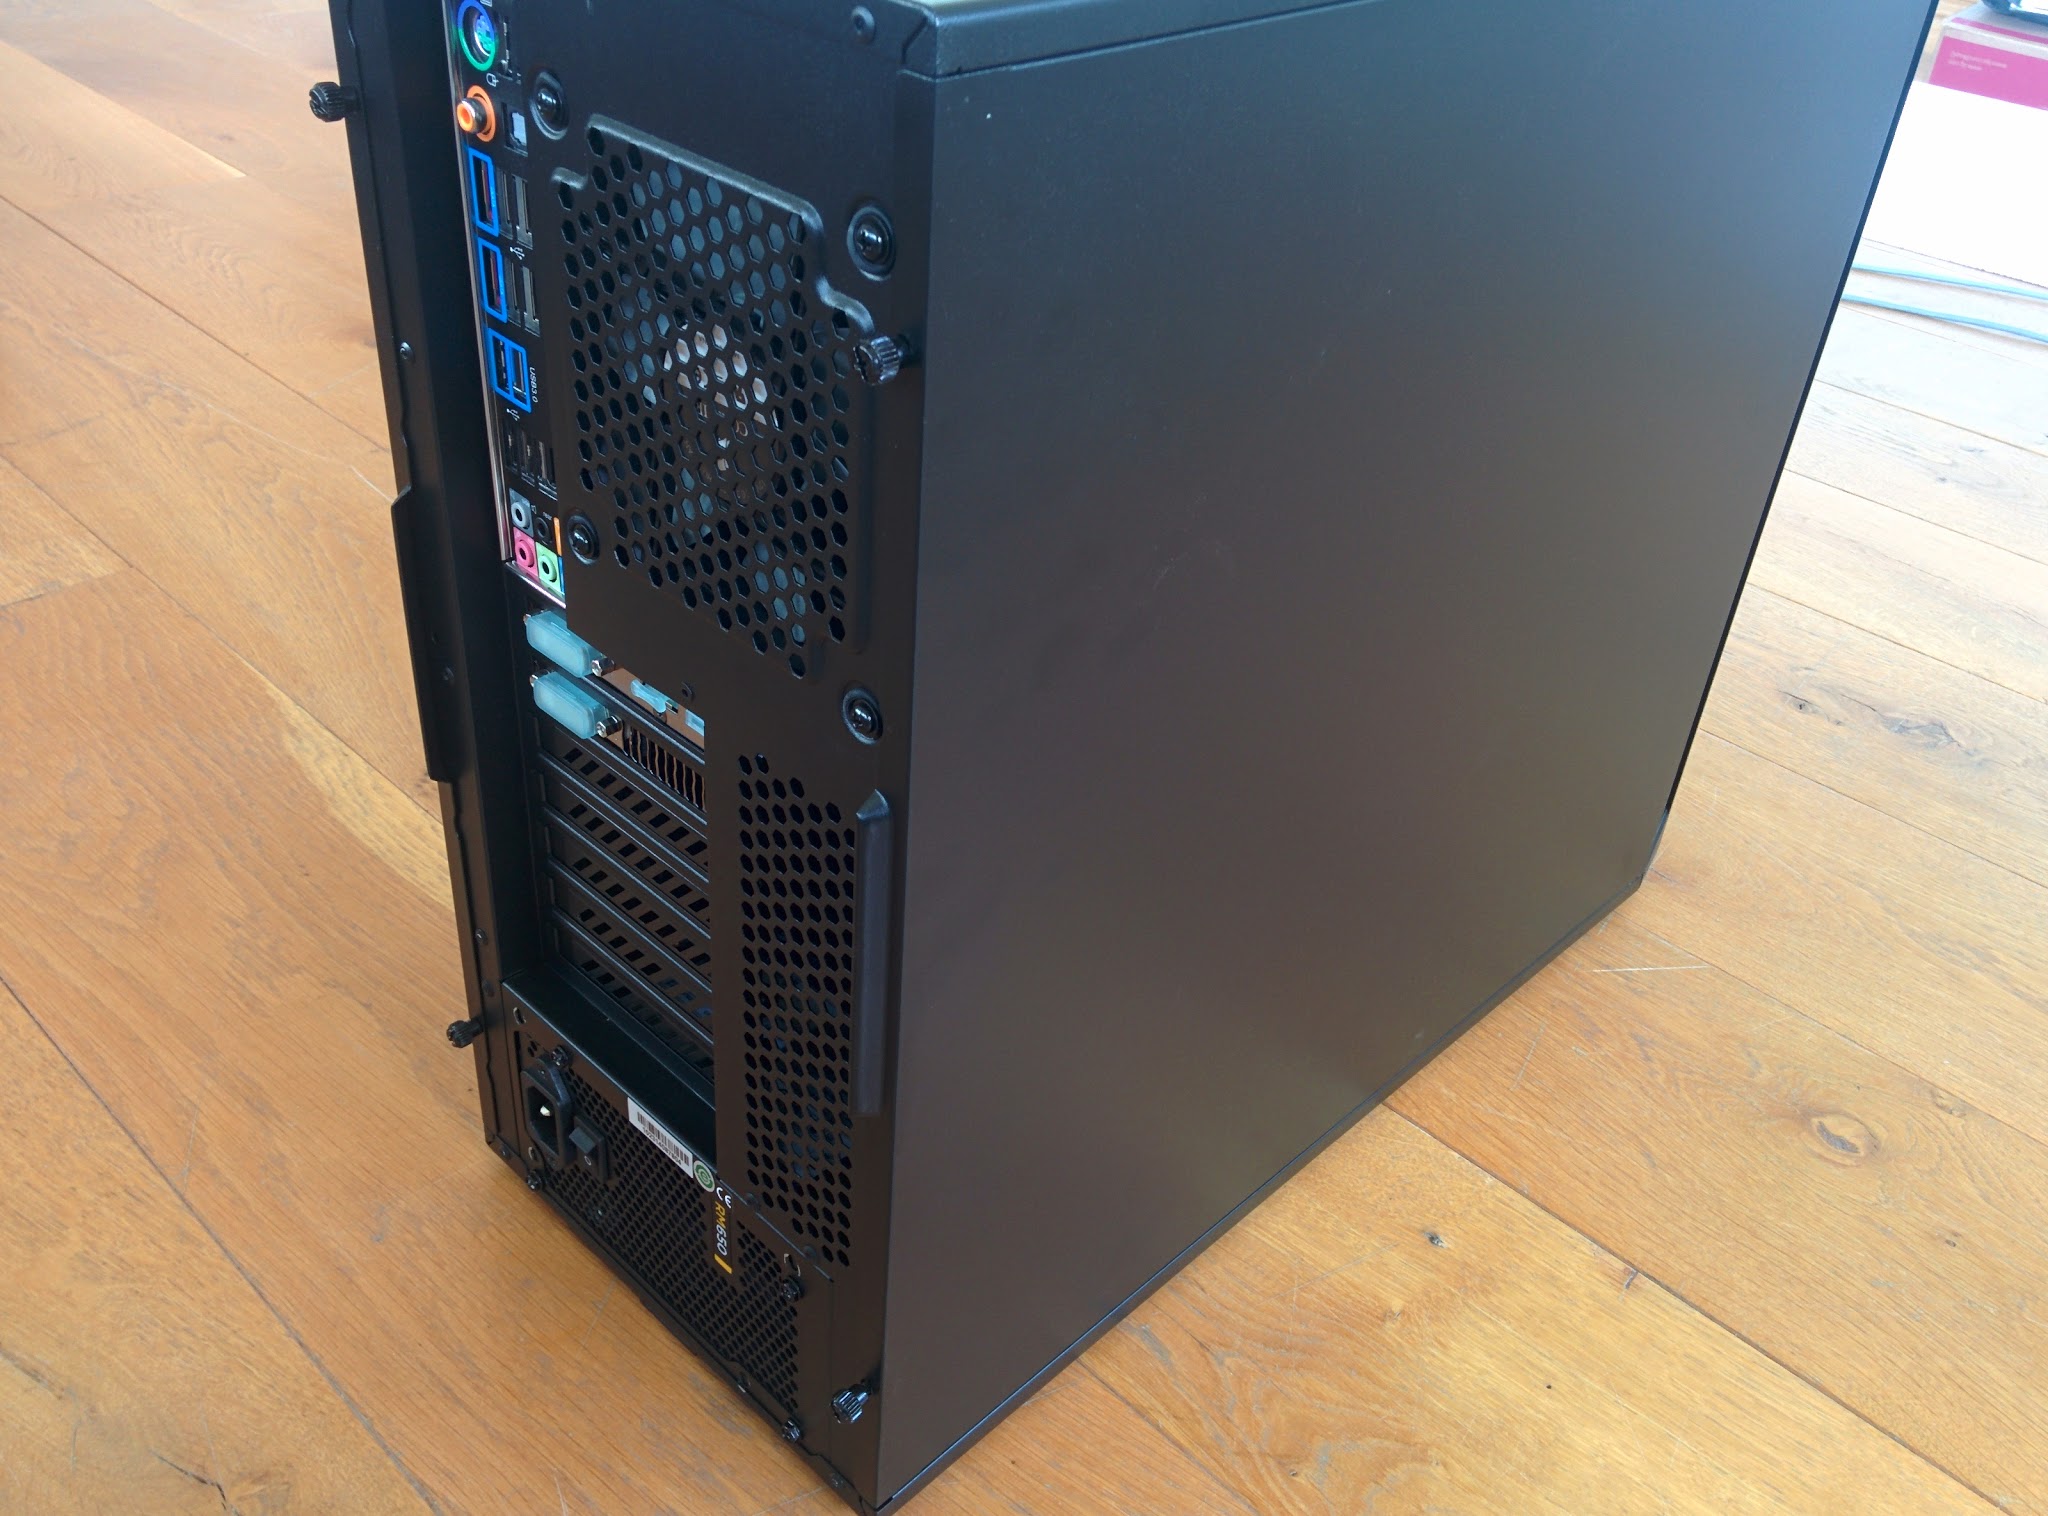
For this build, I am using a Corsair 200R. This is an extremely high quality cheap case. It is a no-frill product, providing an extremely solid base for almost any machine, but lacking the room or features of a lot of higher-end cases.
Because the PC I am building will spend its days sat in an office at my workplace, I am not concerned about aesthetics or noise reduction, and this case will suffice for everything I need from this build.
Previous to this, I have been using the Cooler Master K280 case as my standard no-frills case, although this particular model seems harder to get hold of now and the 200R has a far nicer build quality.
- At the rear of the case, the side panels will be held on with two thumbscrews on each side. Undo these screws, and the two side panels will slide backwards slightly and then fall free of the case
- Put the panels in the cardboard box that the case came in. This prevents the panels getting scratched or falling over whilst you work on the build
Taking a look inside the 200R, you’ll see two fans (a front intake, and a rear exhaust), a load of wires for the front panel and the supports for the motherboard. These are already pre-installed for an ATX motherboard, so no fiddling around trying to install them in the right configuration like older cases.
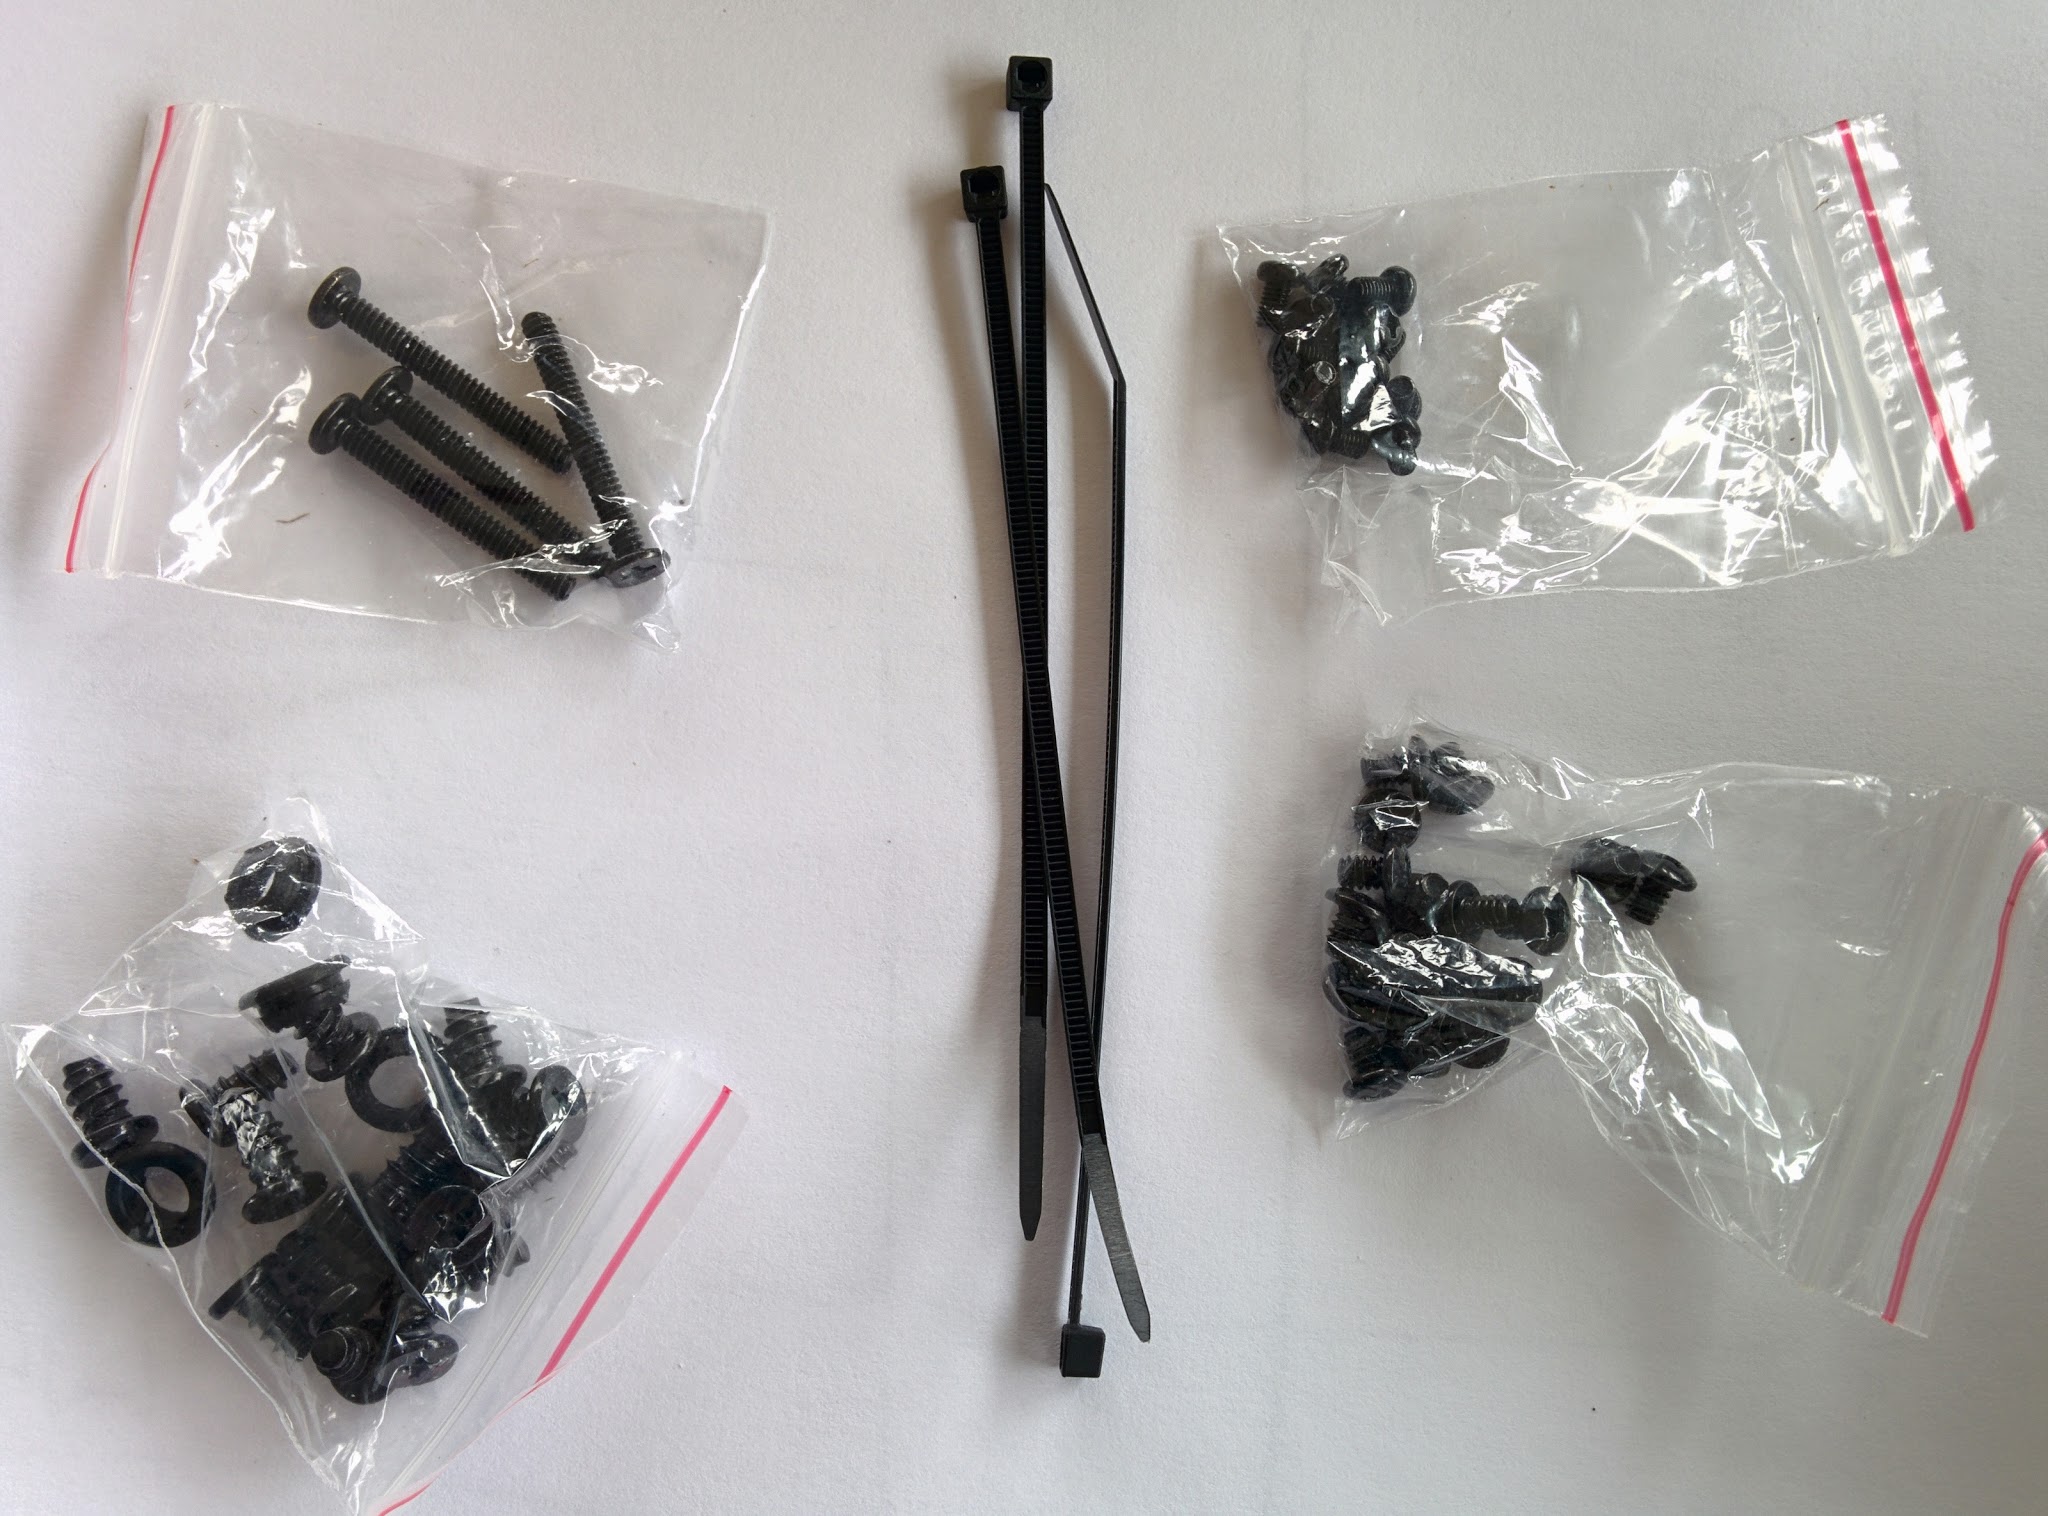
- Remove the cardboard box containing the screws and fittings

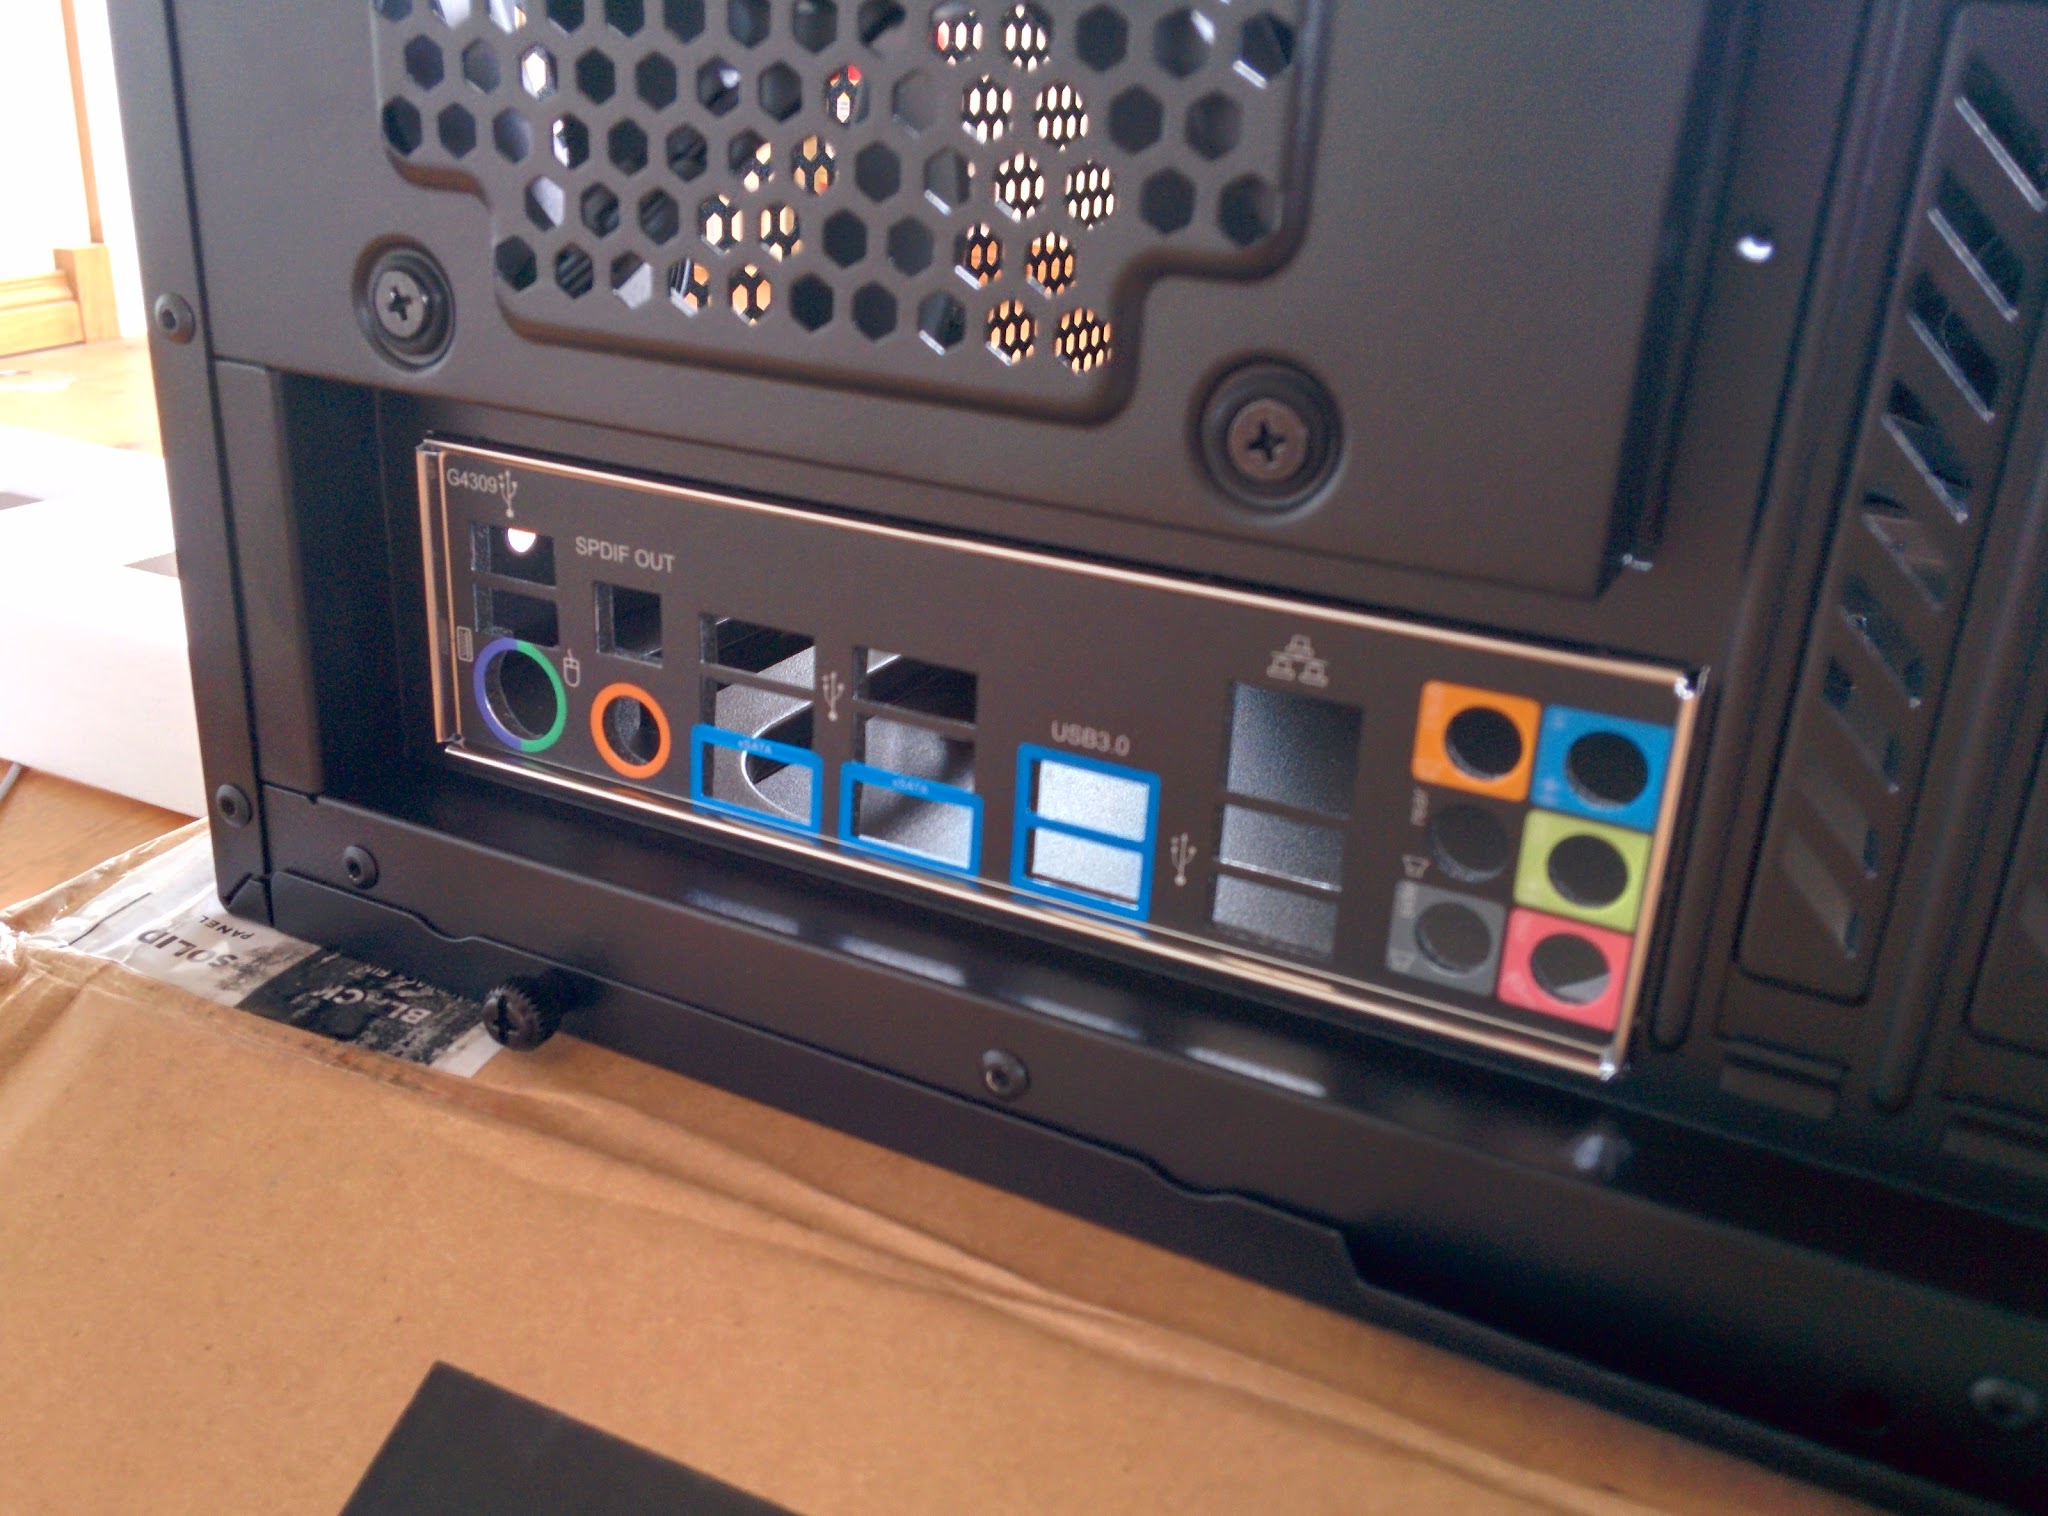
- Take the backplate out of the motherboard box. See the image below to know what to look for
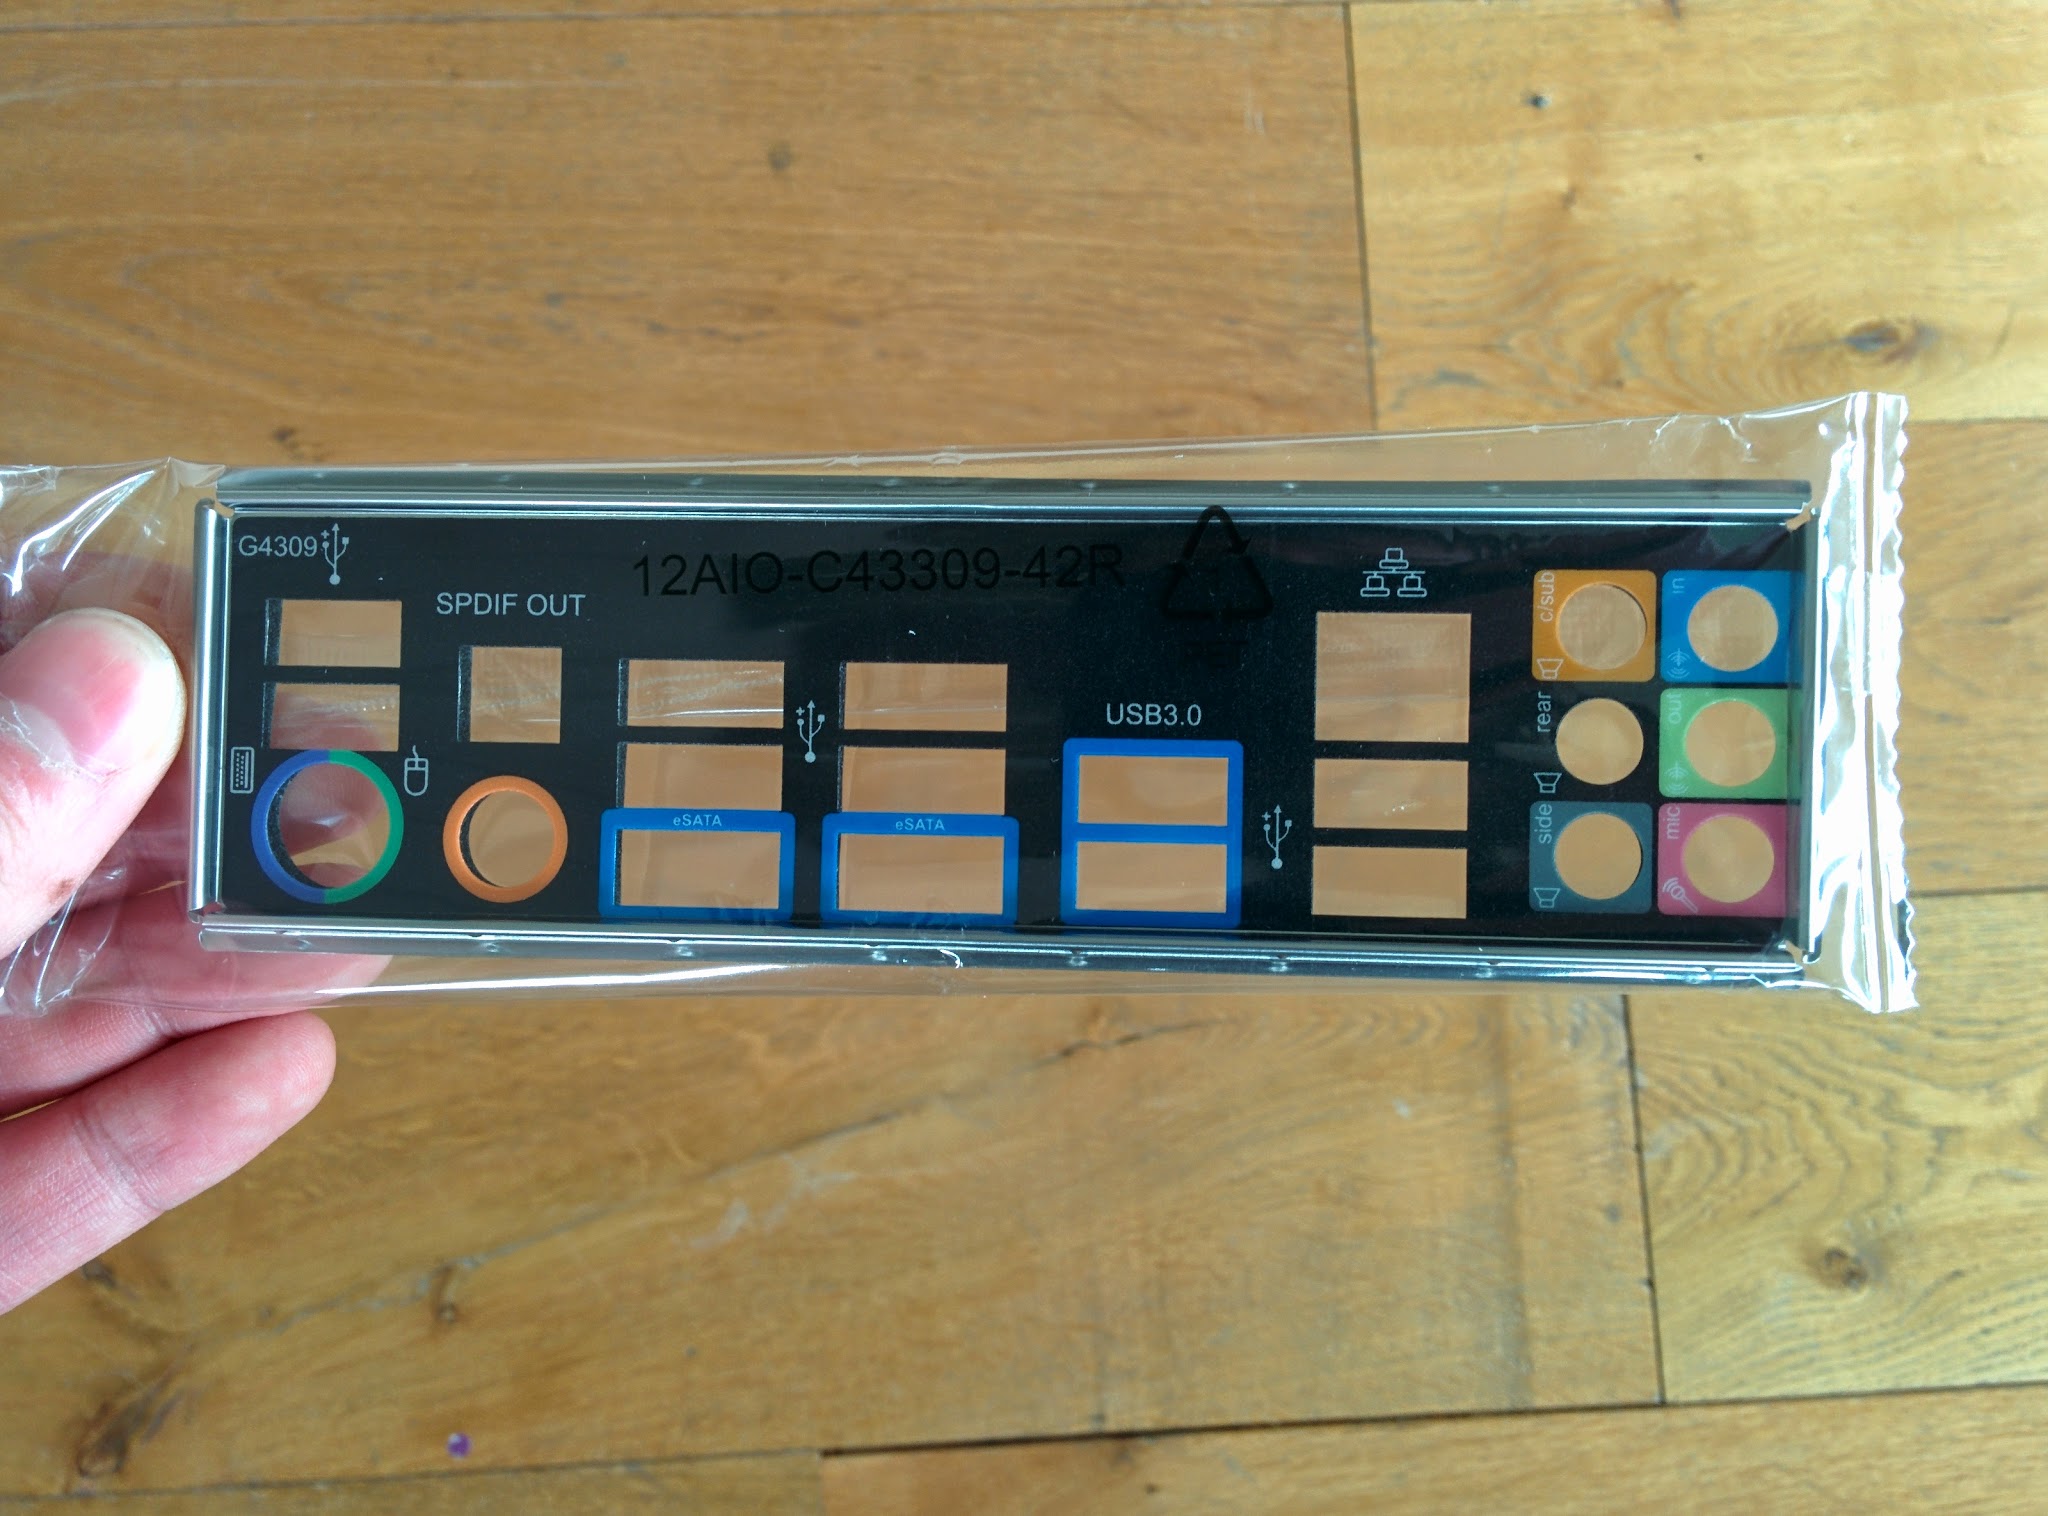
- Push the backplate into the cut-out hole in the back of the case


- Push on all four corners of the backplate to ensure it’s fully “clicked-in”
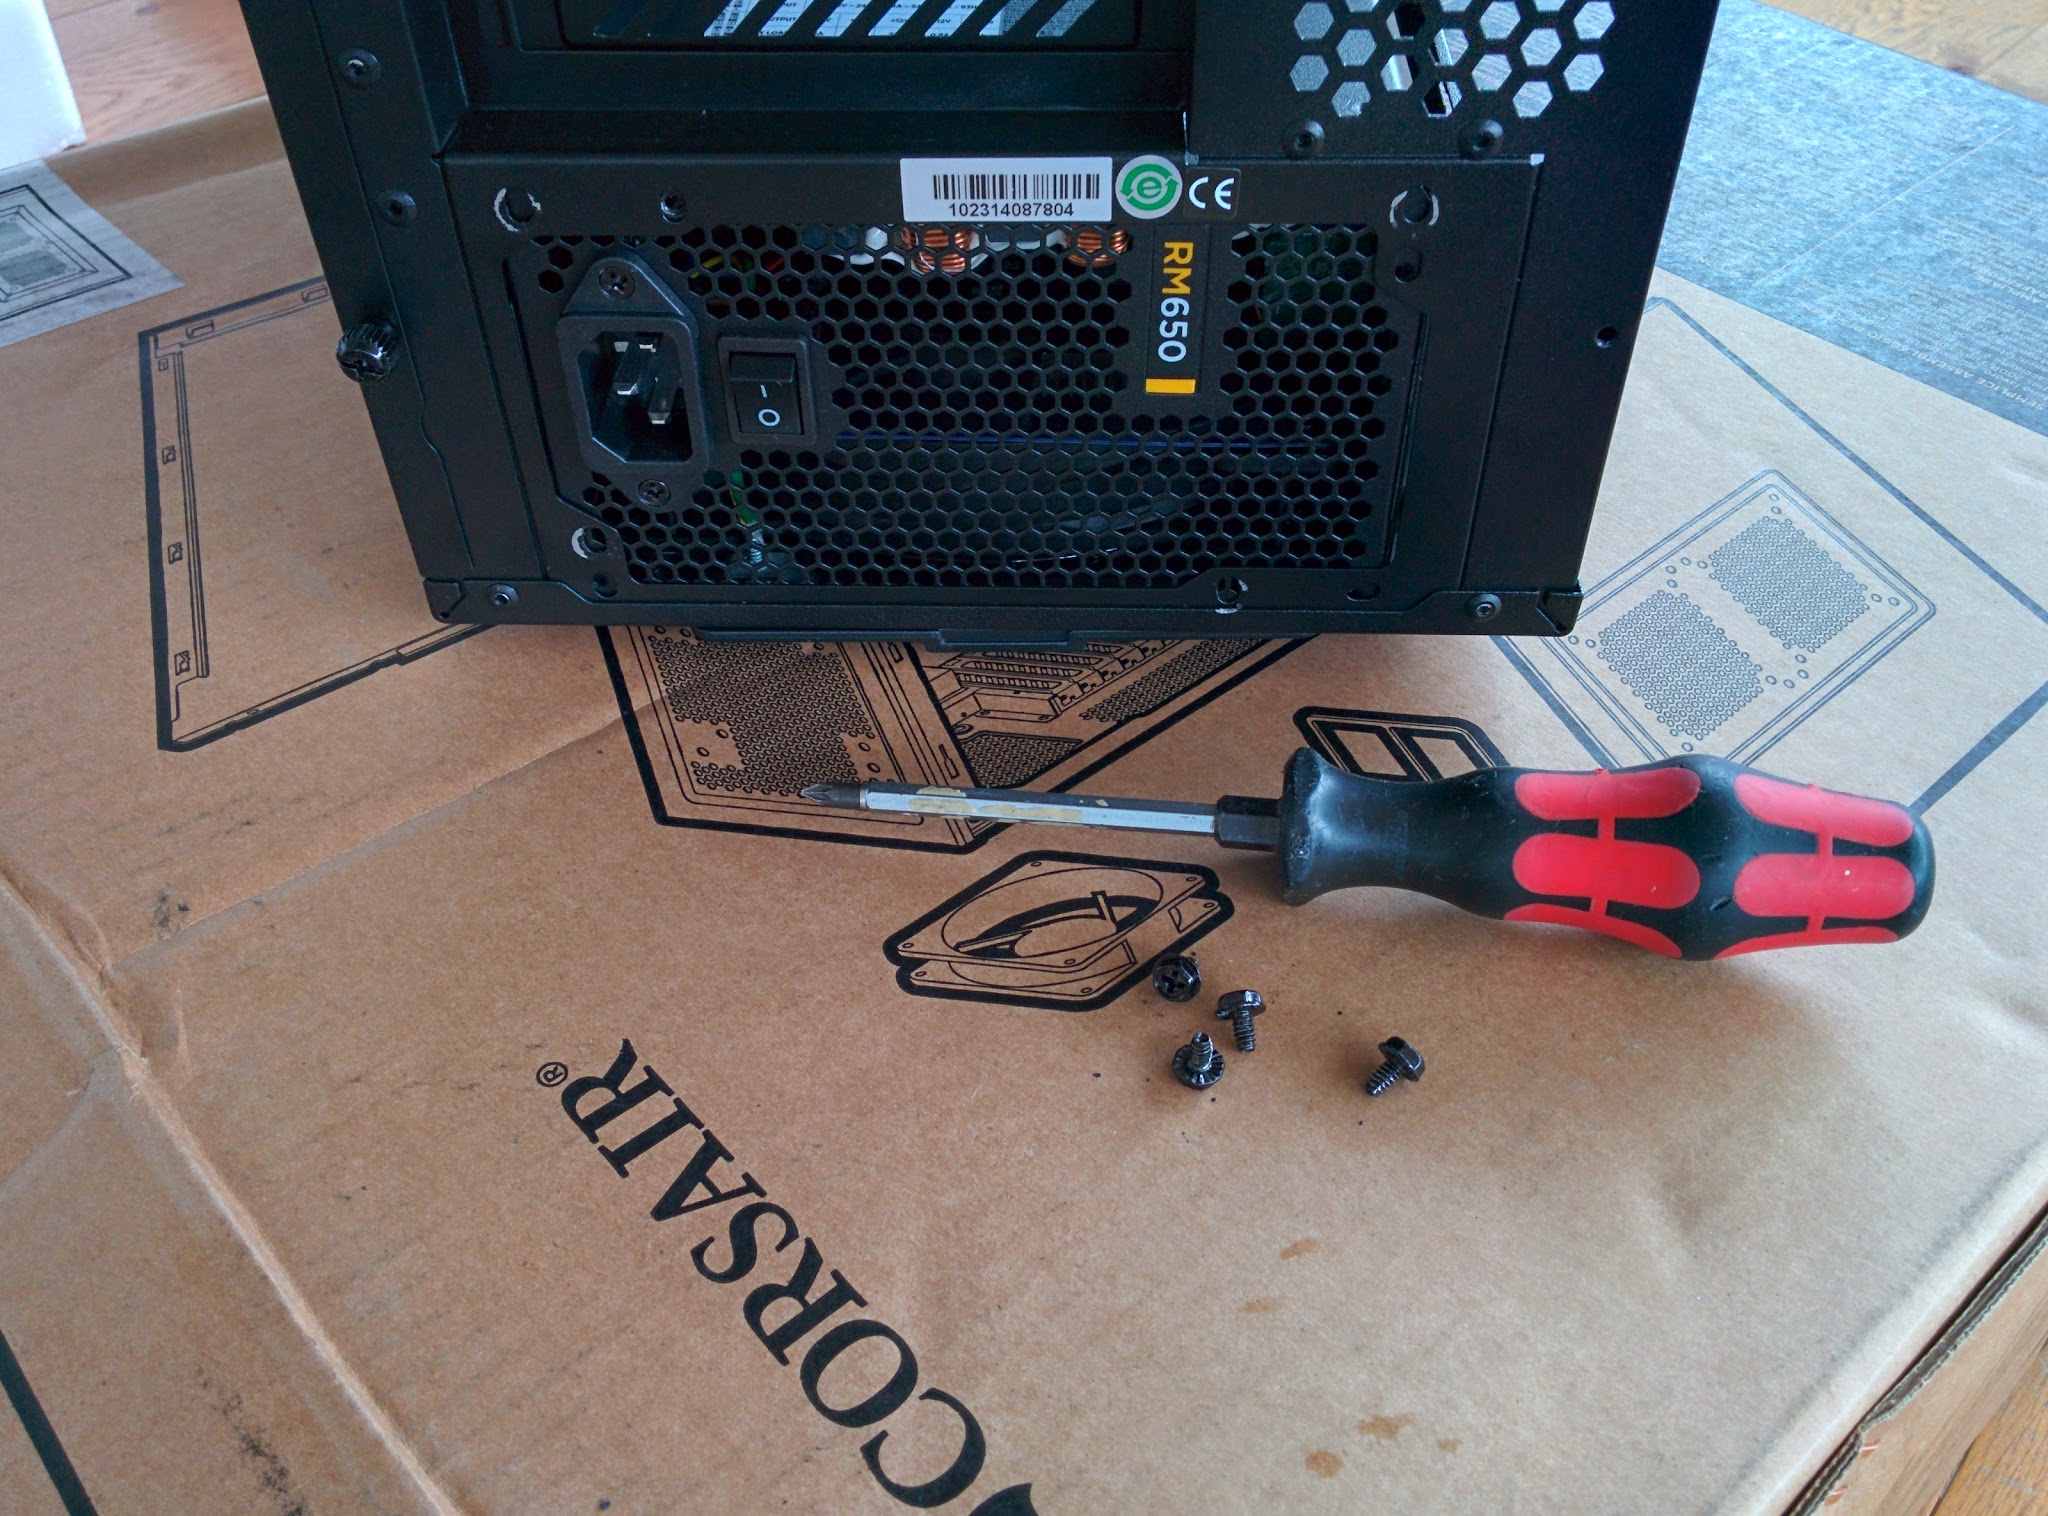
Power Supply Unit
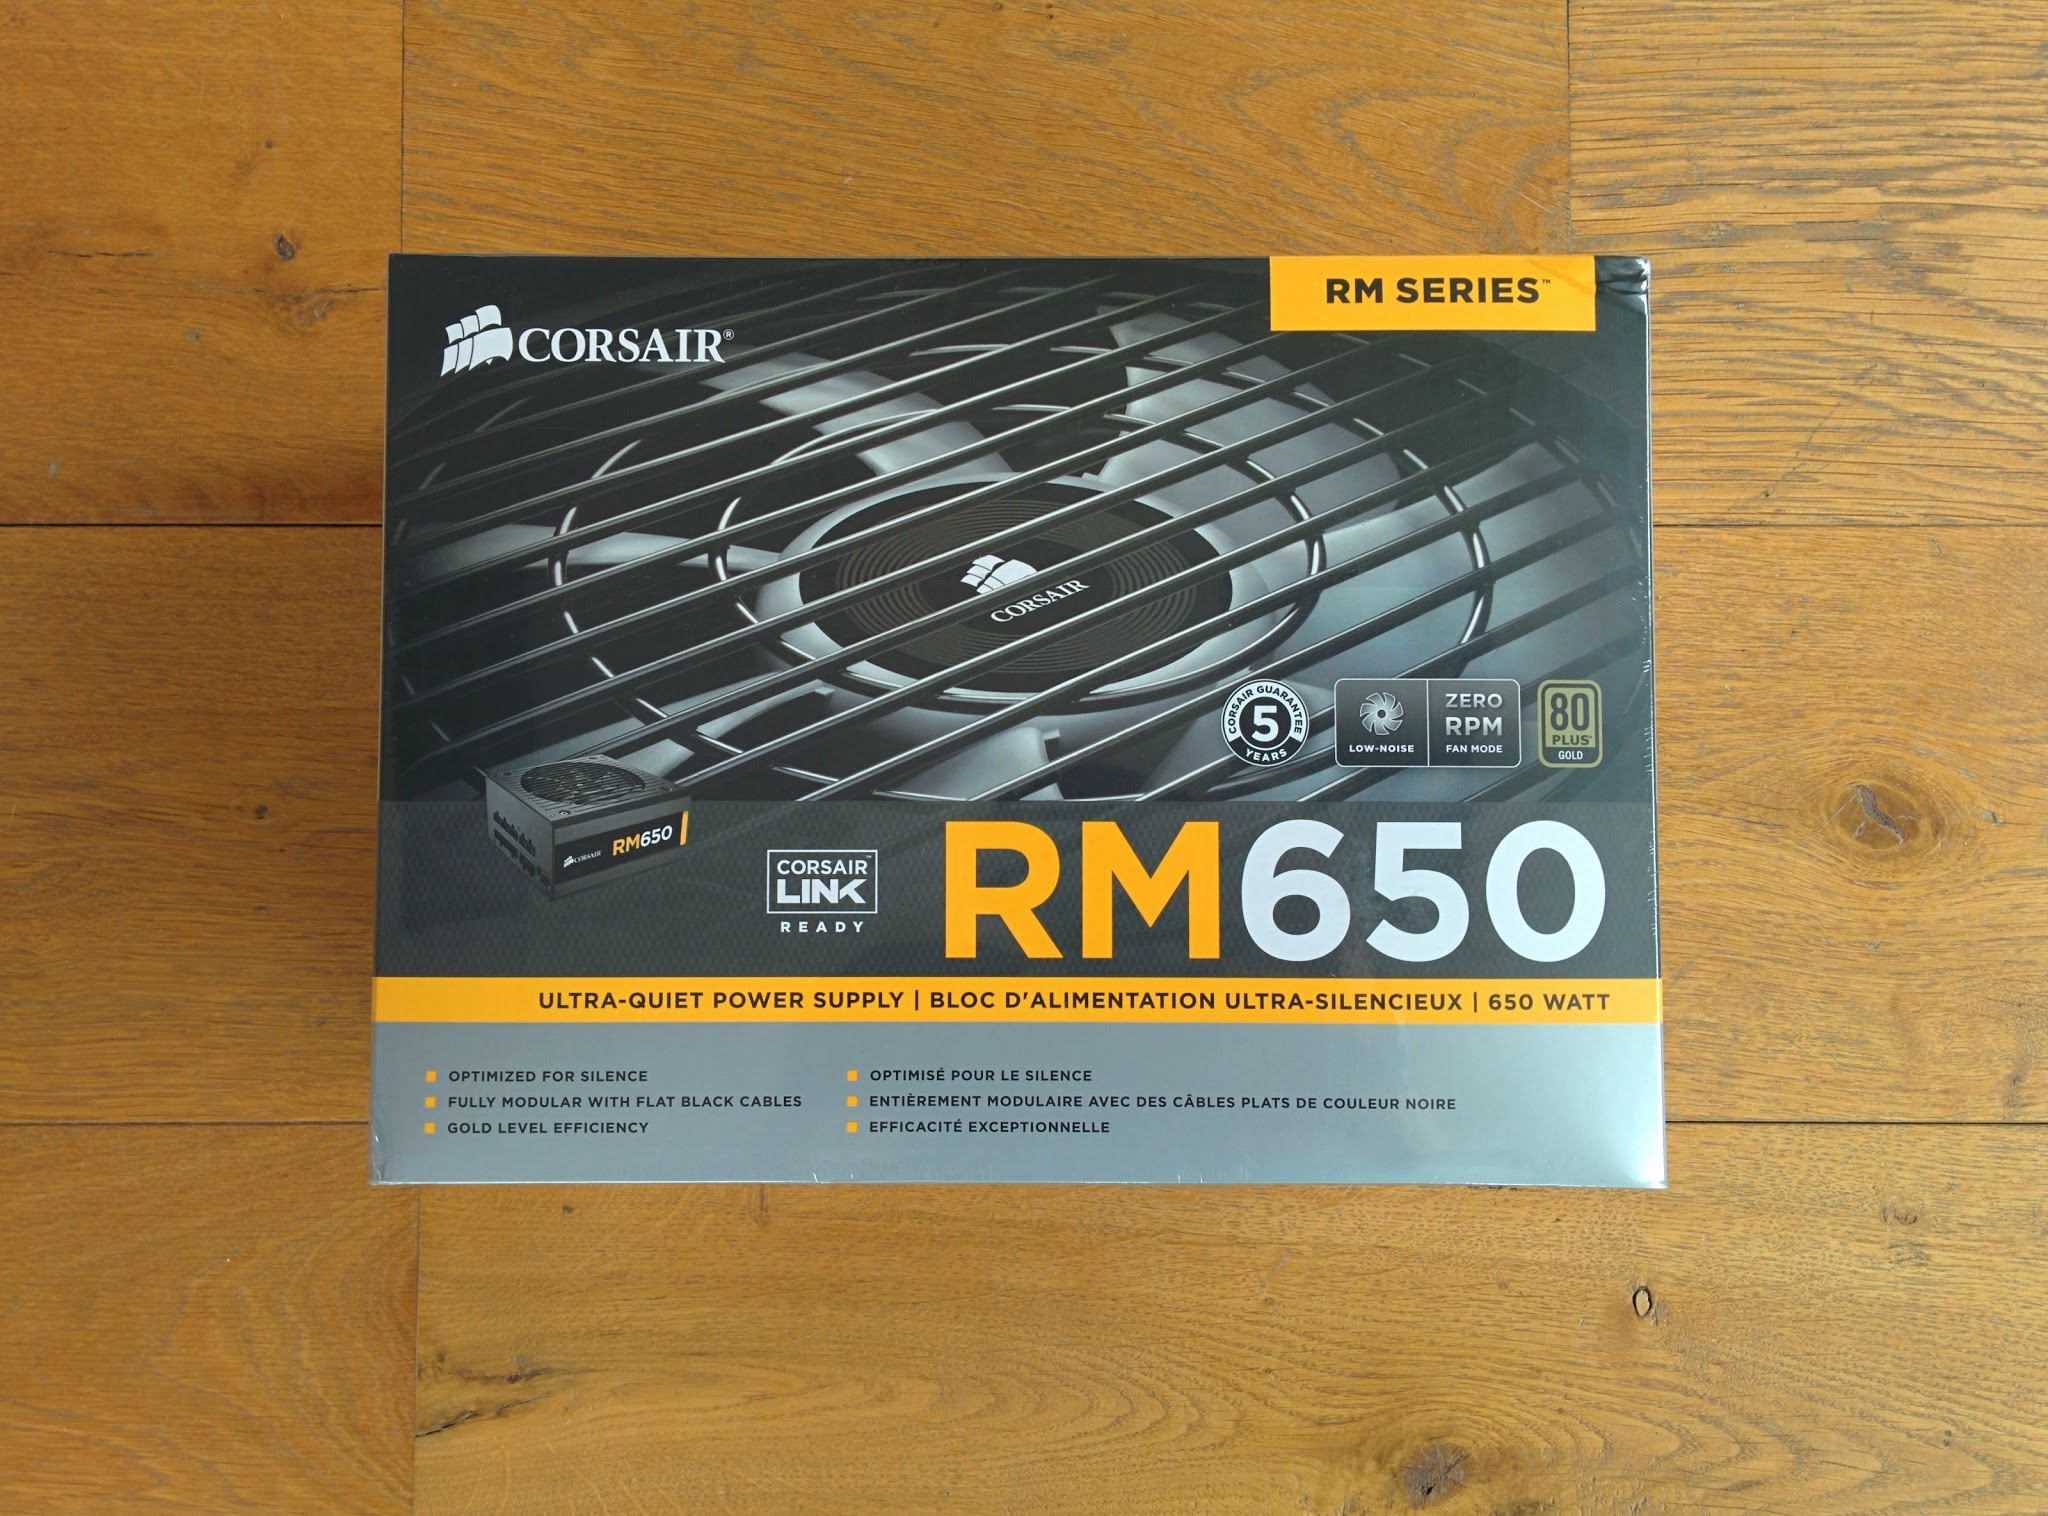
Let’s install the power supply unit now. The PSU sites at the bottom of the case, and has it’s own intake and exhaust vents, so be sure to install it the right way up! I’m using a Corsair RM650, which is an 80 PLUS Gold certified power supply. That puts it at an efficiency of at least 90%, meaning we’re not wasting much of the input power and our system won’t have a problem with needing to draw more power under load. Cheaper non-80 PLUS supplies can run into problems where they cannot supply their stated power output.
The RM650 has a great feature in that the fan will not spin up until the PSU is under at least 40% load, and even then, the fan is blissfully quiet. You do not want to skimp out on a good power supply, especially when you’re putting expensive components behind it. Always god 80 PLUS, if only Bronze and I can personally vouch for the solid PSUs made by Corsair and Seasonic.
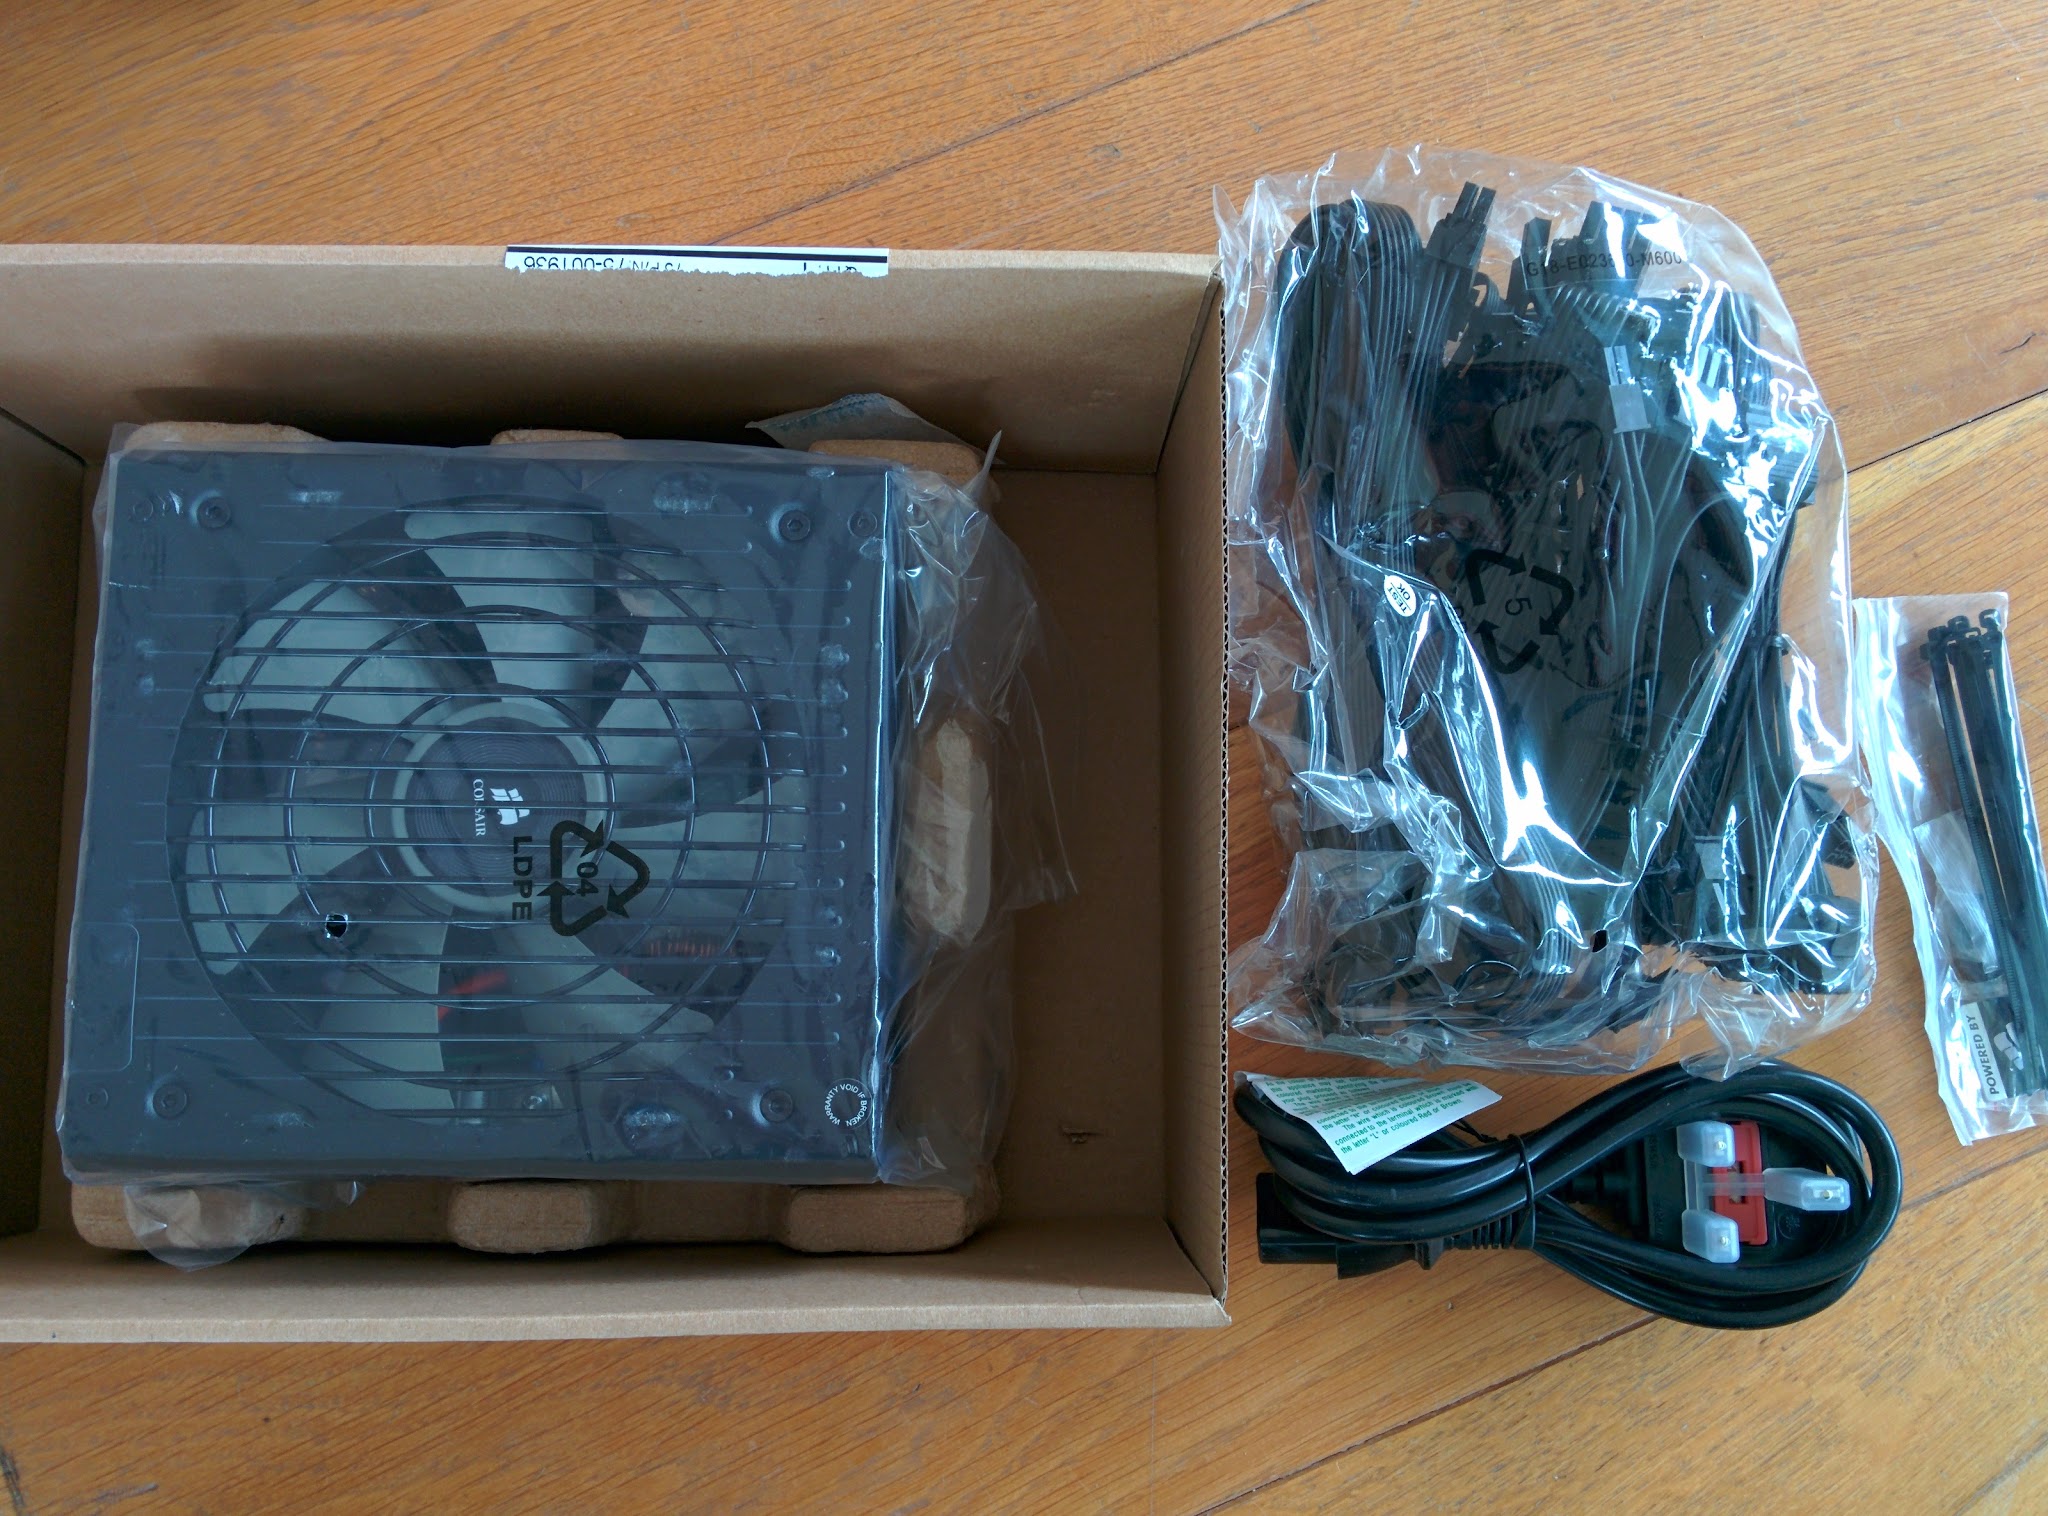
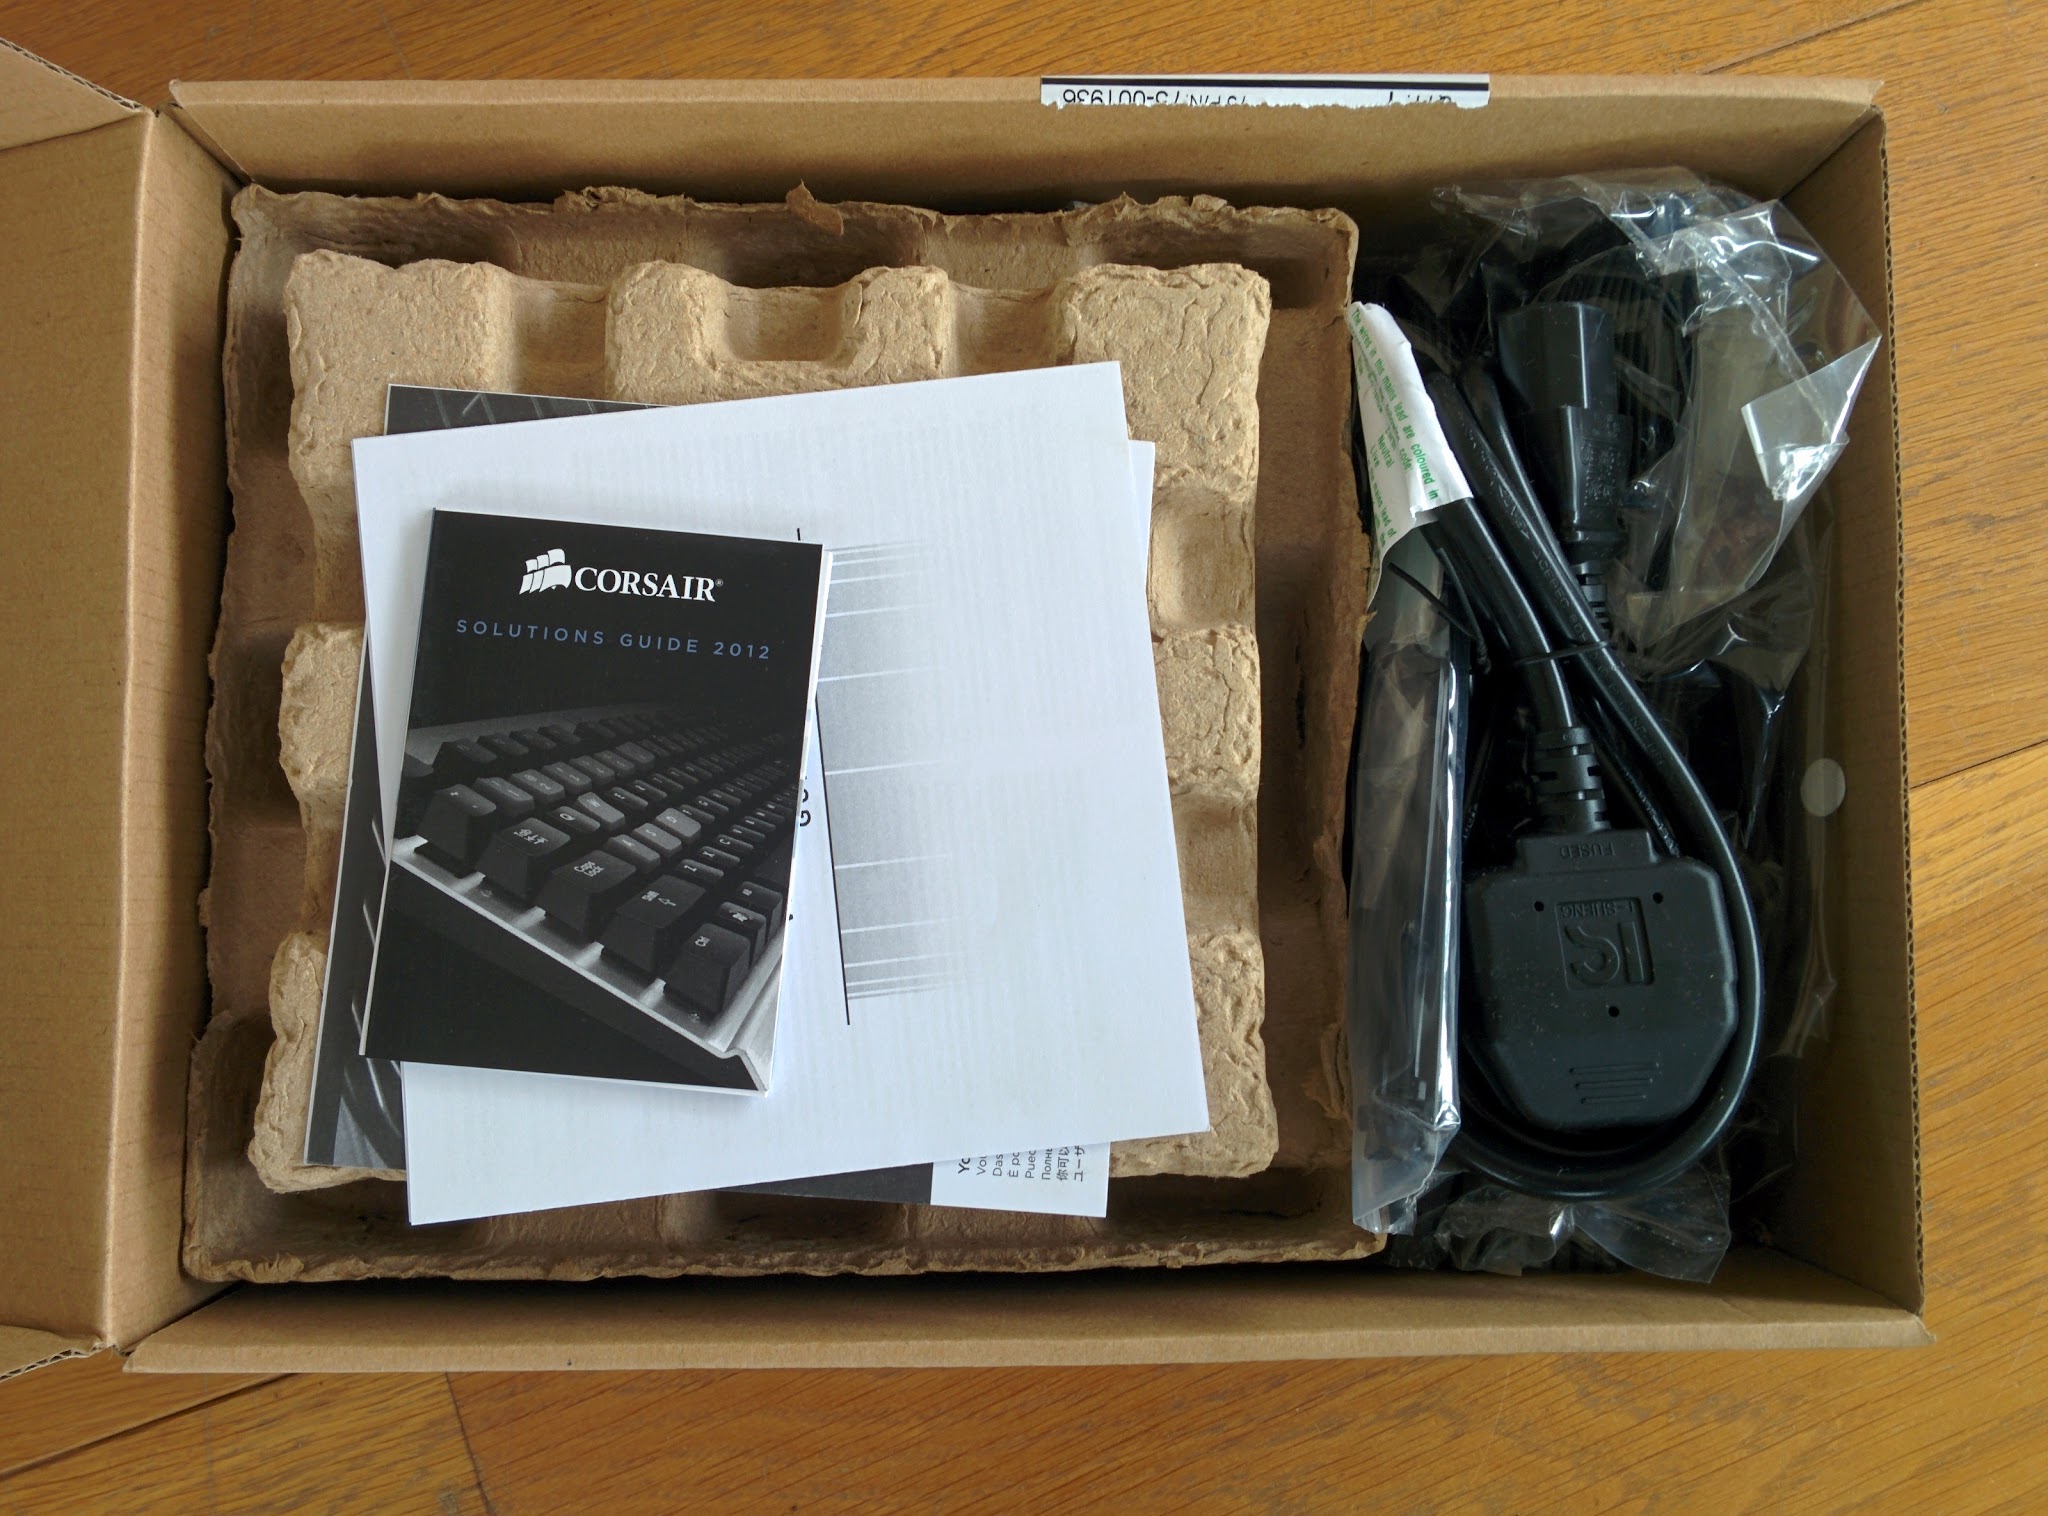
Empty the box of it’s contents and set aside the mains cable and power cables. This supplies also comes with a Corsair sticker and some cable ties - very handy for tidying up that mess of power cables after you finish building!
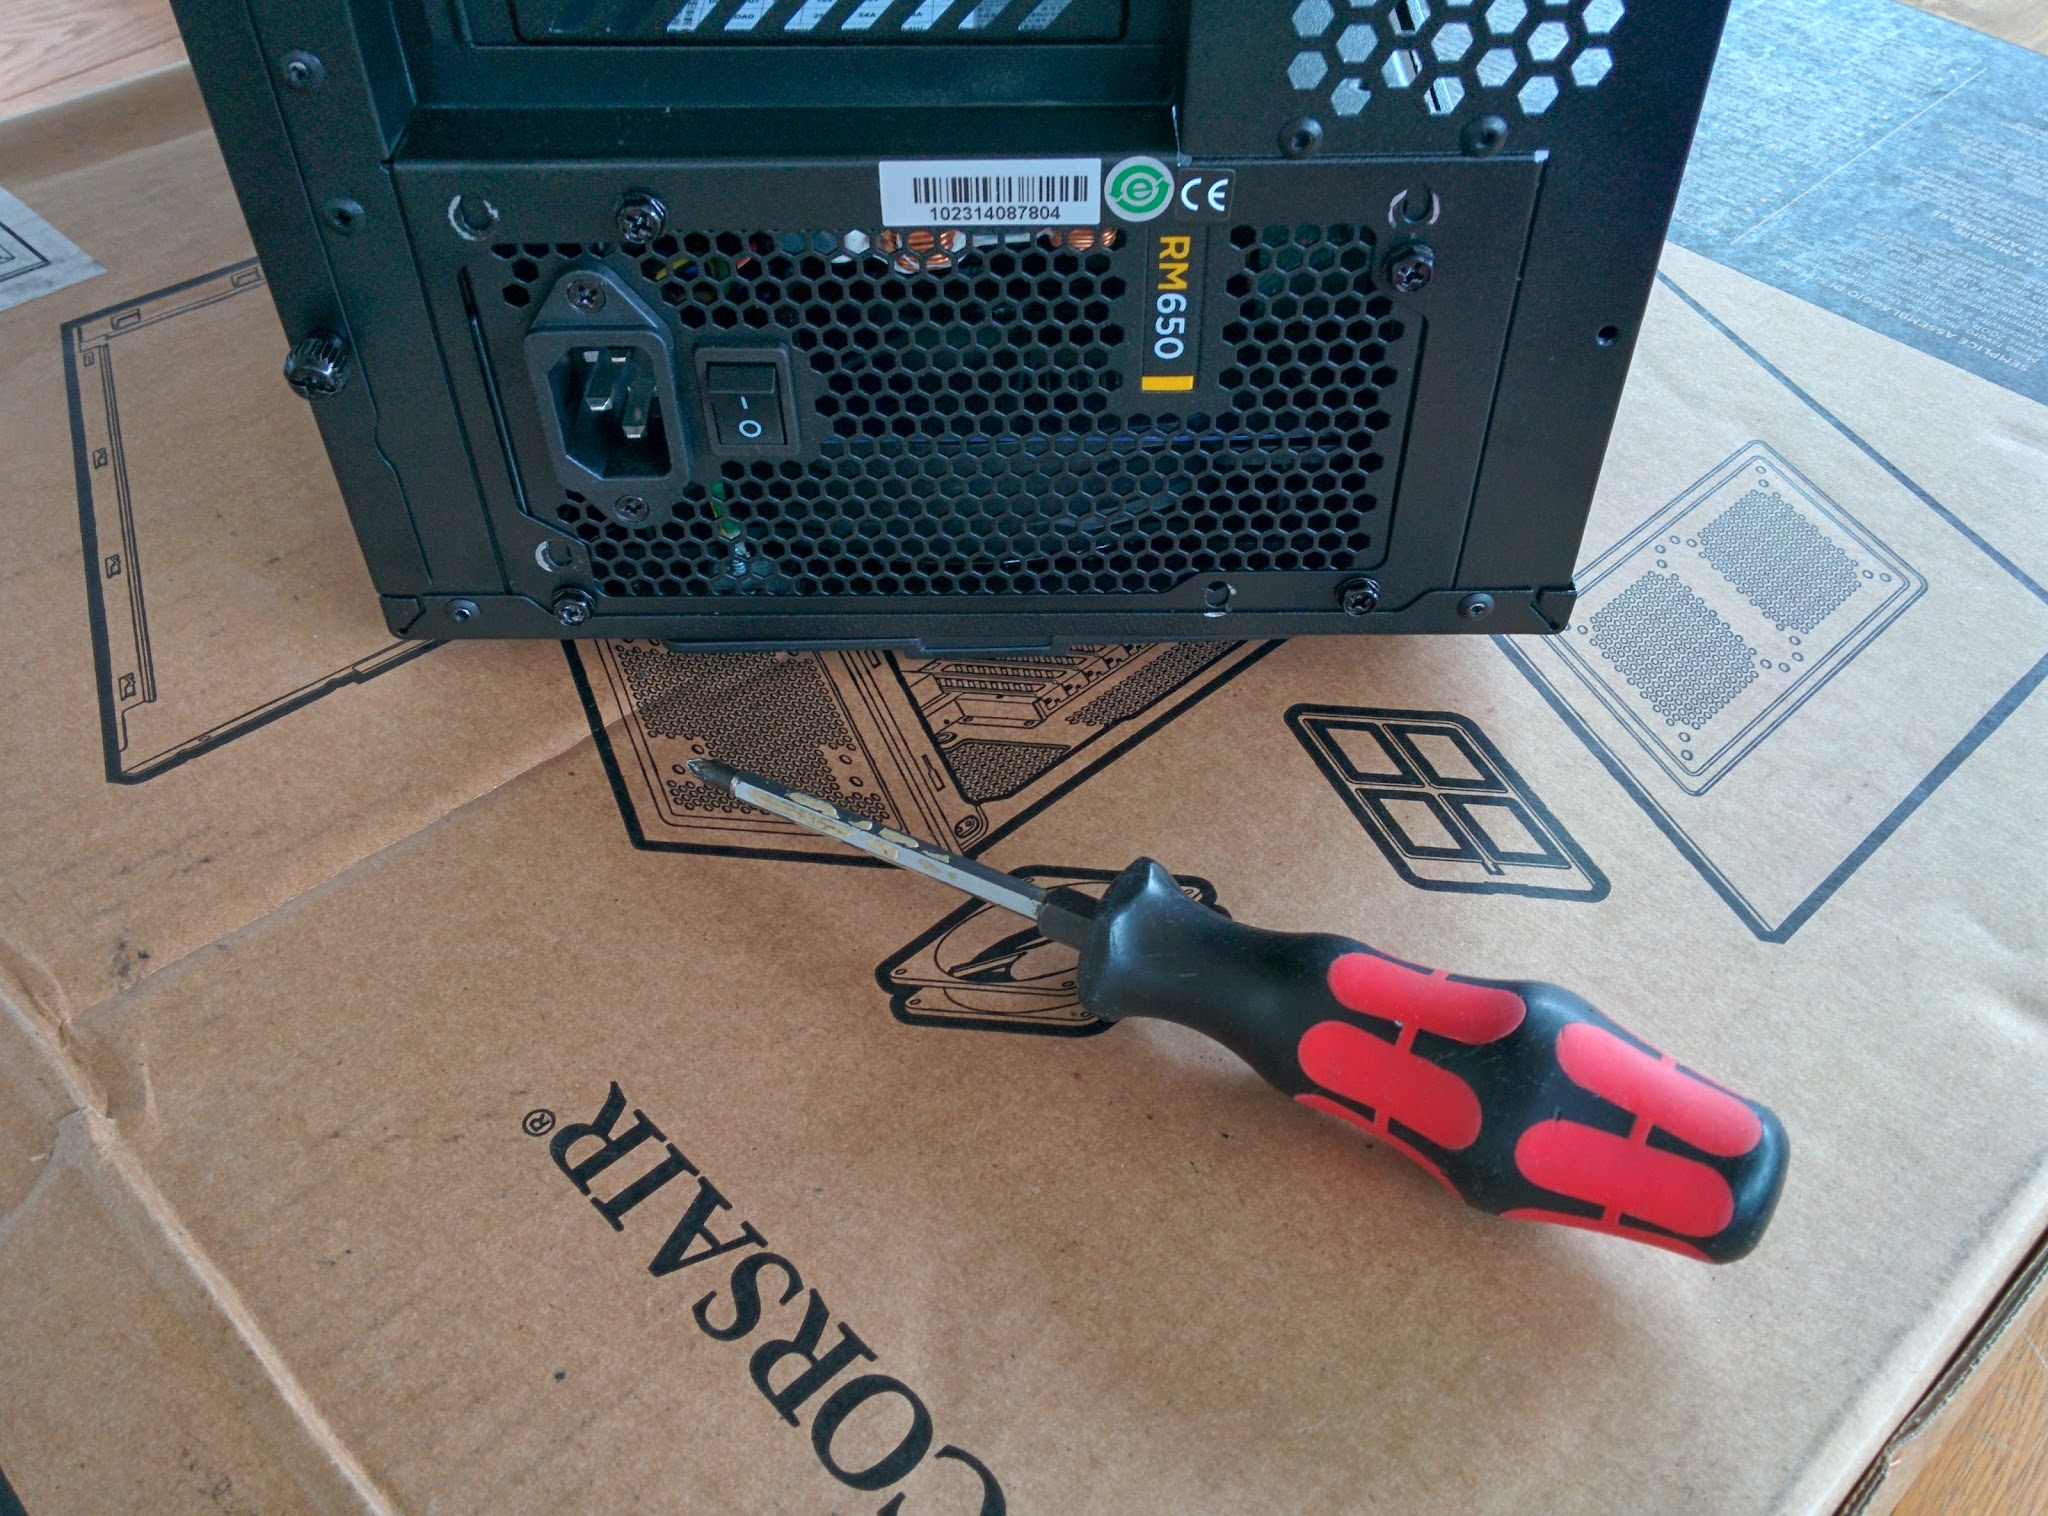
- Insert the power supply unit into the base of the case and push it up against the back. The screw holes will line-up with those on the case
- Make sure you install it with the fan facing downwards! The case has it’s own vent for the PSU fan intake, with a dust filter. You want to isolate the PSU air flow from the rest of the case, so this is the best thermal setup
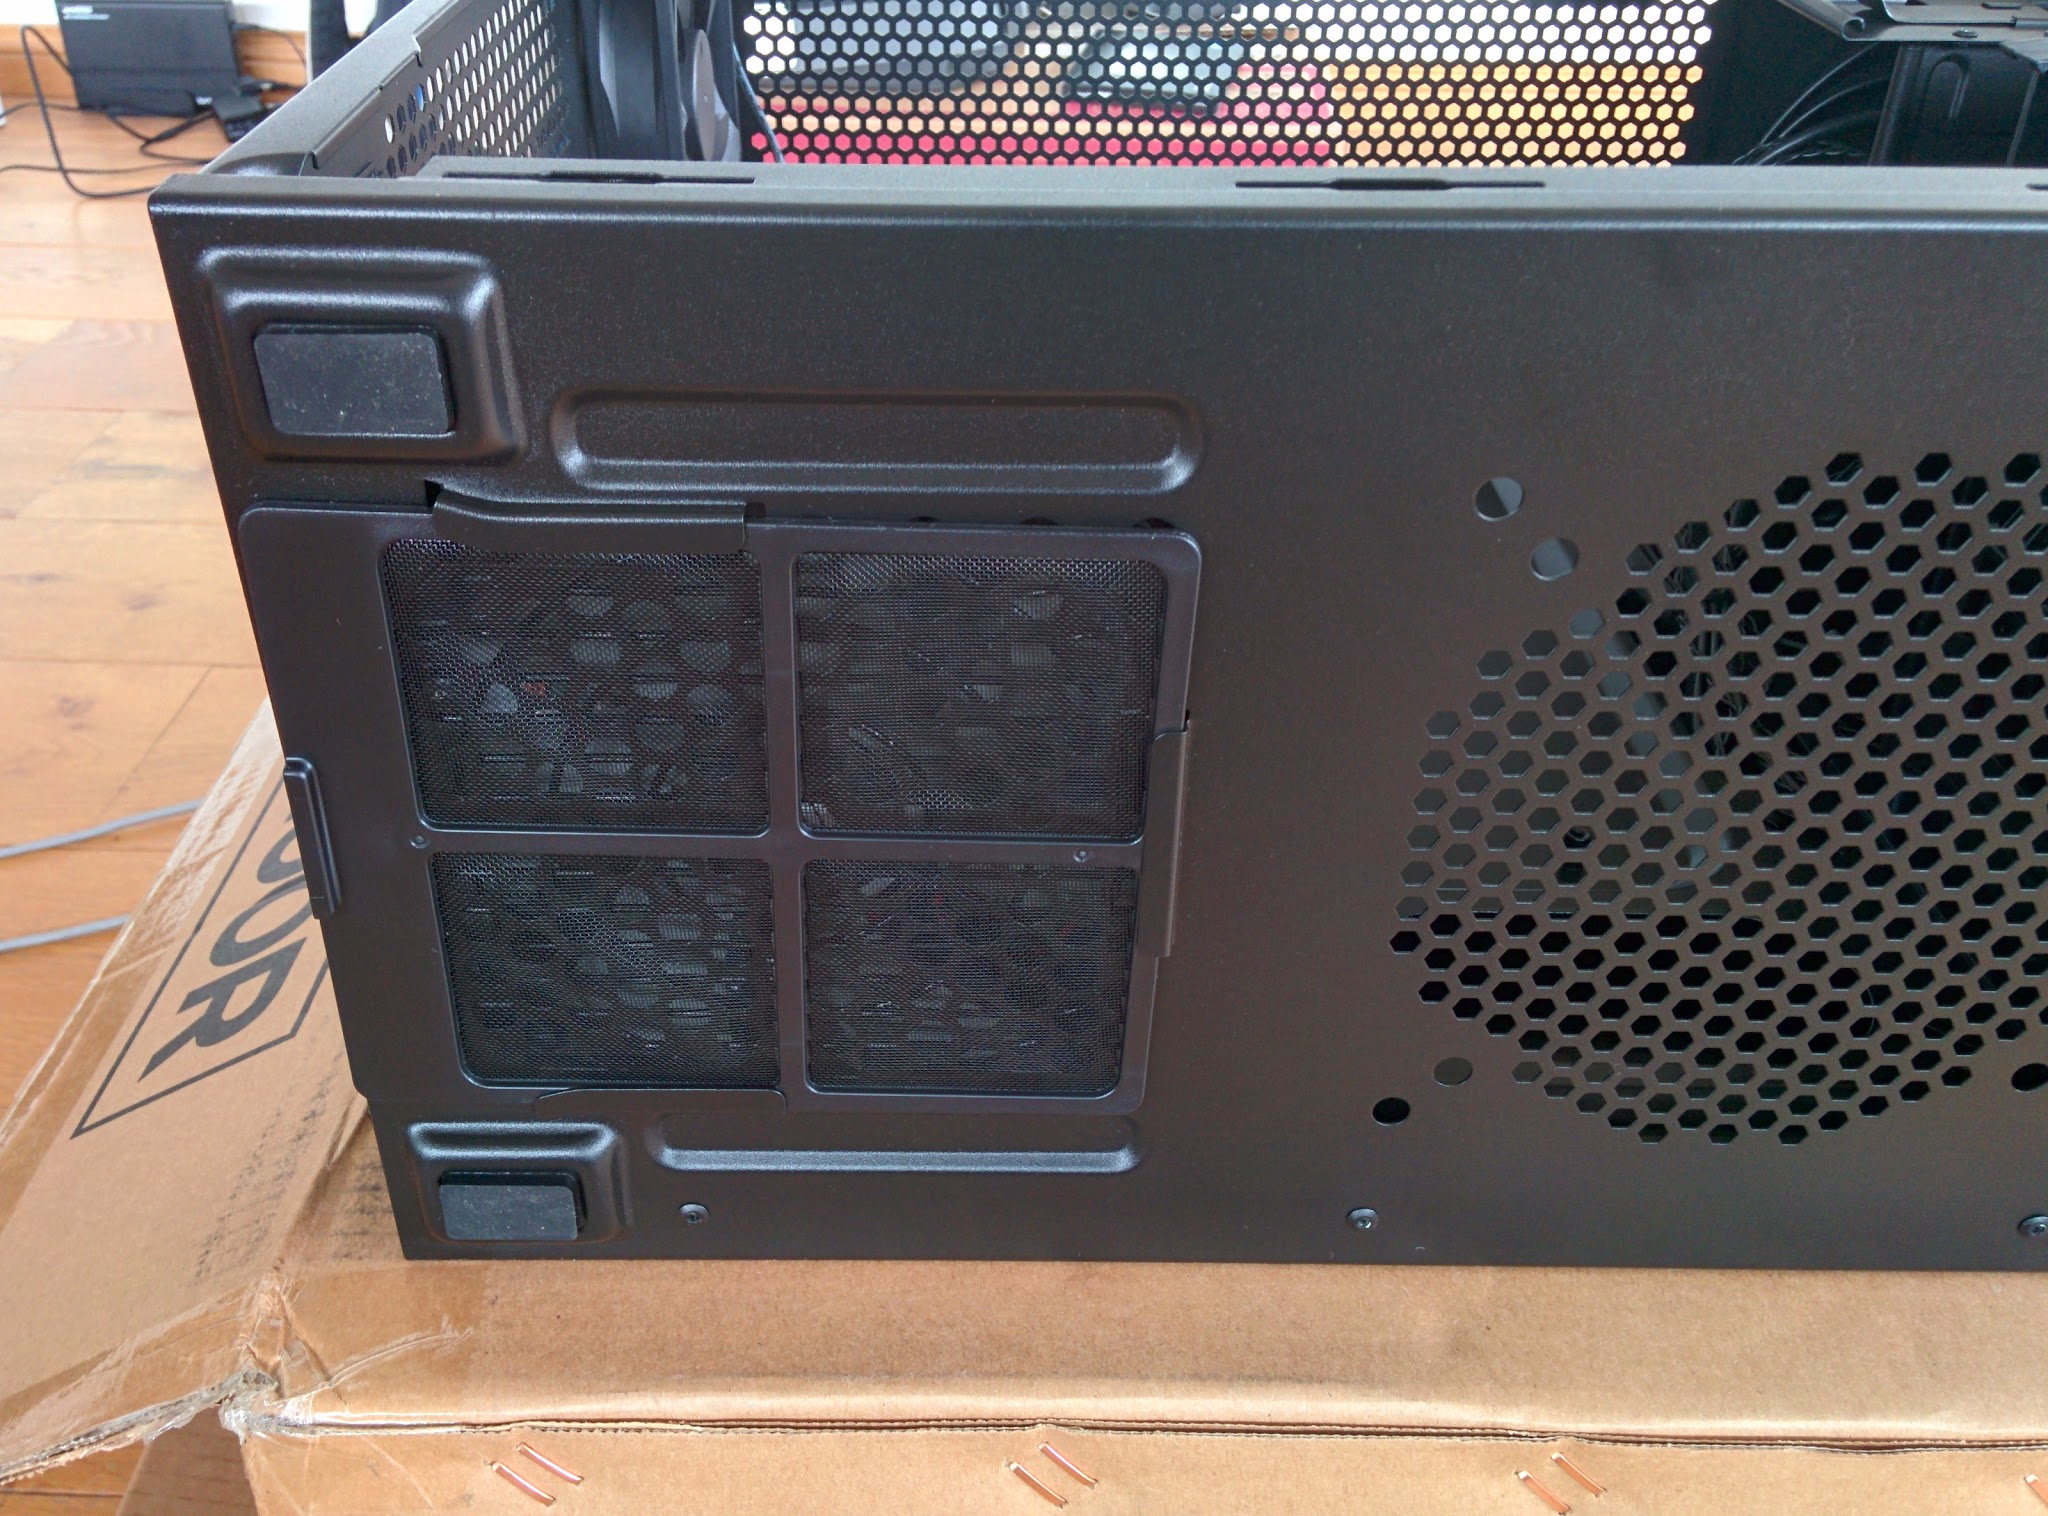
- Screw the power supply into the case using the screws provided with the supply
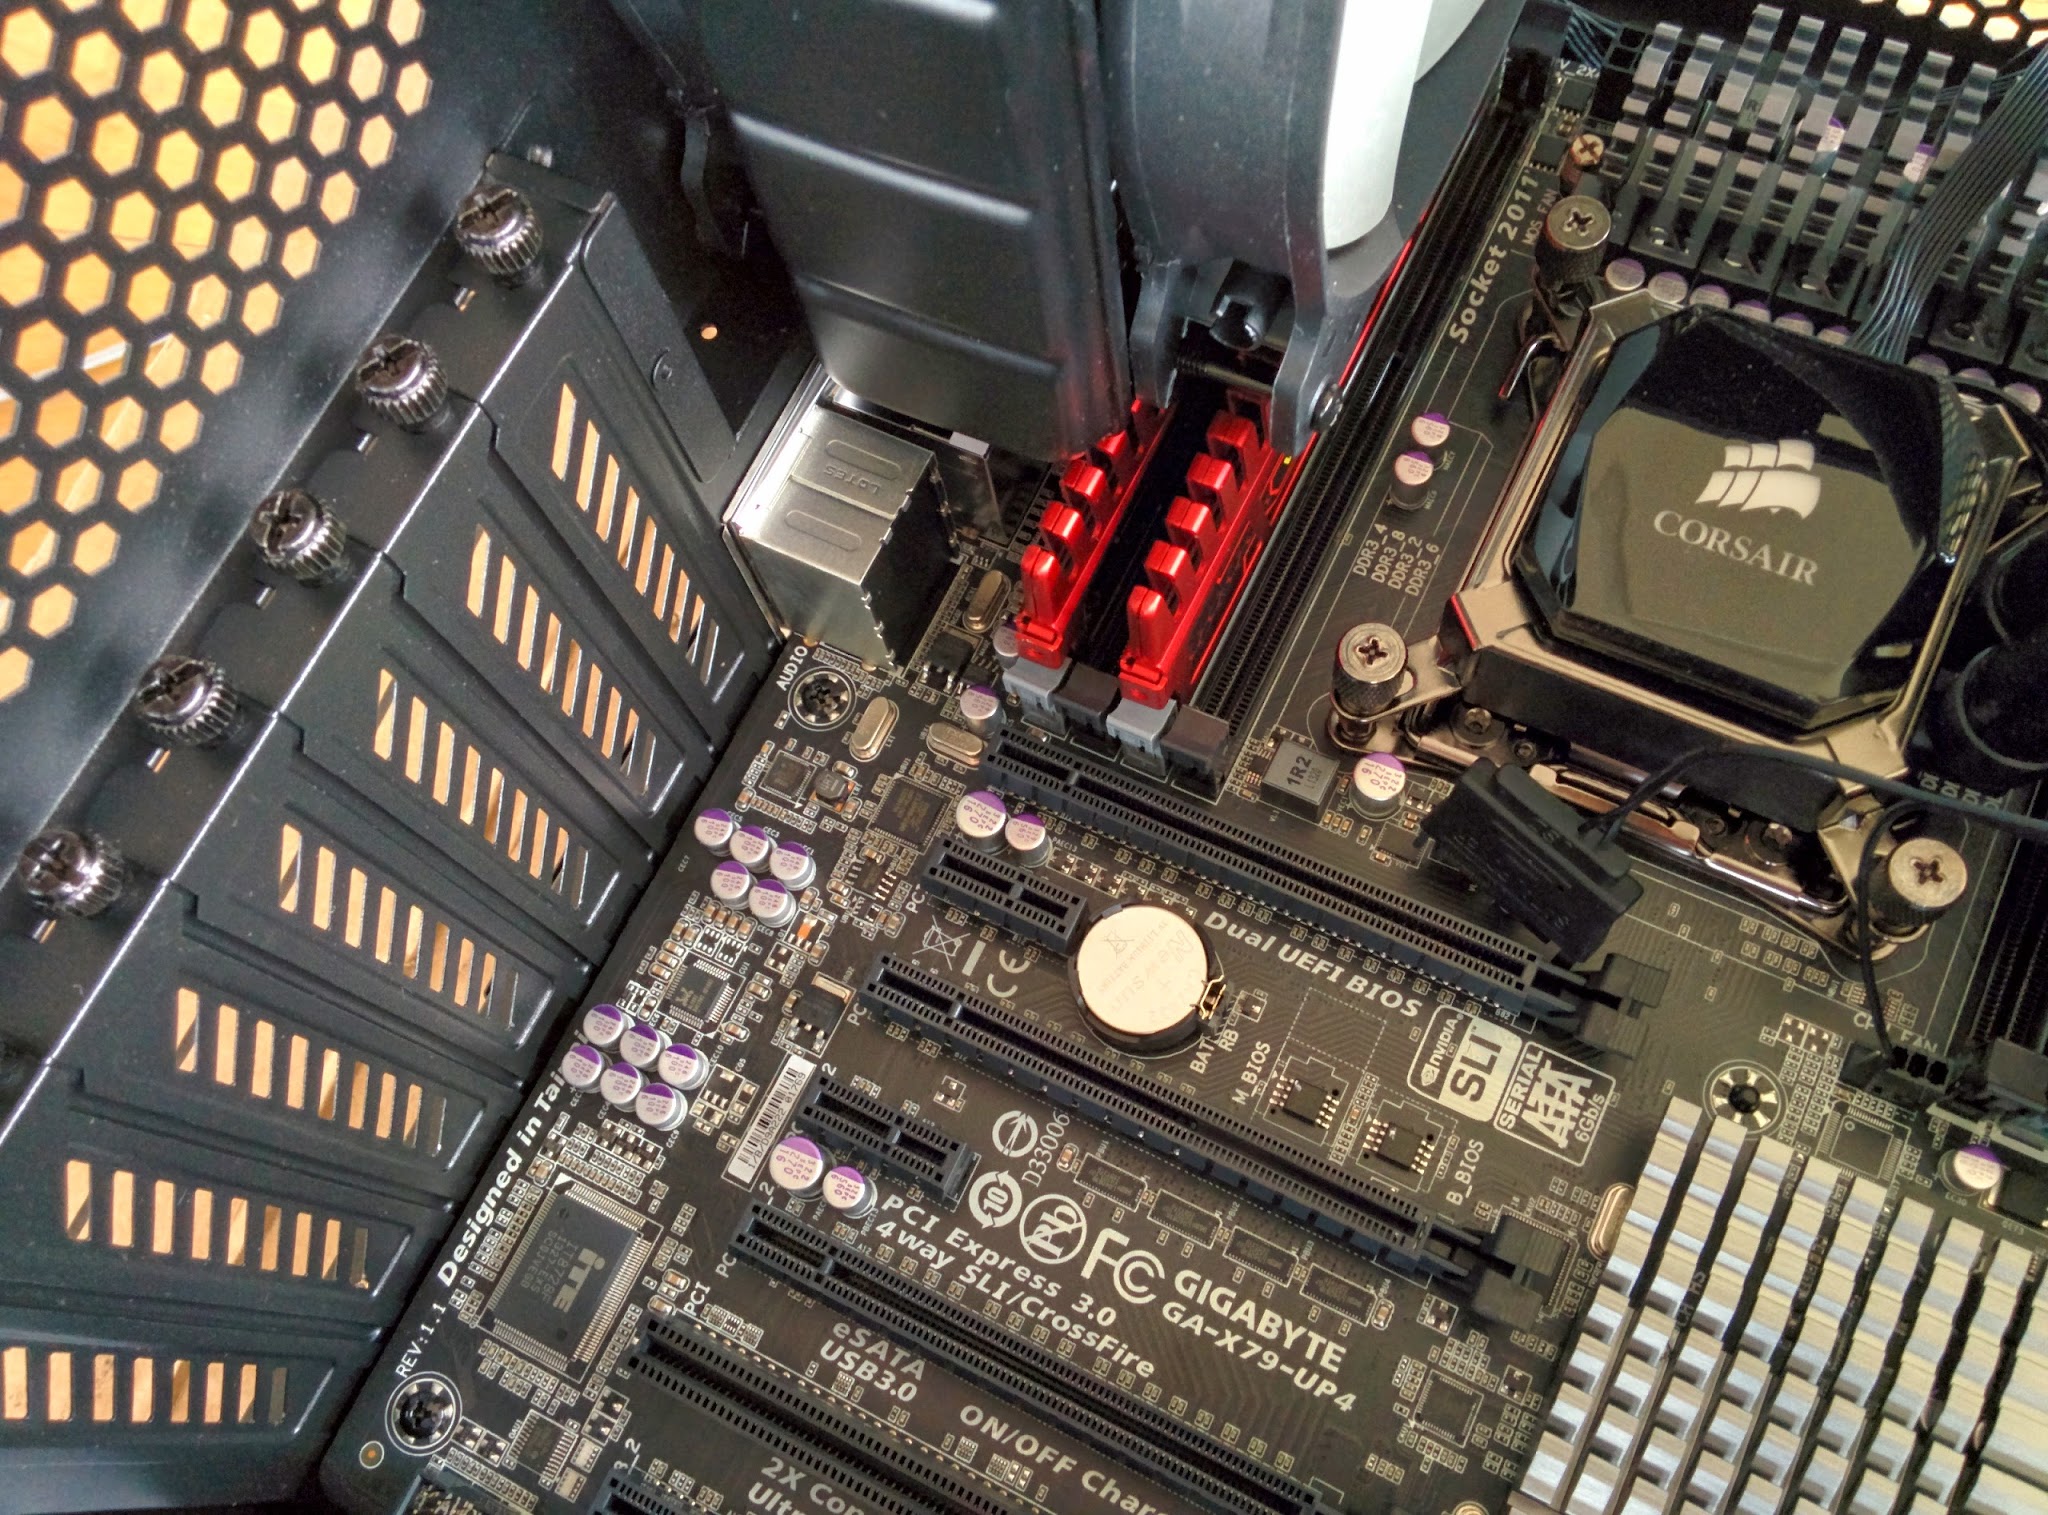
Motherboard
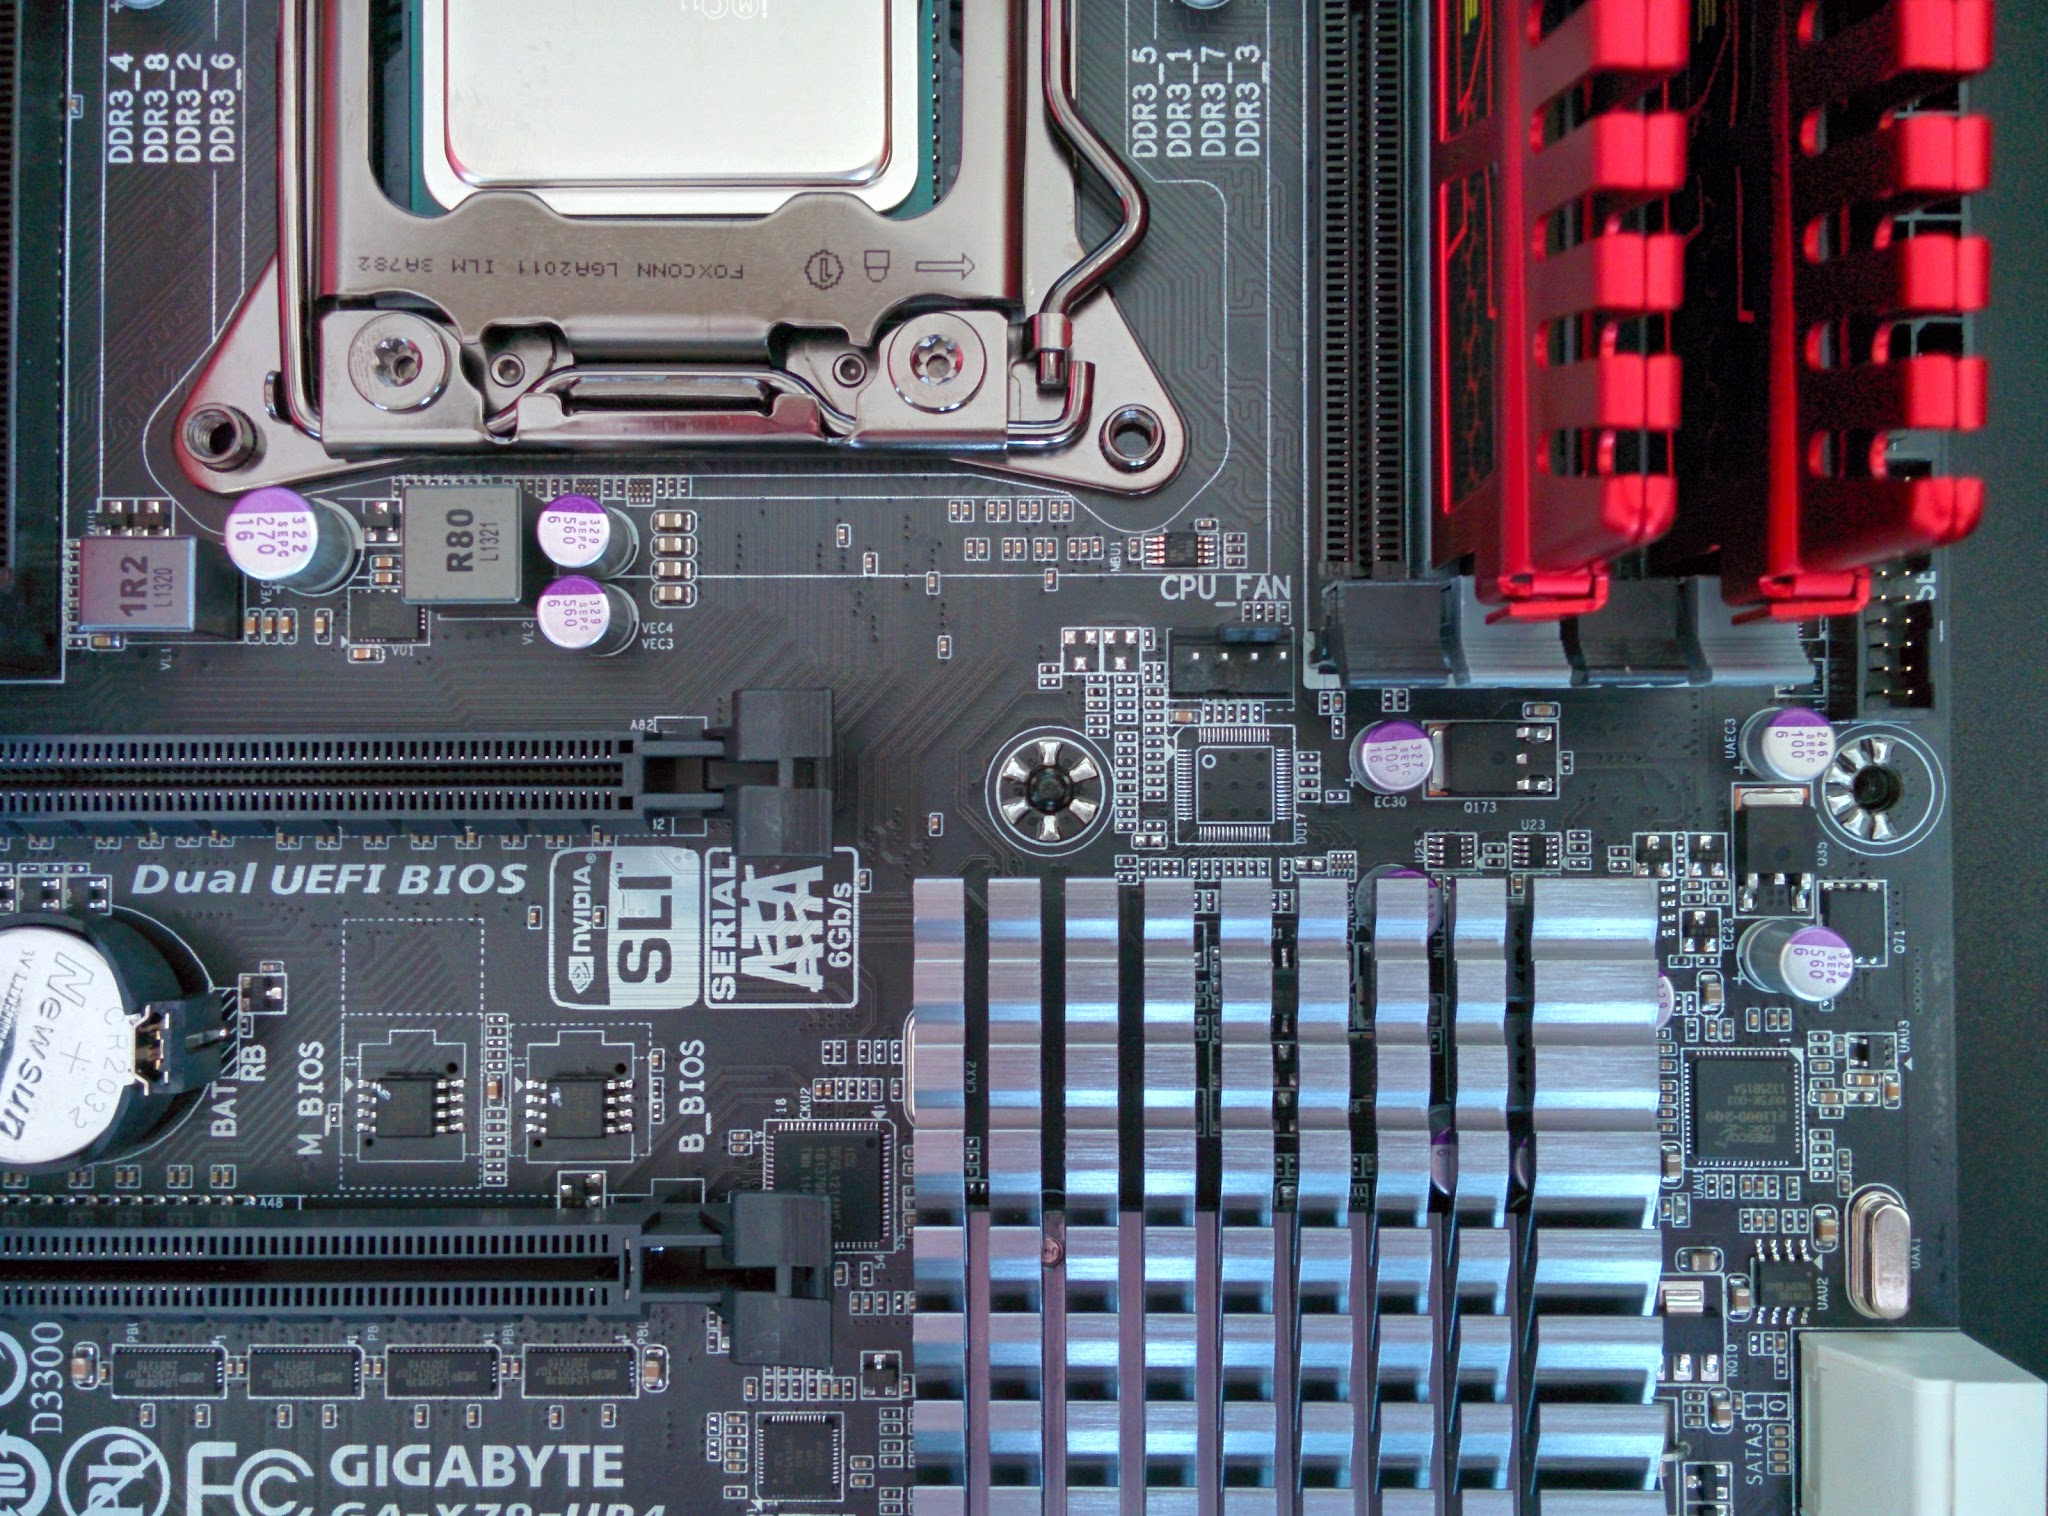
The motherboard should have the CPU and RAM installed outside of the case. It is much easier to install components outside the confines of the case interior. I am using a Gigabyte GA-X79-UP4 motherboard, with an LGA 2011 socket - the socket required for my i7 Extreme processor. Most Intel gaming builds will likely use a Haswell board, such as the highly recommended Asus Z87-A.
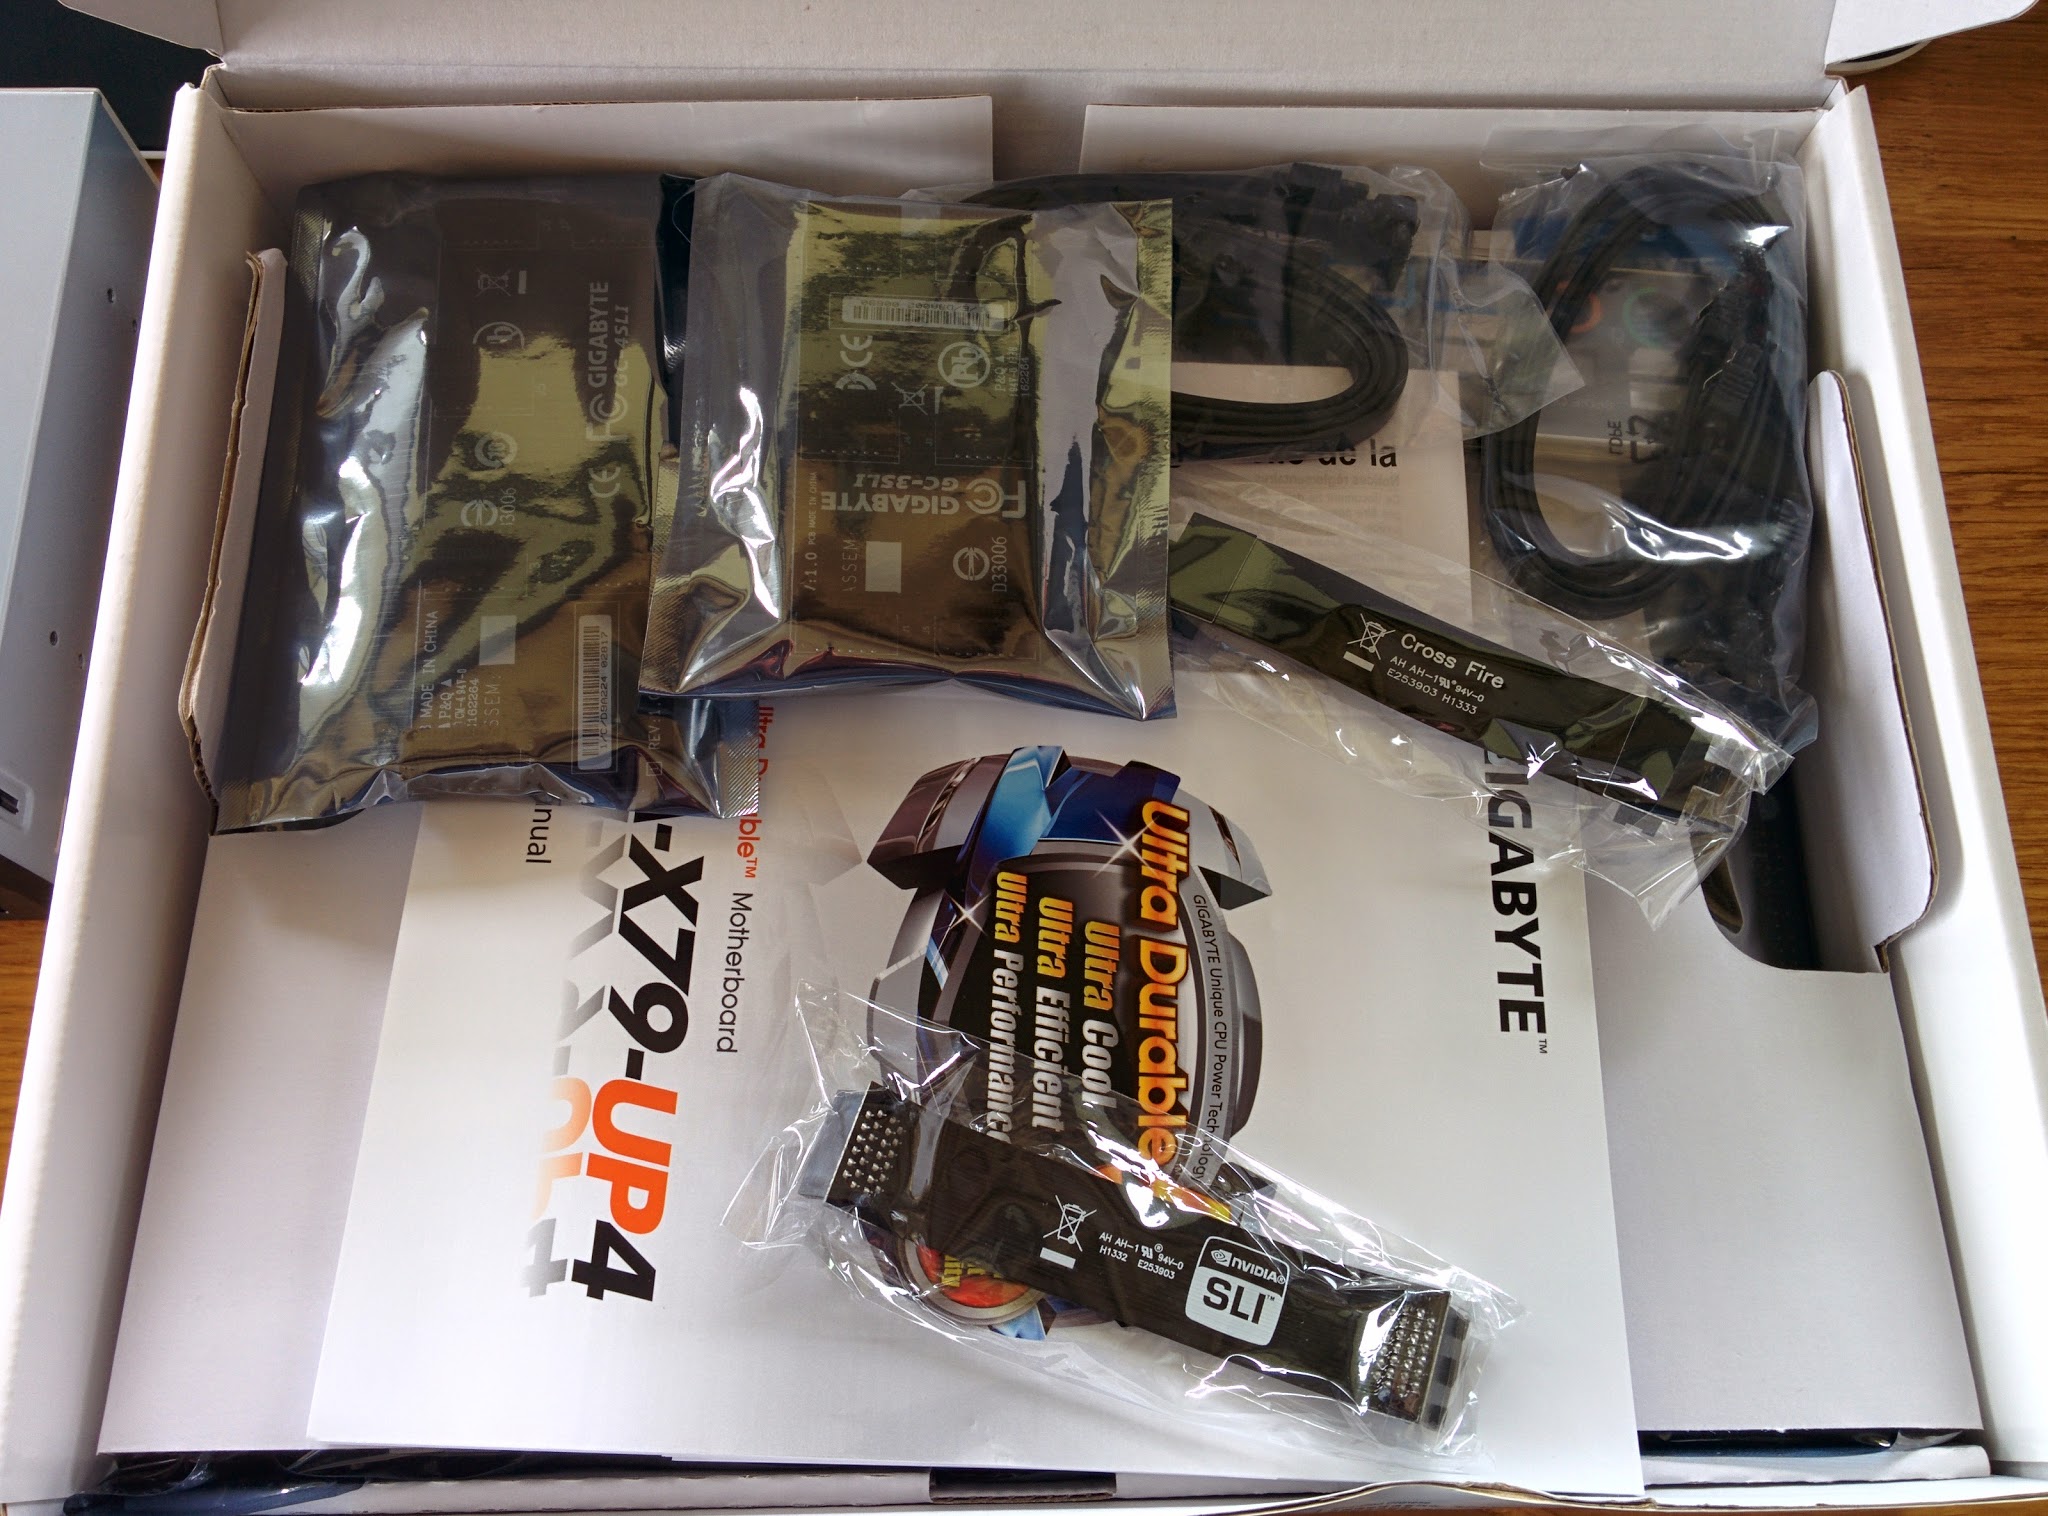
The board comes with a myriad of cables. The cables labelled “Nvidia SLI” are for linking multiple Nvidia graphics cards in 2-way, 3-way and 4-way configurations. An “AMD Crossfire” cable is also included for linking AMD graphics cards. The quick-install guide included can be quite useful if you’re building with an unfamiliar board or CPU. For now, toss everything else aside and grab the motherboard out.
DO NOT PLACE THE MOTHERBOARD ON THE OUTSIDE OF THE ANTI-STATIC GREY BAG. The outside of the anti-static bags that you will encounter around multiple components are highly electrically conductive, protecting the components inside the bag but posing a potential risk to any components placed on the outside of one of these bags. The best place to put the motherboard once it’s out of the bag is on top of the box it came in. This provides a great surface for installing the other components.
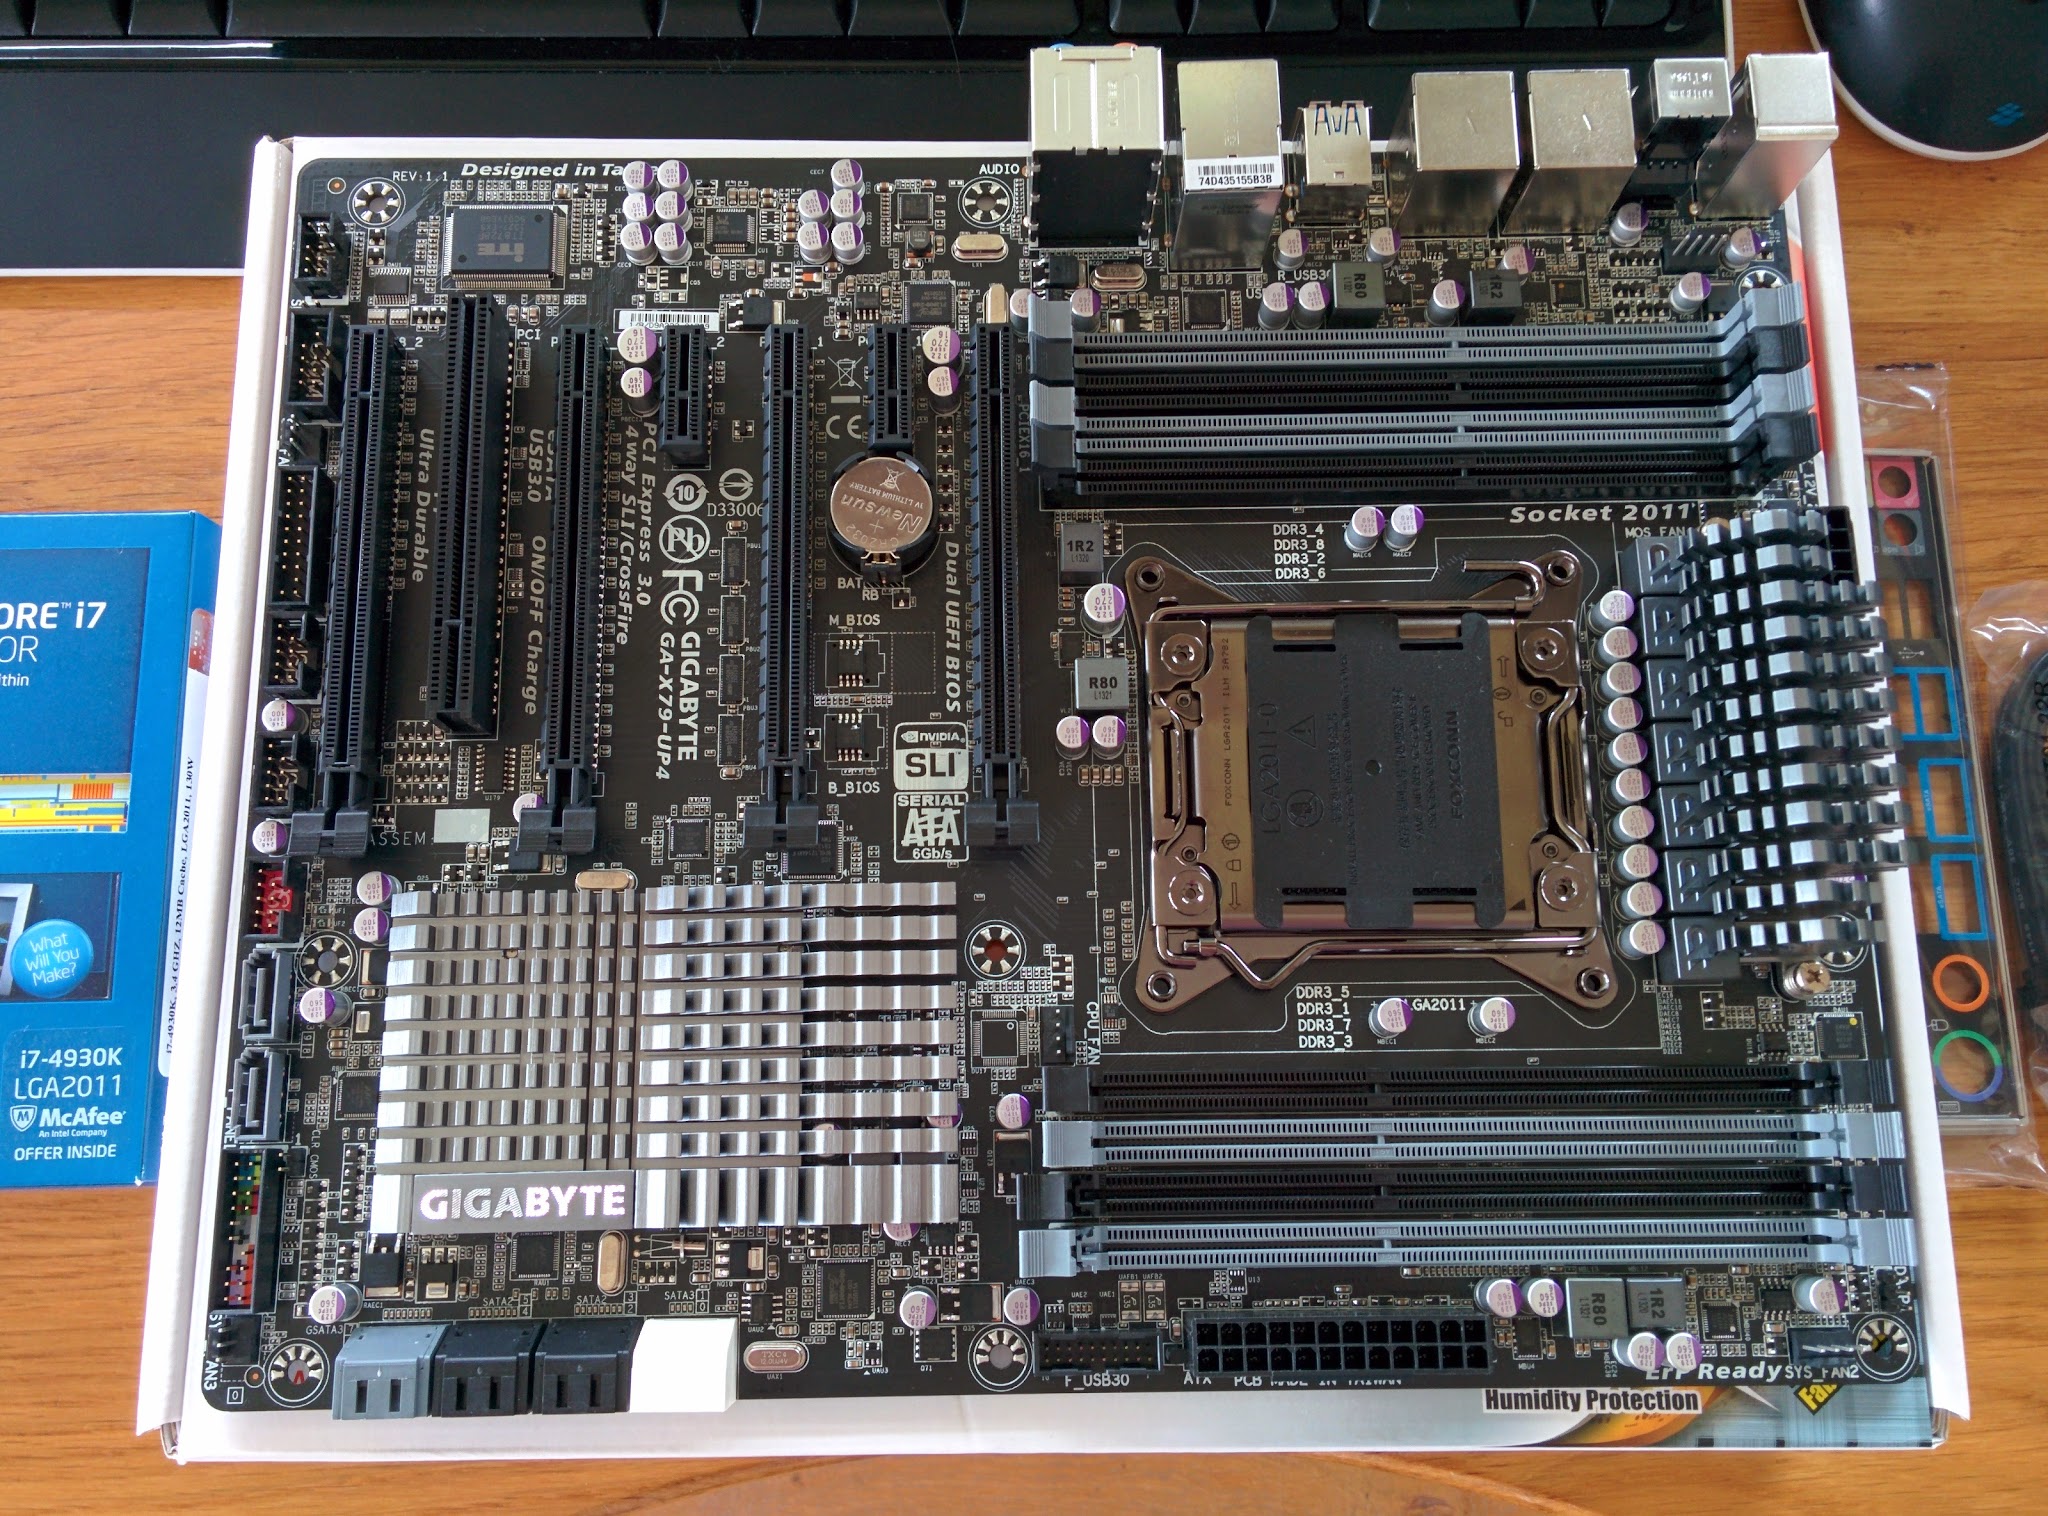
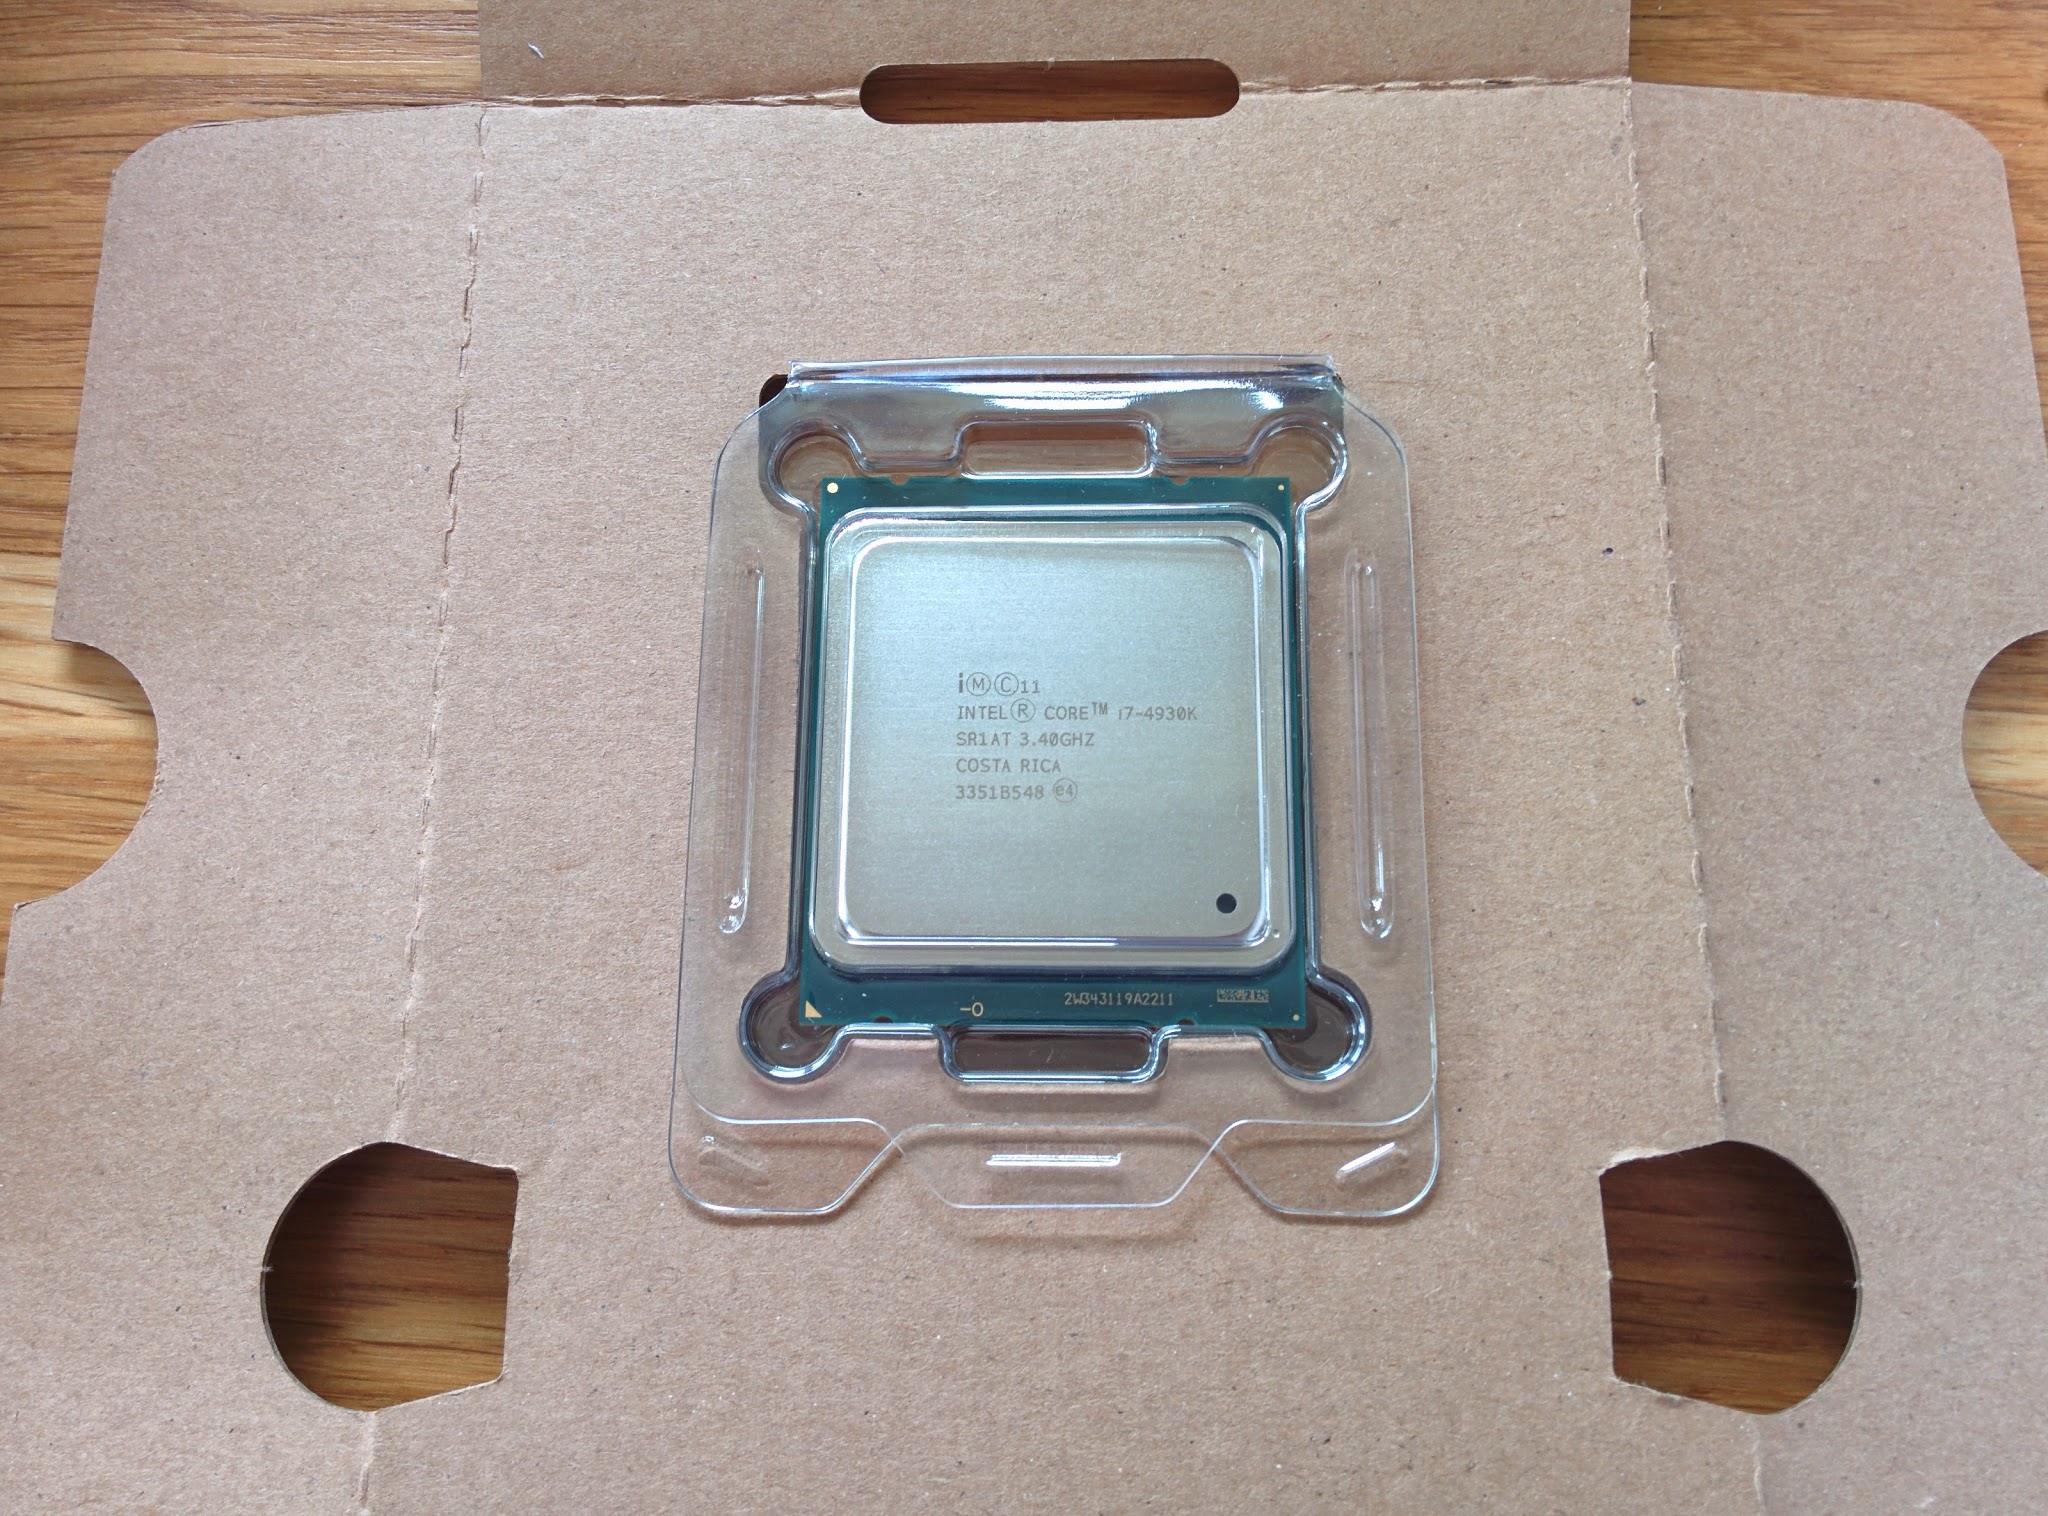
Central Processing Unit
The CPU is the heart of the computer. It is where the work is done and the calculations are performed. It works hand in hand with your RAM, pulling and storing data back and forth. I would go deeper, but this is a PC building guide, not a computer science lecture! The CPU which I am using for this build is an Intel Ivybridge-E i7 4930K with 6 cores and 12 threads. I am using this particular processor since the machine I am building is for rendering complex 3D scenes. This is far more horsepower than you’ll need for a gaming machine.
For all current gaming rigs, I recommend the Intel Haswell i5 4670K which uses an LGA-1150 socket. Why not an i7 for gaming? Games aren’t greatly mutli-threaded and don’t make use of the hyper-threading provided by an i7. Stick with the i5 for the same performance from the same amount of cores for around £80 less. If a 4670K is outside of your reach, an AMD FX-6350 is a great budget option.
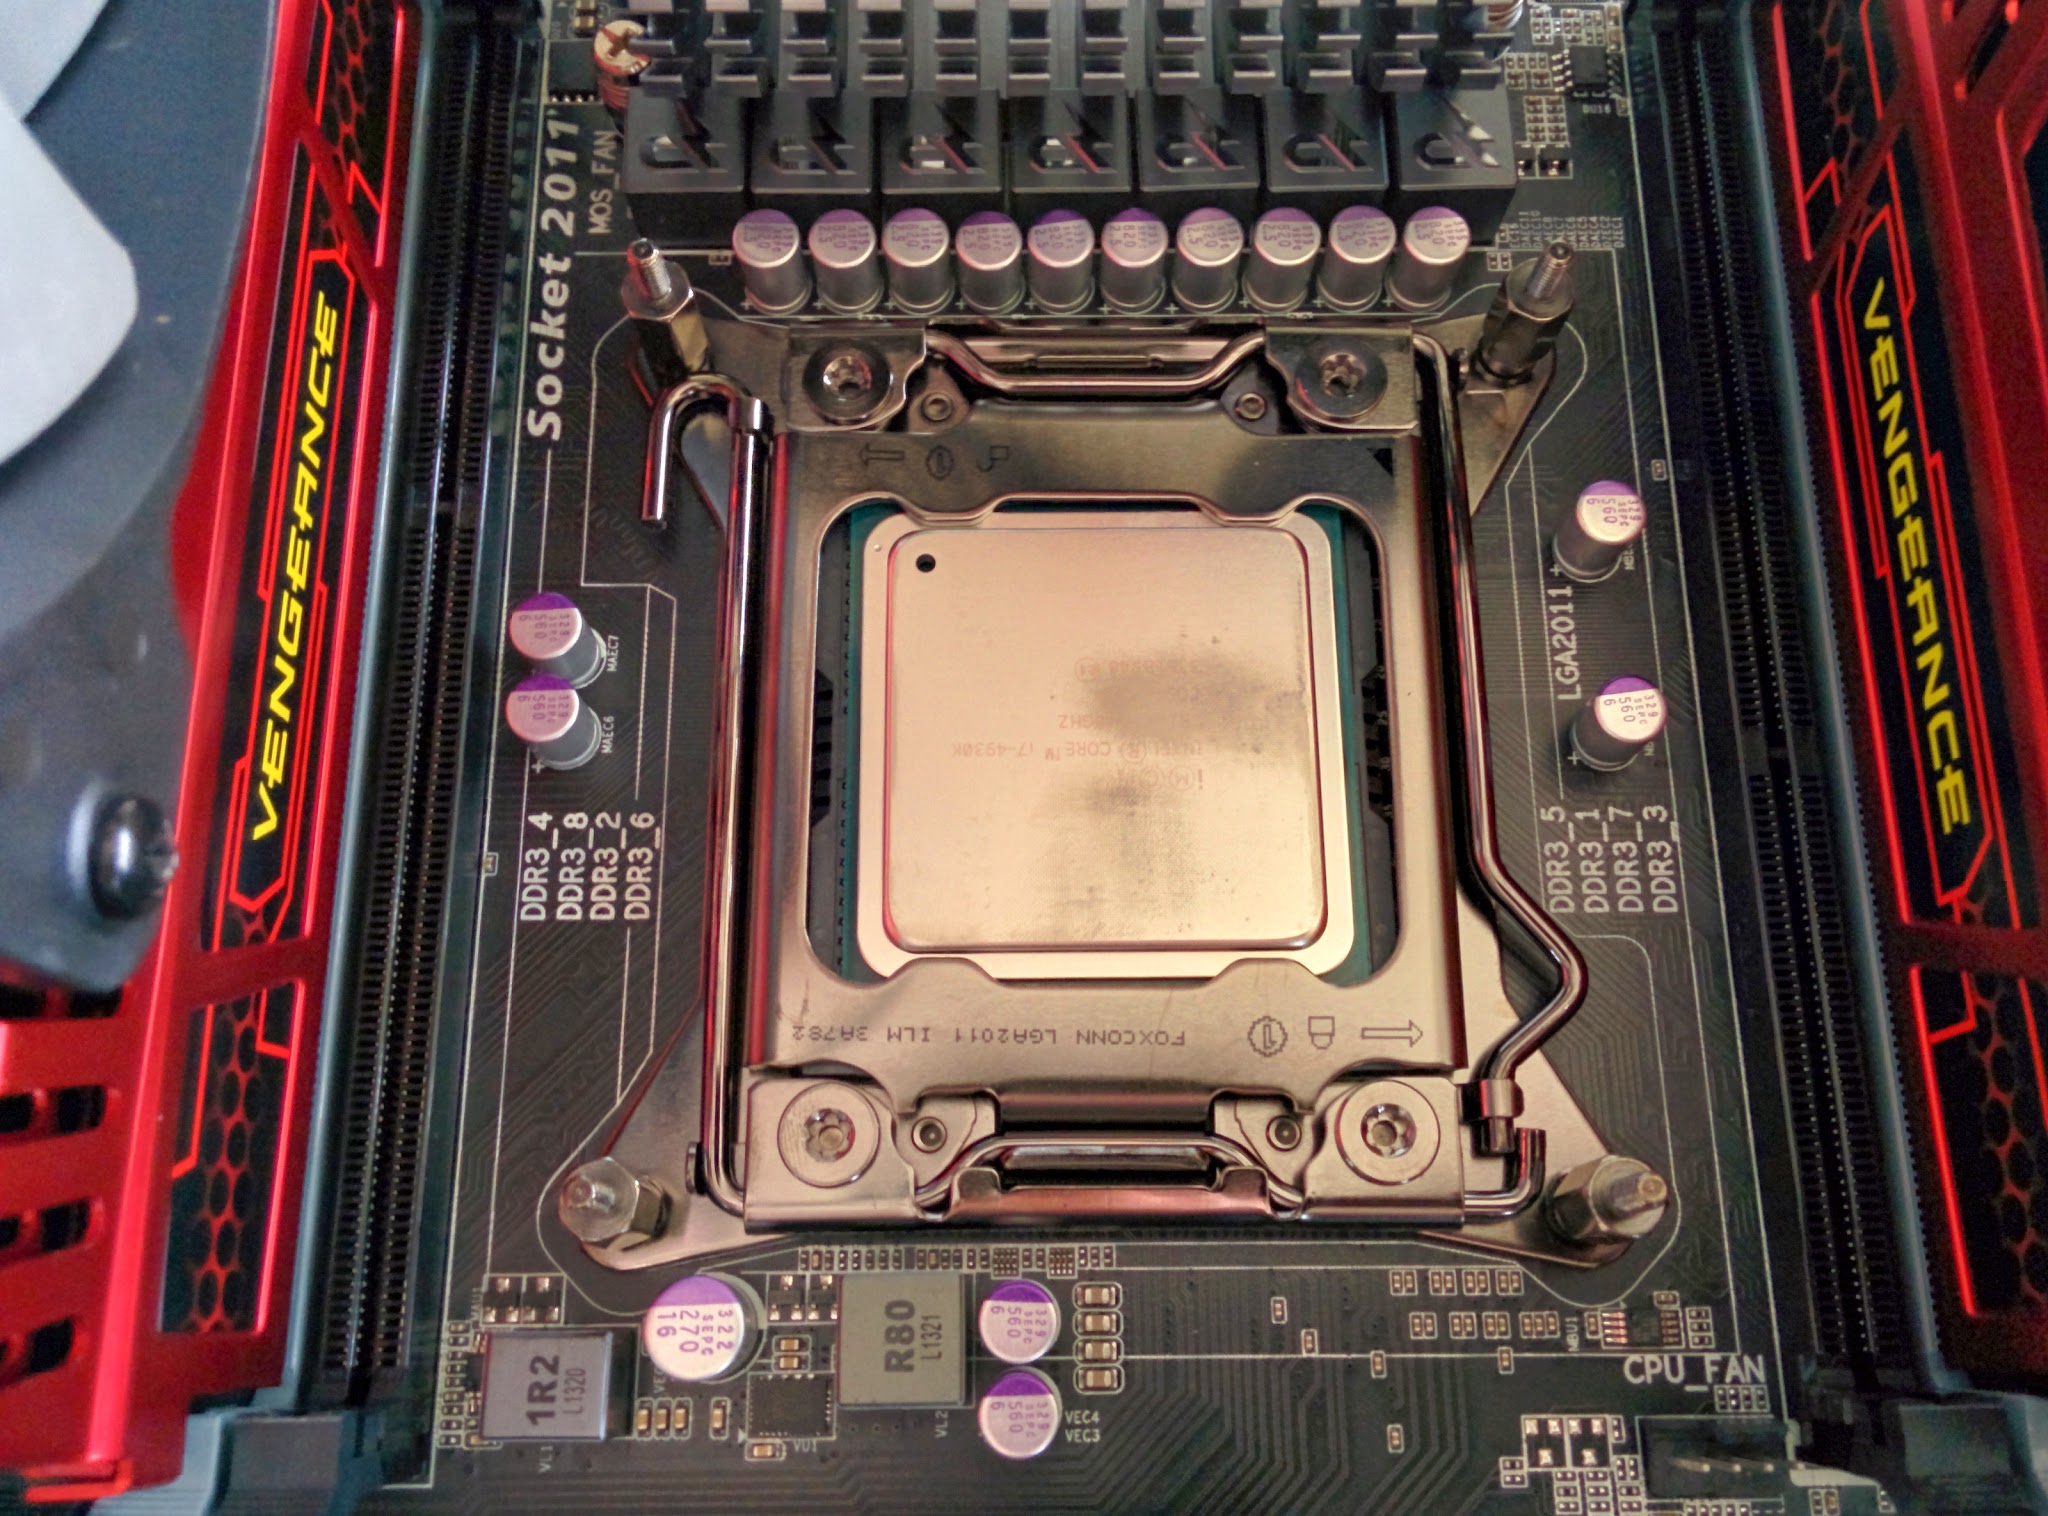
The CPU sits on a bed of pins in the socket on the motherboard. The CPU must have good contact with these pins, so the socket has lever arms and a metal surround to keep the CPU pressed onto the pins with considerable pressure at all times. The LGA-2011 socket has two arms since the CPU is rather large and needs pressure on two ends. Most consumer-range sockets such as LGA-1150 only use a single arm.
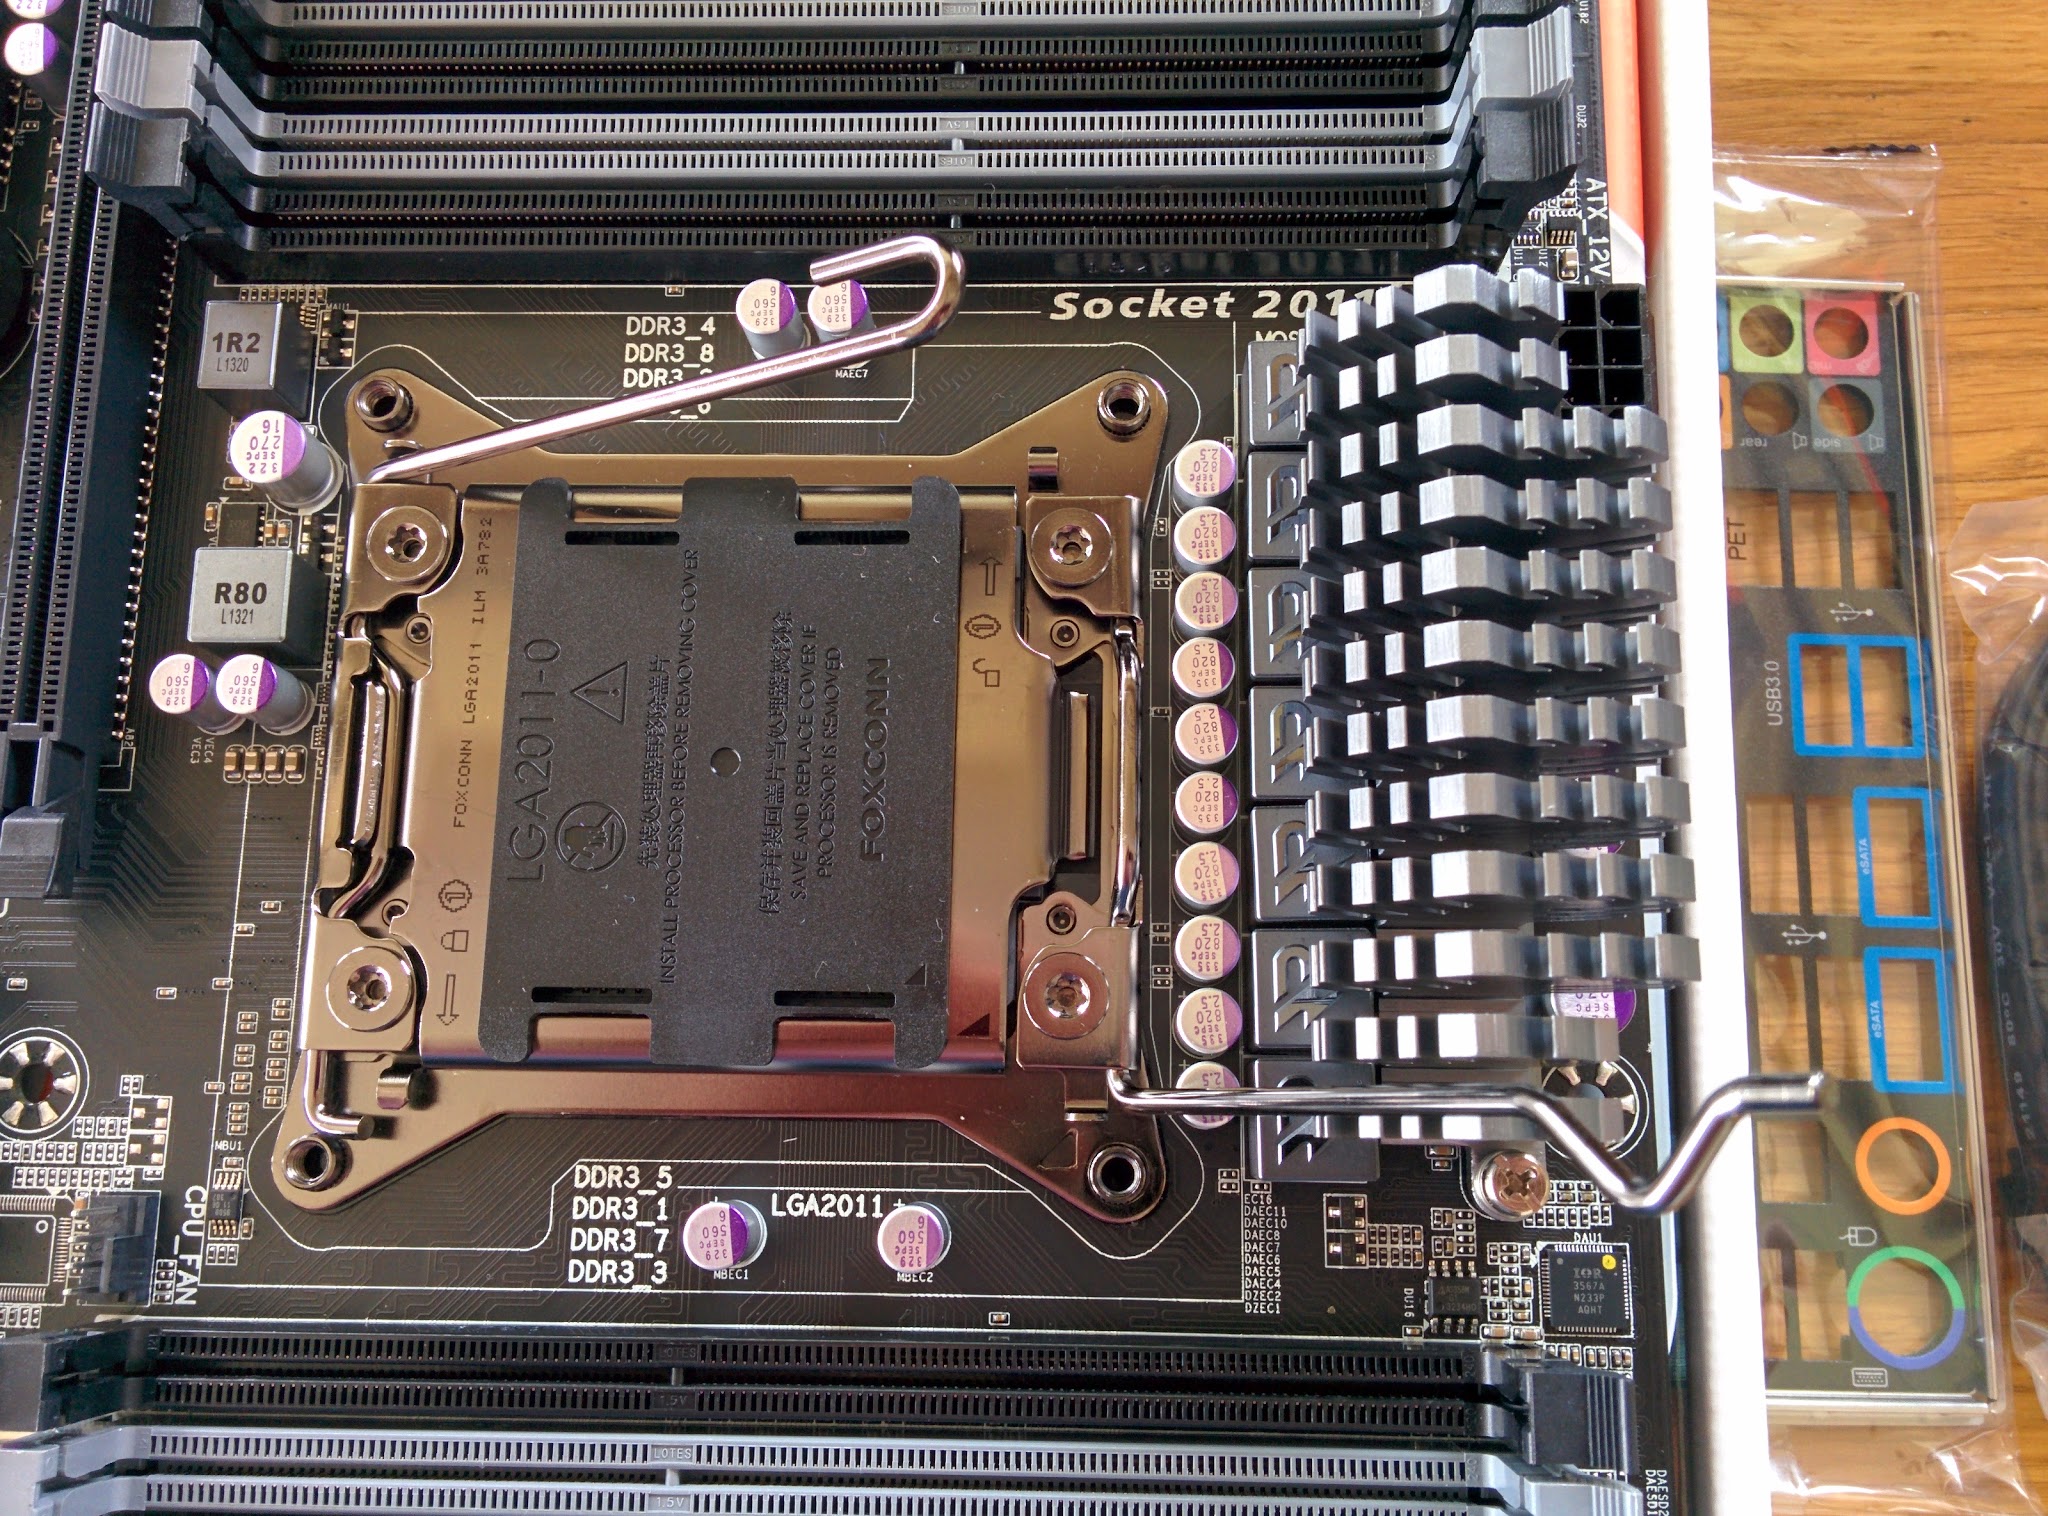
- Unhook the arms from their clips by pressing down on the arm and pushing it away from the socket and allowing it to rise
- Do not remove that plastic socket cover yet. The socket cover will come off by itself when we close the arms onto the CPU
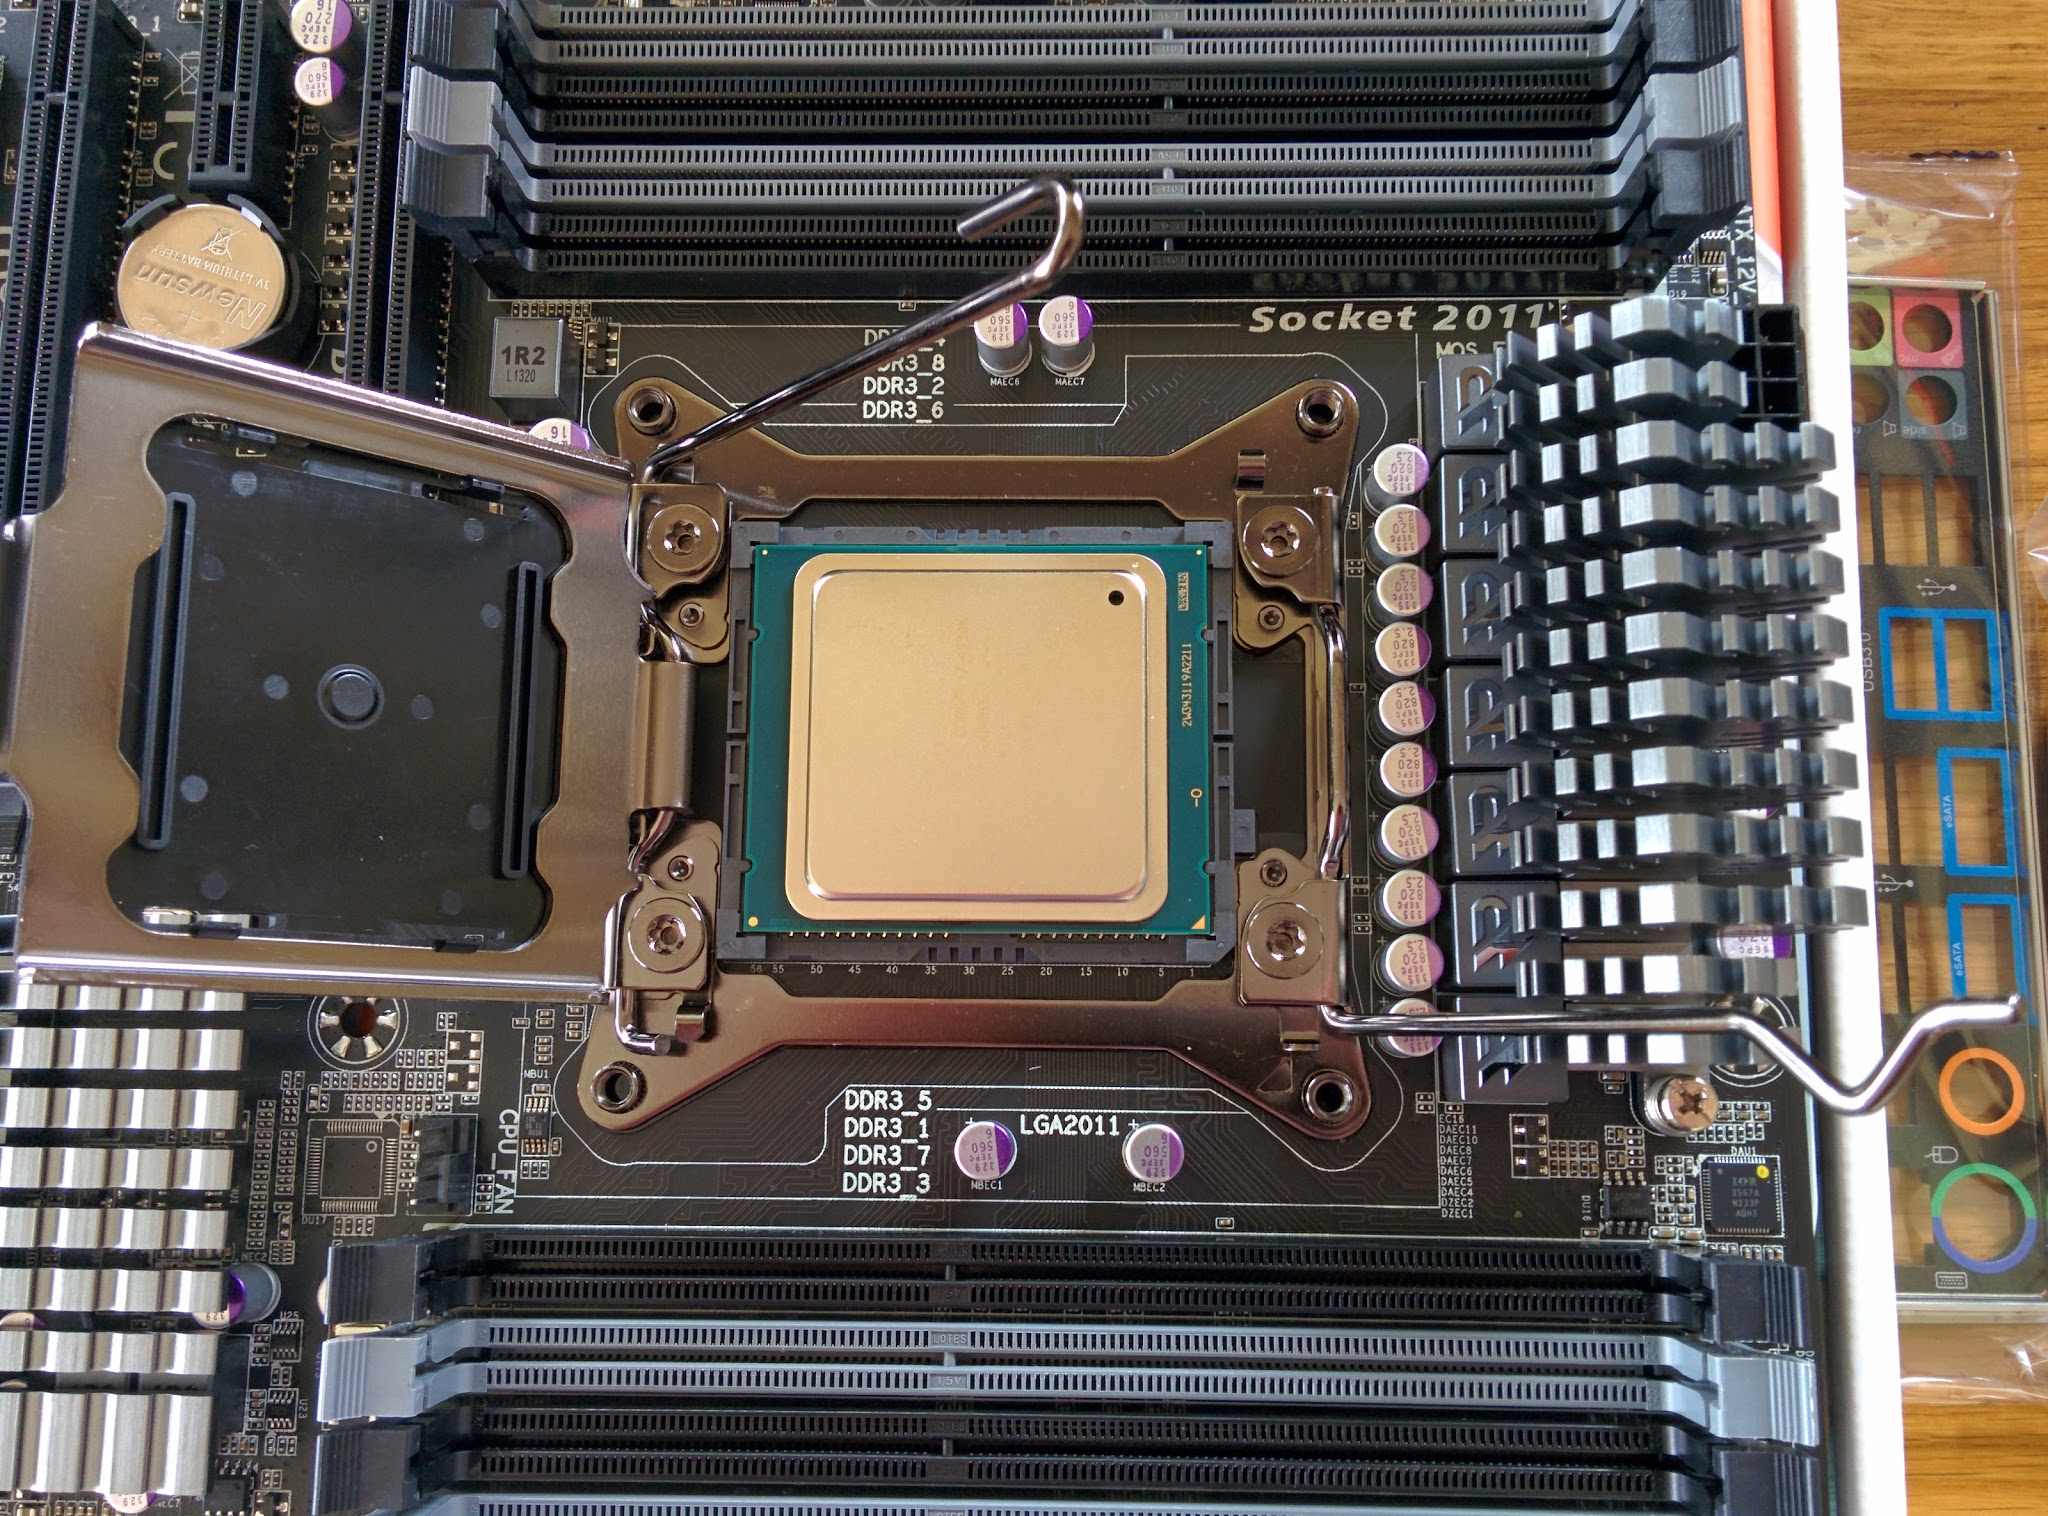
- Pull the cover fully up to expose the pins beneath, Now, gently place the processor onto the pins. Don’t try to move the CPU once it’s placed, since you’ll bend the pins and render the entire motherboard useless. The CPU will only sit one way around. Match up the notches in the CPU with the notches in the socket
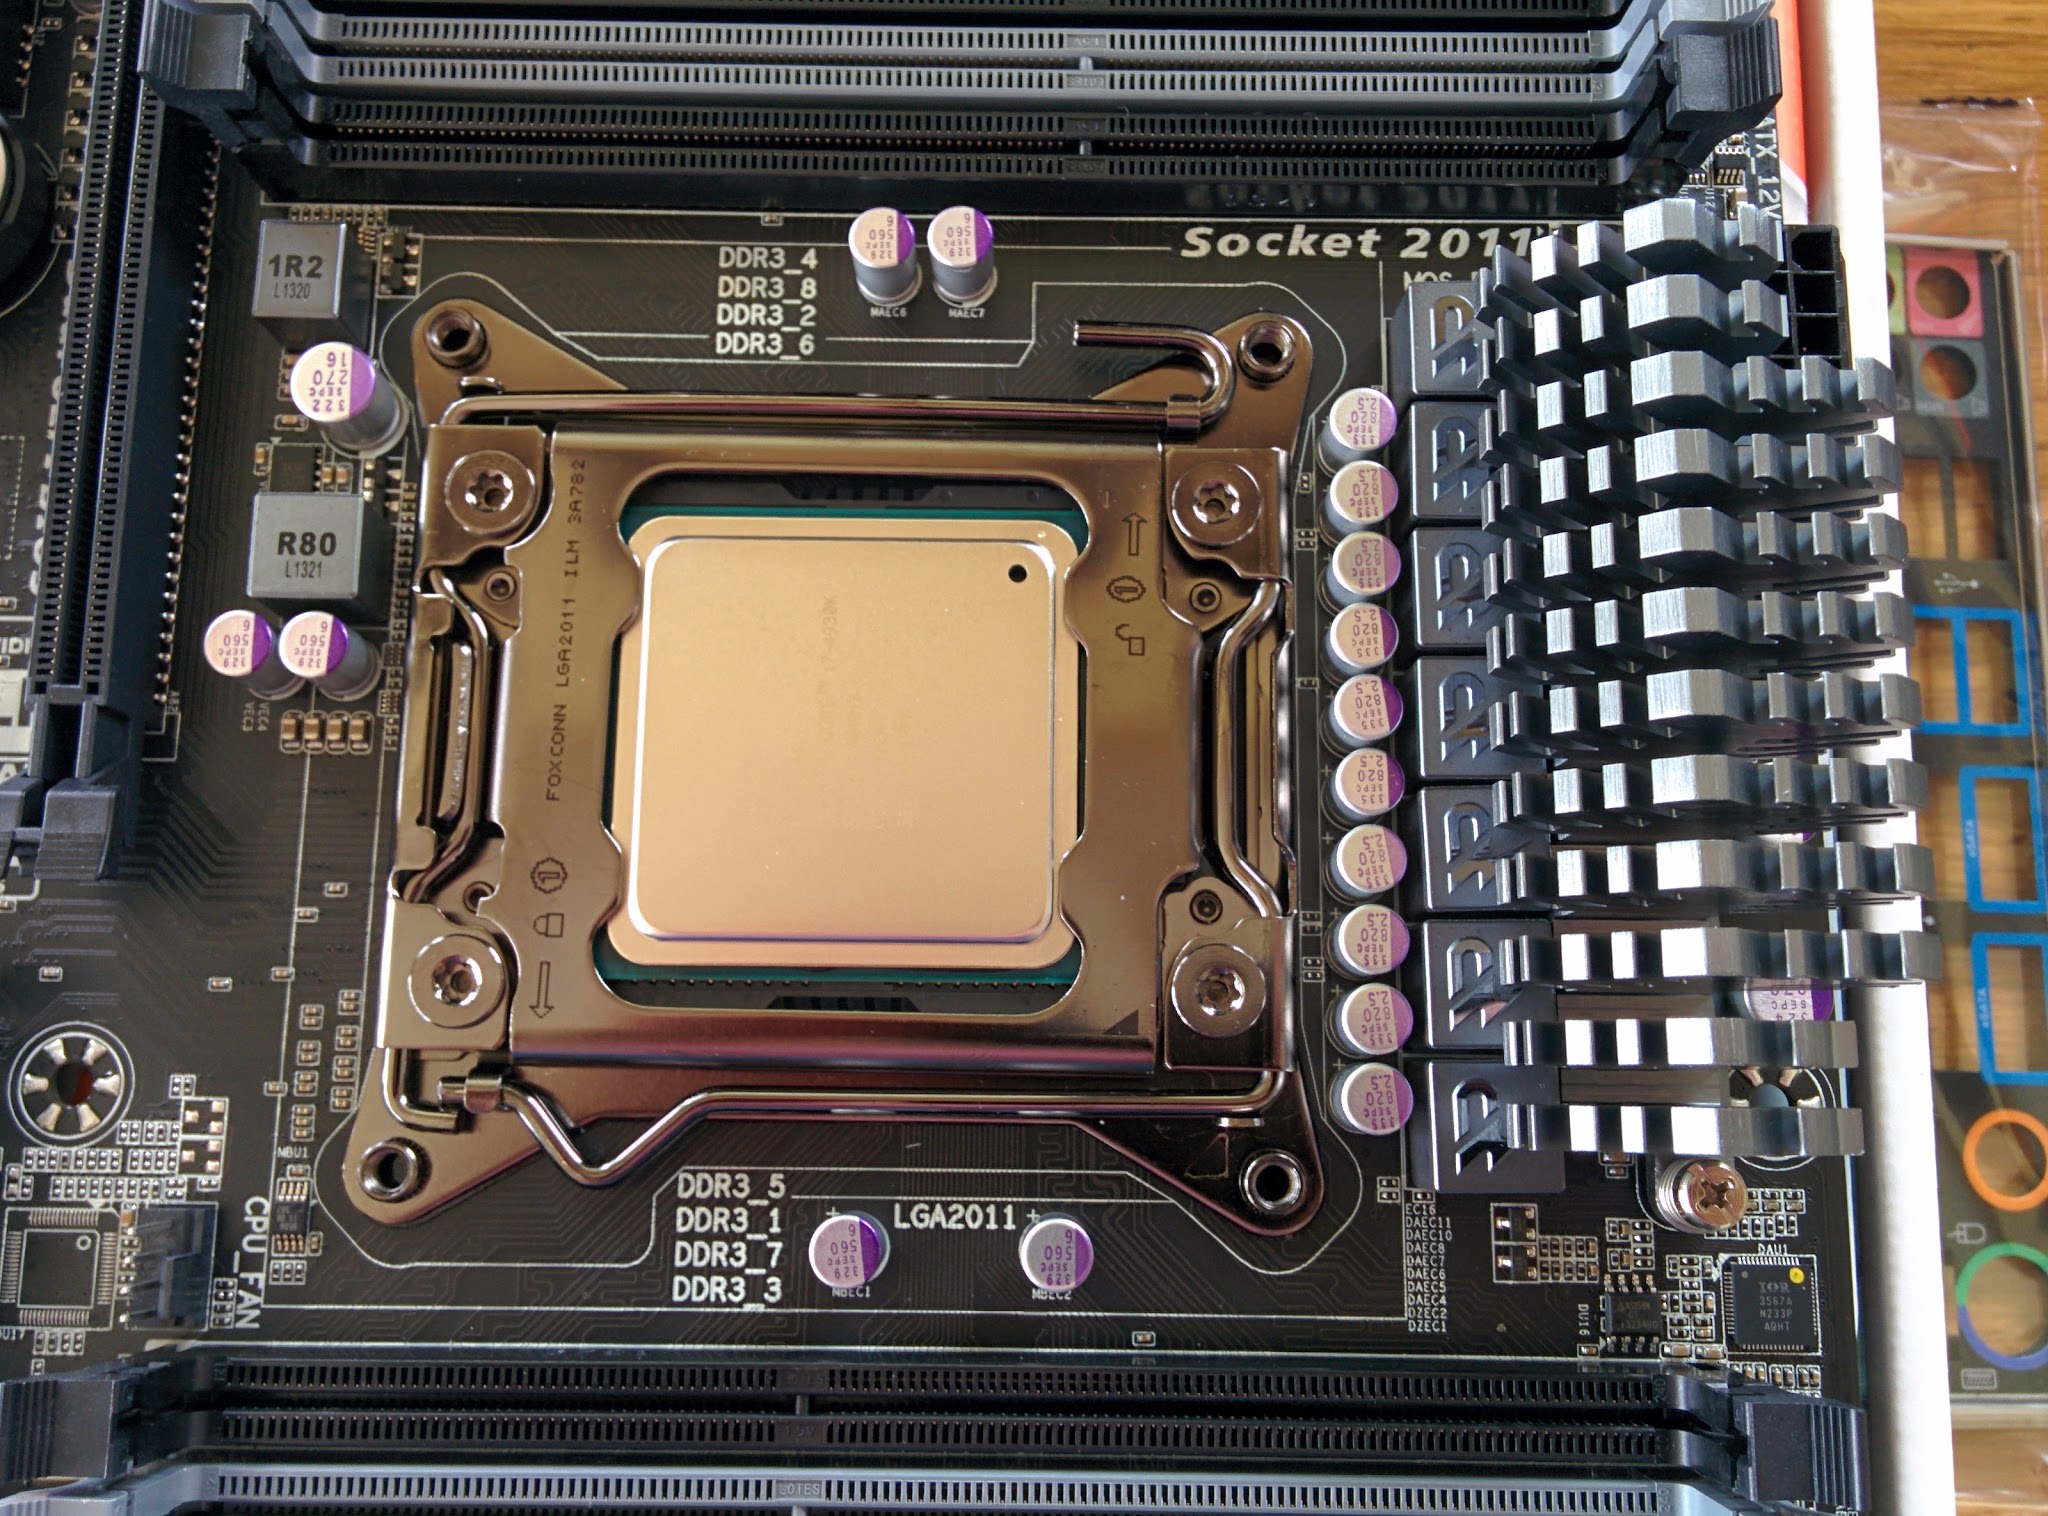
- Now, place the cover back down and catch it with the arm. For the LGA-2011 socket, push down the arms away from the hinge first, then the arm at the cover hinge. For other sockets, there is only a single arm. Push it all the way down and back under it’s clip. The plastic cover will “pop-off”
Memory
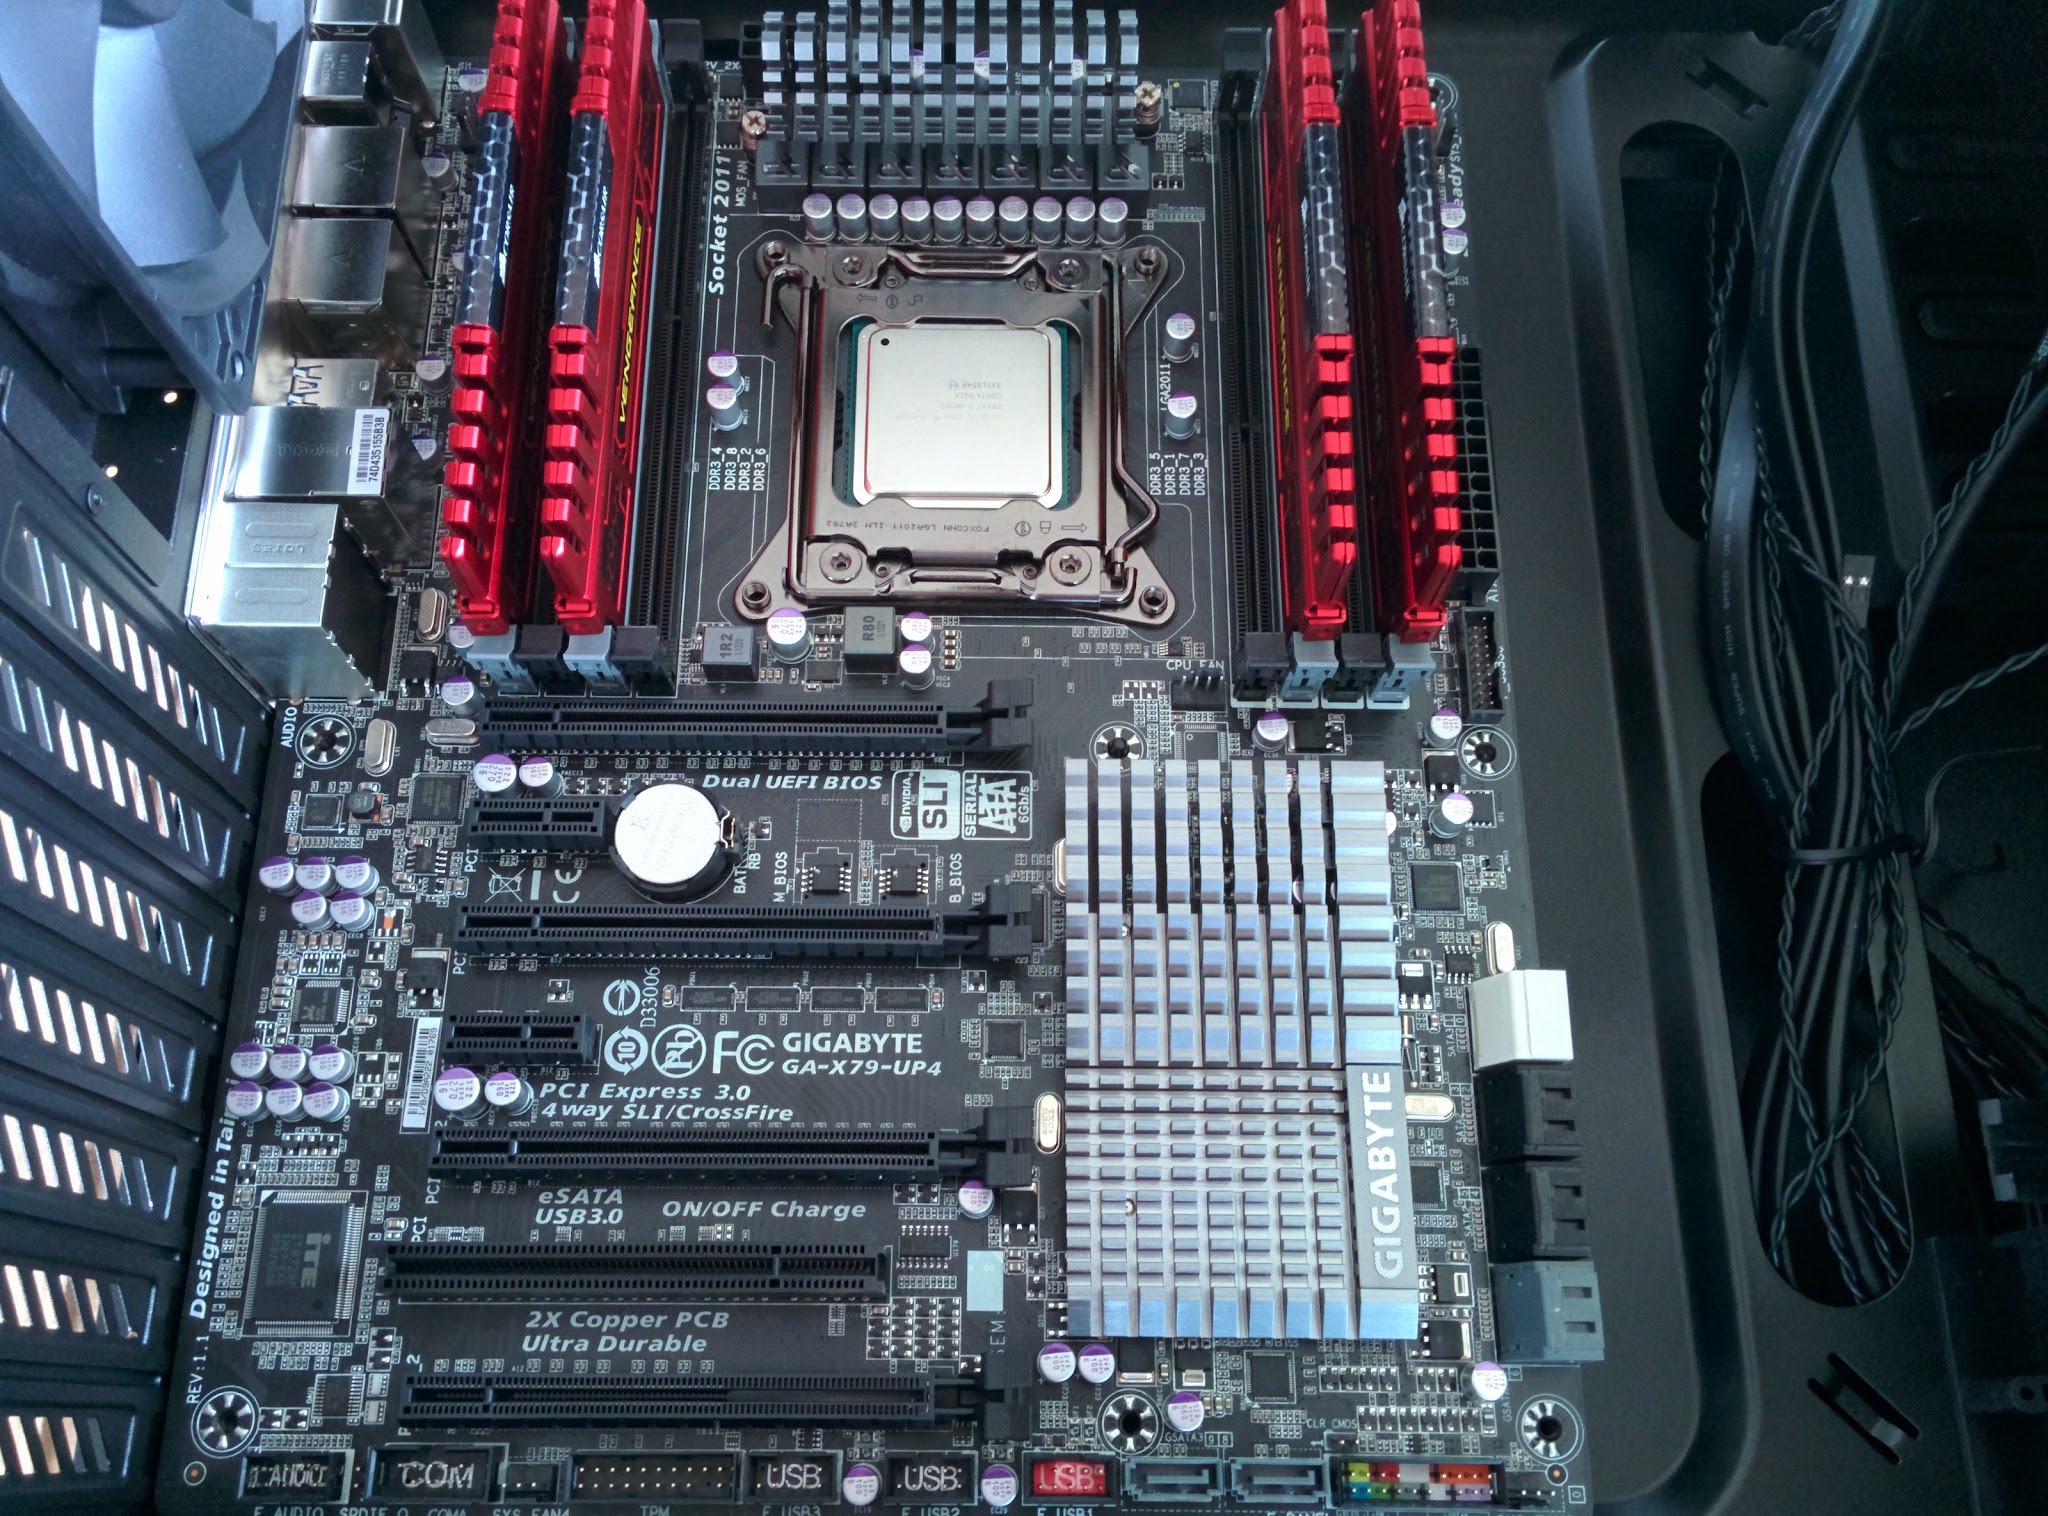
Next on the list is the RAM (Random Access Memory). As I said, this works hand-in-hand with the CPU to process data, storing the data for access by the programs running on the computer. For this build, I am using 4 modules of RAM totalling 16GB. For most gaming builds, 8GB will suffice for current games. 16GB becomes useful when storing a lot of information for working, such as with photo or video editing. The RAM I’m using is Corsair Vengeance with a clock speed of 1866MHz with vibrant red heatspreaders. I highly recommend Corsair Vengeance RAM. It’s always served me well and is good value for money.

The motherboard which I am using provides 4 memory channels. To maximise the bandwidth available (the amount of data that can be sent to/from the RAM at once), I will be installing each module on it’s own channel. The slots on the motherboard are 2 per channel. Gigabyte have made it easy to see the first slot on each channel by colouring them grey. The secondary slots are black.
- Pull the clips back at either ends of each slot
- Push the modules into their slots. They will only go in one way around, designated by the off-centre notch in the middle of the module. Line this up with the slot
- Pushing the modules all the way in will cause the clips at each end to flick back to hold the RAM in place

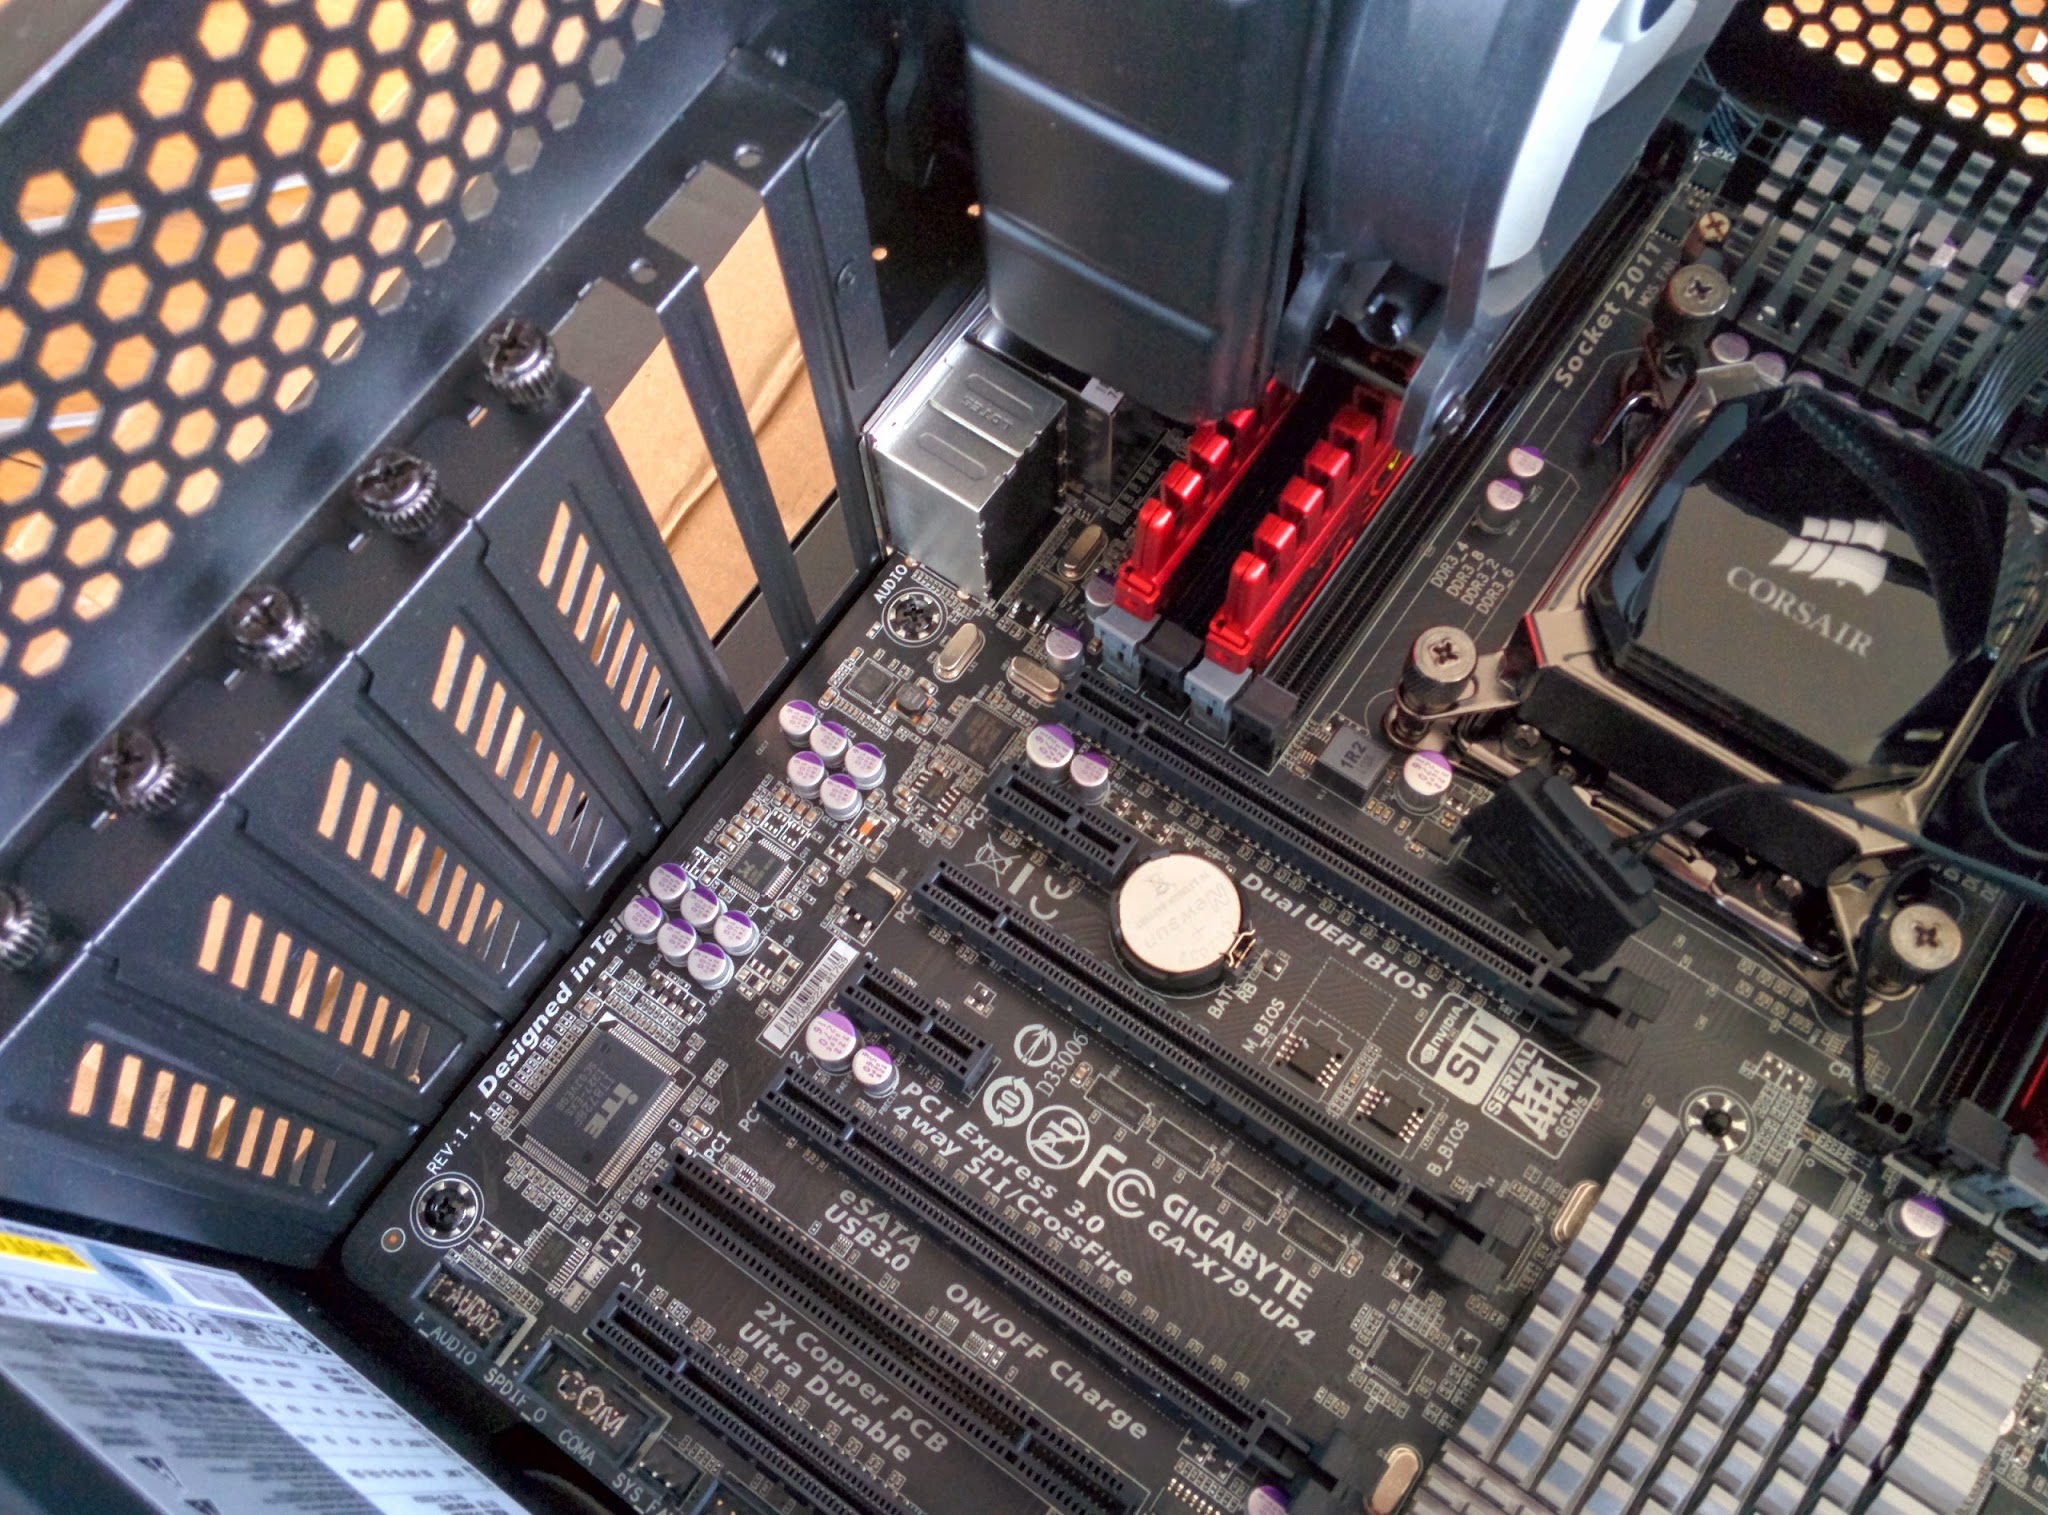
Now that the motherboard components are fitted, the next step is to mount the motherboard in the case. As I said previously, the 200R comes preset for ATX boards with supports in the correct places. The middle support however, does not have screw hole. It is instead an alignment pin. This is found in a lot of modern cases. This allows you to align the motherboard and hold it in place whilst screwing down the board.
- Line up the motherboard’s rear ports with the backplate you installed earlier and push the board against the backplate, being careful not to catch the bottom of the board on the supports
- Now lower the board onto the supports, using the middle pin as an alignment guide. The middle pin will hold the motherboard in place while you grab the screws from the cardboard box that came with the case
- Screw the motherboard down on all eight remaining holes
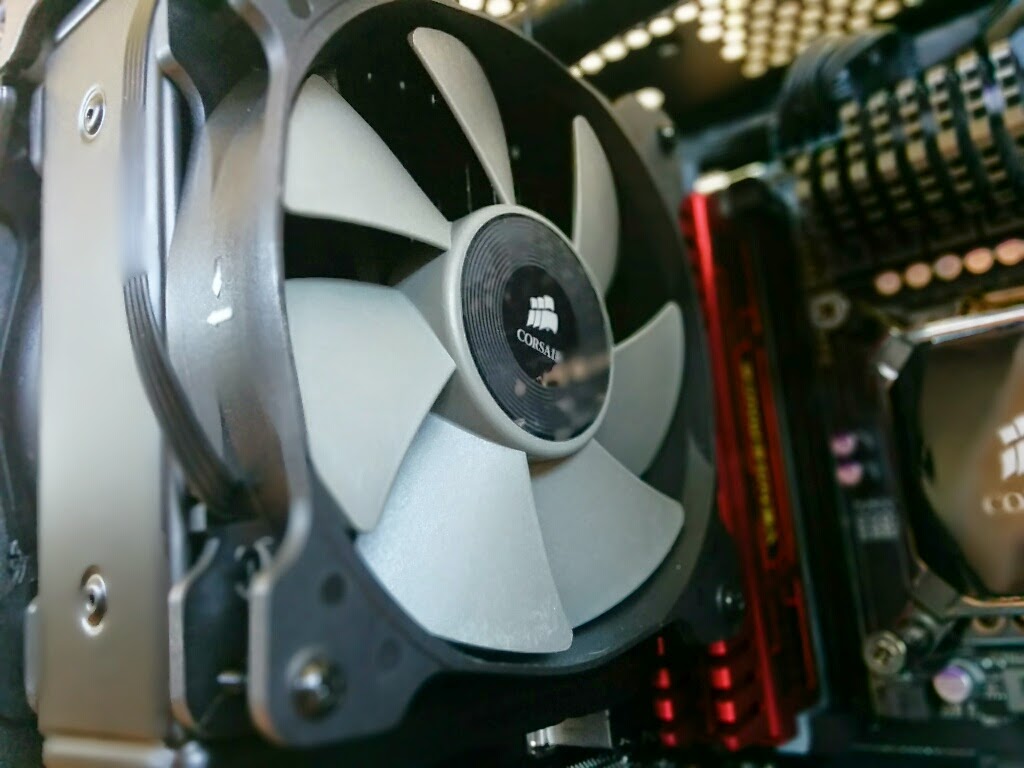
CPU Cooler
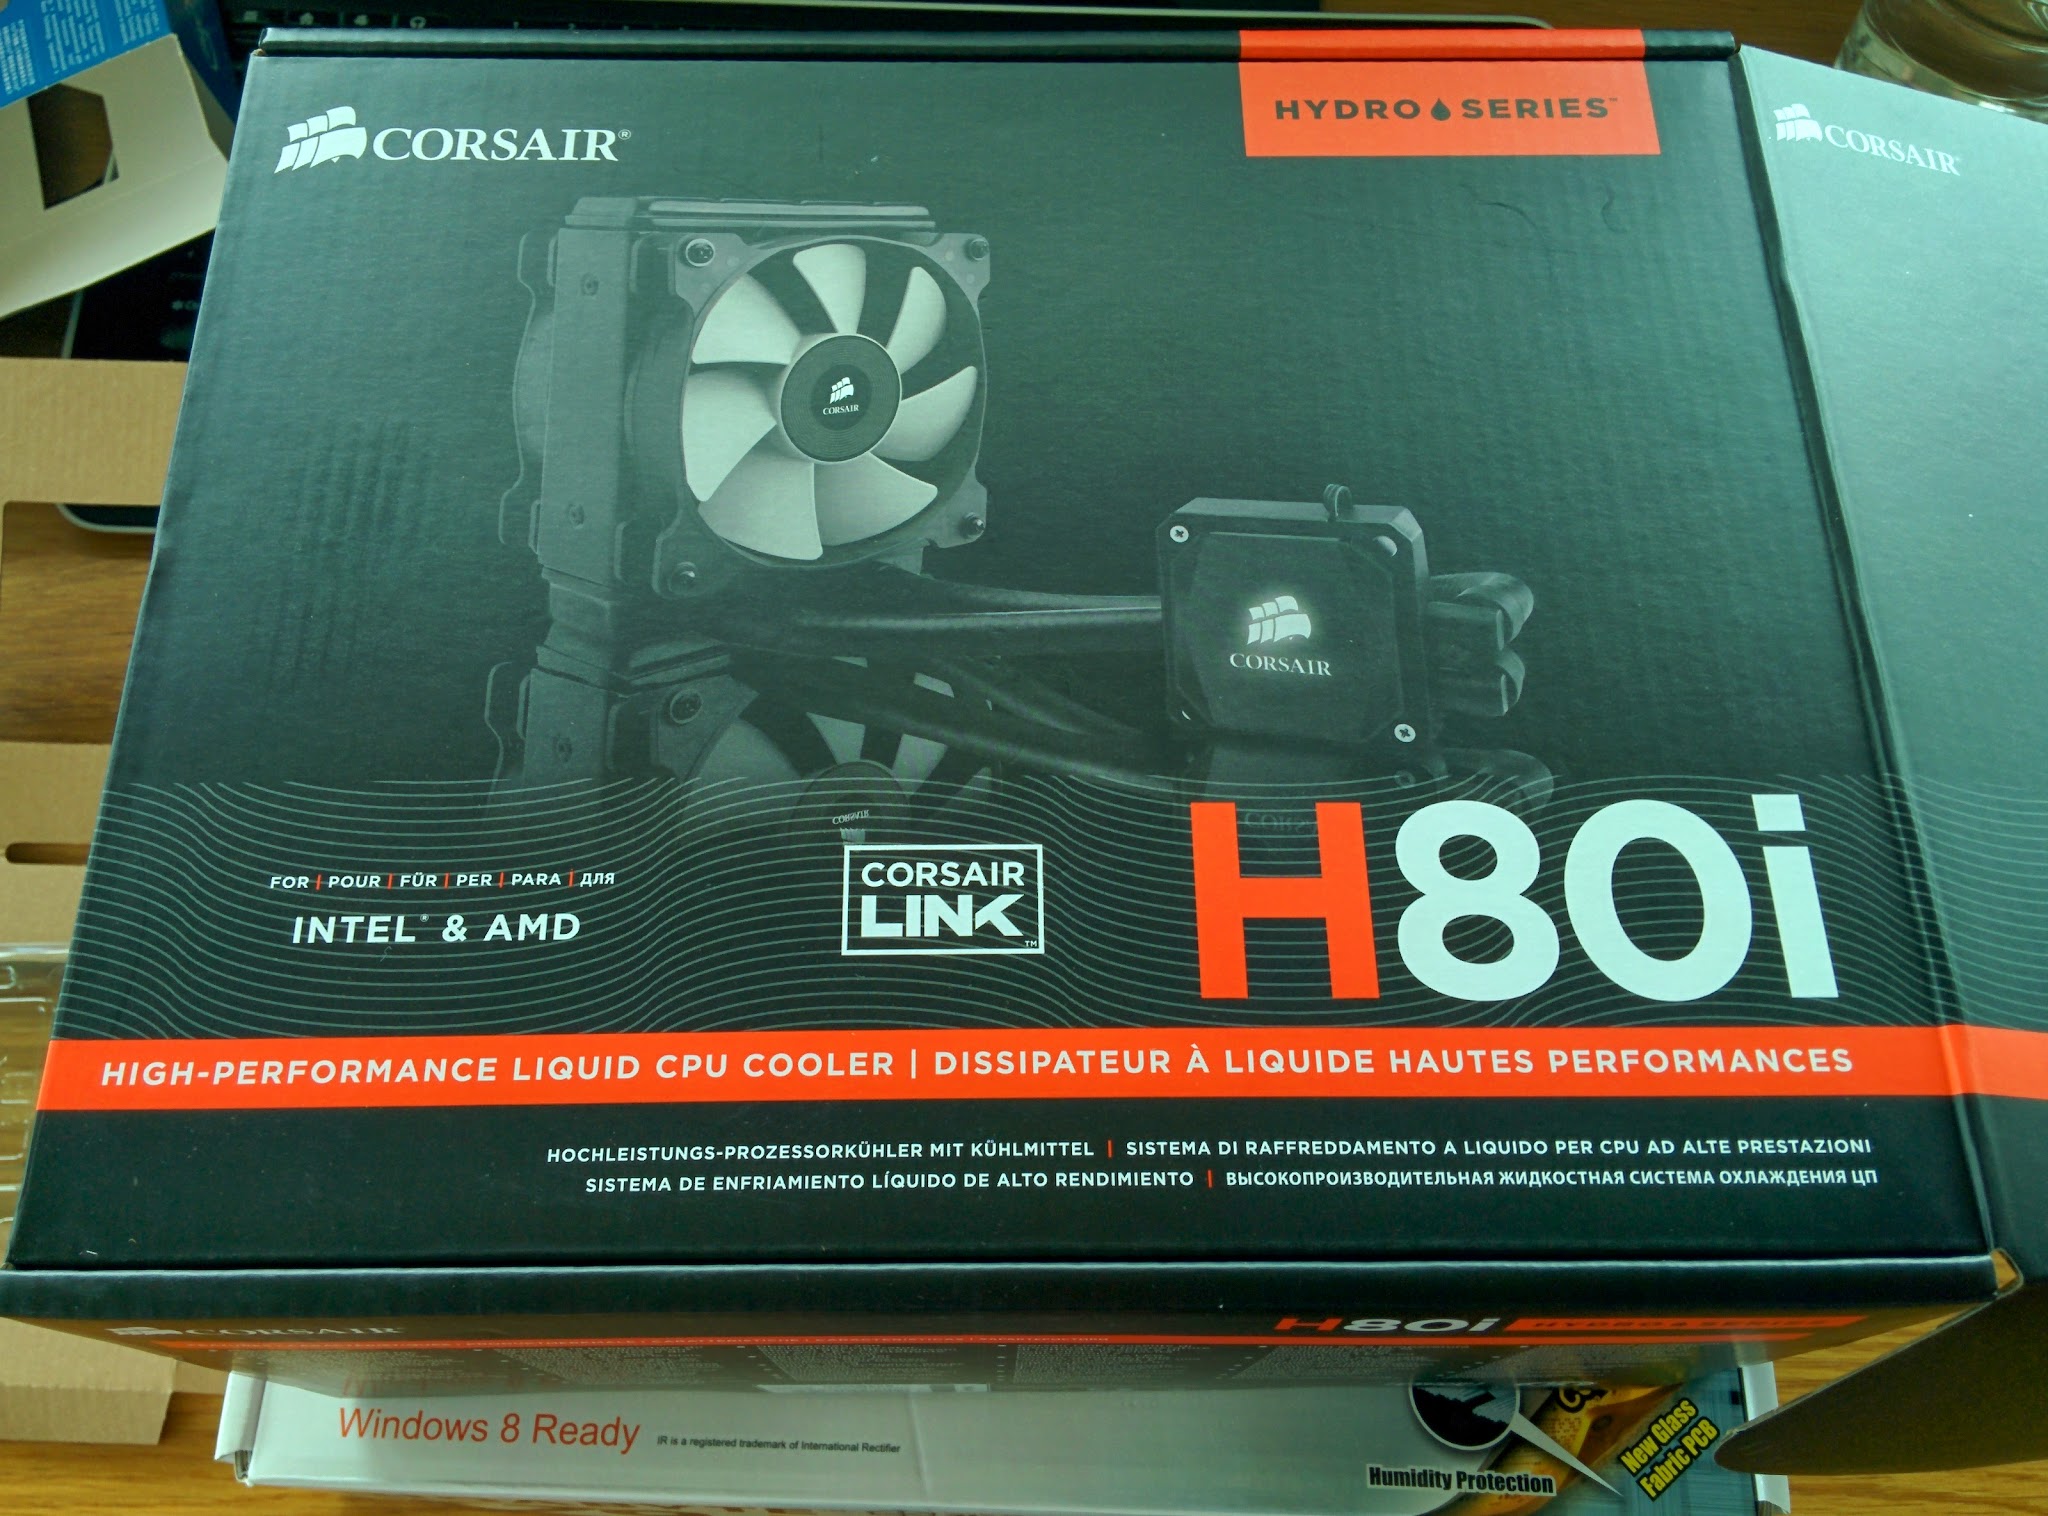
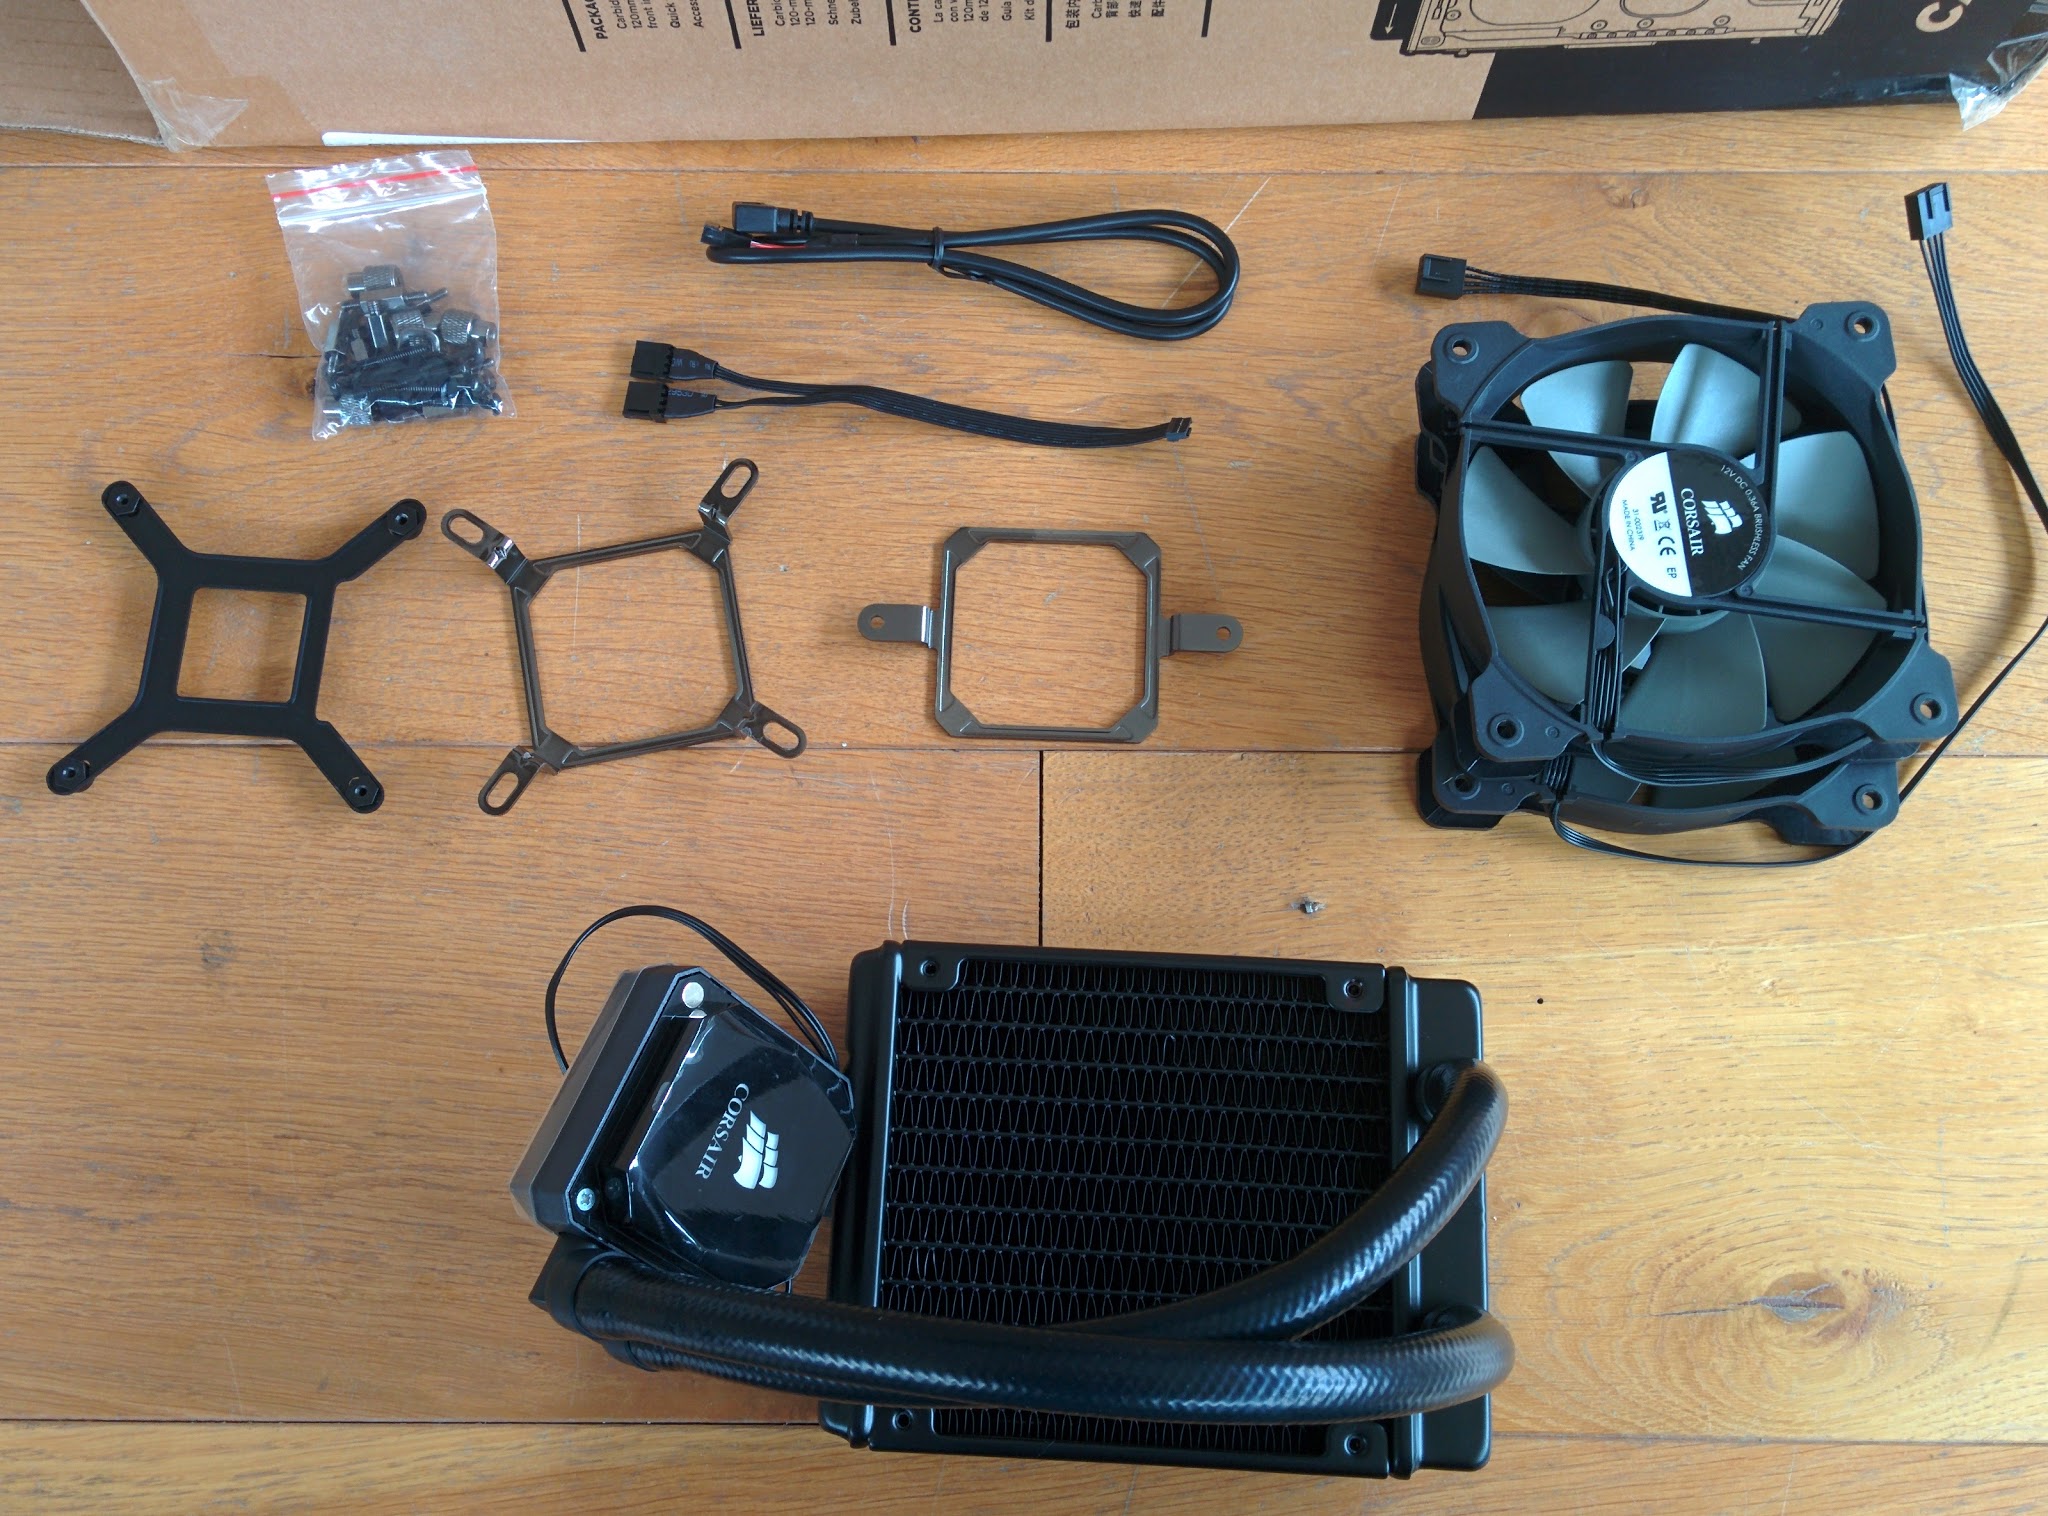
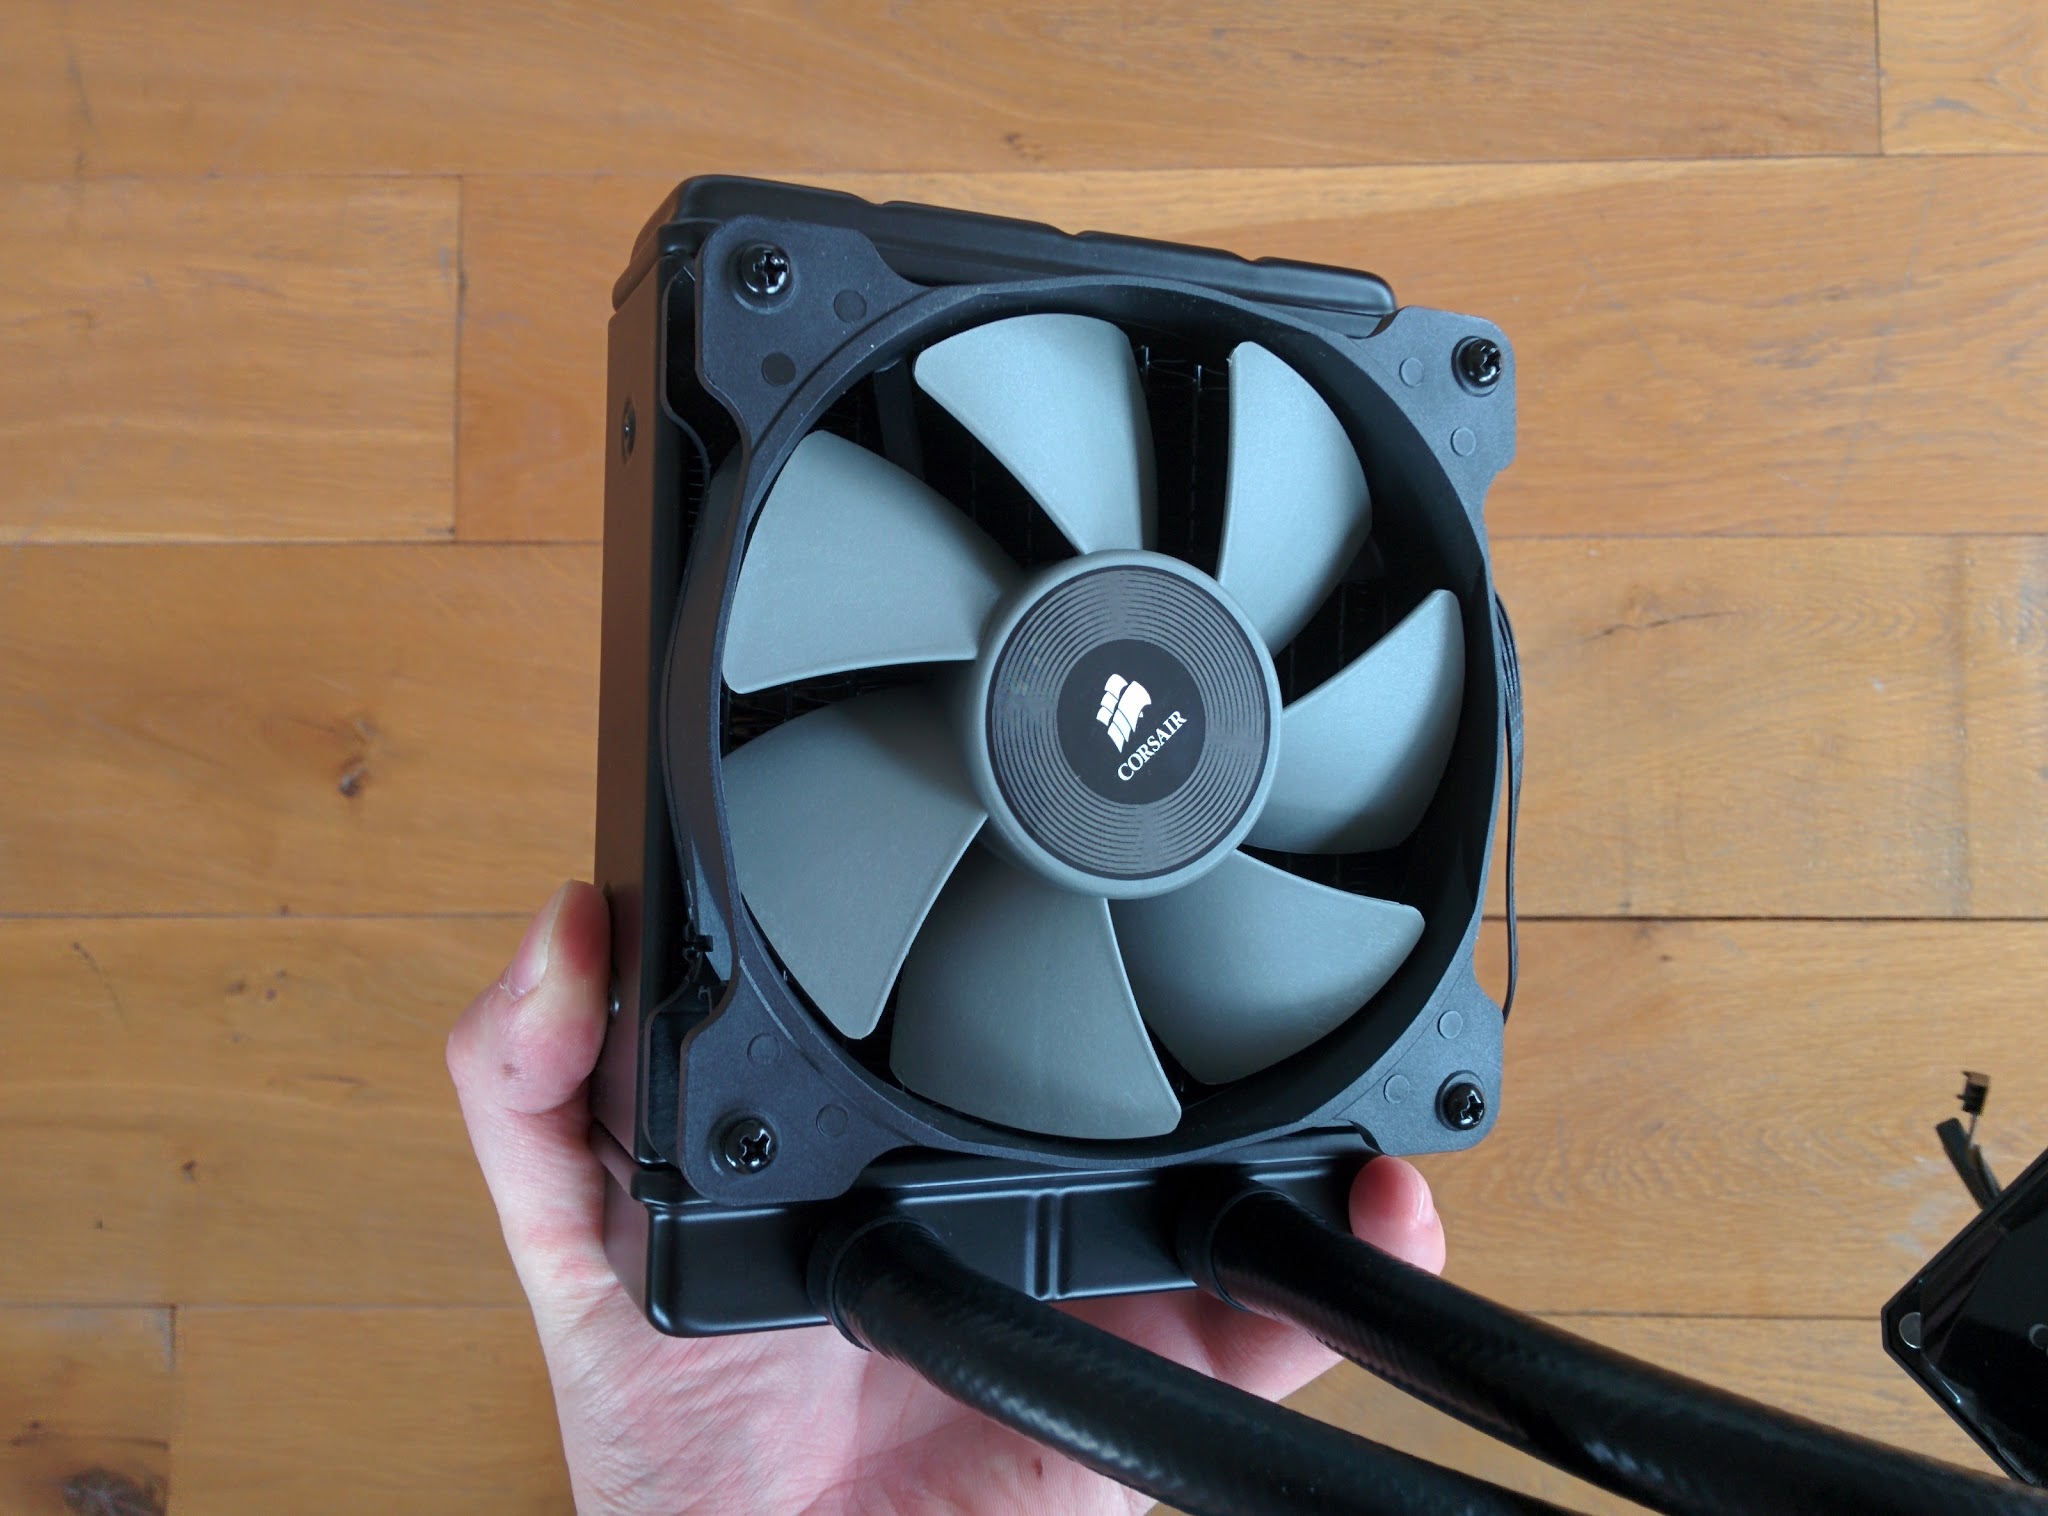
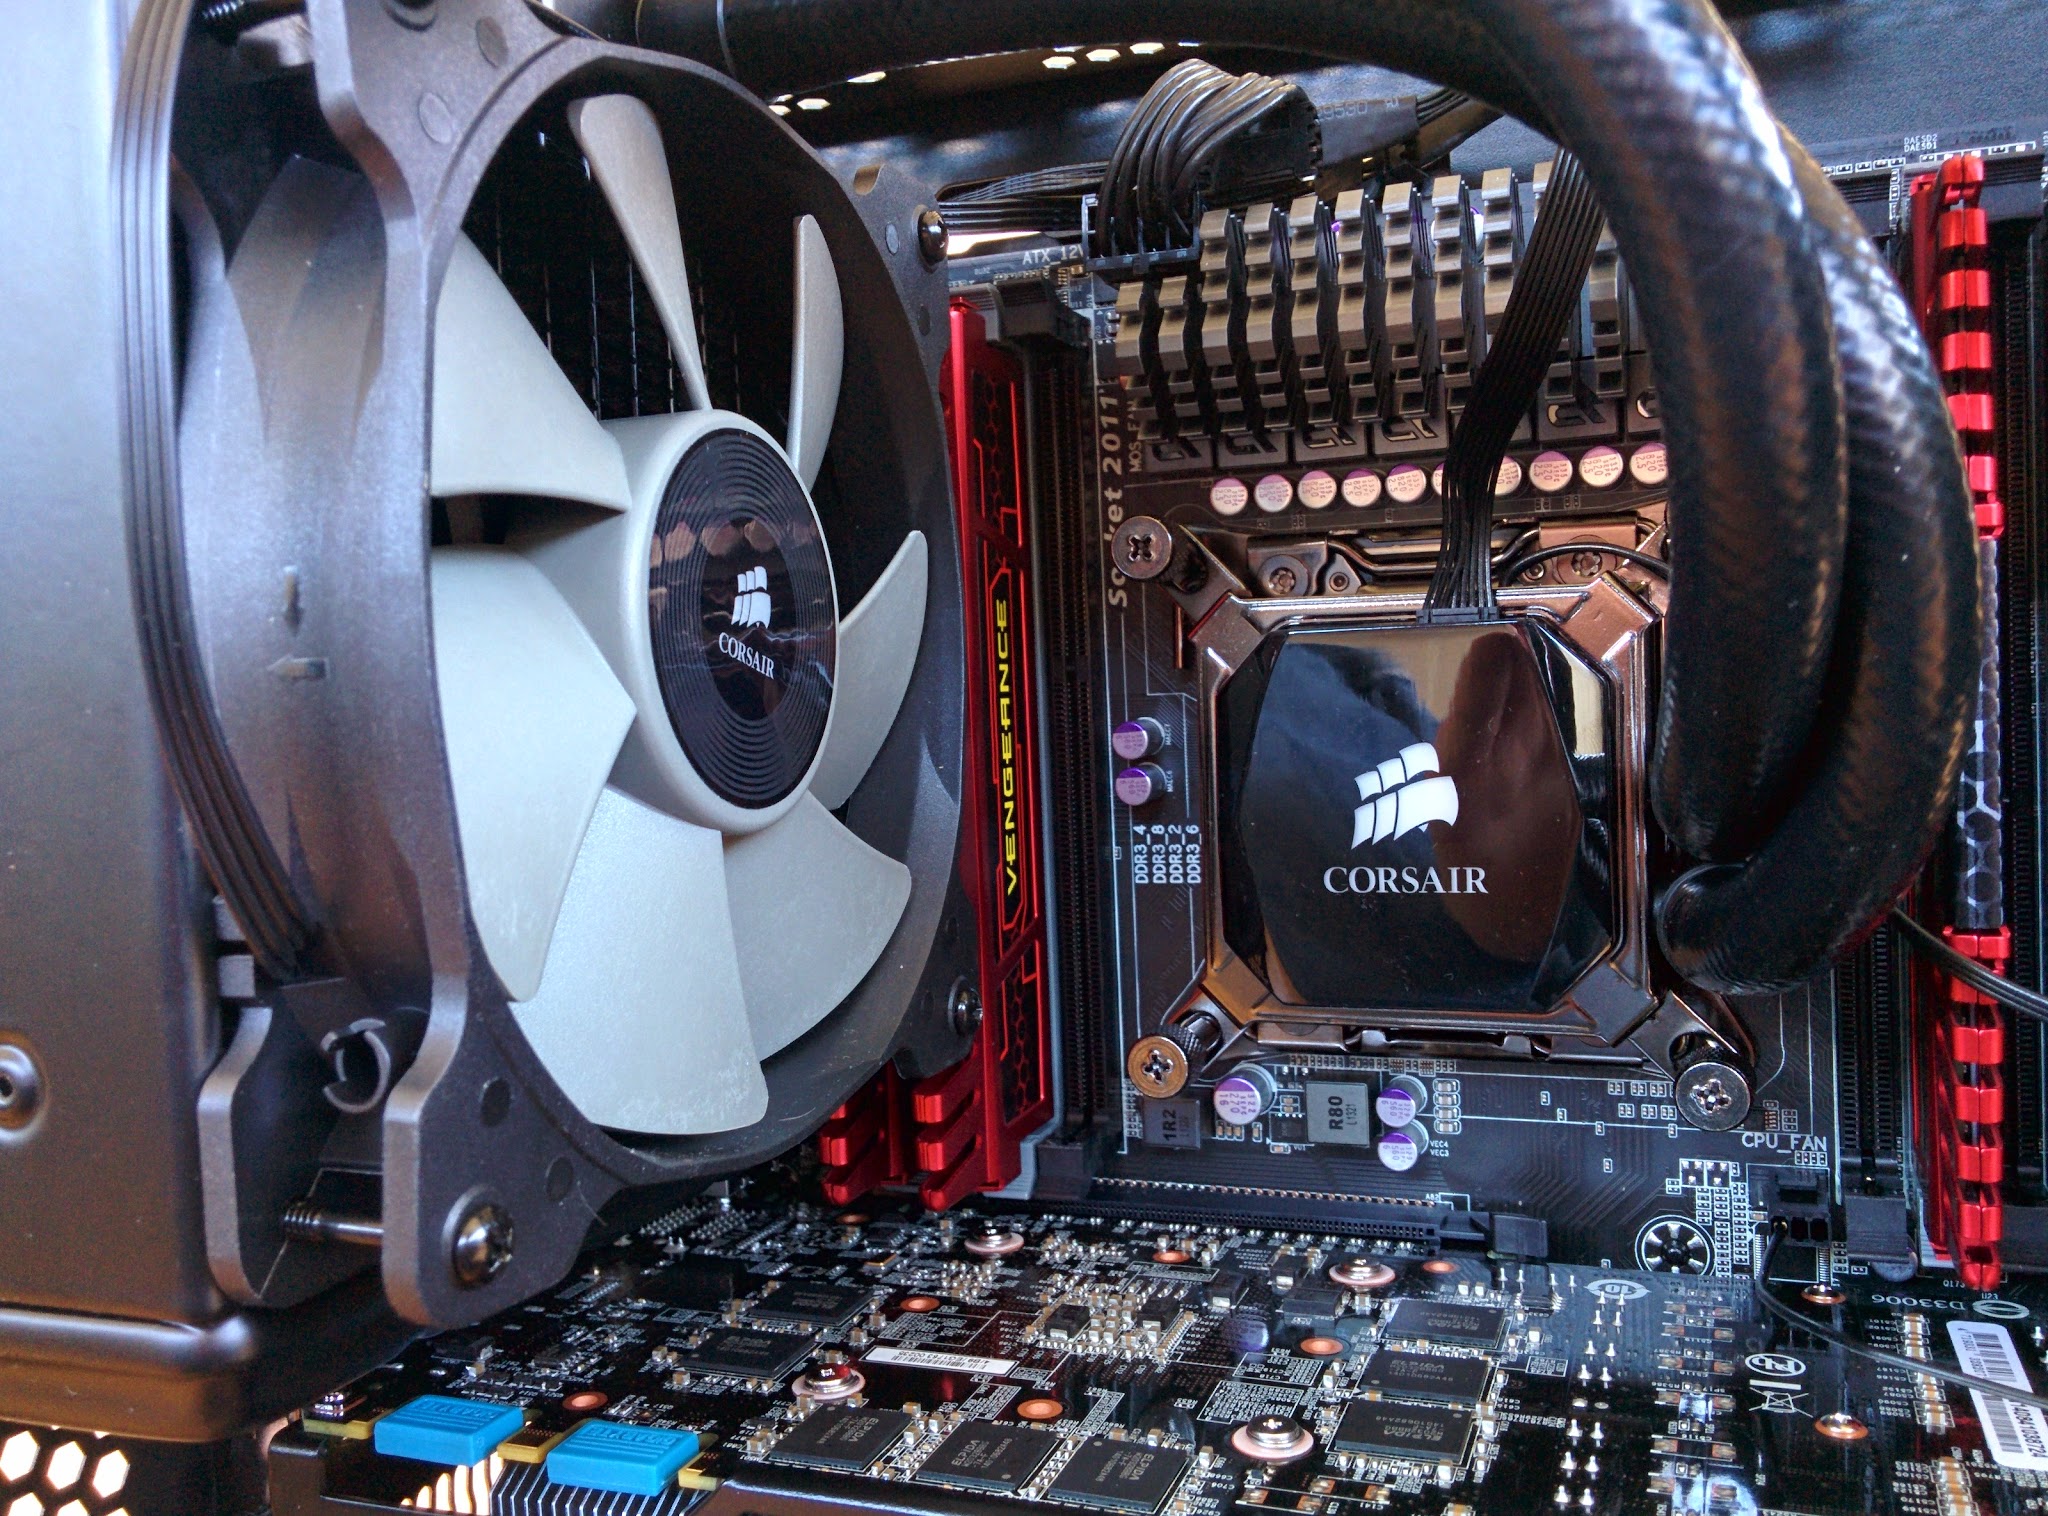
With this computer being used for long batch rendering of complex models, the CPU will get very hot. The Intel Extreme processors are not designed with the same power-efficiency in mind as the normal Intel offering, and as a result get very hot under load. To combat this heat, I’m installing a all-in-one liquid cooling unit. More specifically, the Corsair H80i.
Sidenote: The Corsair 200R has plenty of room to accommodate an H80i, but with the X79 board I’m using the RAM modules are present on the far left of the board too and this caused me an issue when trying to fit the radiator. I suggest using “Low Profile” RAM if installing an X79 board and H80i in a 200R.

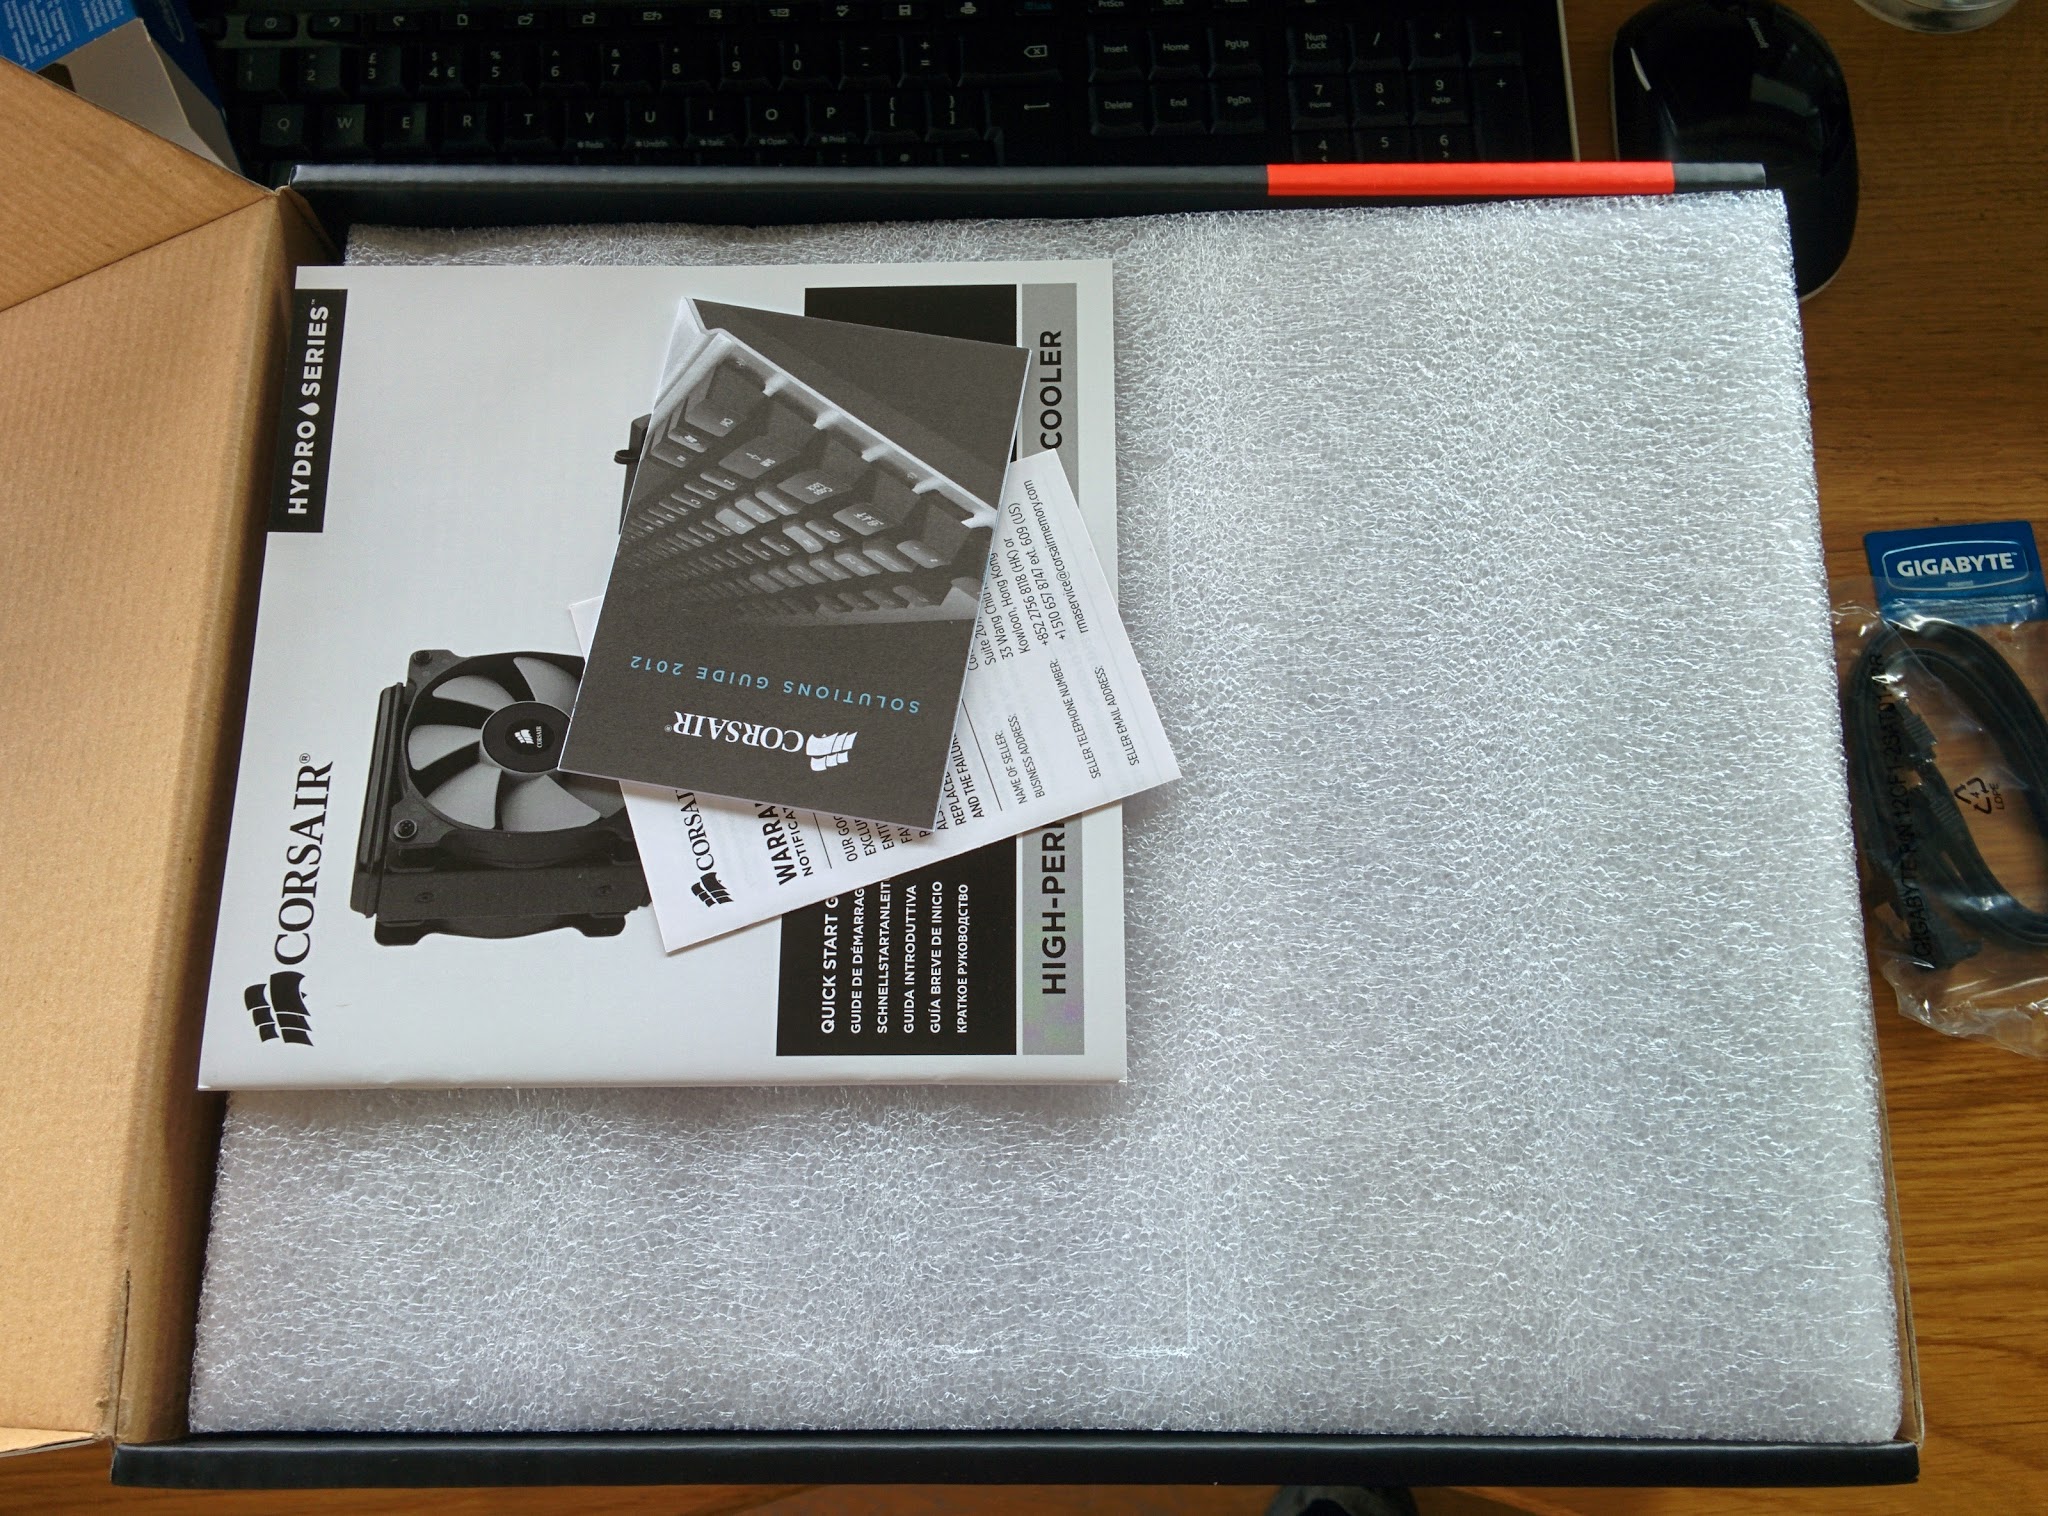
The H80i comes with mounting hardware for both Intel and AMD sockets, along with a backplate for all sockets other than LGA-2011. The mounting brackets are magnetic and simply snap to the cooler ready to screw down to the board.
- Unscrew and remove the rear case fan. This is where the radiator will be going
- Take one of the fans provided with the cooler and screw this to the side of the radiator with the pipes coming out using the long screws included
- Take note of the arrows on the side of the fan! These indicate the direction of the fan spin and the airflow. You want the air to pass through the radiator from the inside of the case and exhaust out the back. The first fan should blow into the radiator and the second fan away
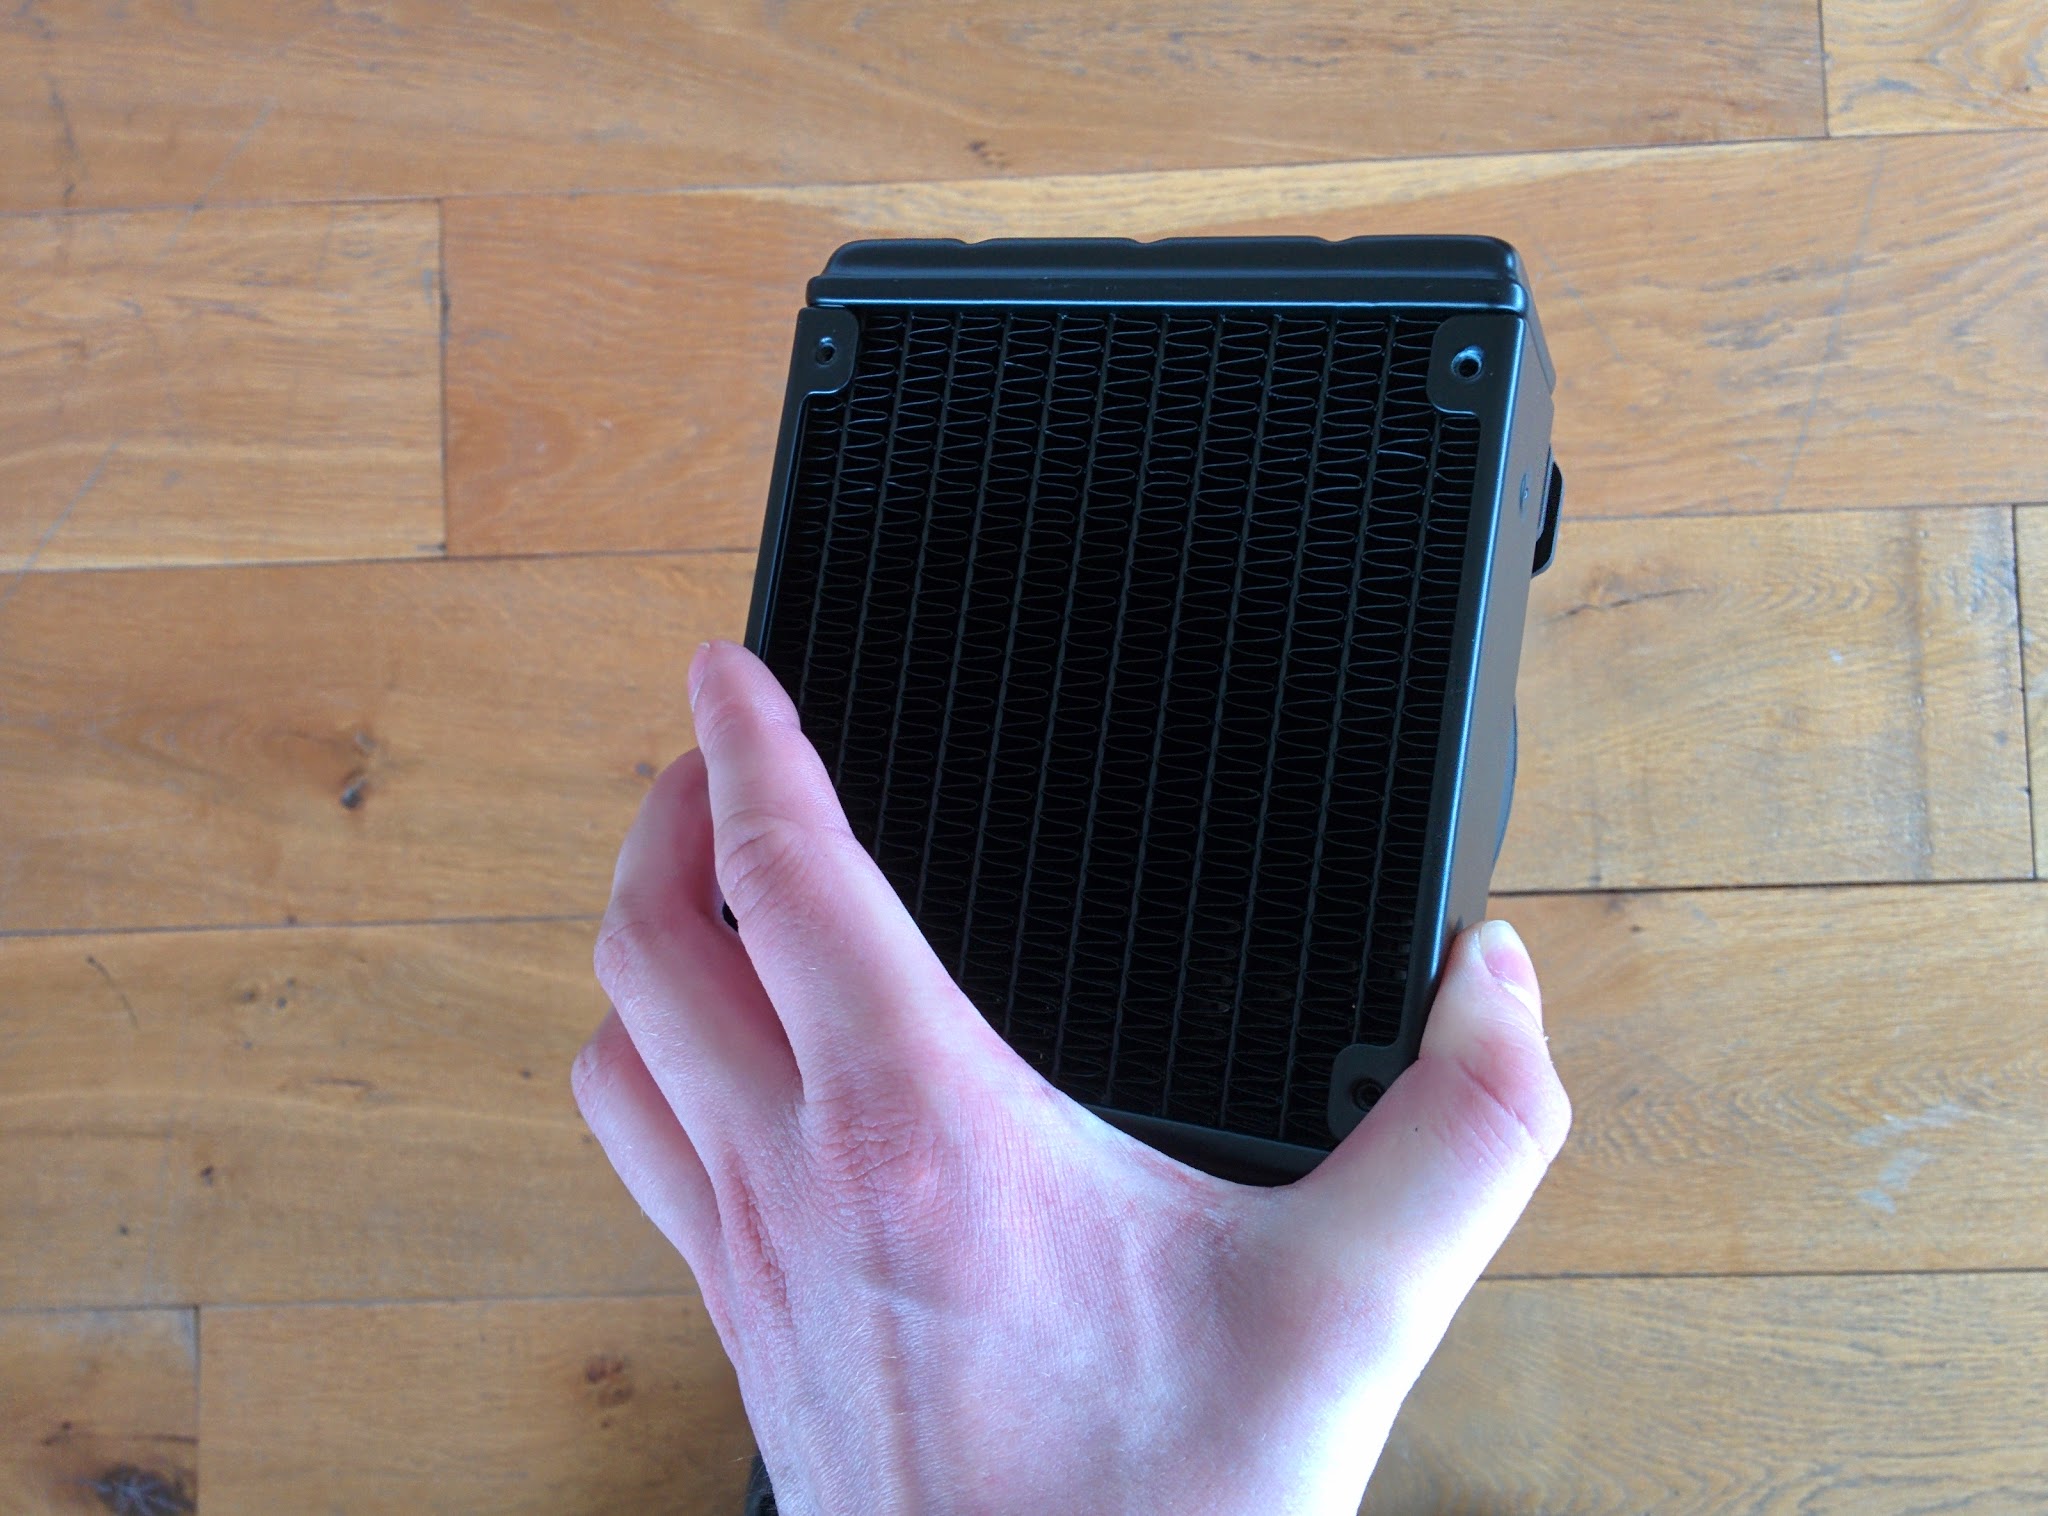
- Line up the radiator and second fan with the screw holes on the rear case vent where the case fan was
- Use the washers included and push the long screws through the washers, case and fan into the radiator and screw tight
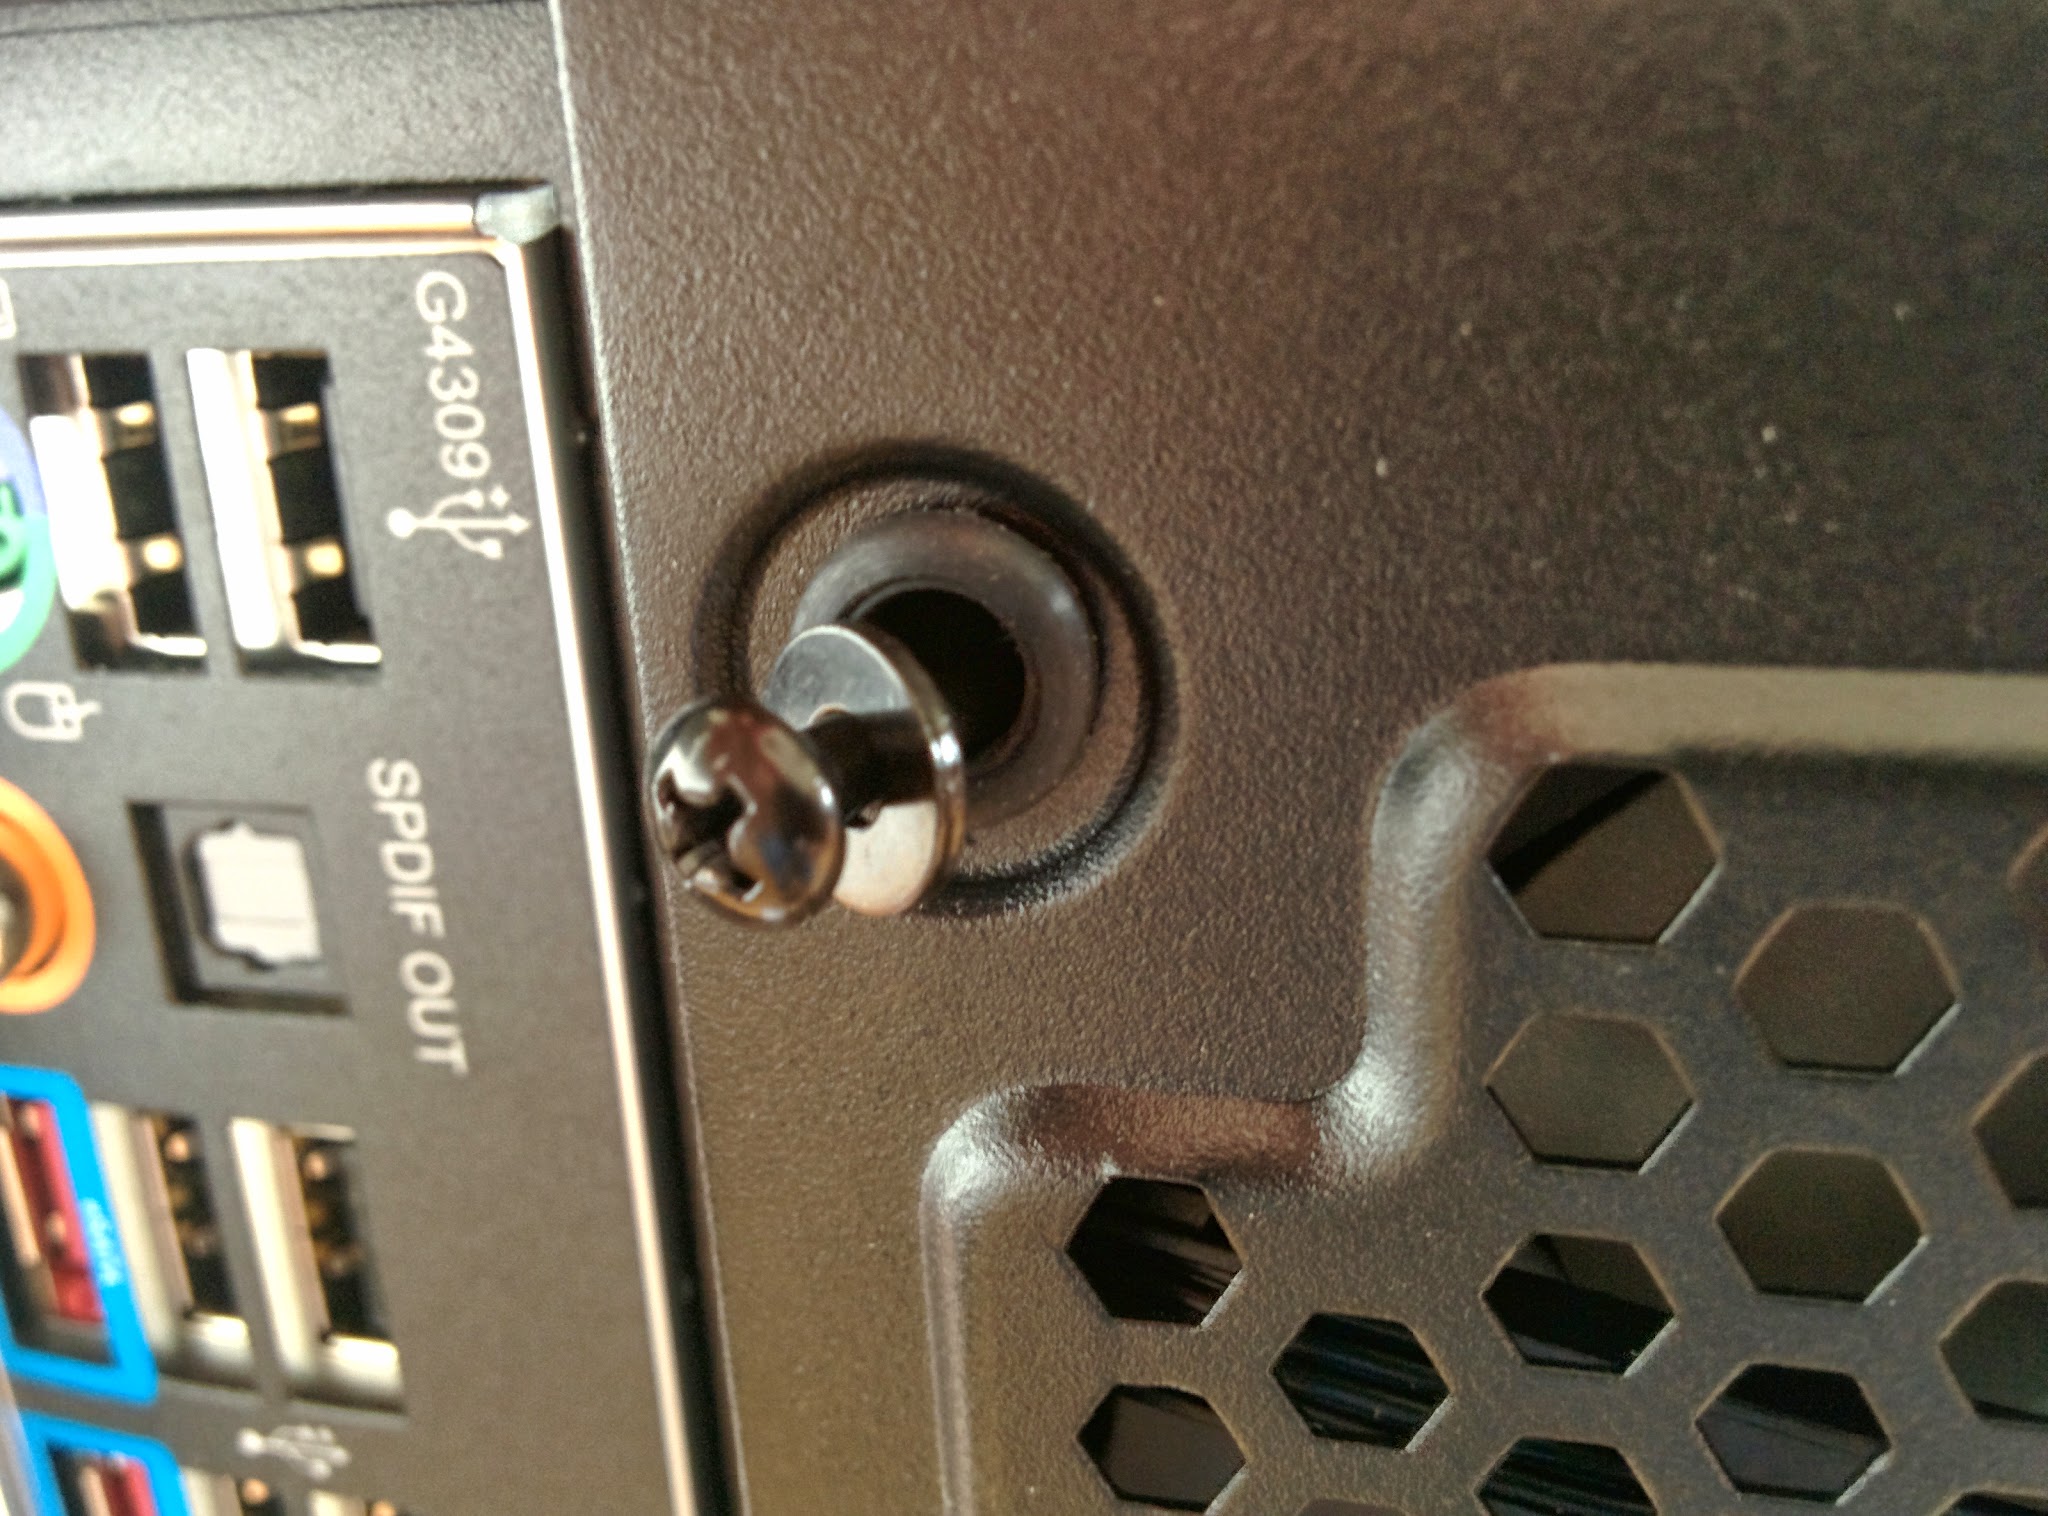

- If you are using a socket other than LGA-2011, install the backplate onto the back of the CPU socket. The 200R provides a cut-out on the other side of the case to allow access to the back of the socket
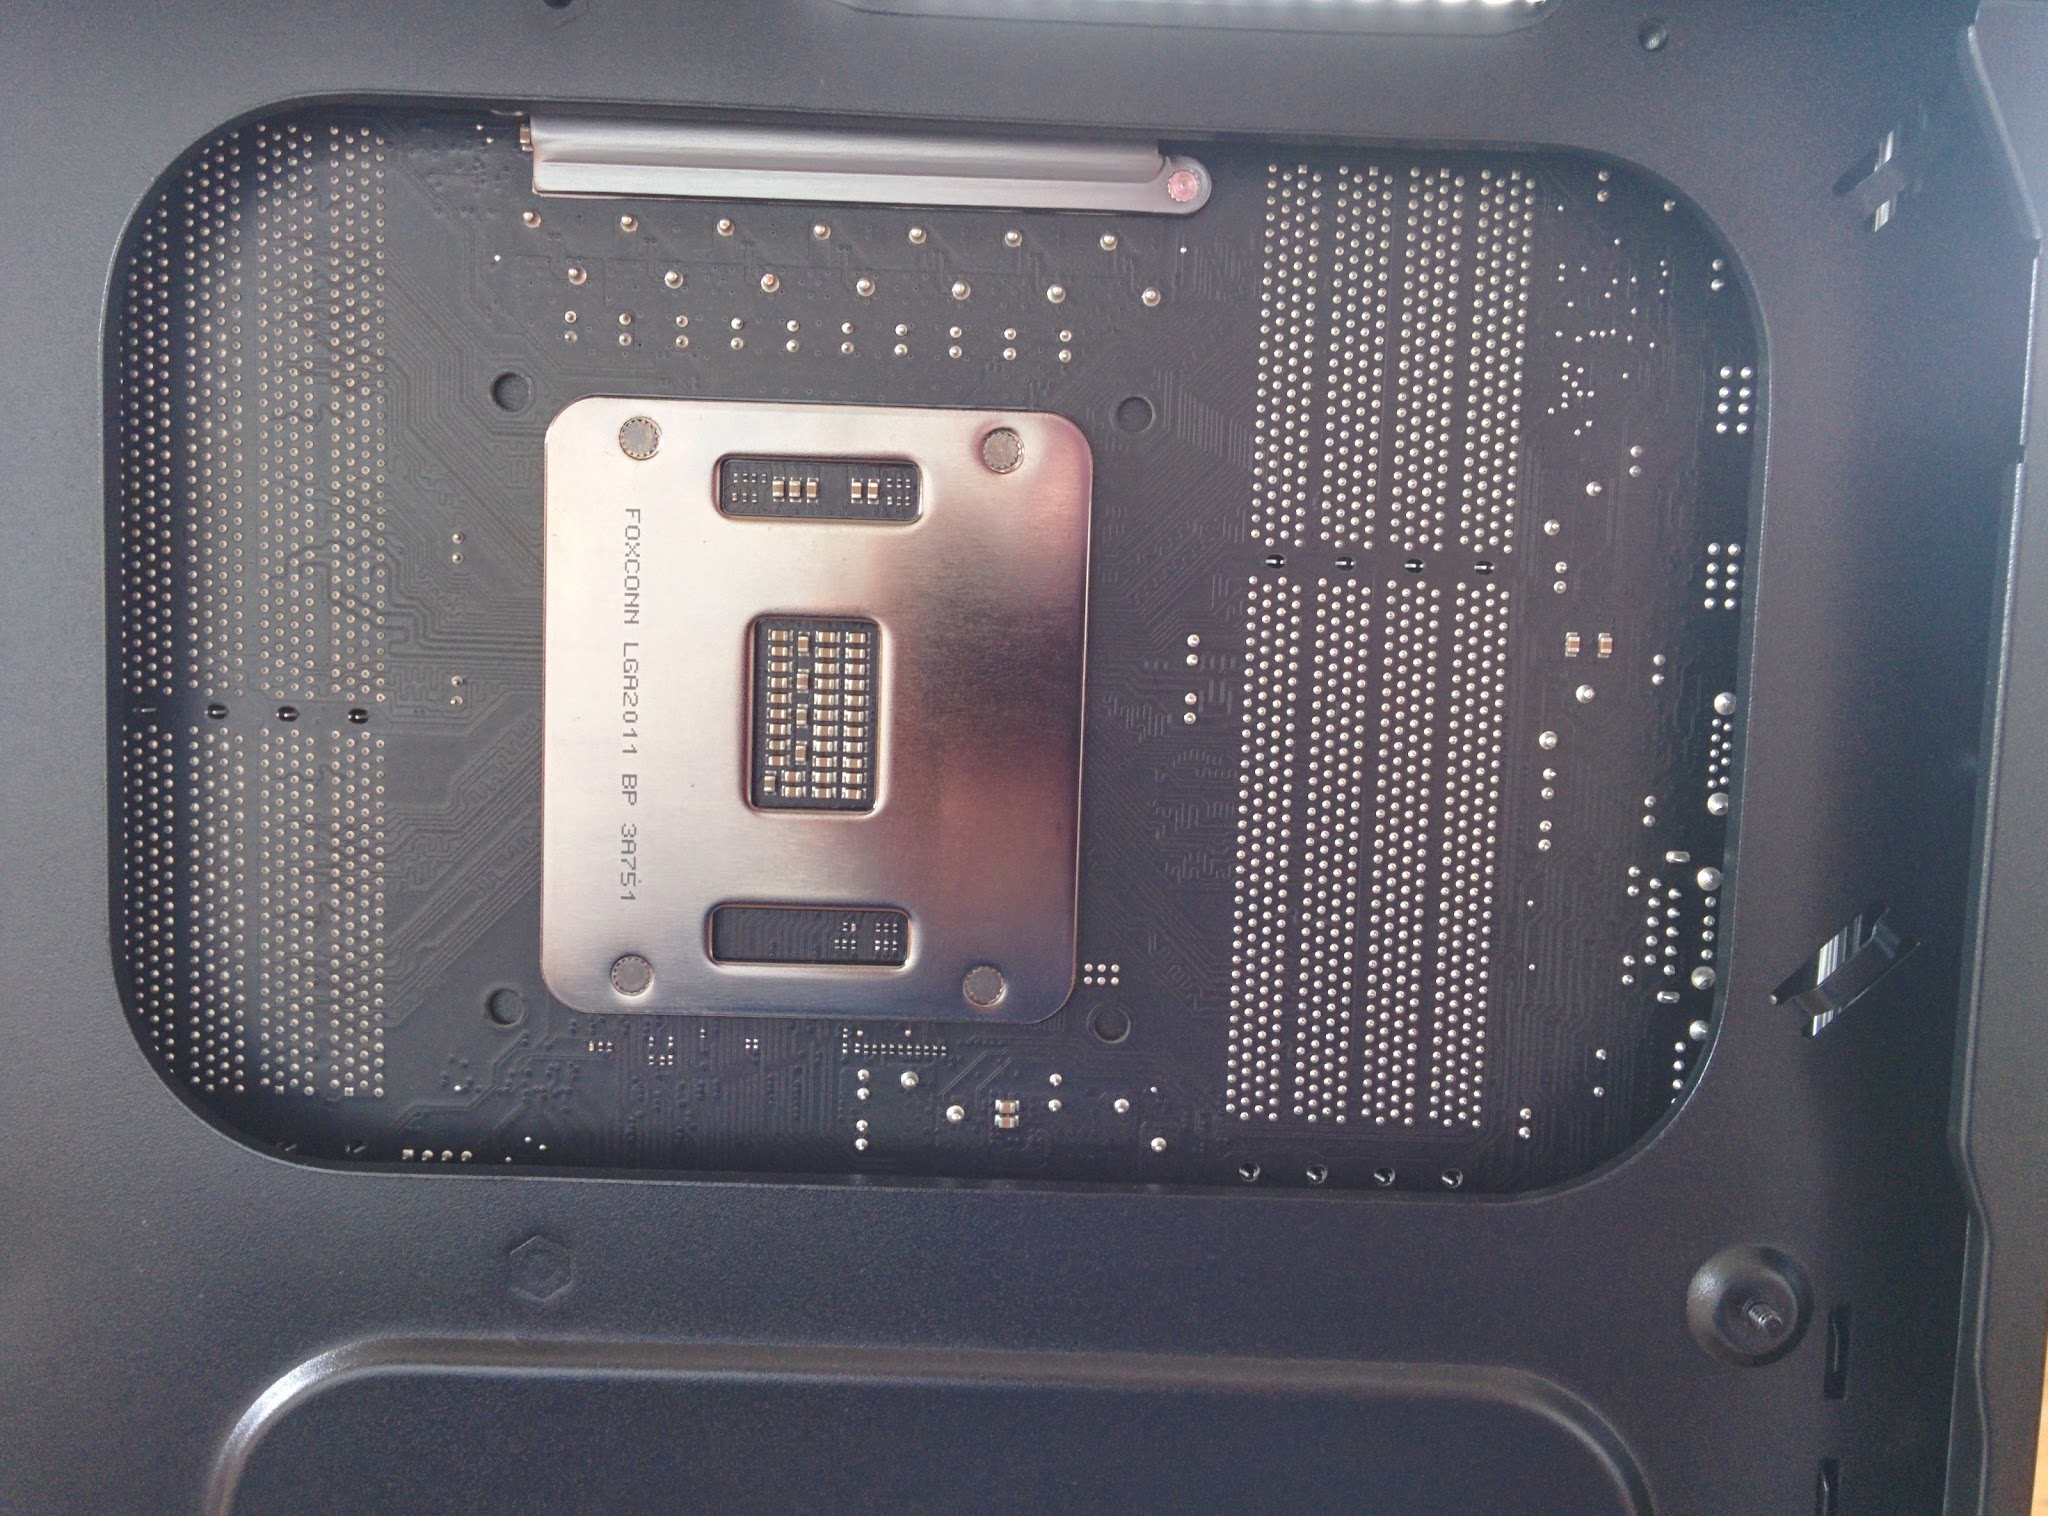
The backplate allows the water coolers to have the tightest possible pressure against the top of the CPU. The LGA-2011 socket already has a backplate and simply screwing the cooler down is sufficient to sustain pressure for good thermal conductivity.
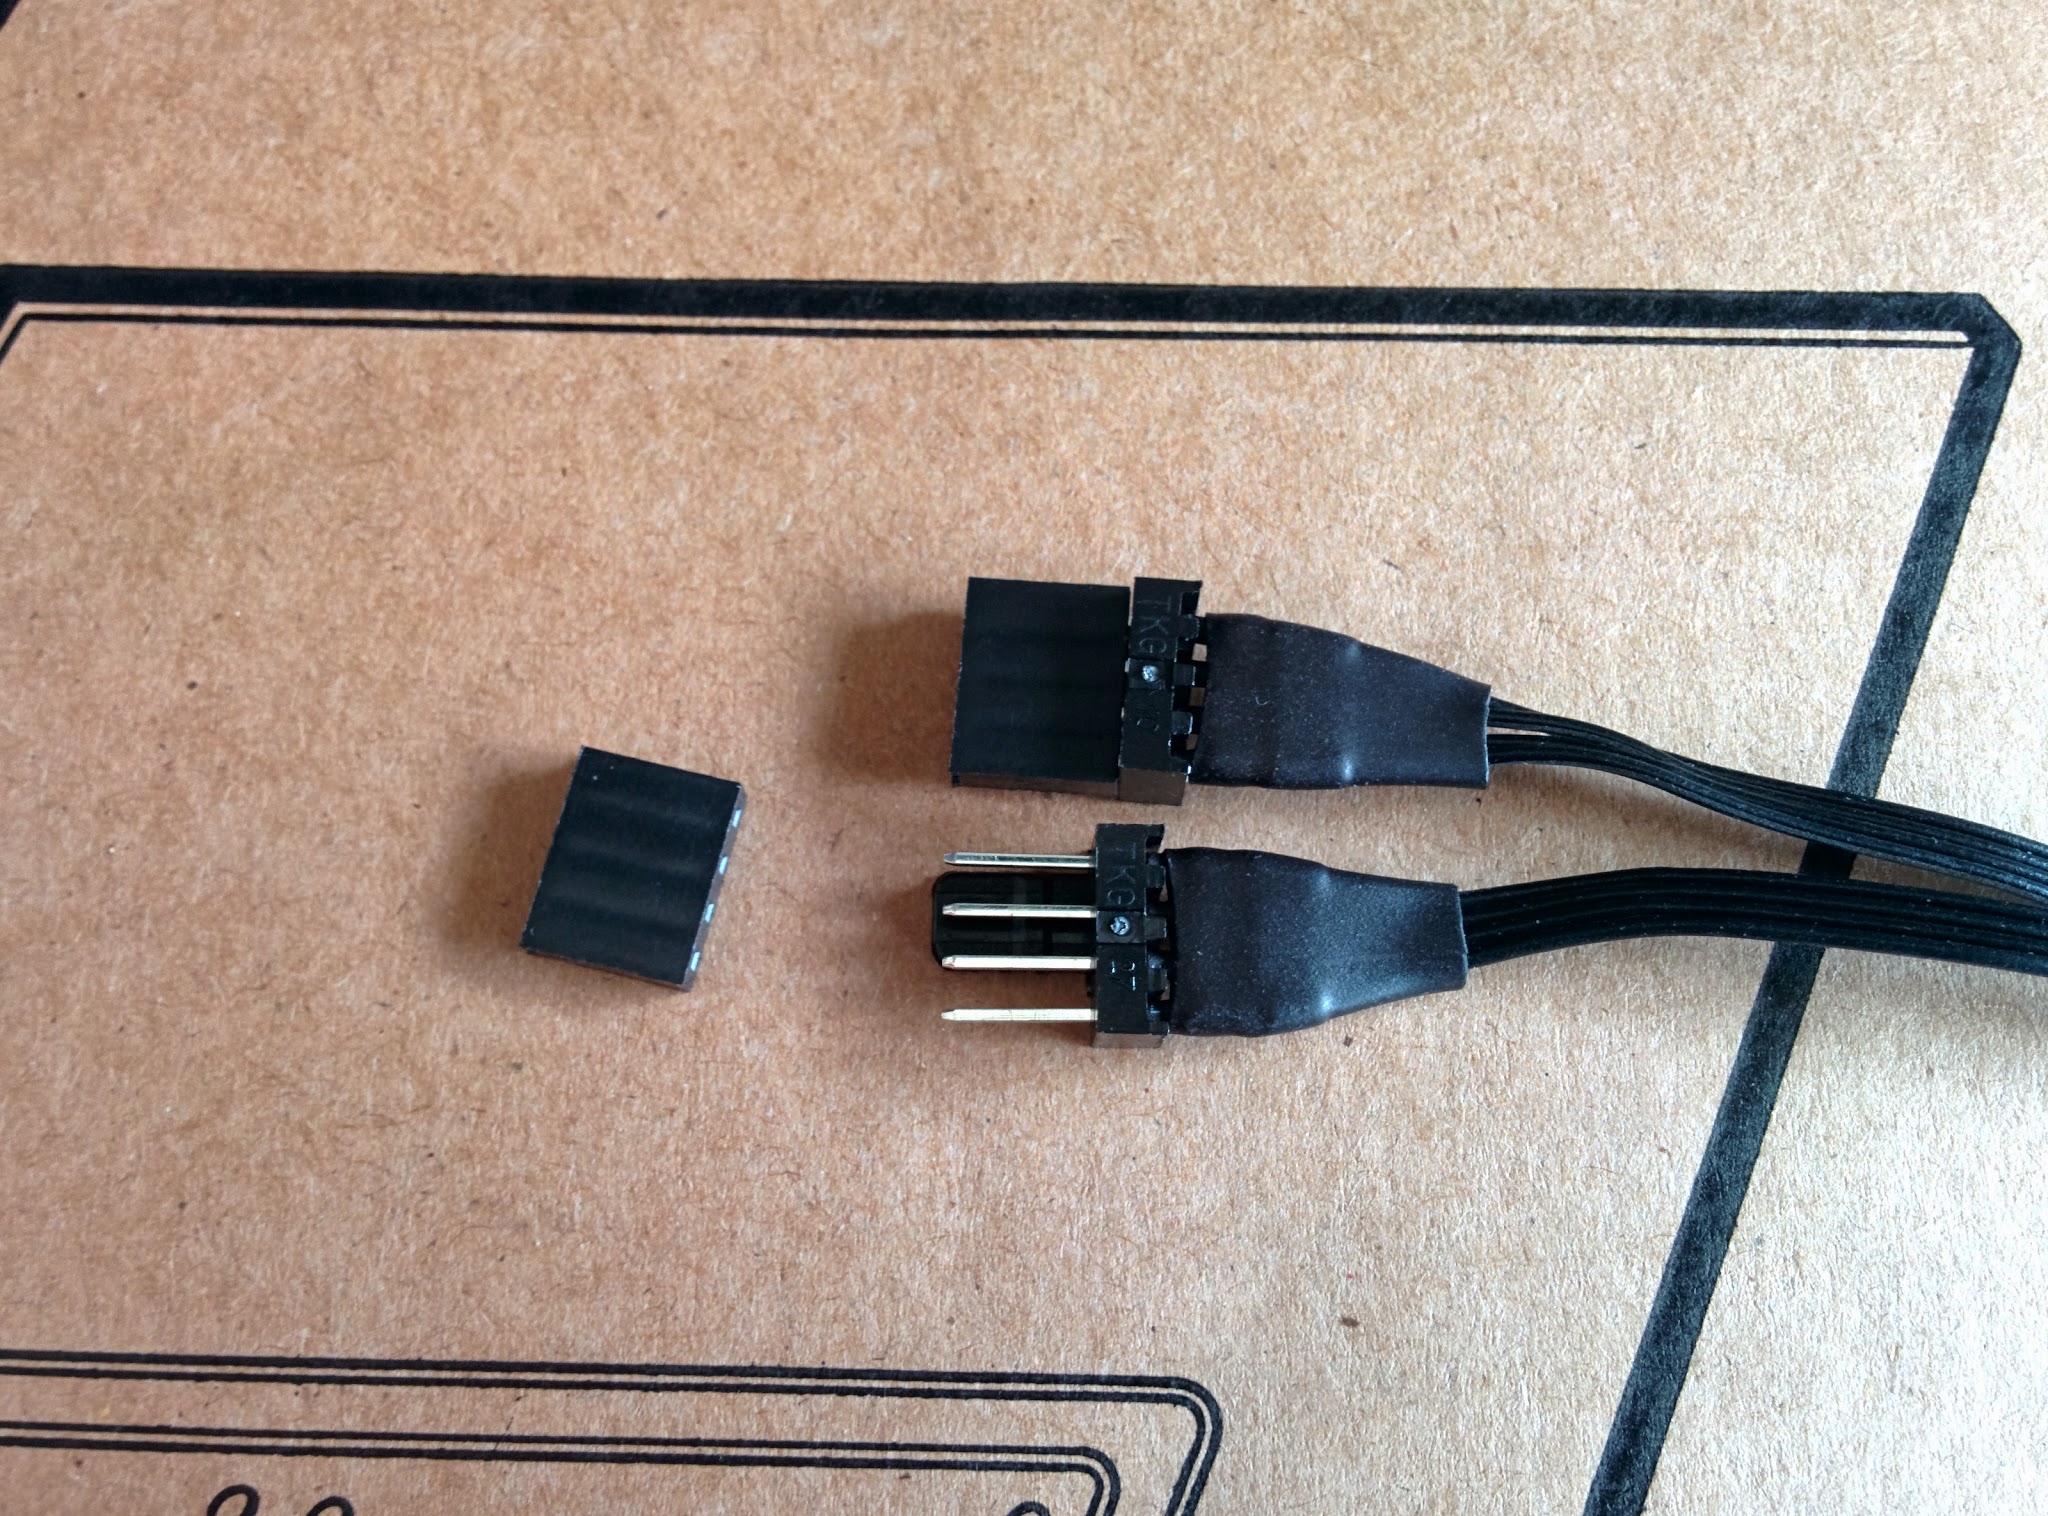
- Remove the caps from the included Y-cable and plug the fans into the ends of the cable
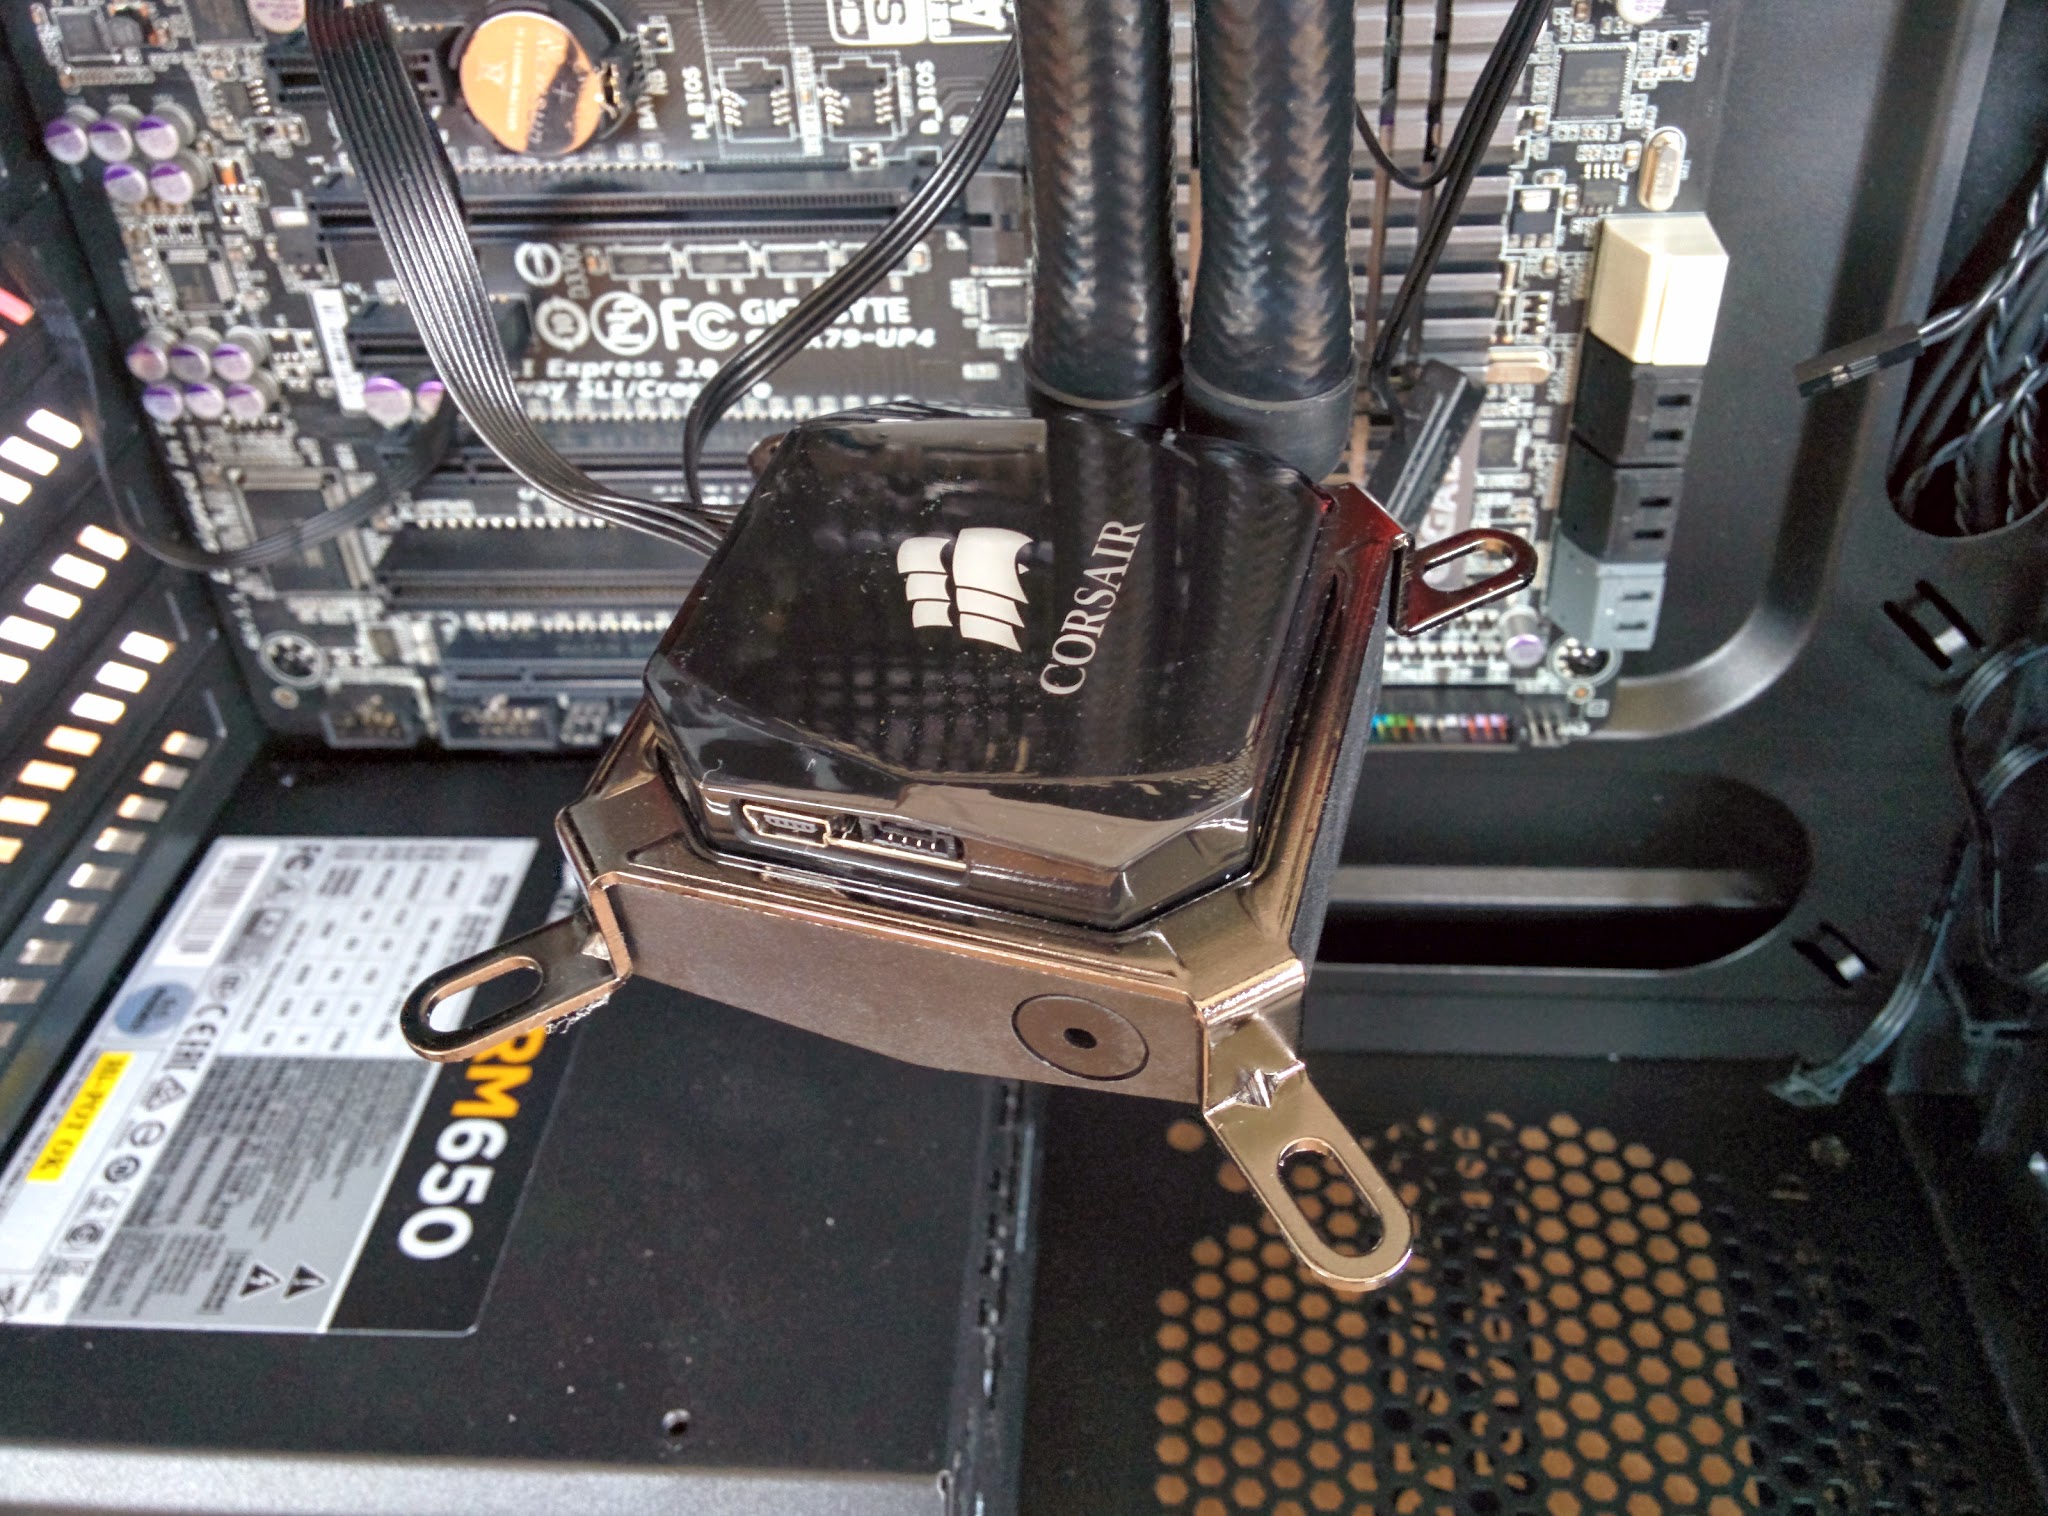
- Plug the other end of the cable in to the port in the top of the actual cooler block itself. This allows Corsair Link to control the fan speed via it’s custom profiles
- Add the bracket for your socket over the cooler block. It will snap in place due to the magnets in the block
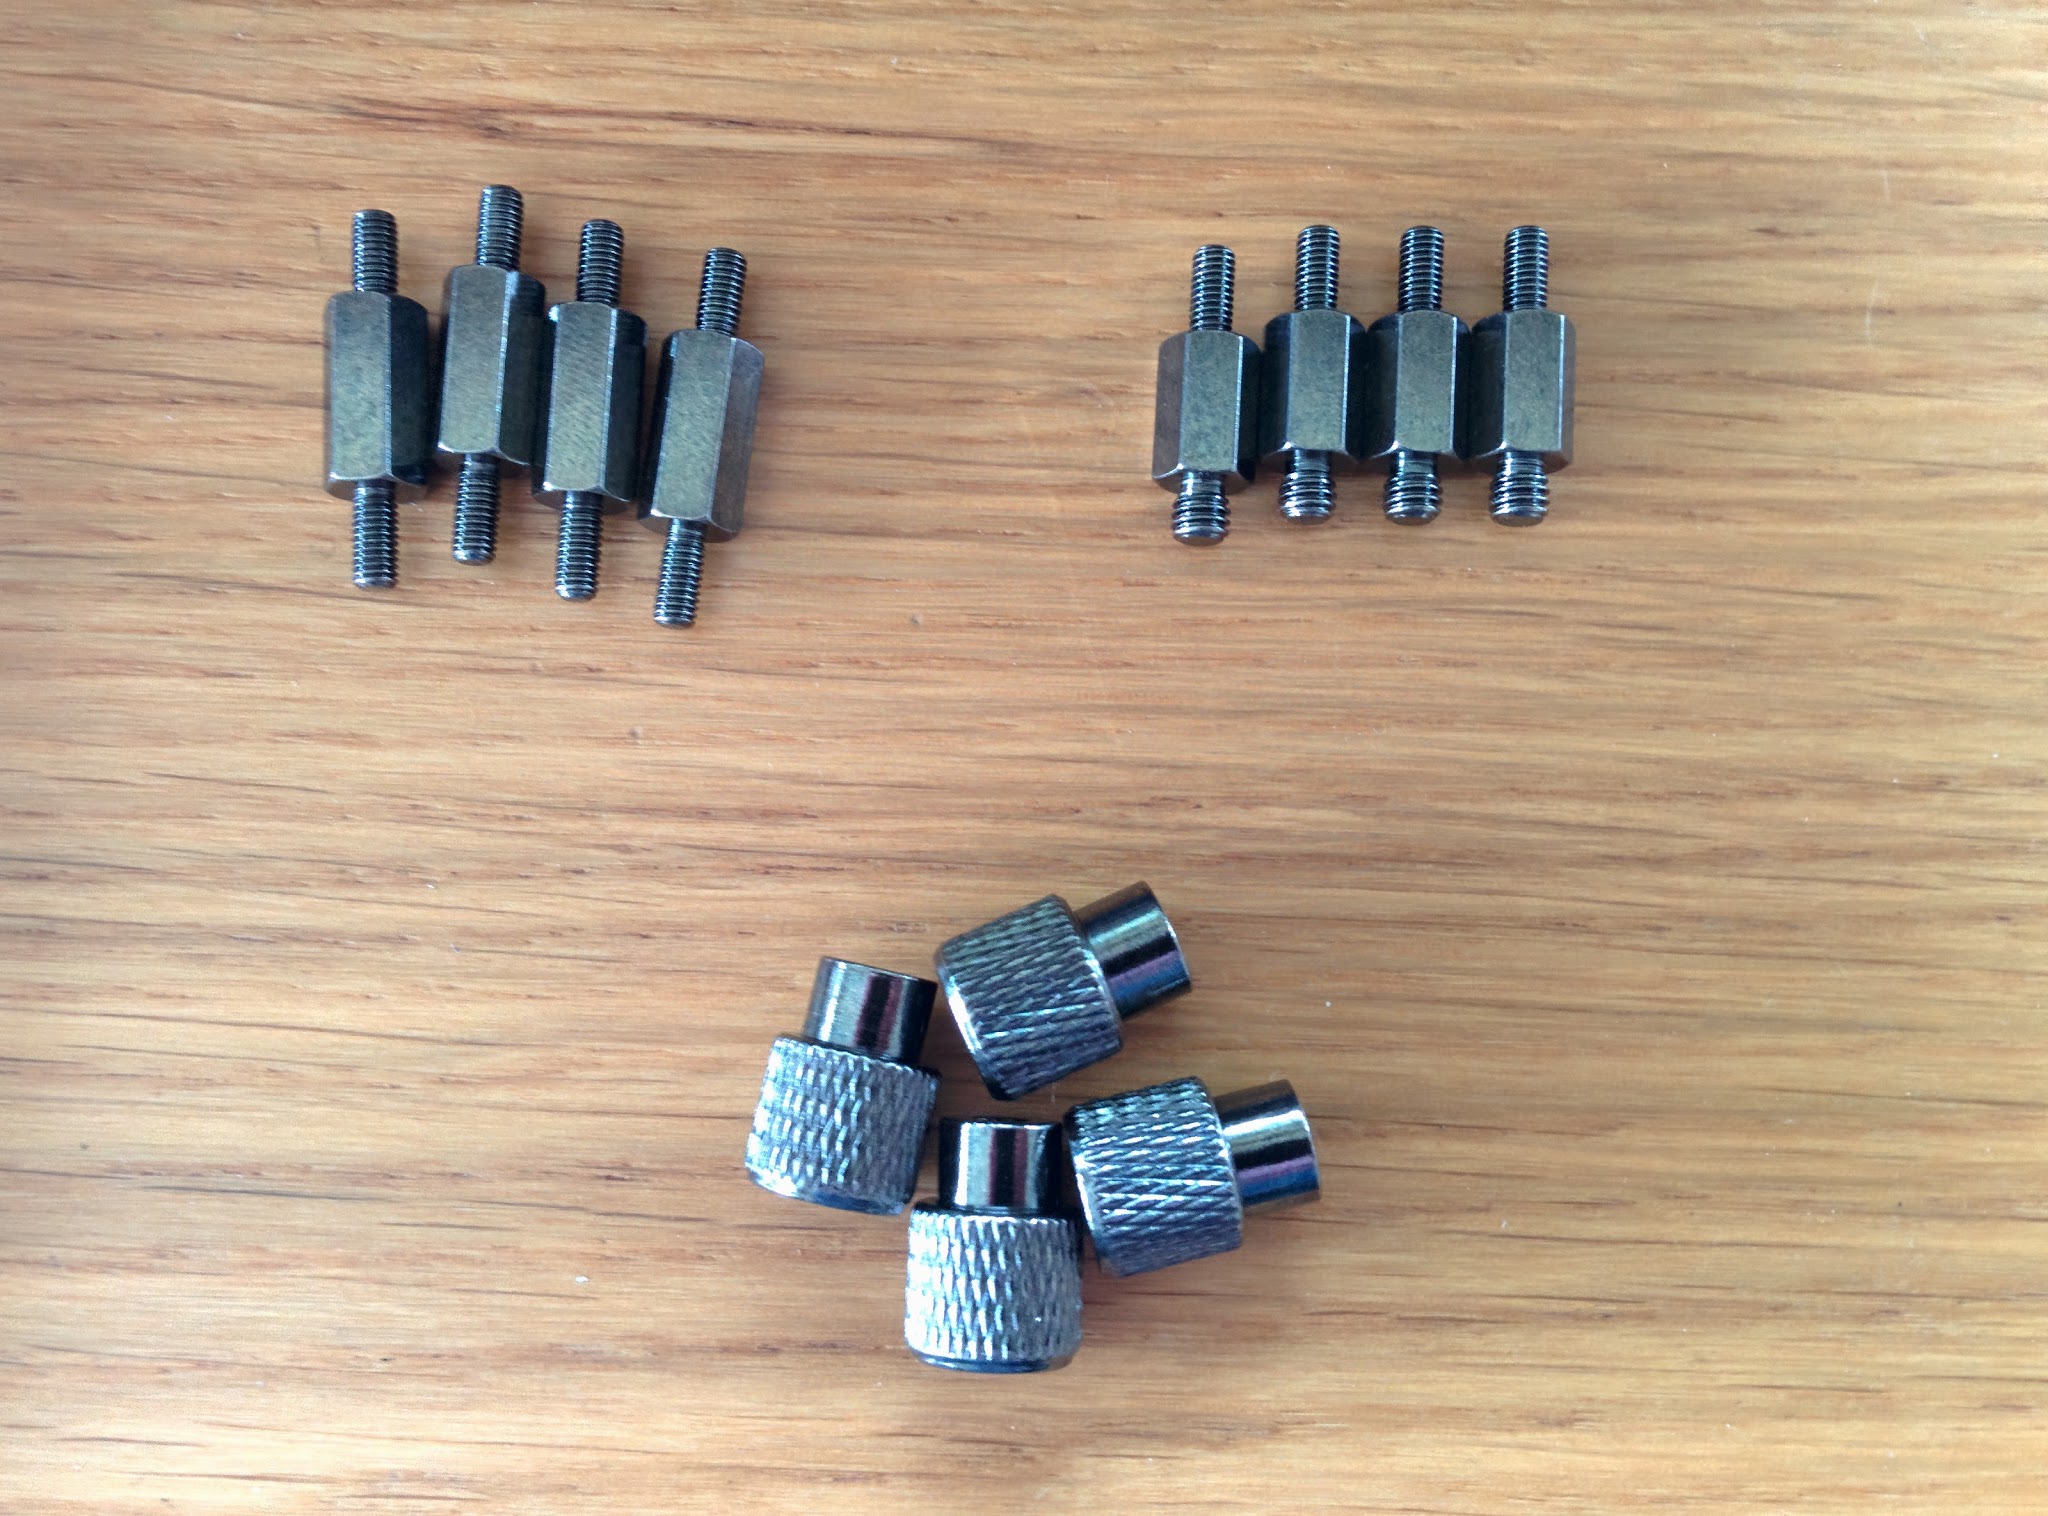
The cooler comes with 2 types of supports for screwing the cooler to the backplate. The supports with one small end, one large end are for LGA-2011. The supports with two equal ends are for all other Intel and AMD sockets.
- Screw the correct supports for your socket into the holes in the four corners of your CPU socket
- Place the cooler block with it’s mounting bracket over the socket, using the supports to align the holes in the bracket arms
- Use the provided screw caps to secure the bracket down to the socket, tightening diagonally opposite nuts first, then the other two opposing nuts, and back and forth until they are all fully tightened. This method ensures even pressure over the entire CPU for maximum thermal conductivity
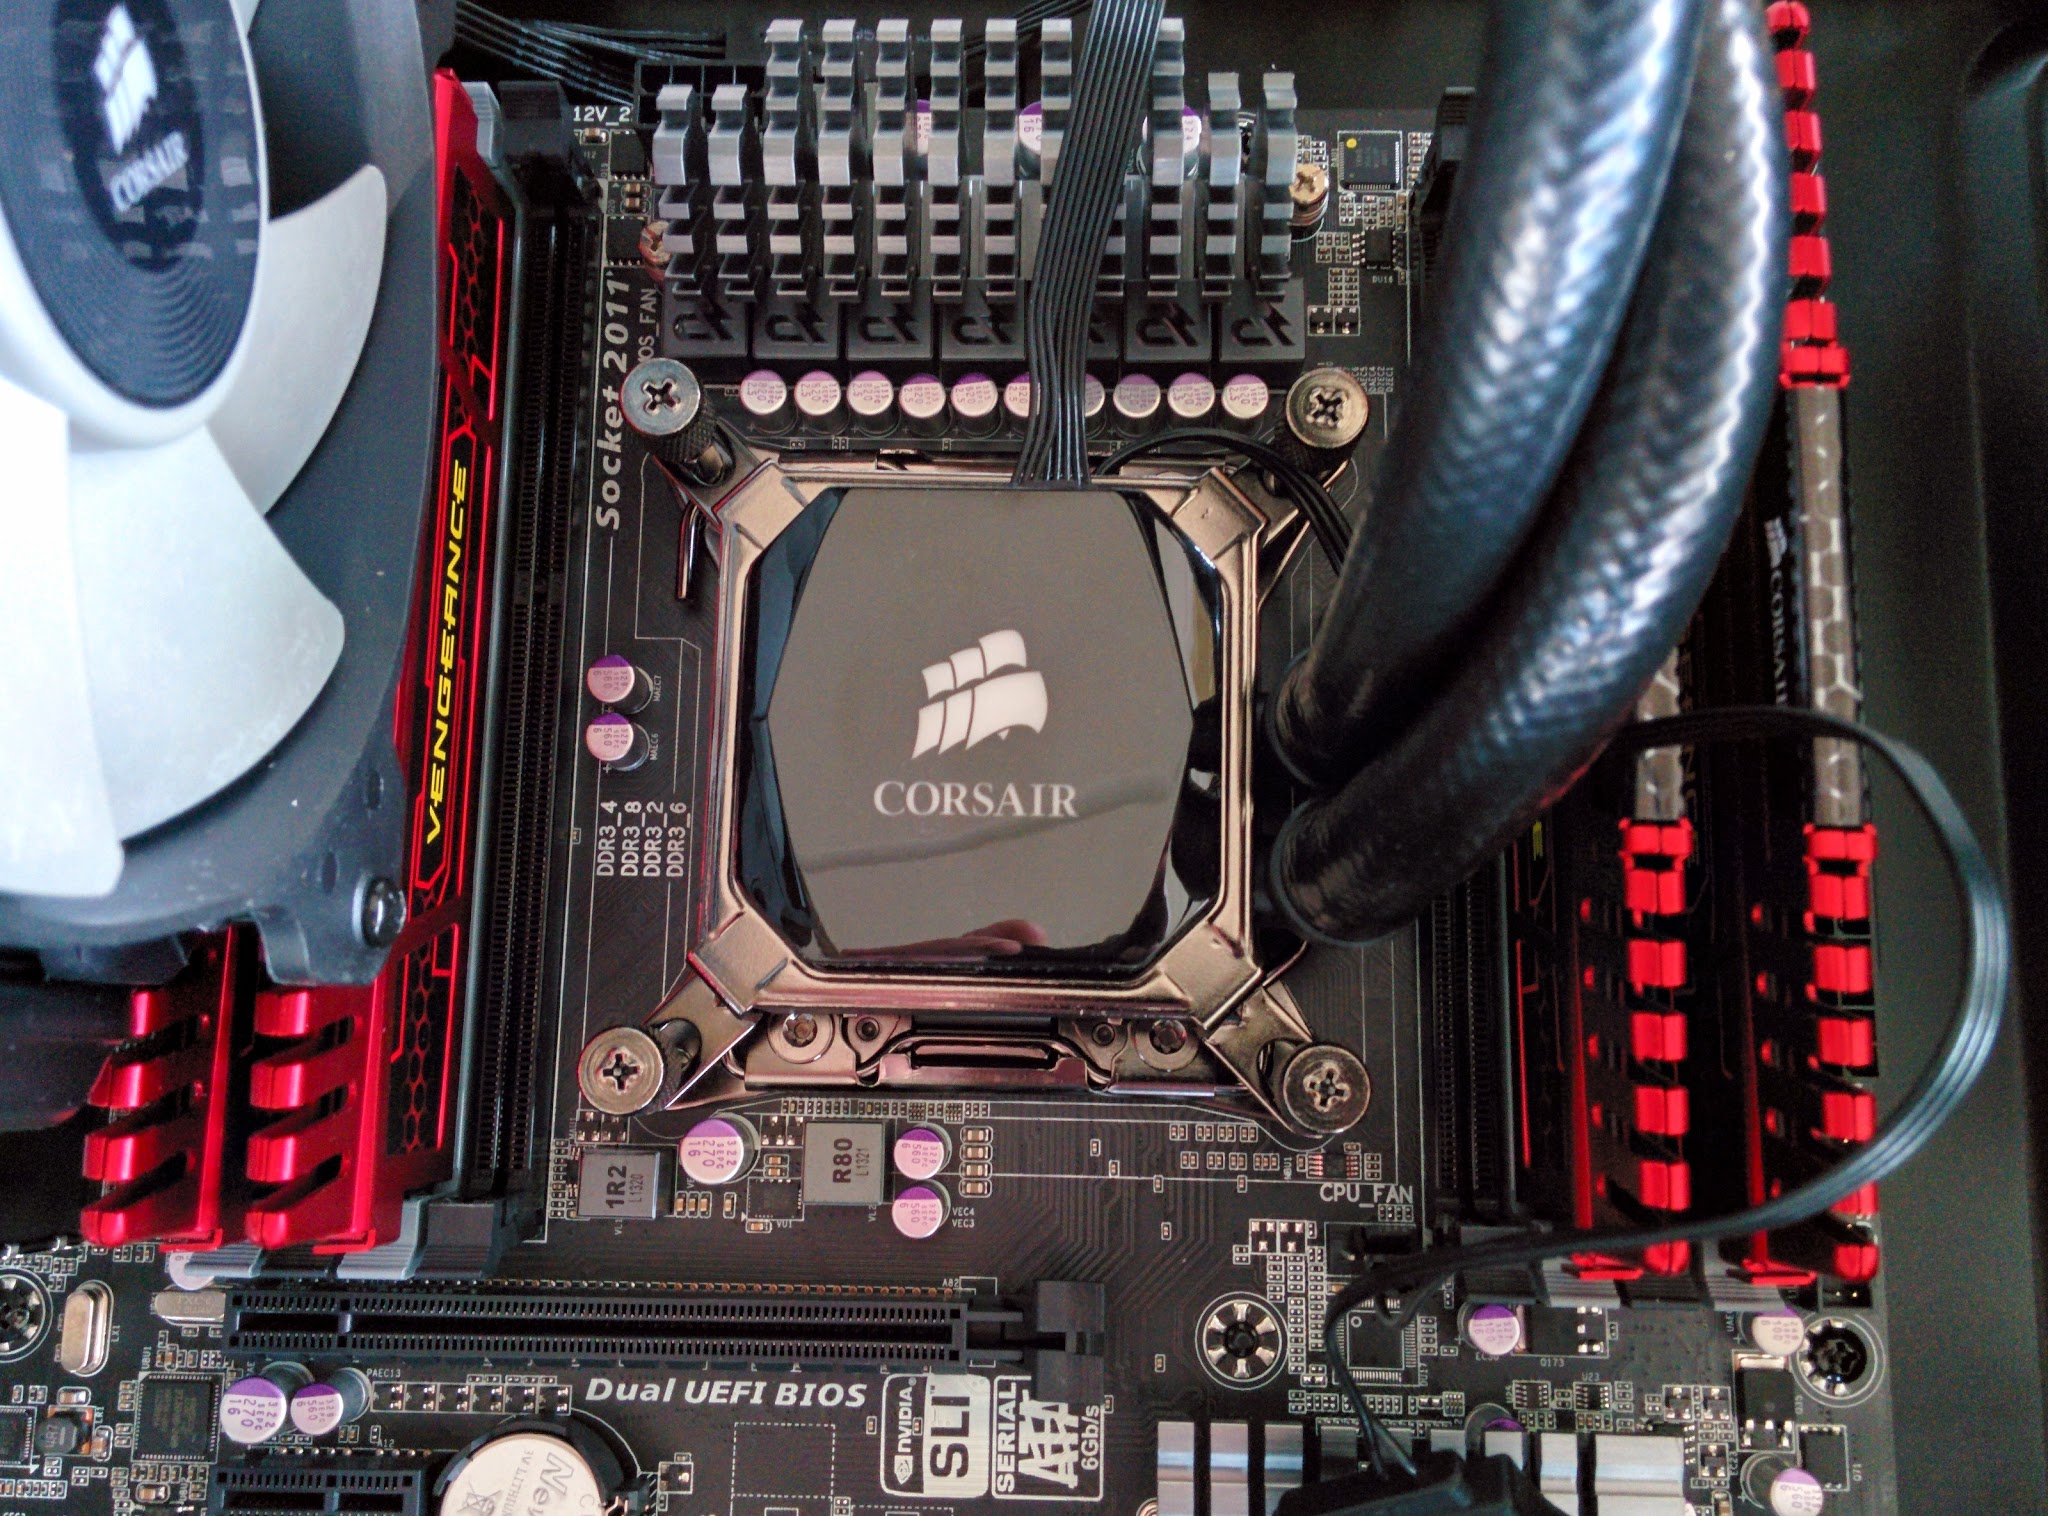
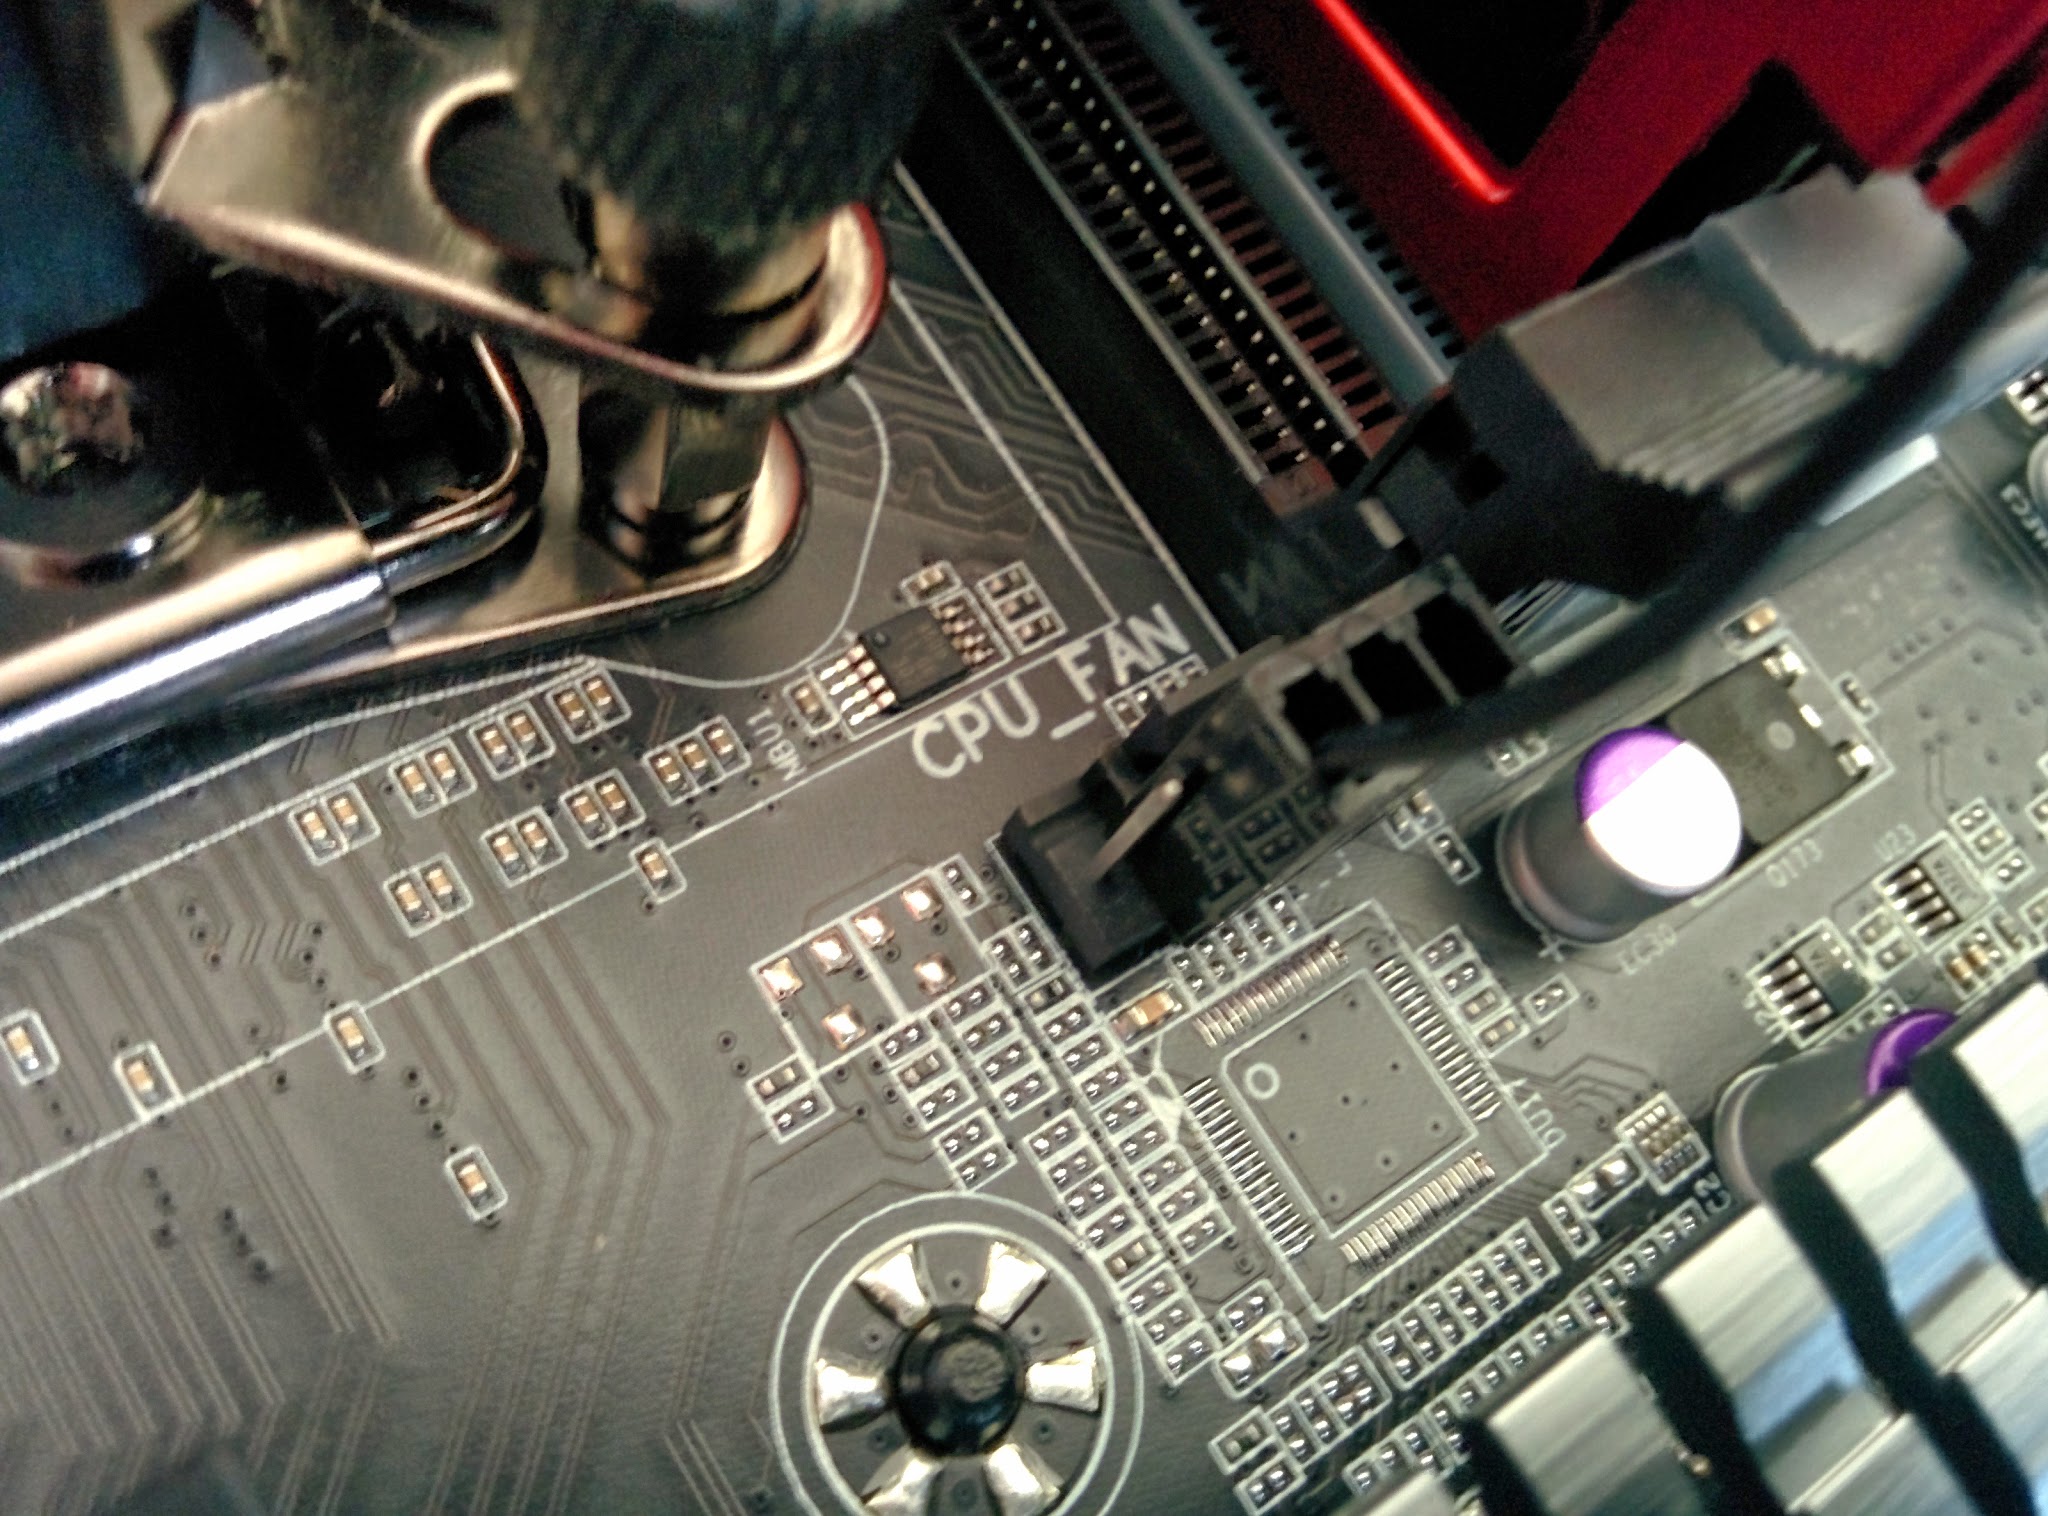
- Finally, plus the 3-pin CPU fan cable coming from the cooler to it’s header on the motherboard, usually labelled “CPU_FAN”
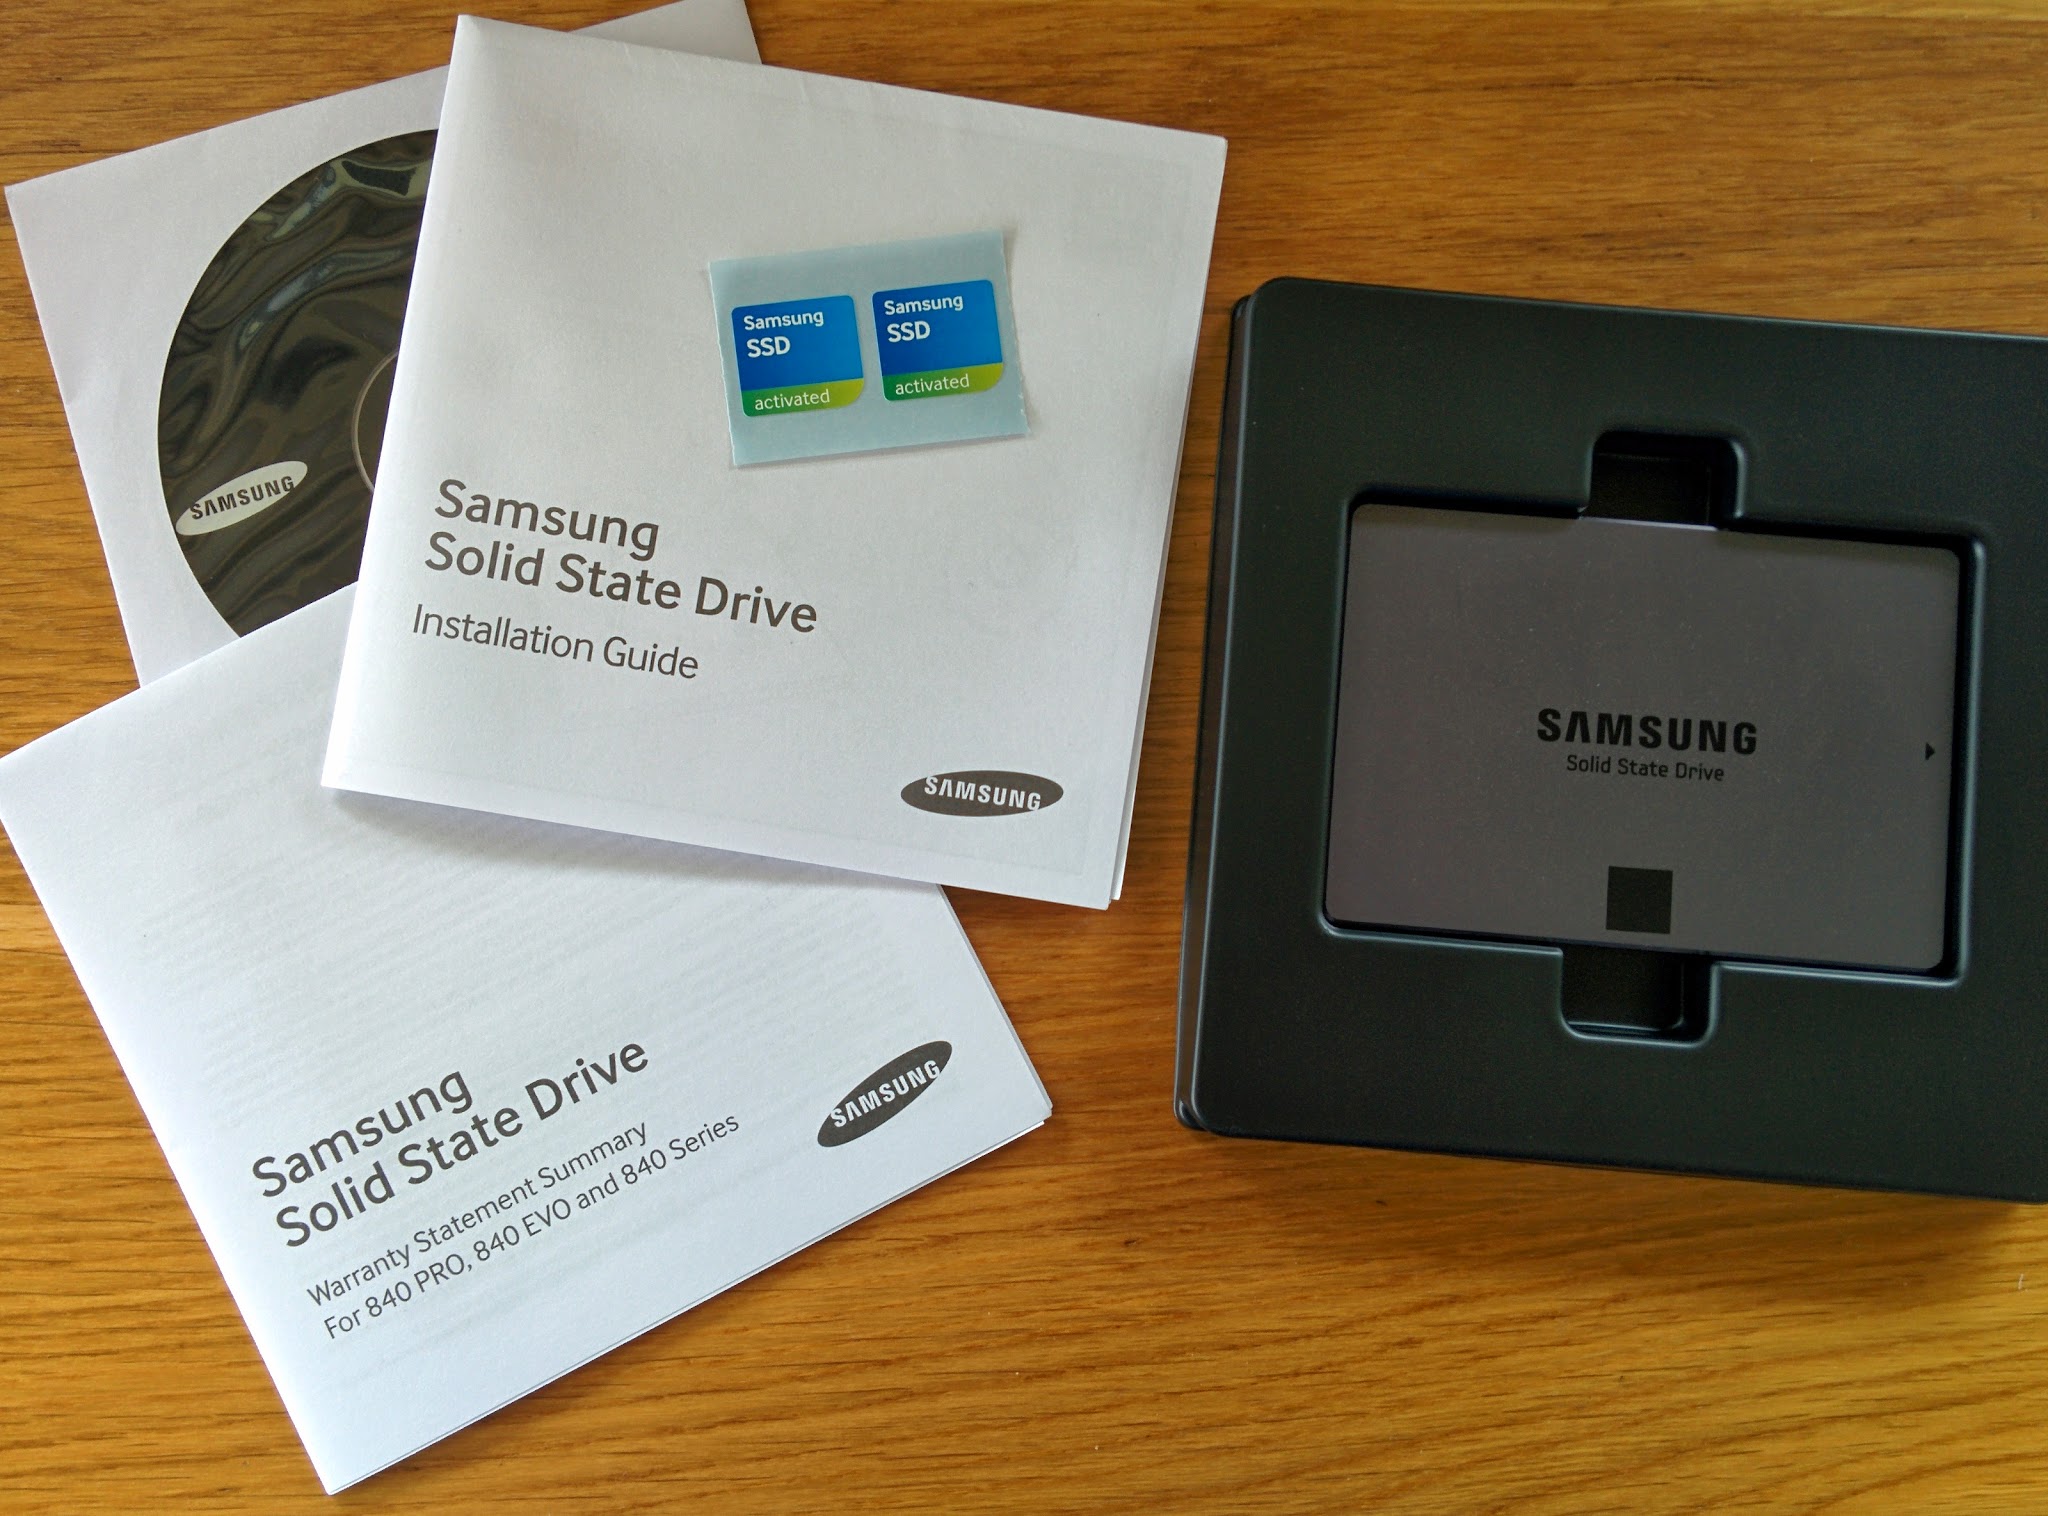
Solid State Drive
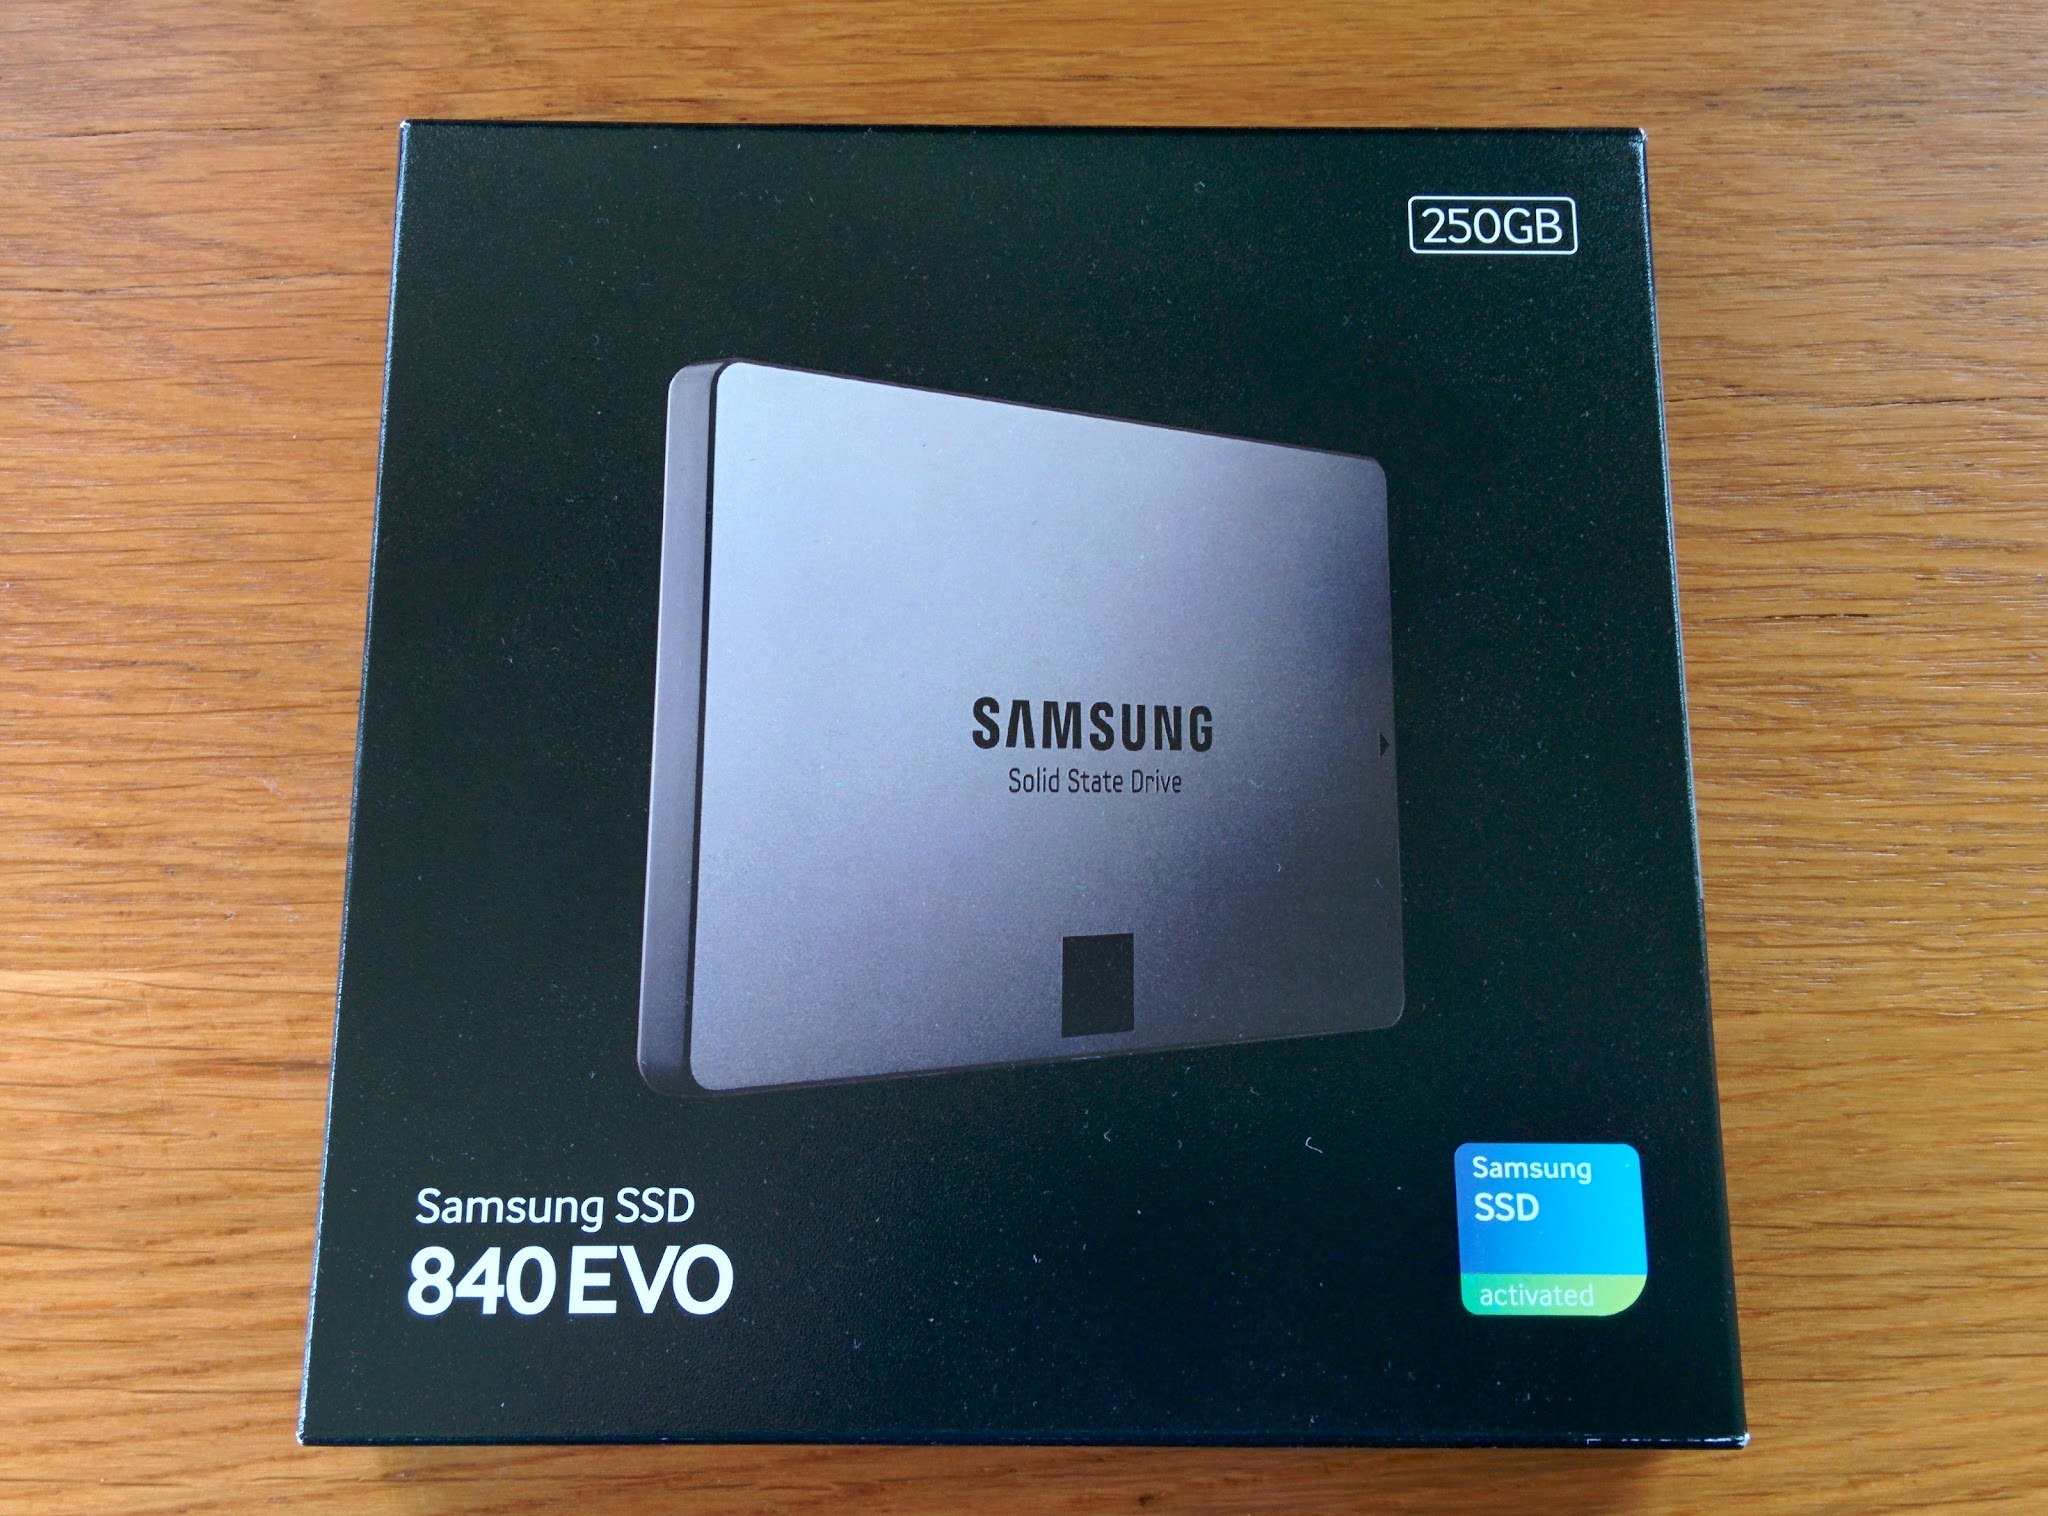
I am using a 250GB Samsung 840 EVO solid state drive. This is the only drive in this build since my company uses network storage for all files and the SSD is only going to be used for the operating system, applications and configurations. For gamers, I highly recommend getting an SSD to store these too, as well as your most played games from your library. A hard disk drive should be used to store general files such as photos, music and documents as HDDs are much less costly per GB and SSD-speed access to general files doesn’t provide noticeable speed-up to your system. If you plan to keep any critical files on your SSD, make sure to backup your drive regularly!
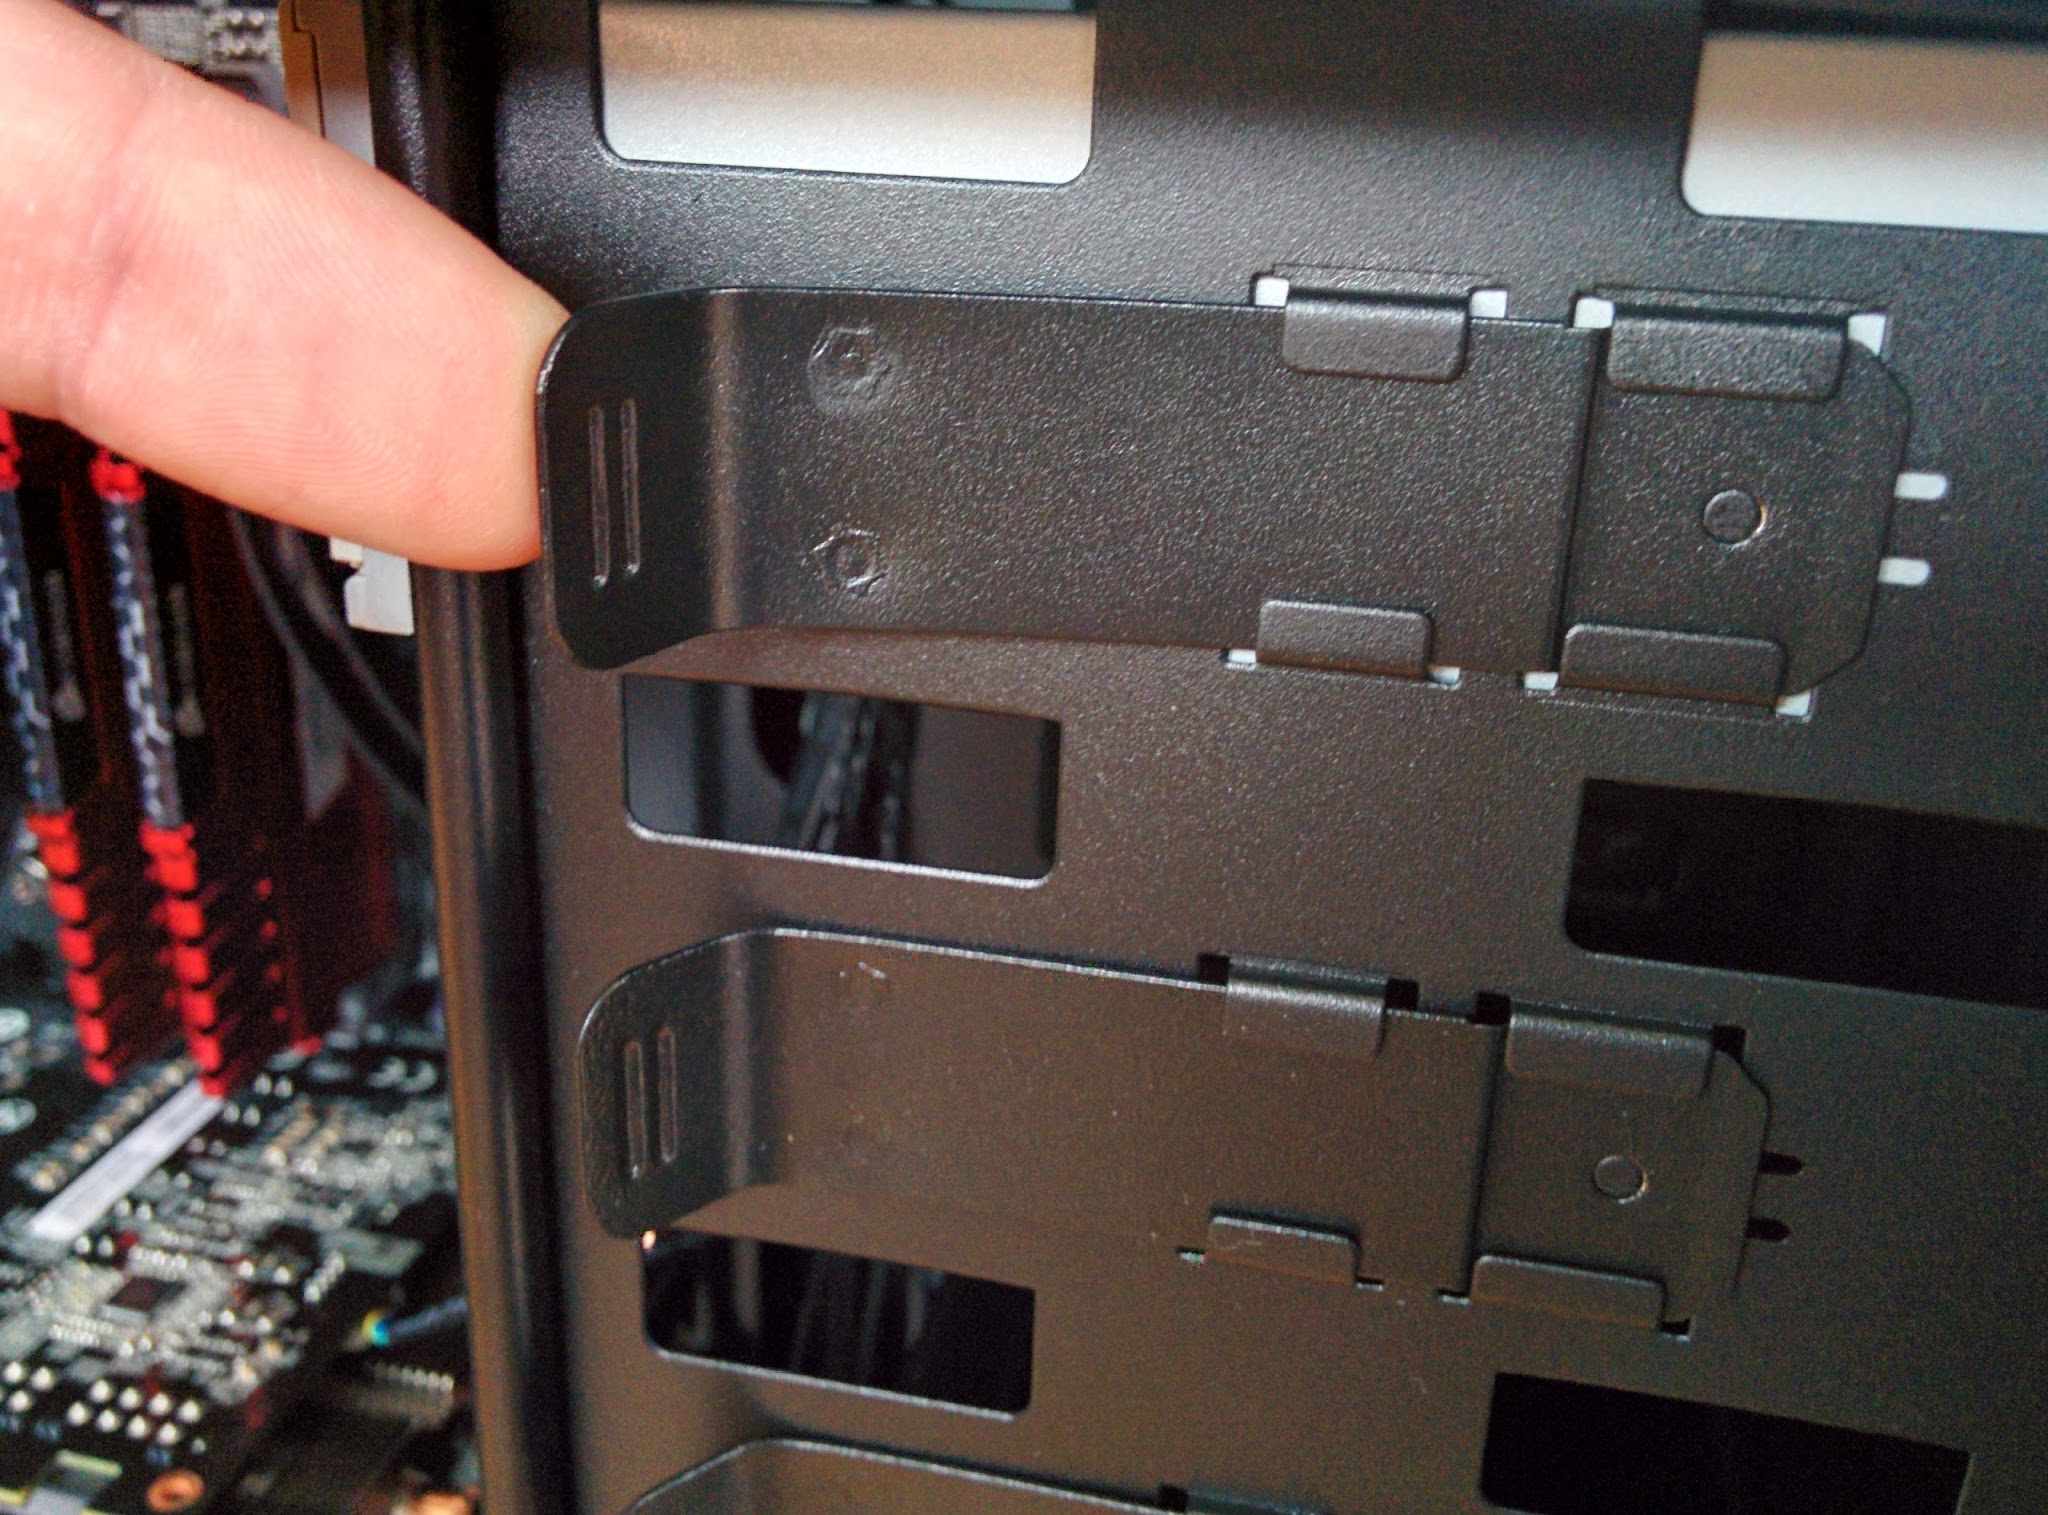
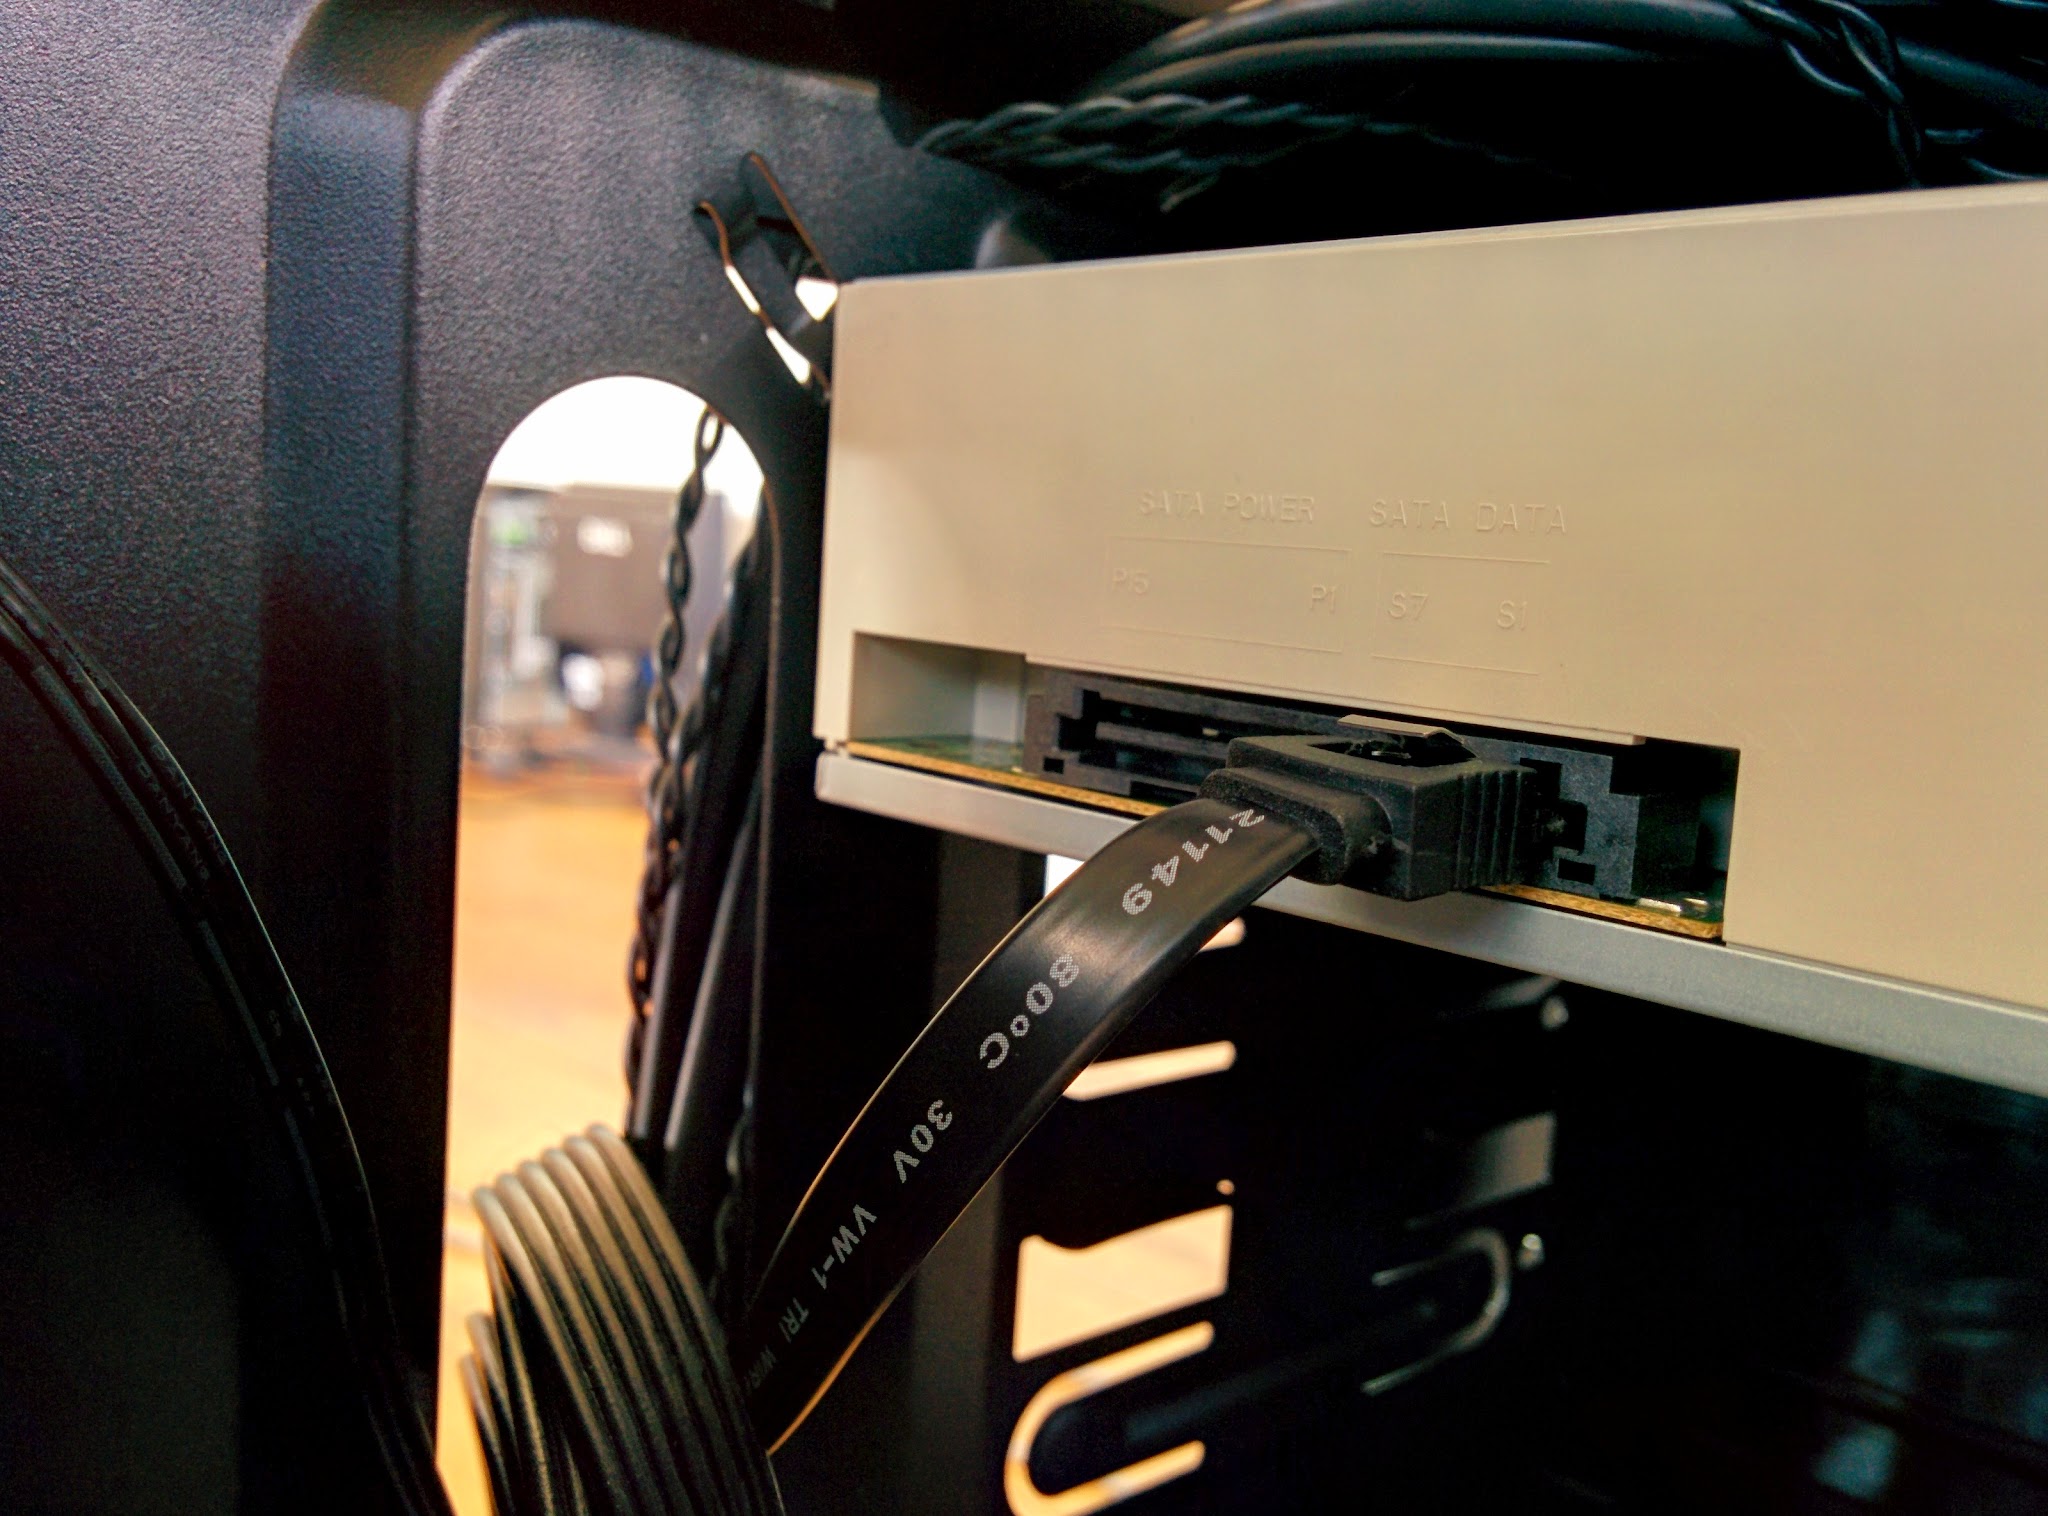
Installing an SSD is dead simple, requiring a single SATA cable to the motherboard. The 200R provides slots for four 2.5” SSDs. These slots are simply push-to-install as they click into place and lock the drive in securely without screws. Releasing a drive is as simple as lifting the latch and pulling the drive out.
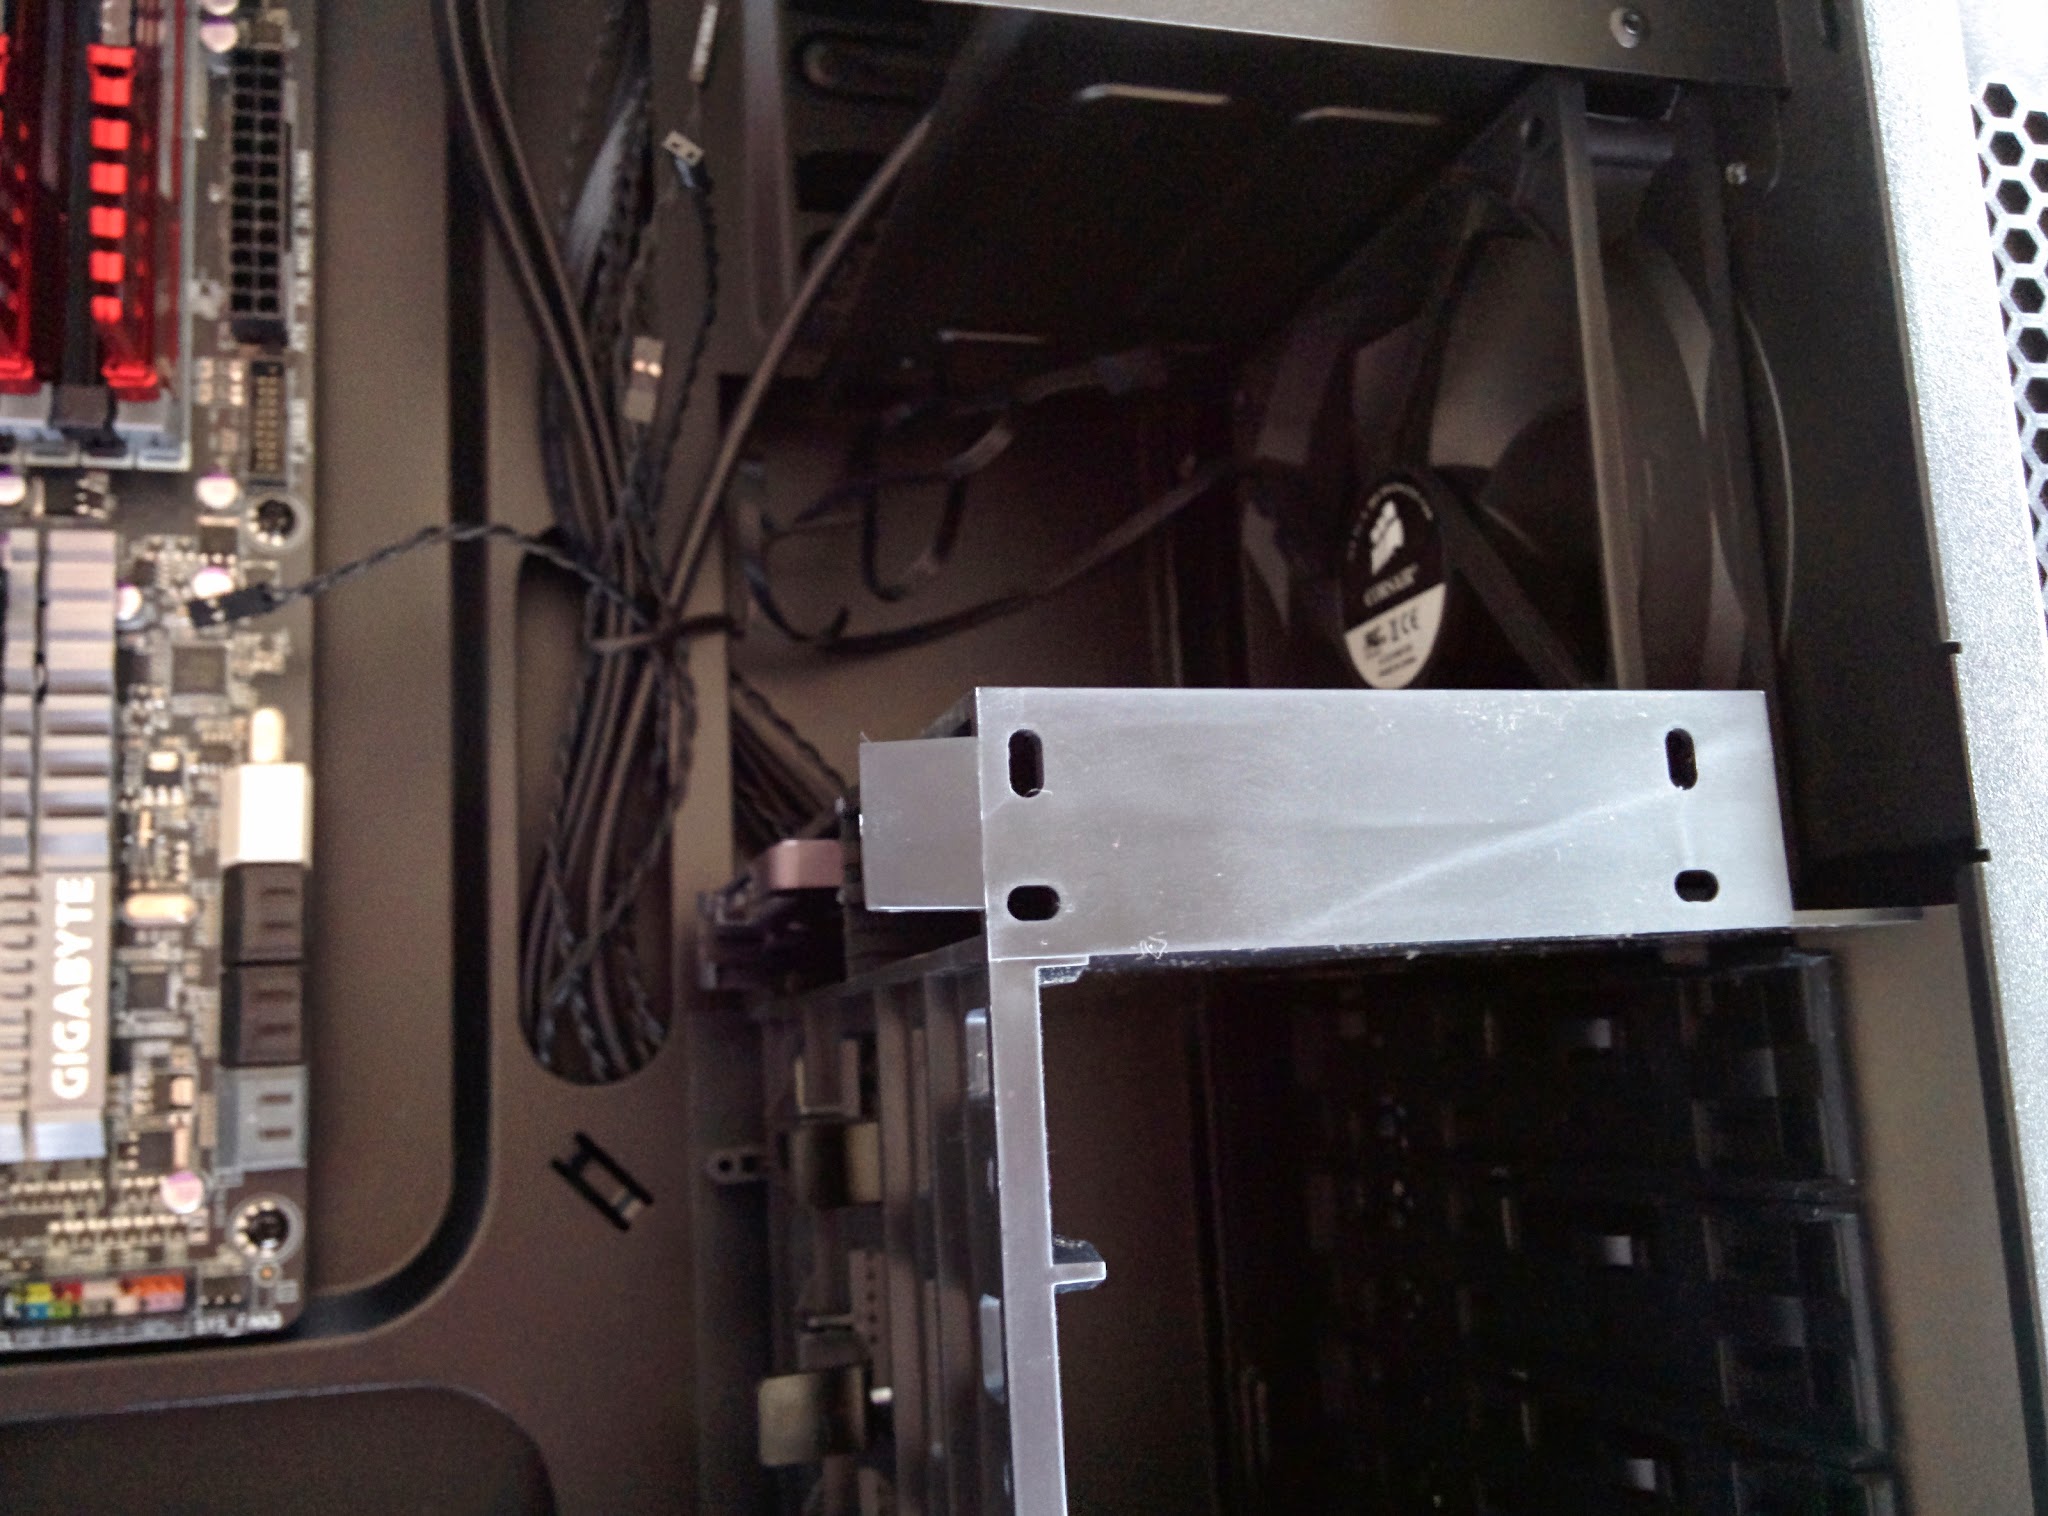
- Insert the SSD into the 2.5” drive slot in the front of the case
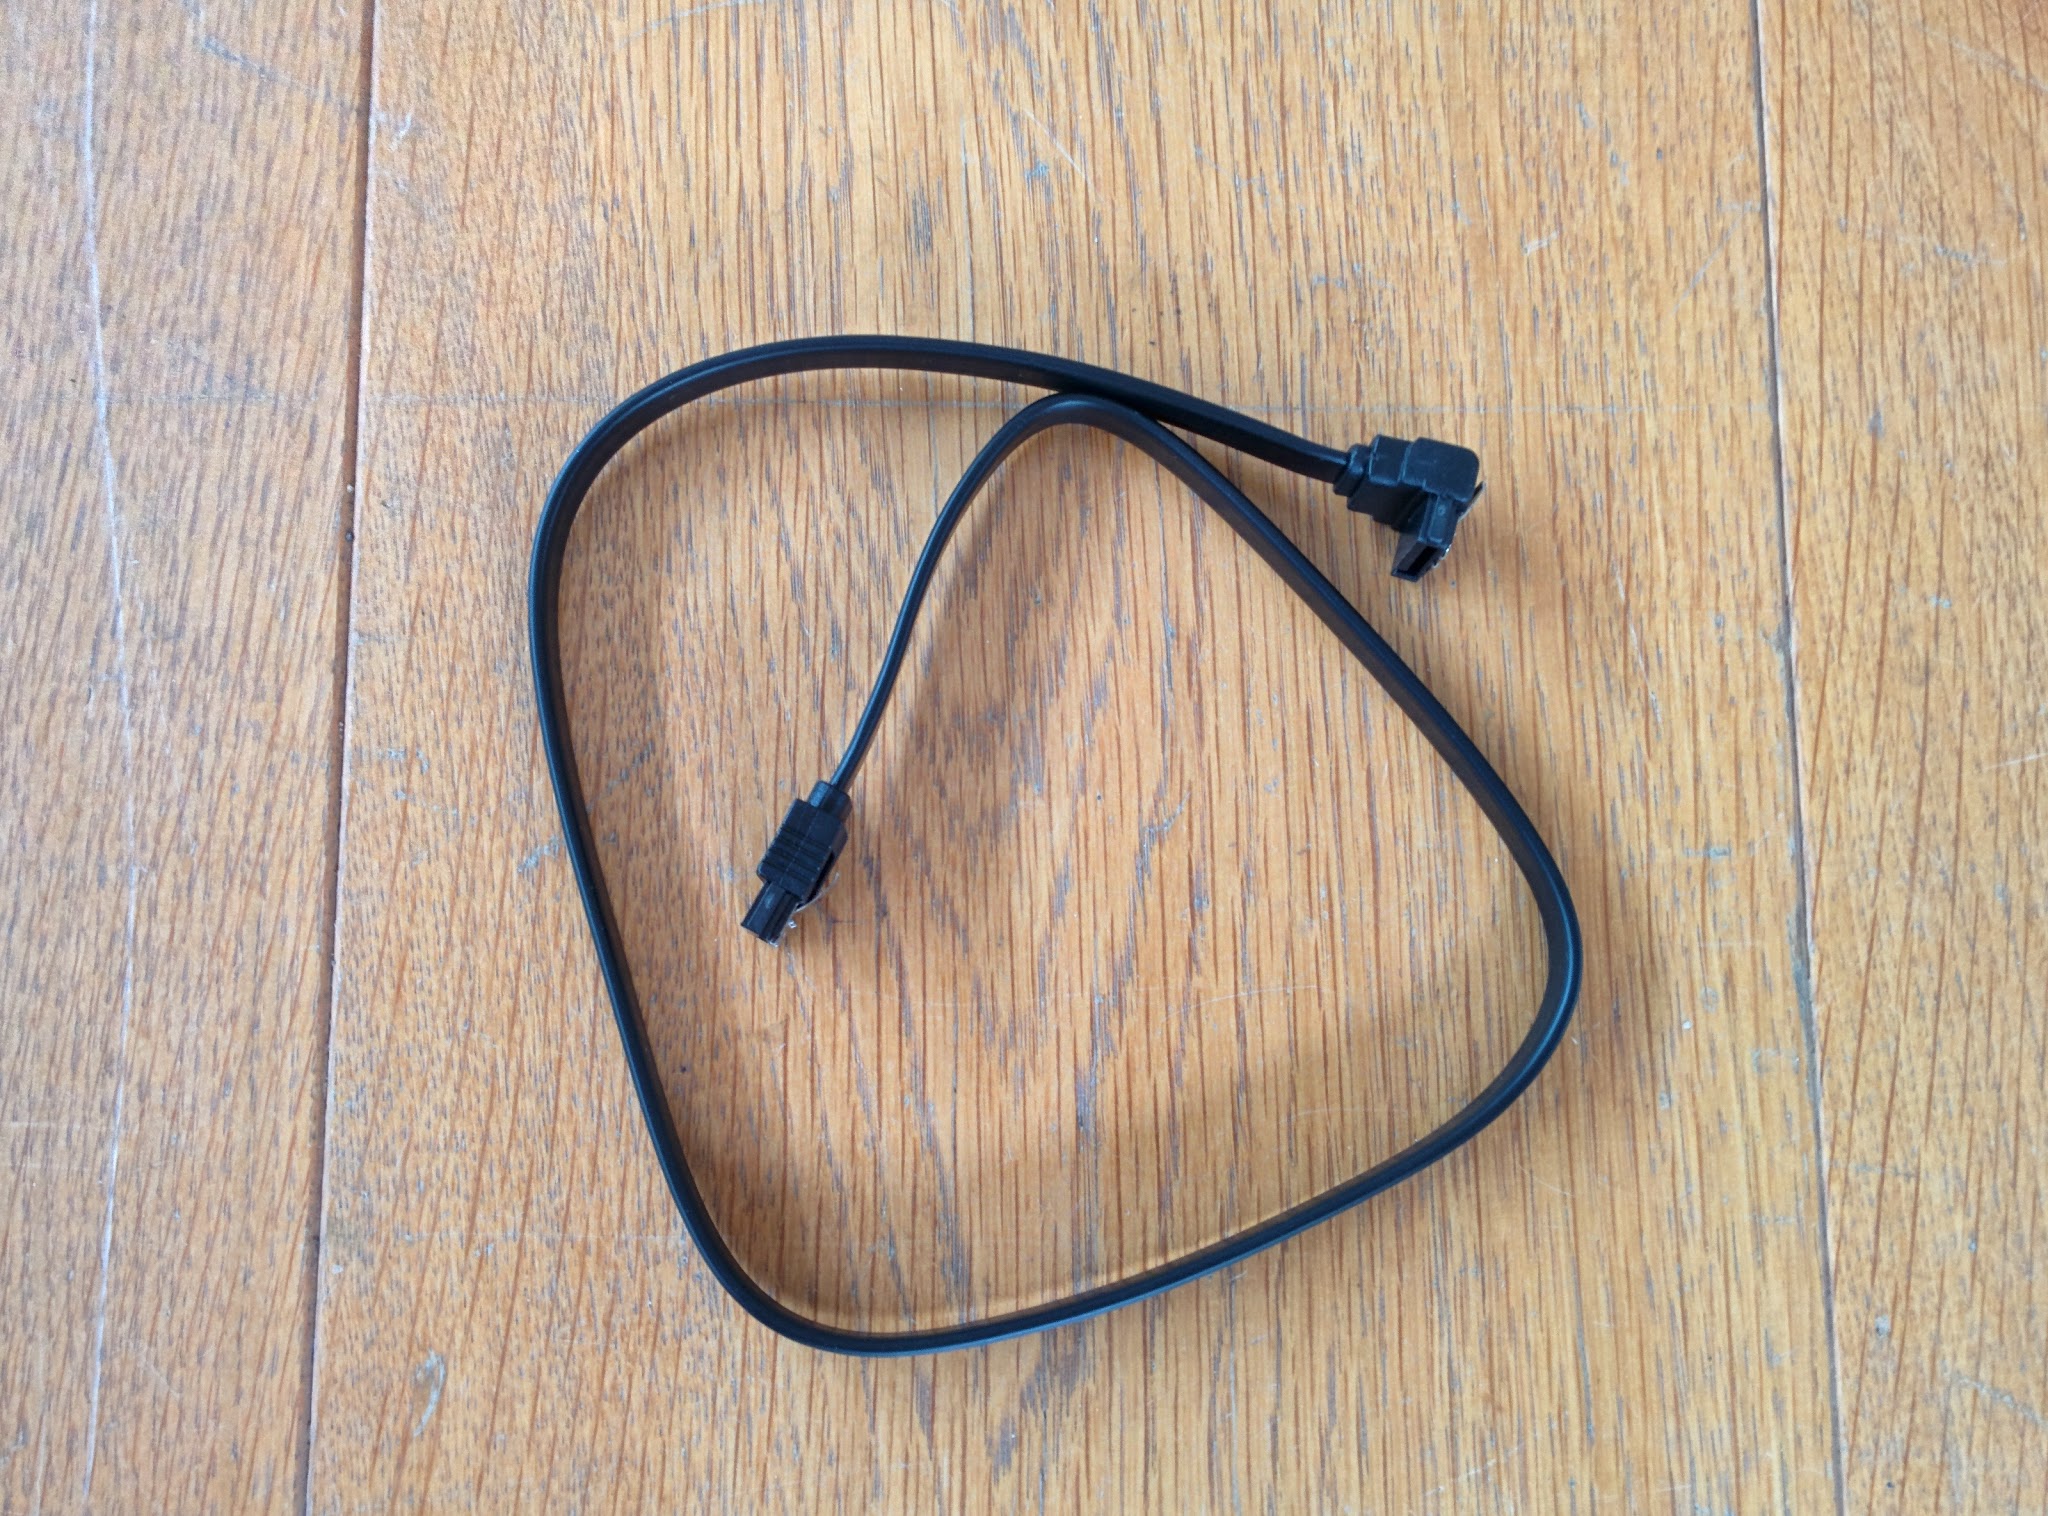
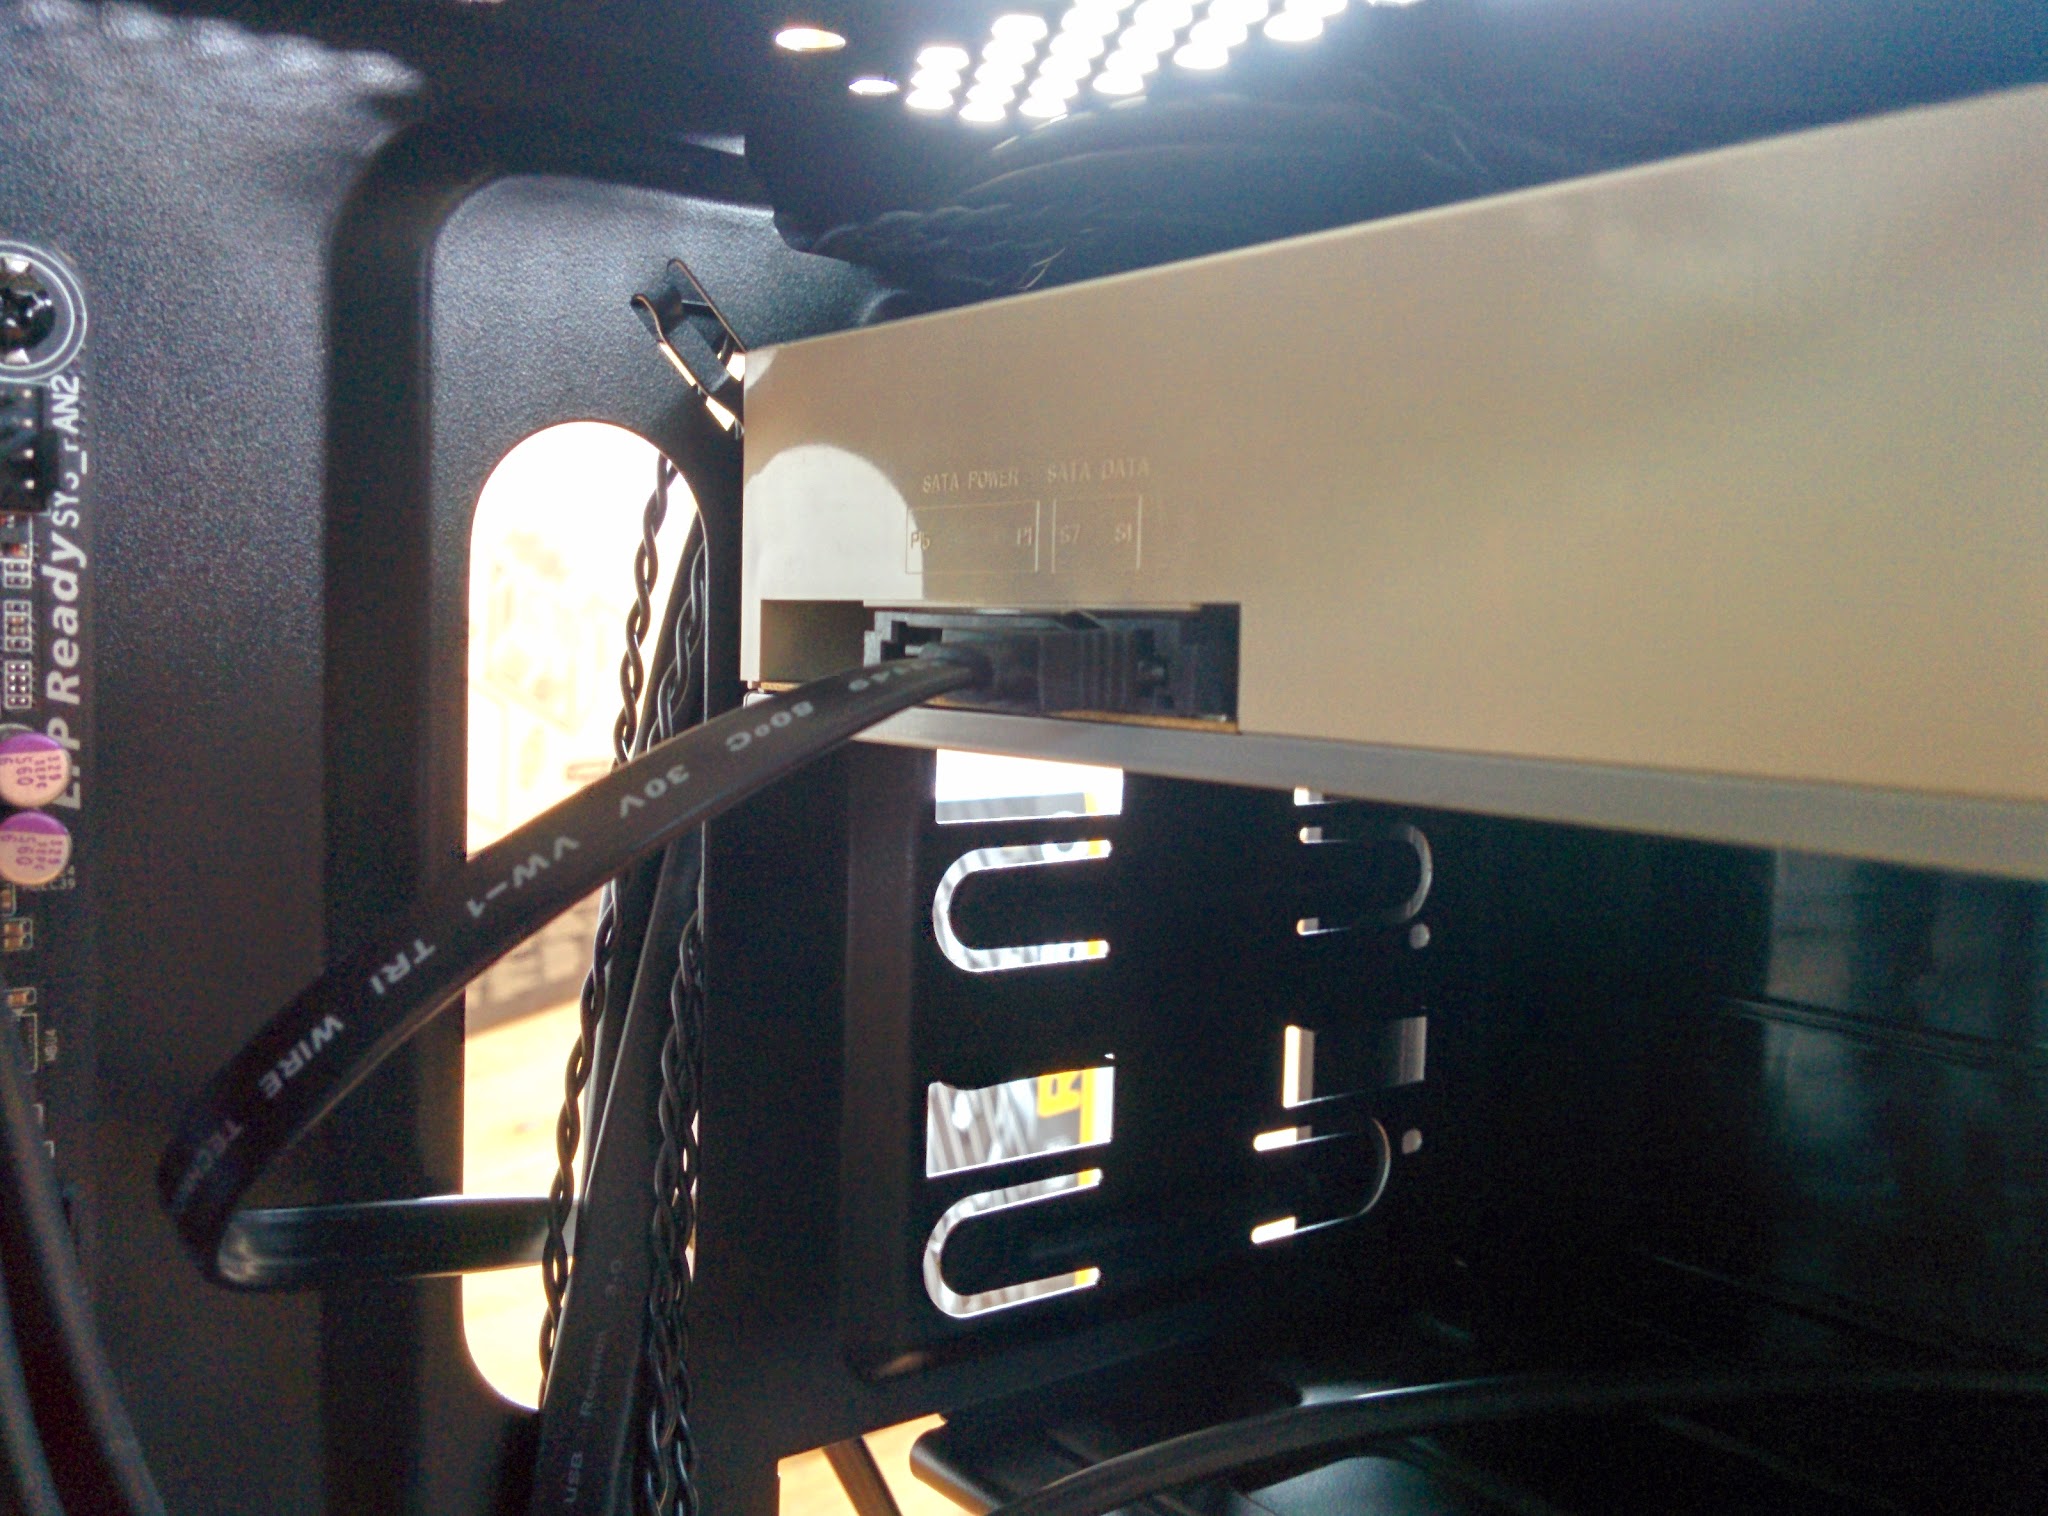
- Hook up one of the SATA data cables from the motherboard box to the smaller of the two ports on the back of the SSD
- Route the SATA cable through the hole in the back of the case to hide it from view and provide better airflow in the front of the case
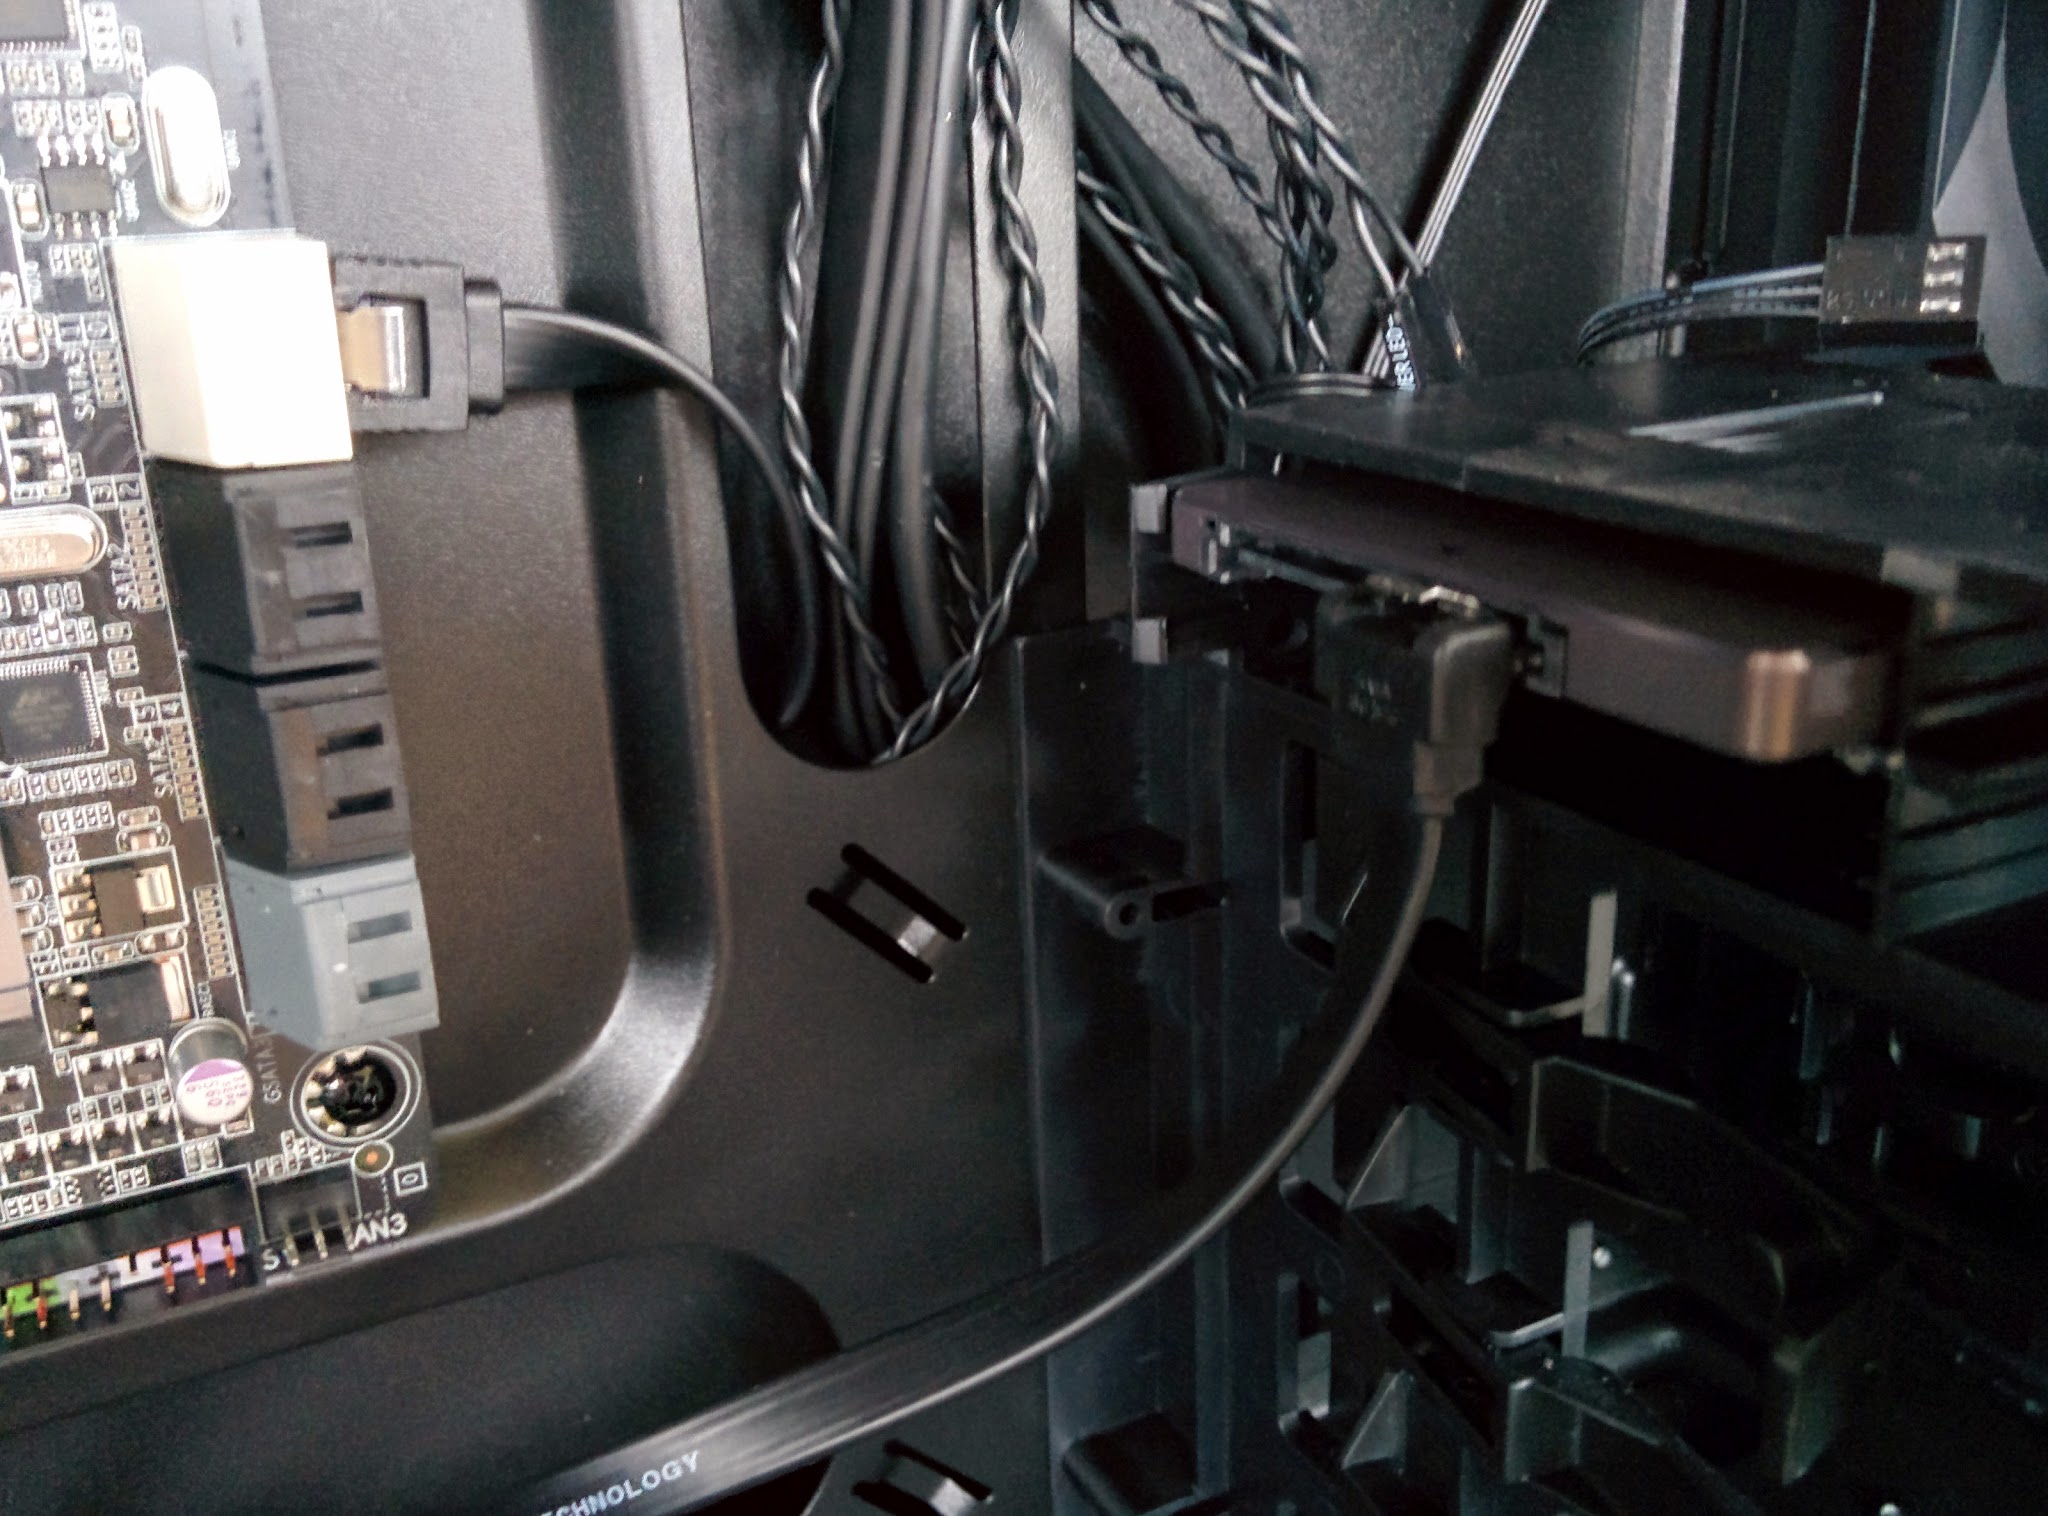
- Plug the other end of the cable into one of the white SATA 6Gbit/s port in the motherboard. Refer to your motherboard manual if using a different board to find the 6Gb/s port
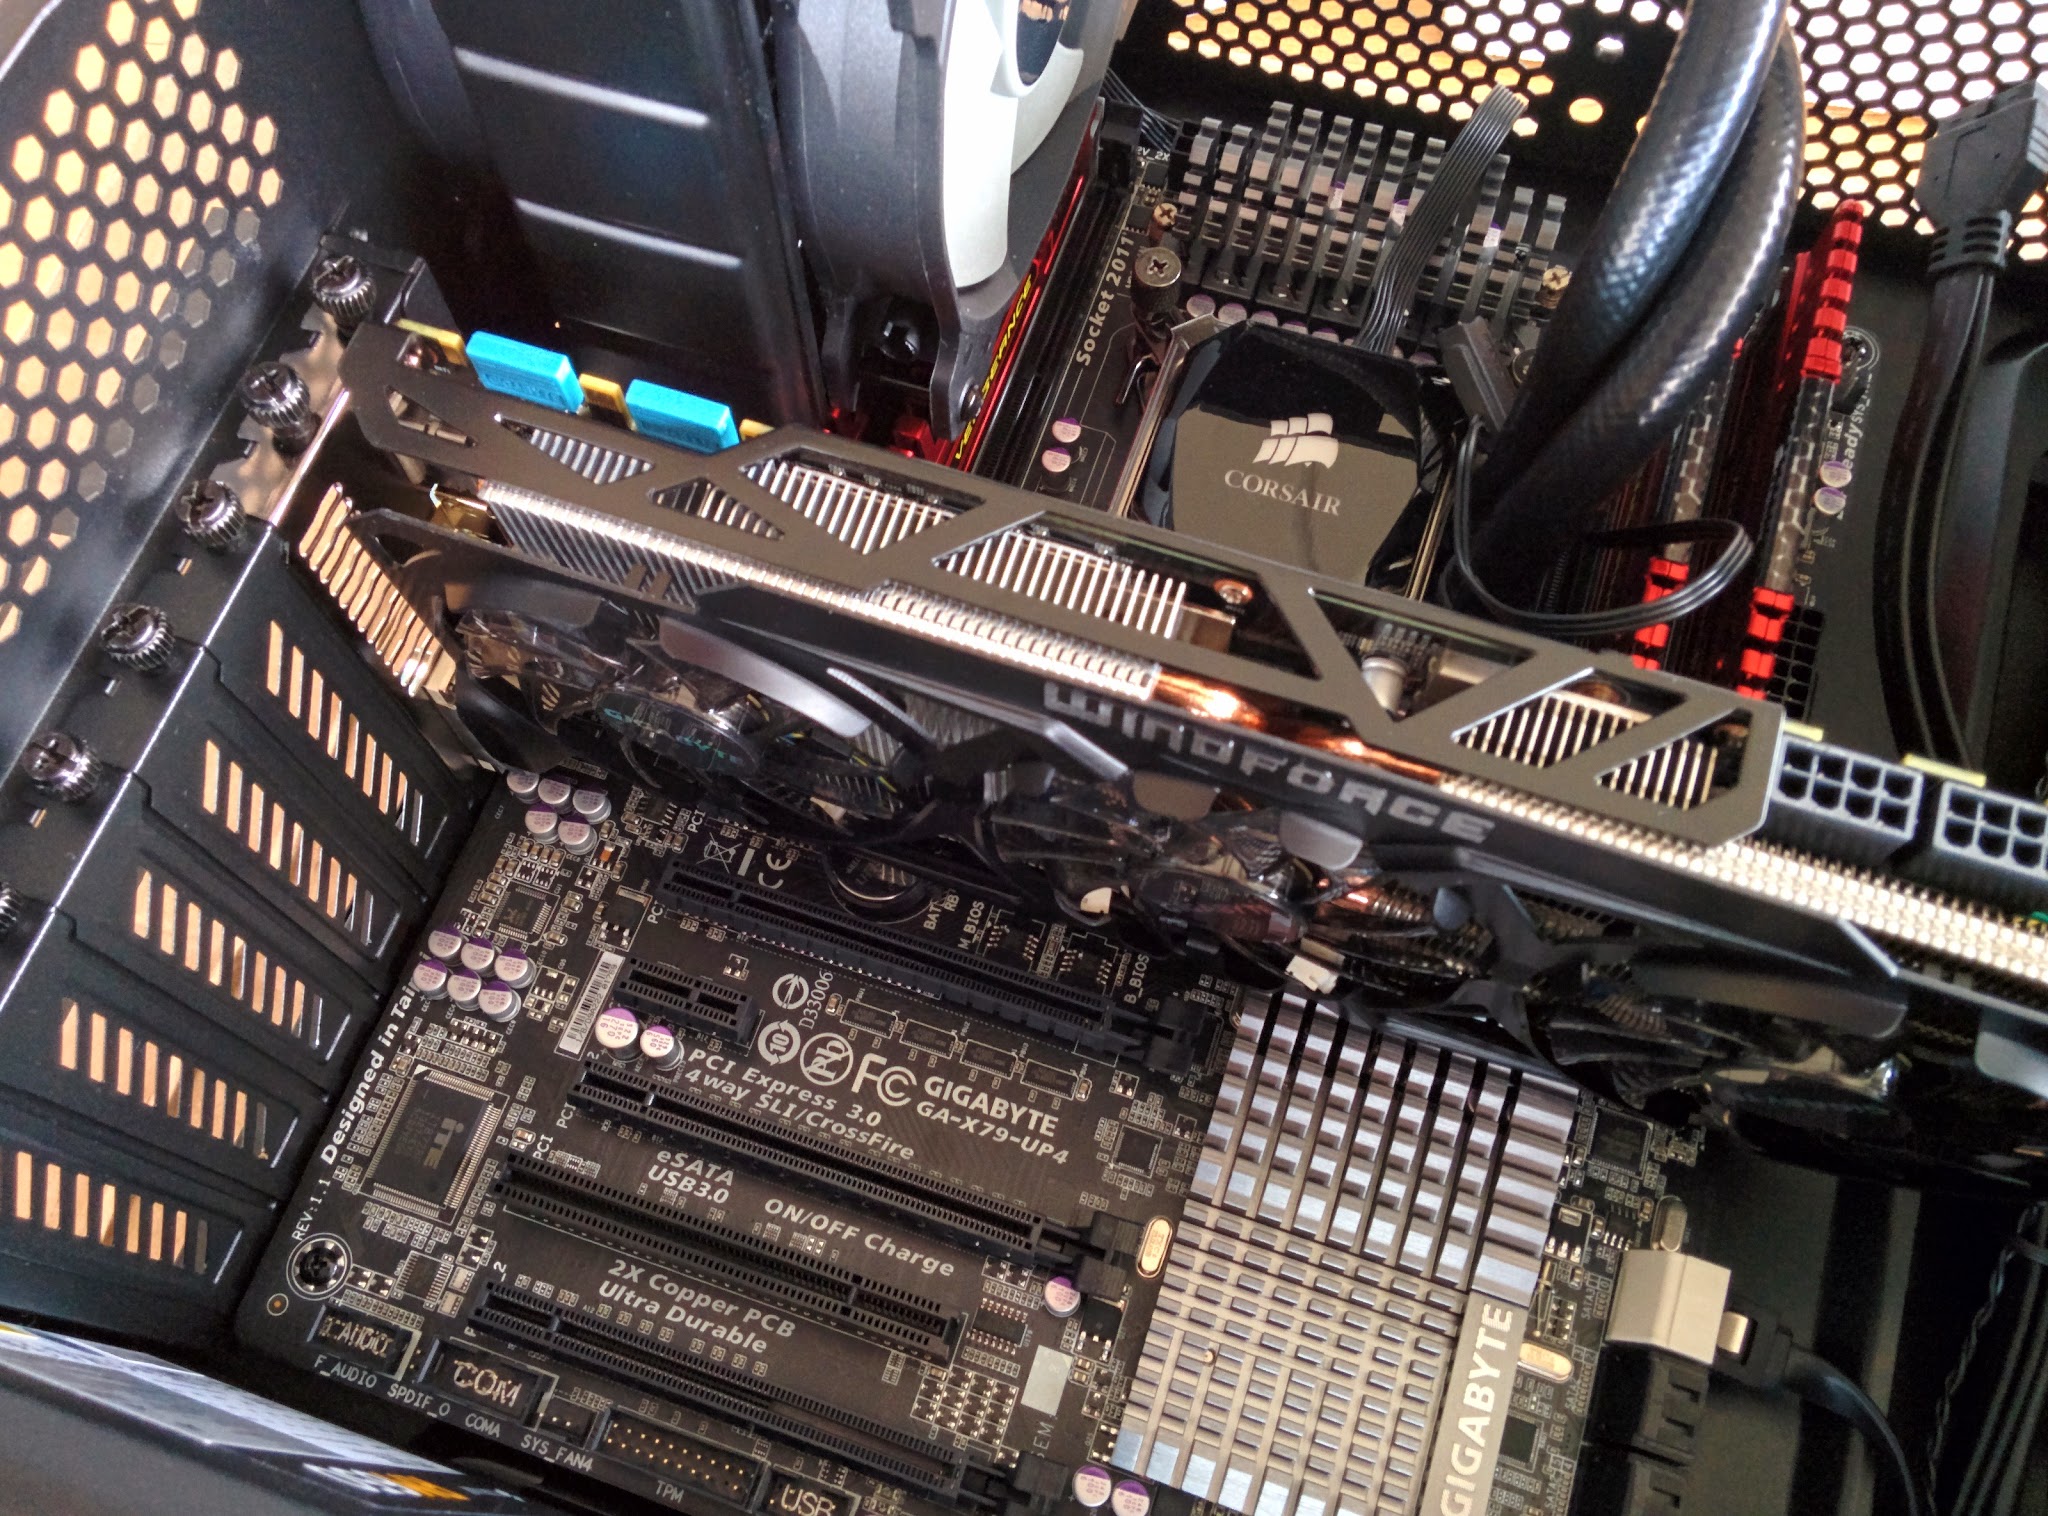
Graphics Card
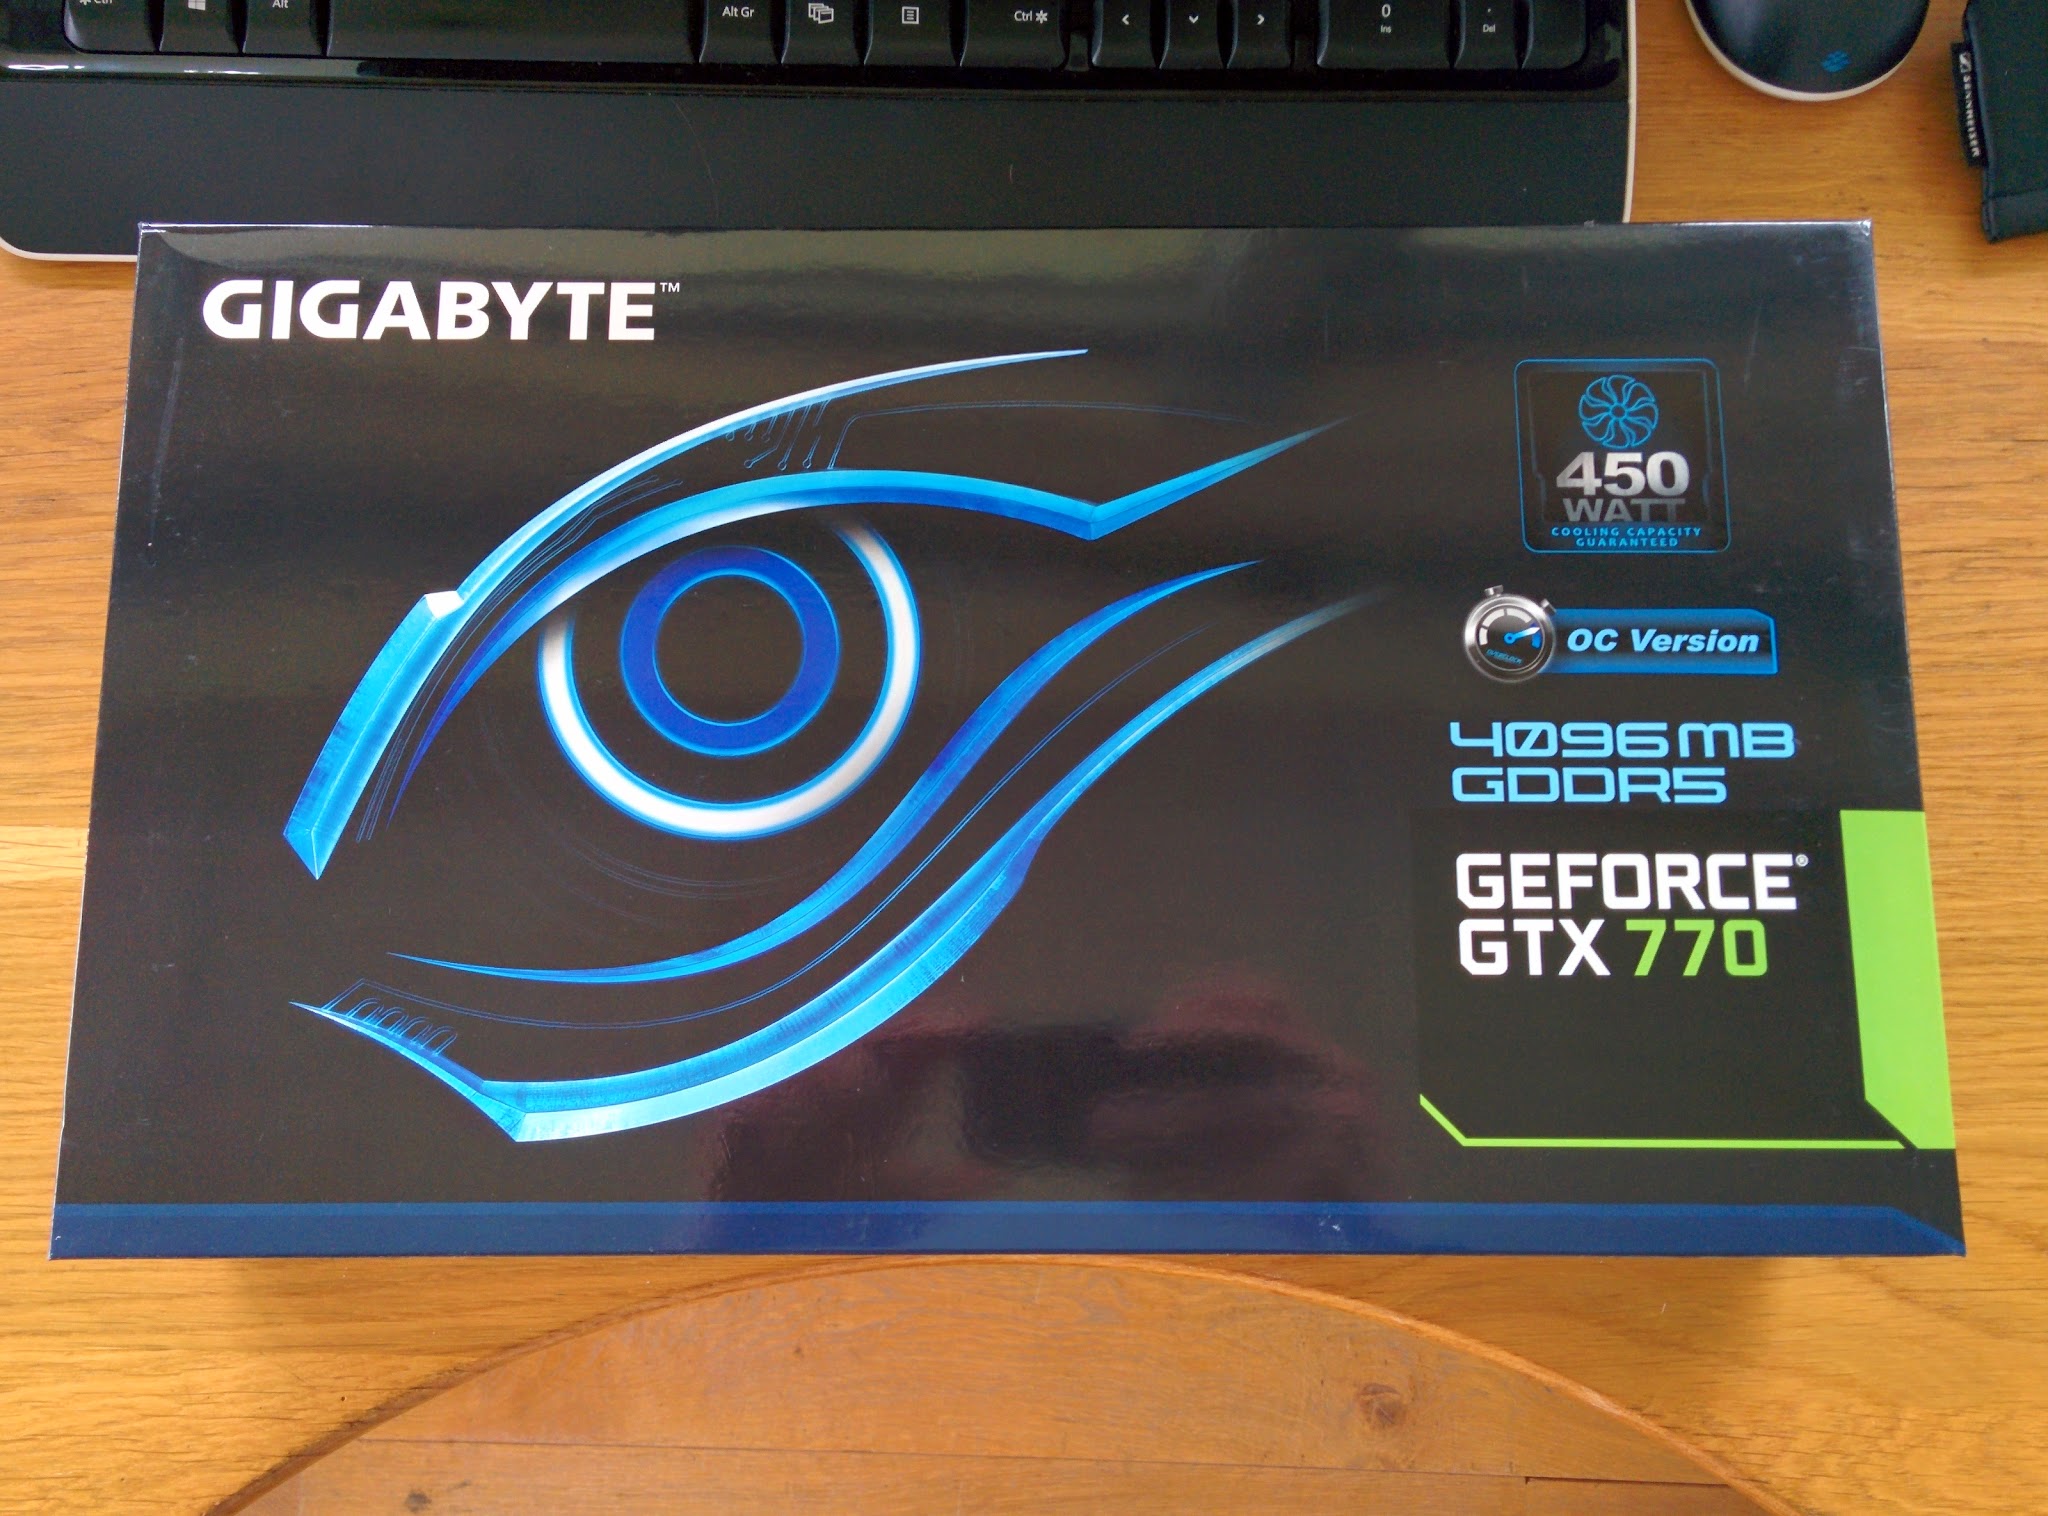
In this build, I’m using a GTX 770 4GB. Why not a workstation card for a workstation? Because the programs that we’re using simply don’t benefit from a workstation card, and as such a “gaming” card is far superior value for money. This 4GB card has enough VRAM to hold plenty of detail on the models that we’re working with on-screen.

All modern graphics cards (and almost any from the last few years) adhere to the PCI-E standard interface. This makes it simple to fit any card to any board. A common misconception is the requirement to use an AMD card with an AMD CPU and Nvidia with Intel. In fact, you can use any card with any CPU, so just go with the best you can get for your money. Keep in mind the individual perks of each GPU, such as Nvidia’s offering of their ShadowPlay and GeForce Experience features or AMD’s ability to Crossfire your GPU with your AMD processor’s iGPU. (There’s plenty of information on these topics elsewhere on Xydre).
- To install the card, first remove the blanking plates on the rear of the case. Most gaming cards are dual-slot and will require the removal of two plates
- Pull back the clip on the PCI-E slot, similar to the clips on the RAM slots from earlier
- Place the card into the slot and push down until the clip flicks back to secure the card in place
- Screw the card in place using the screws removed with the blanking plates back into their original screw holes, fixing the card to the case
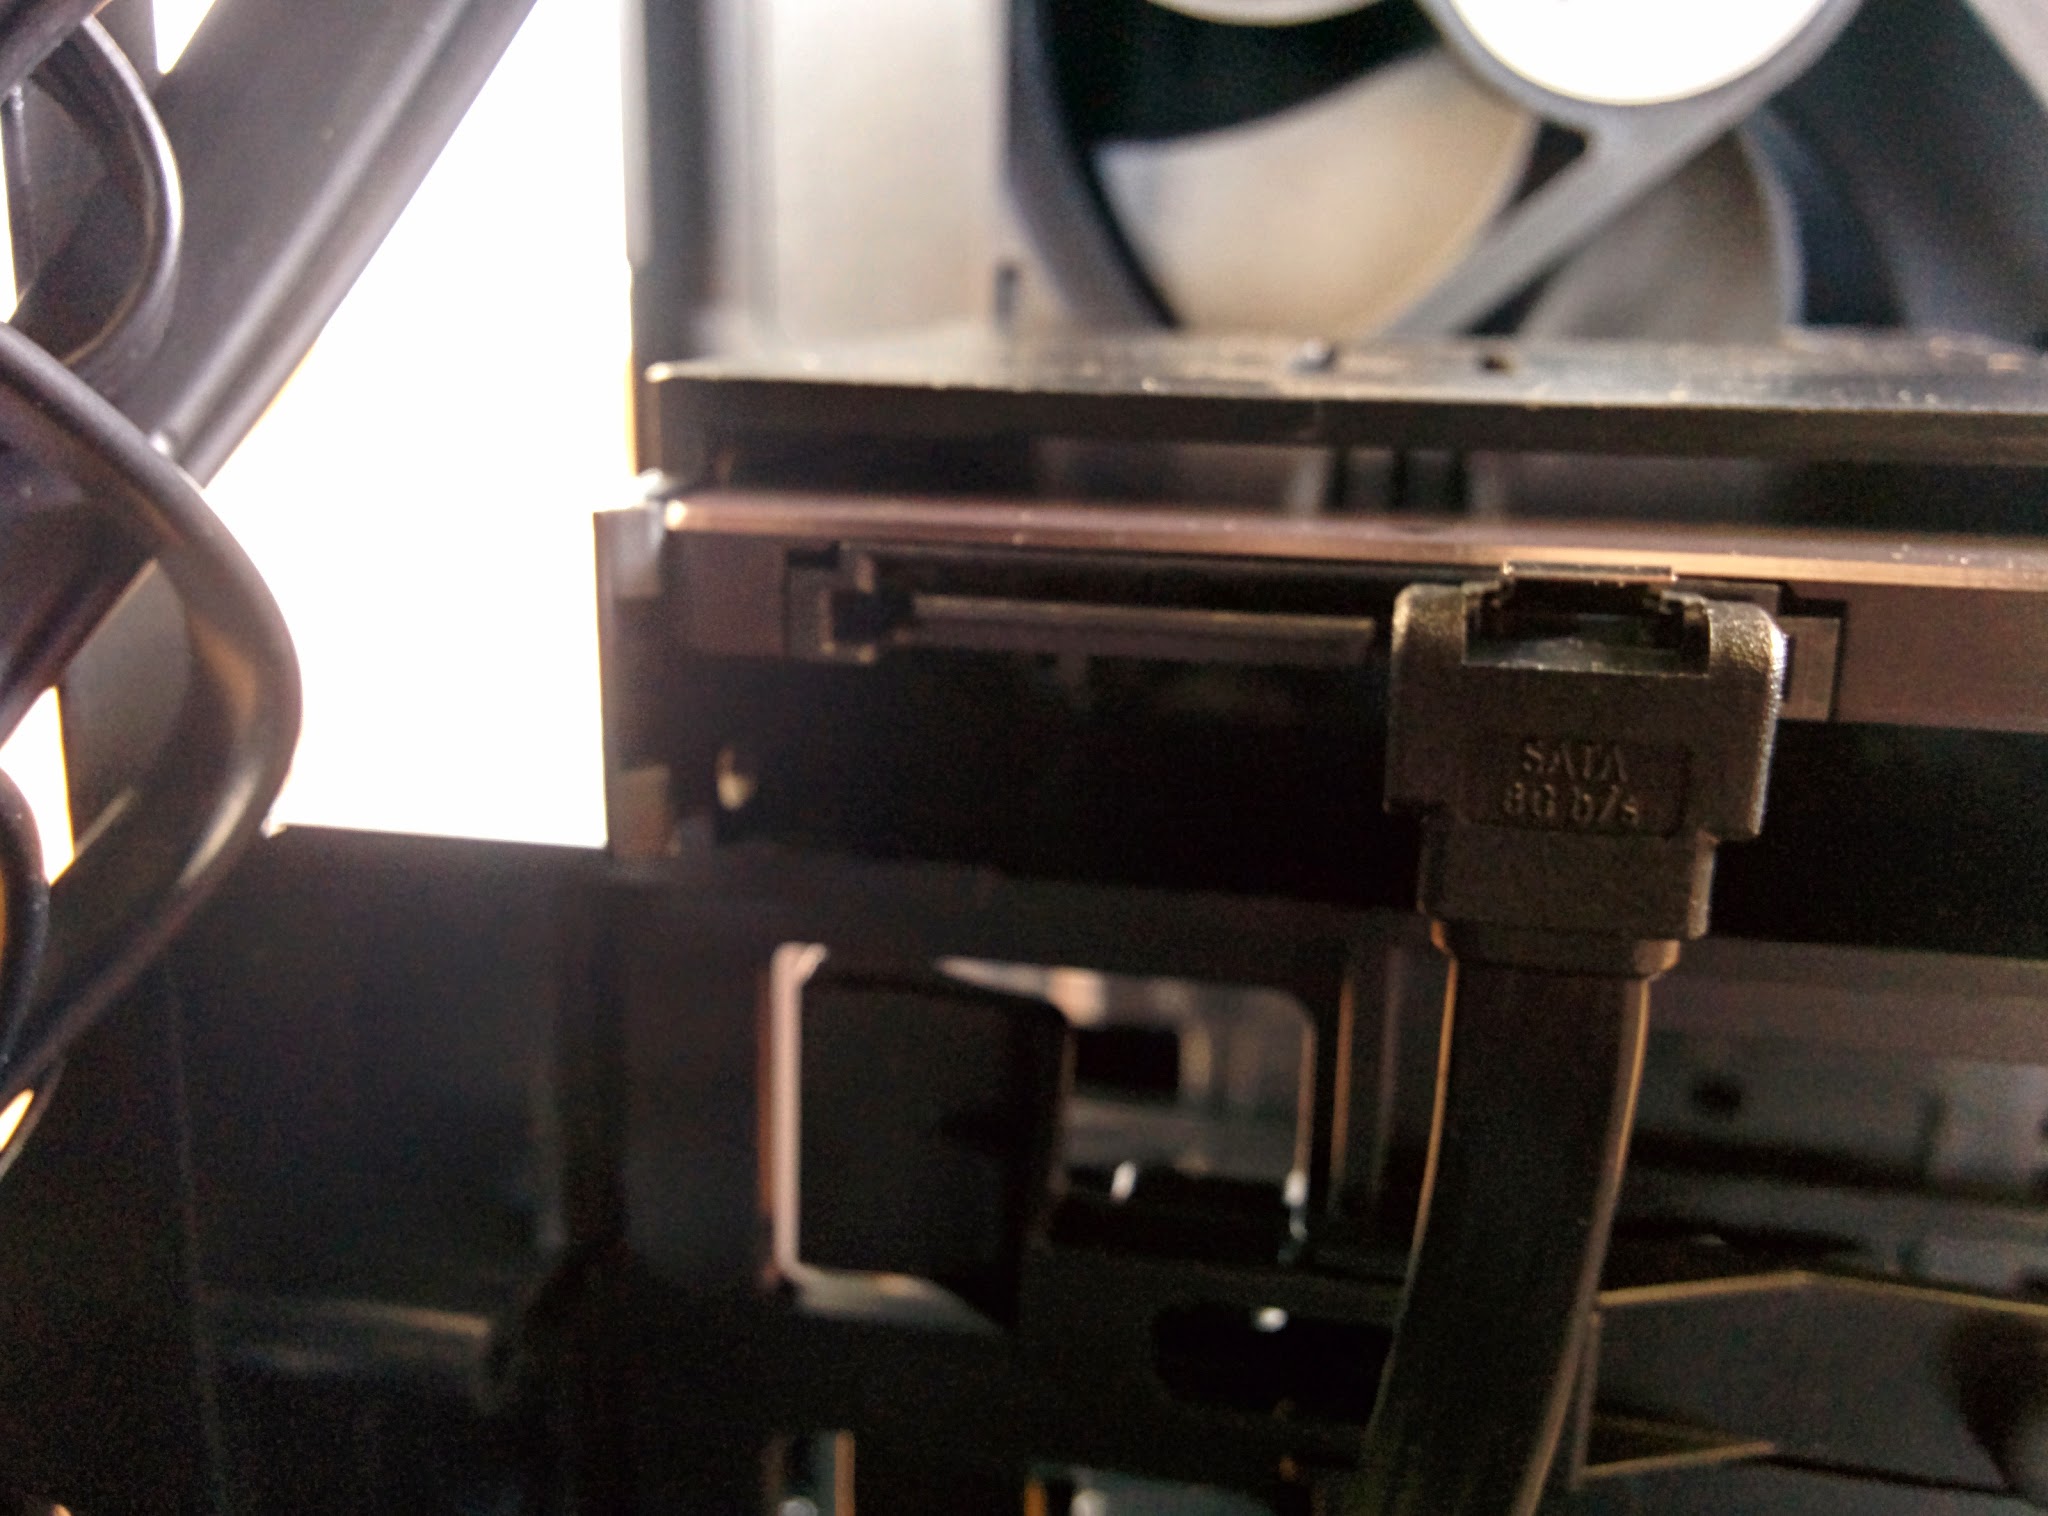
Optical Drive
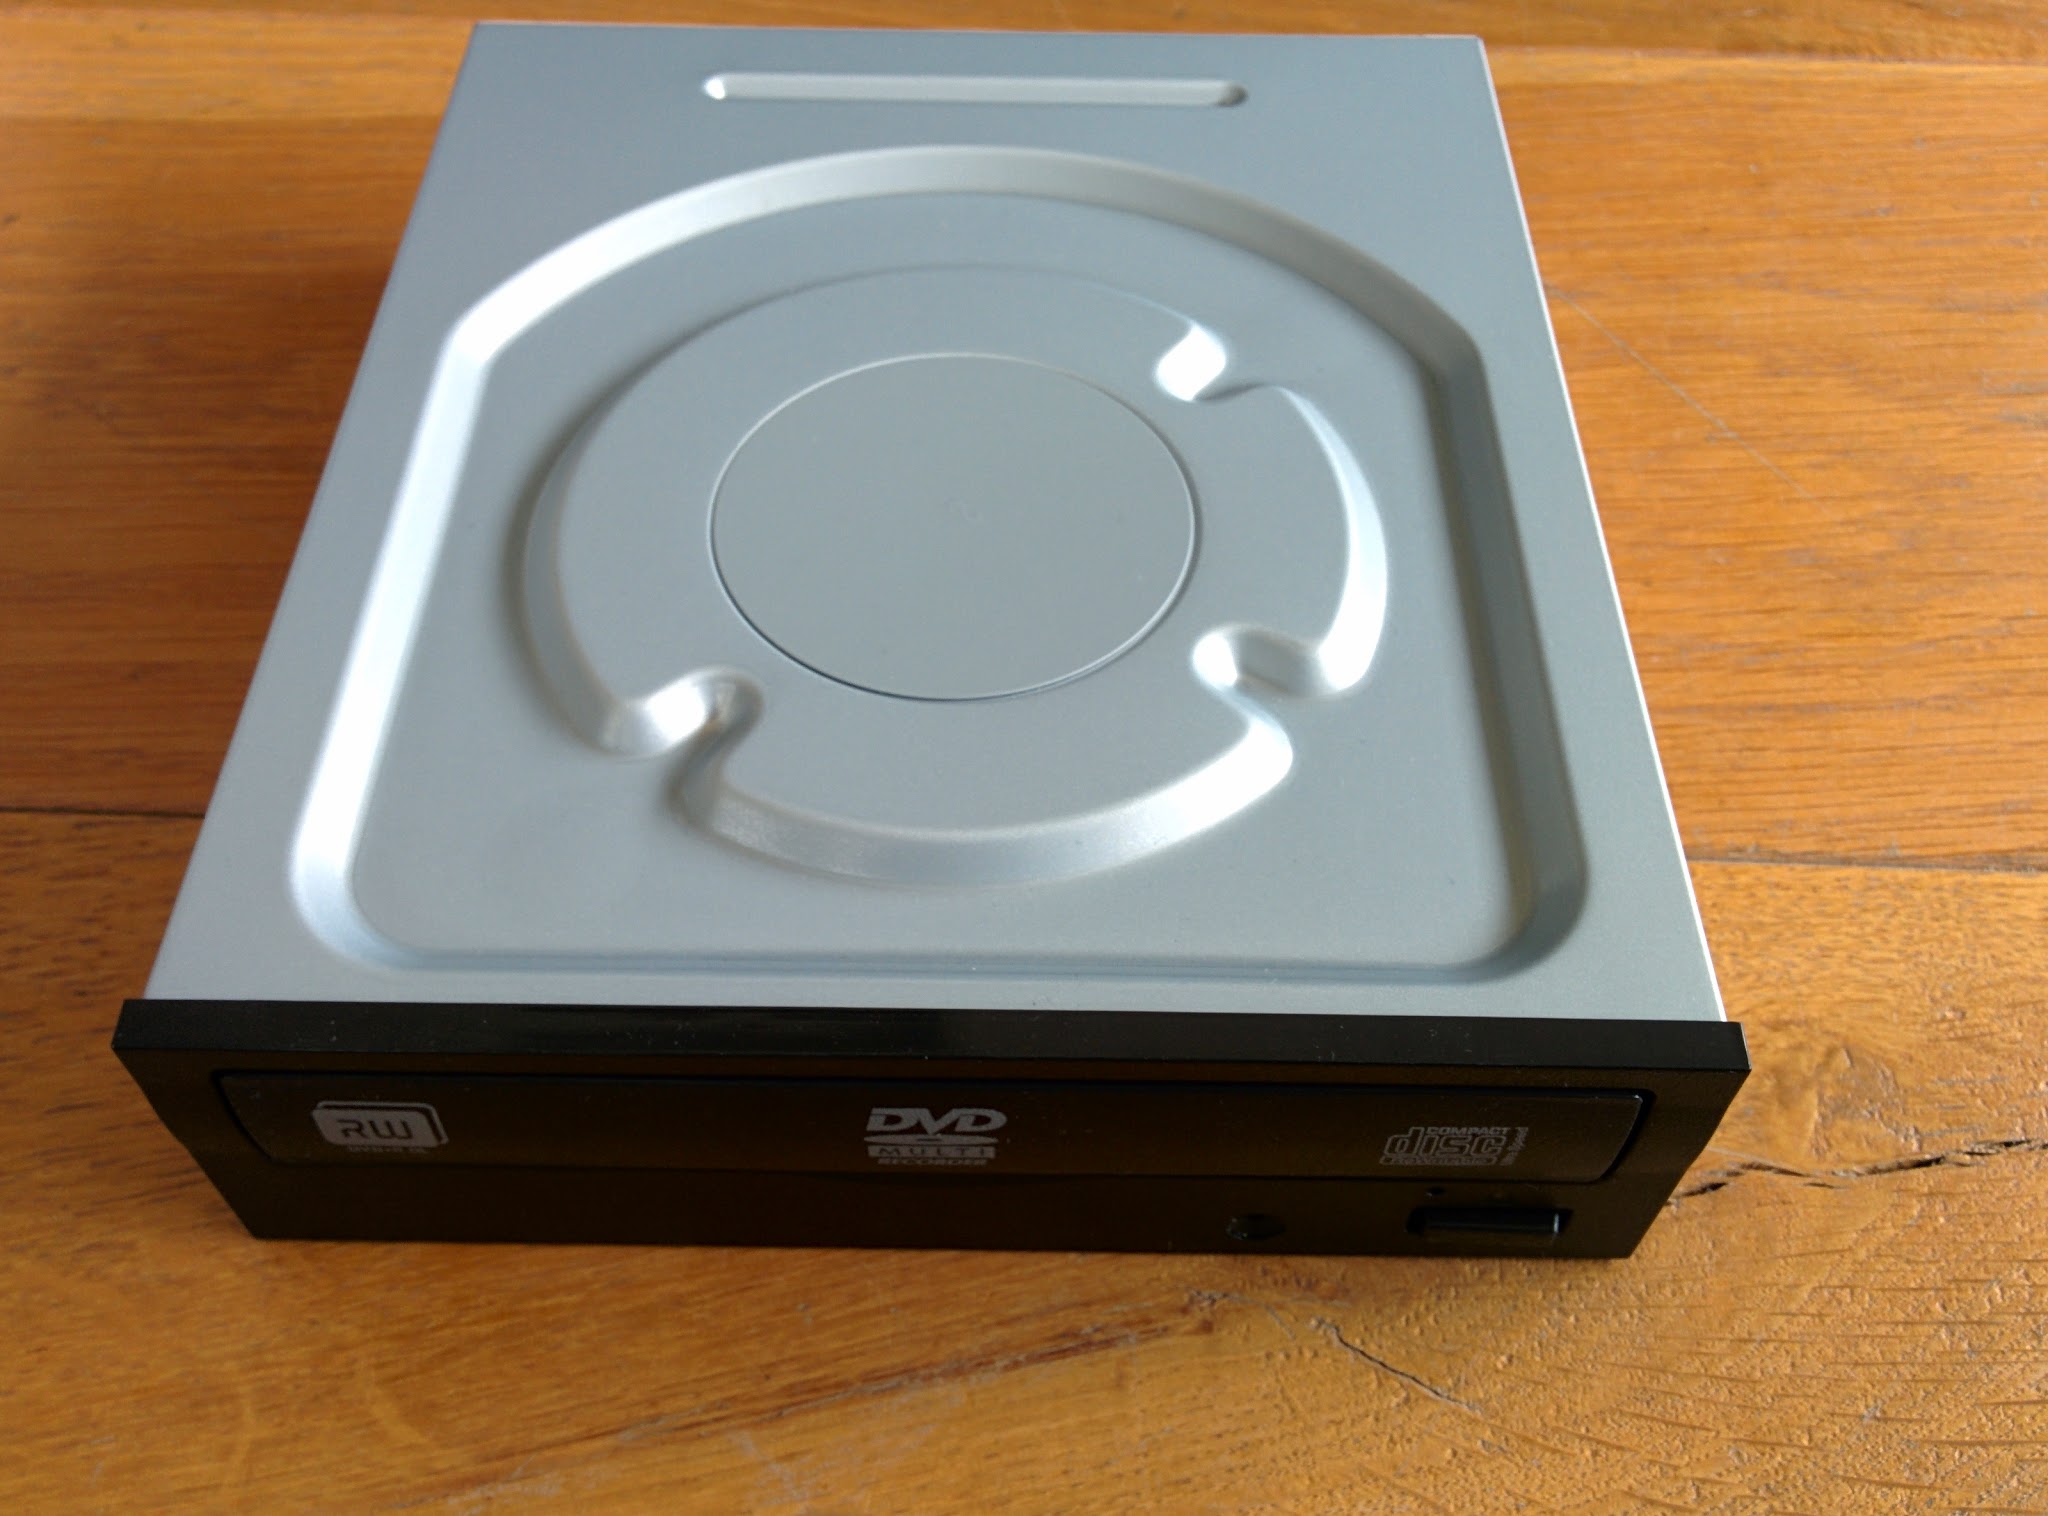
There is very little difference in optical drives now. My home PC doesn’t even have a disc drive. For this machine, I did need to install software from discs, so we’ll need a drive. You can pick up a DVD-RW drive from Samsung or LiteOn for less than £10 now and that’s all you’ll need unless you really want to read Blu-Ray discs.
Optical drives are extremely easy to fit. It’s just a case of removing the blanking plate and slipping the drive in. Most cases don’t even require screws any more.
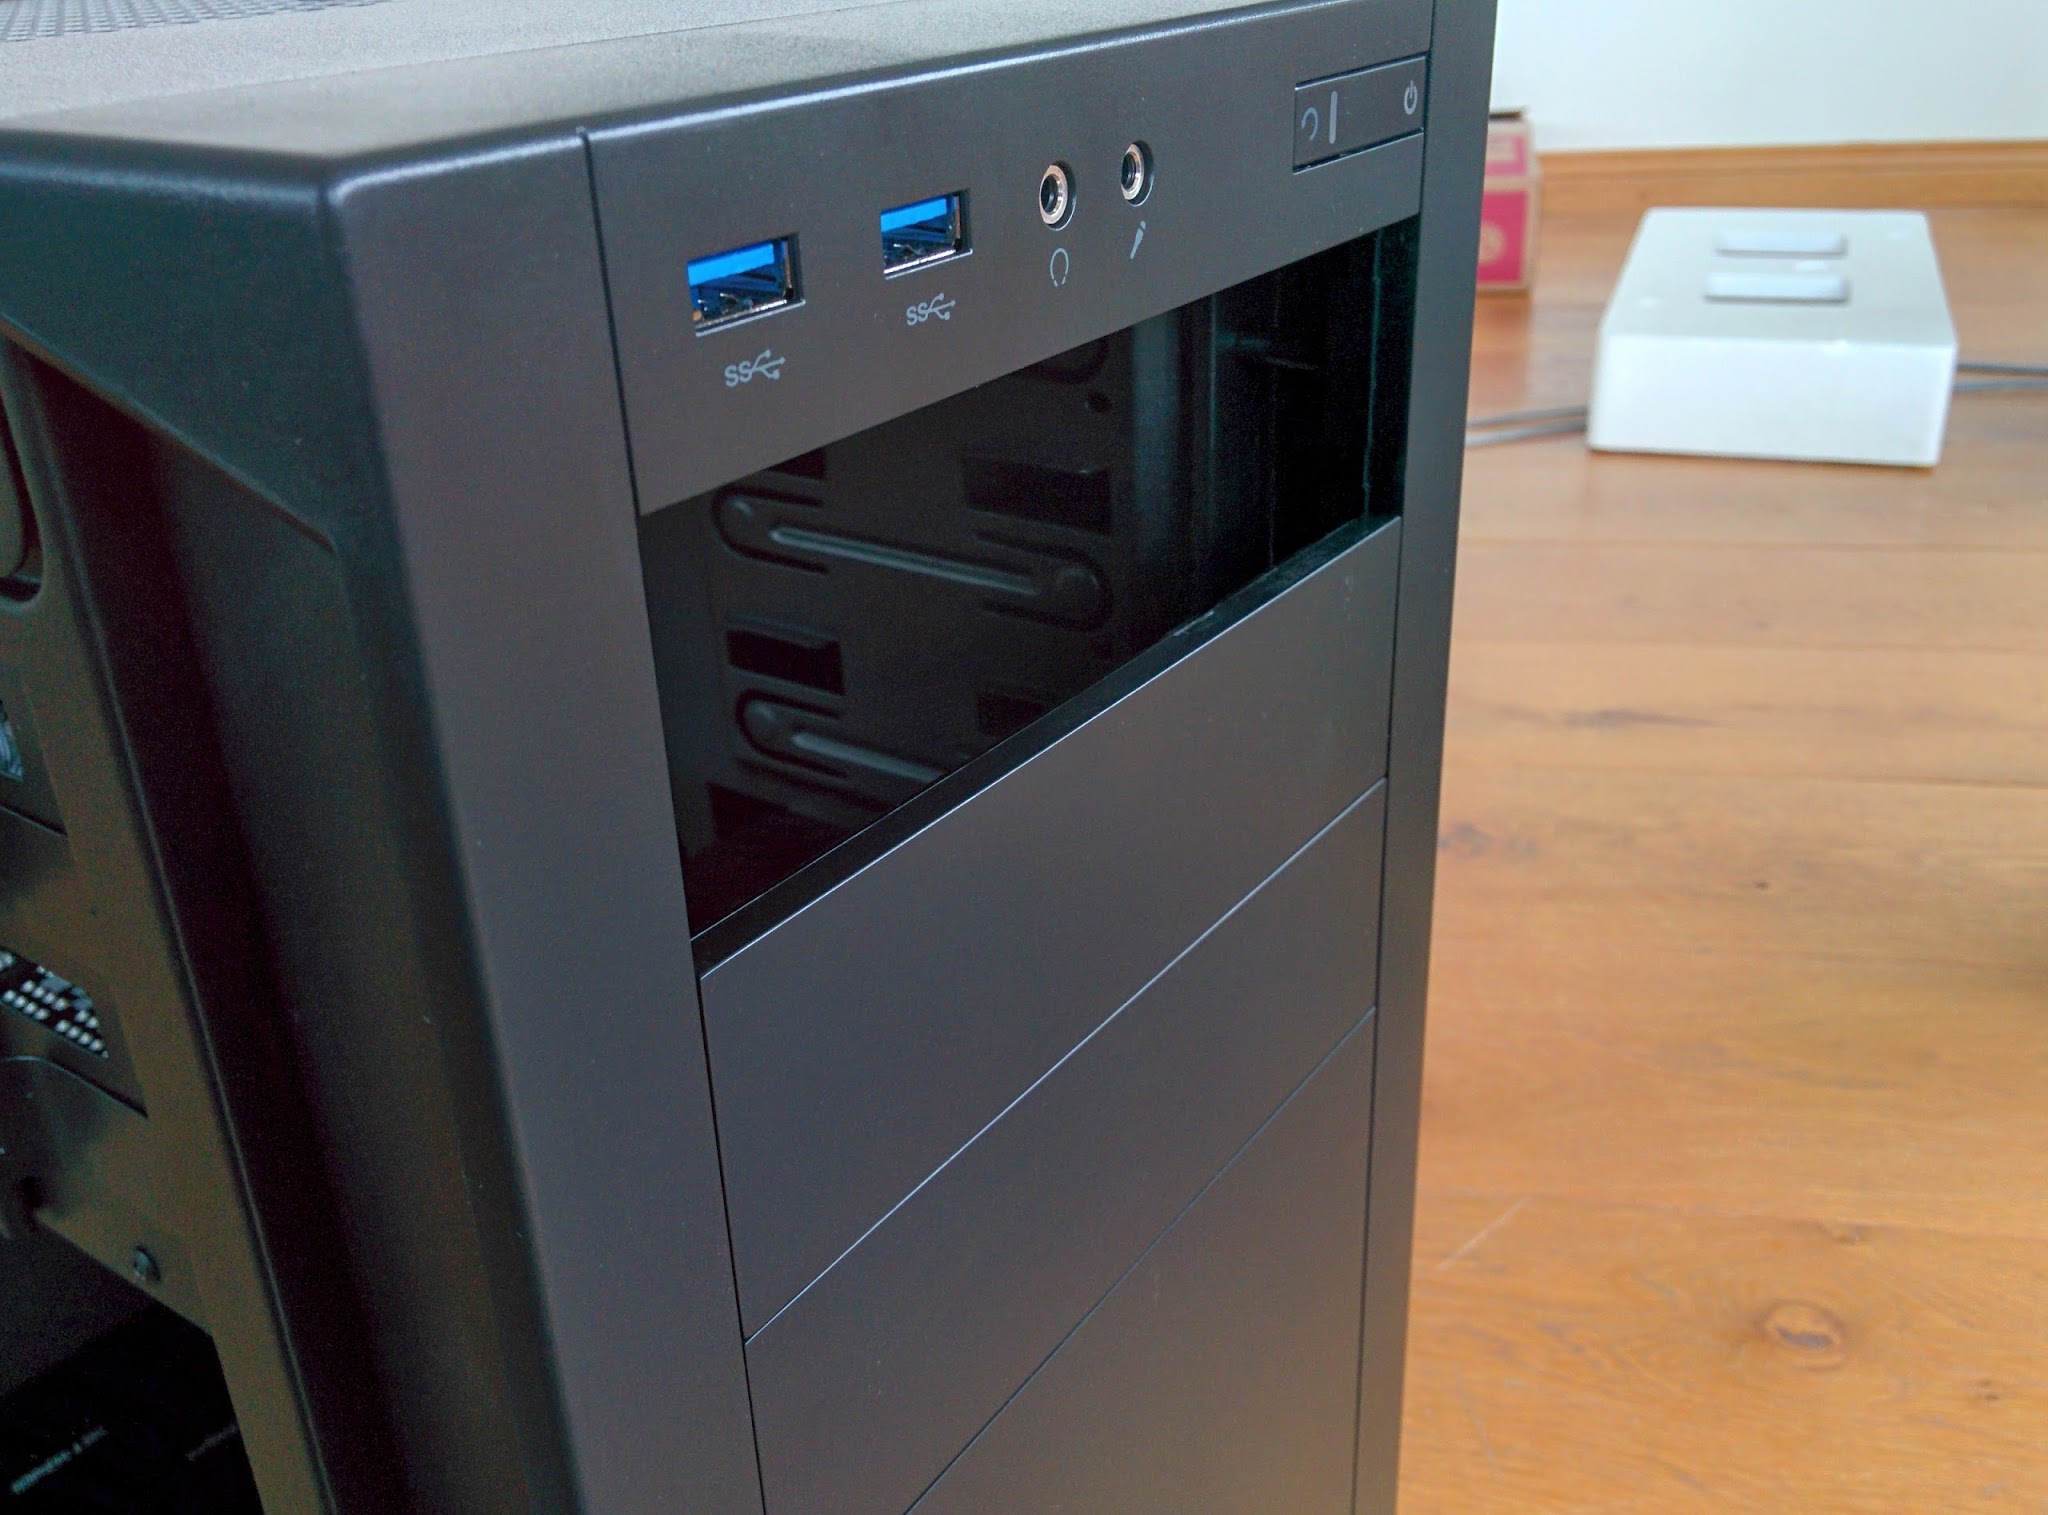
- Remove the blanking plate on the front of the optical disc drive slot. This is usually as simple as pushing it from the inside, sometimes requiring releasing of clips on either side of the plate
- Slot the drive in from the front of the case, making sure the securing apparatus (if present) contained in your case is set to “open” to allow the drive to slide in
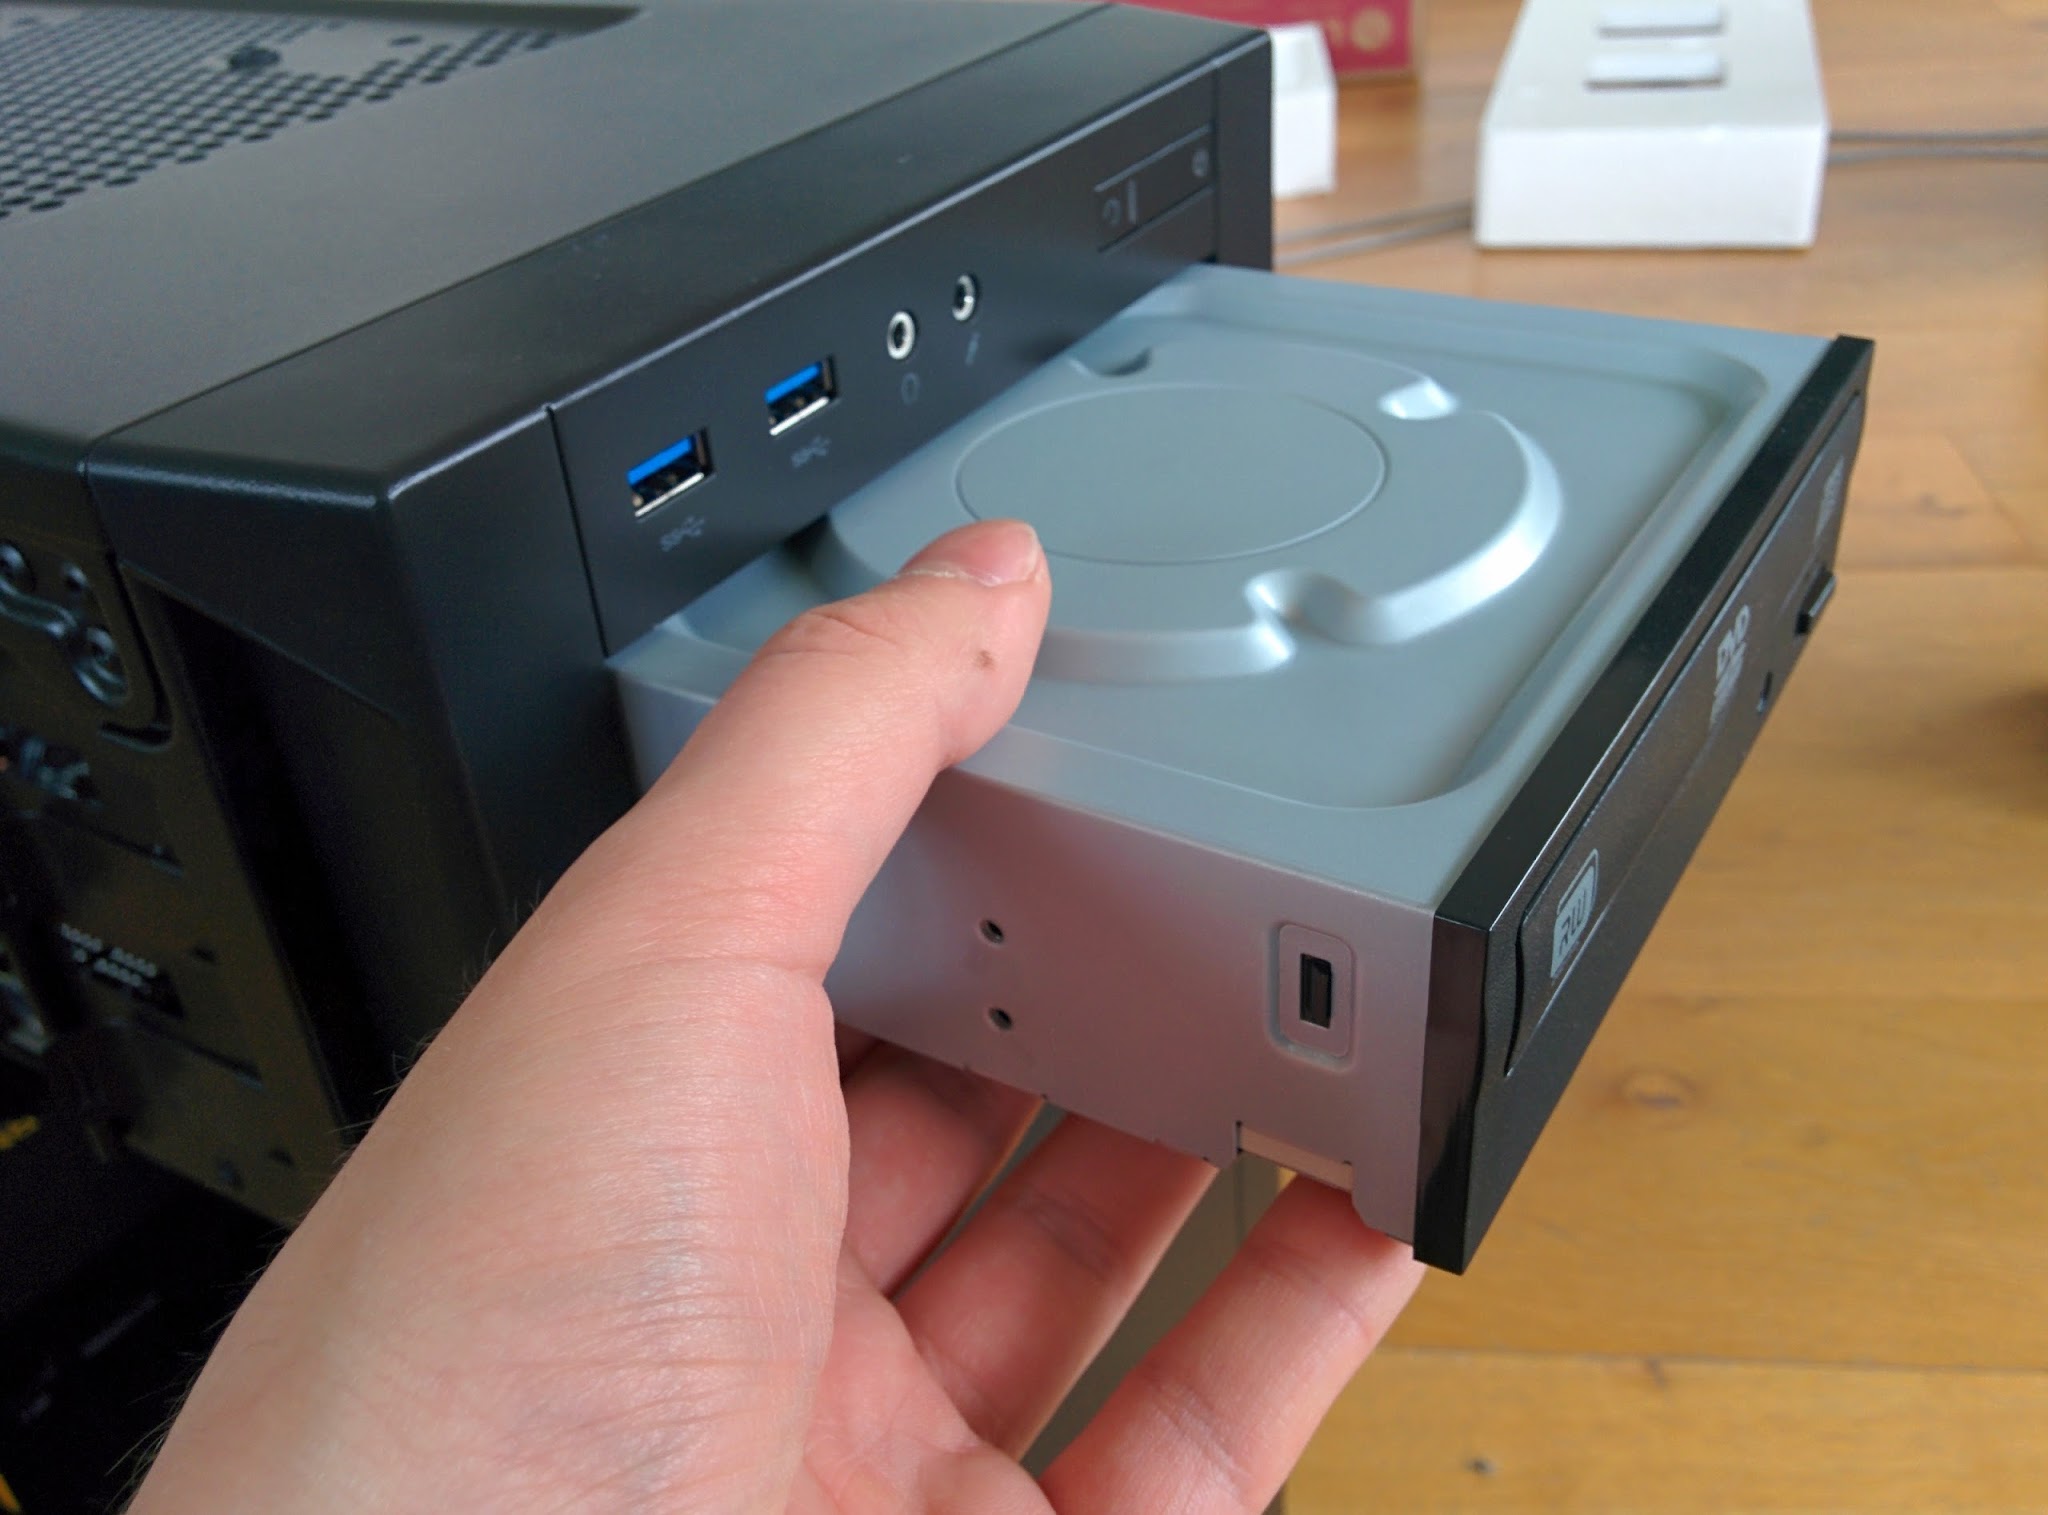
- Once inserted, move the securing apparatus to the closed position, locking the drive in
- Now take another SATA cable and connect the drive to the motherboard exactly as before with the SSD
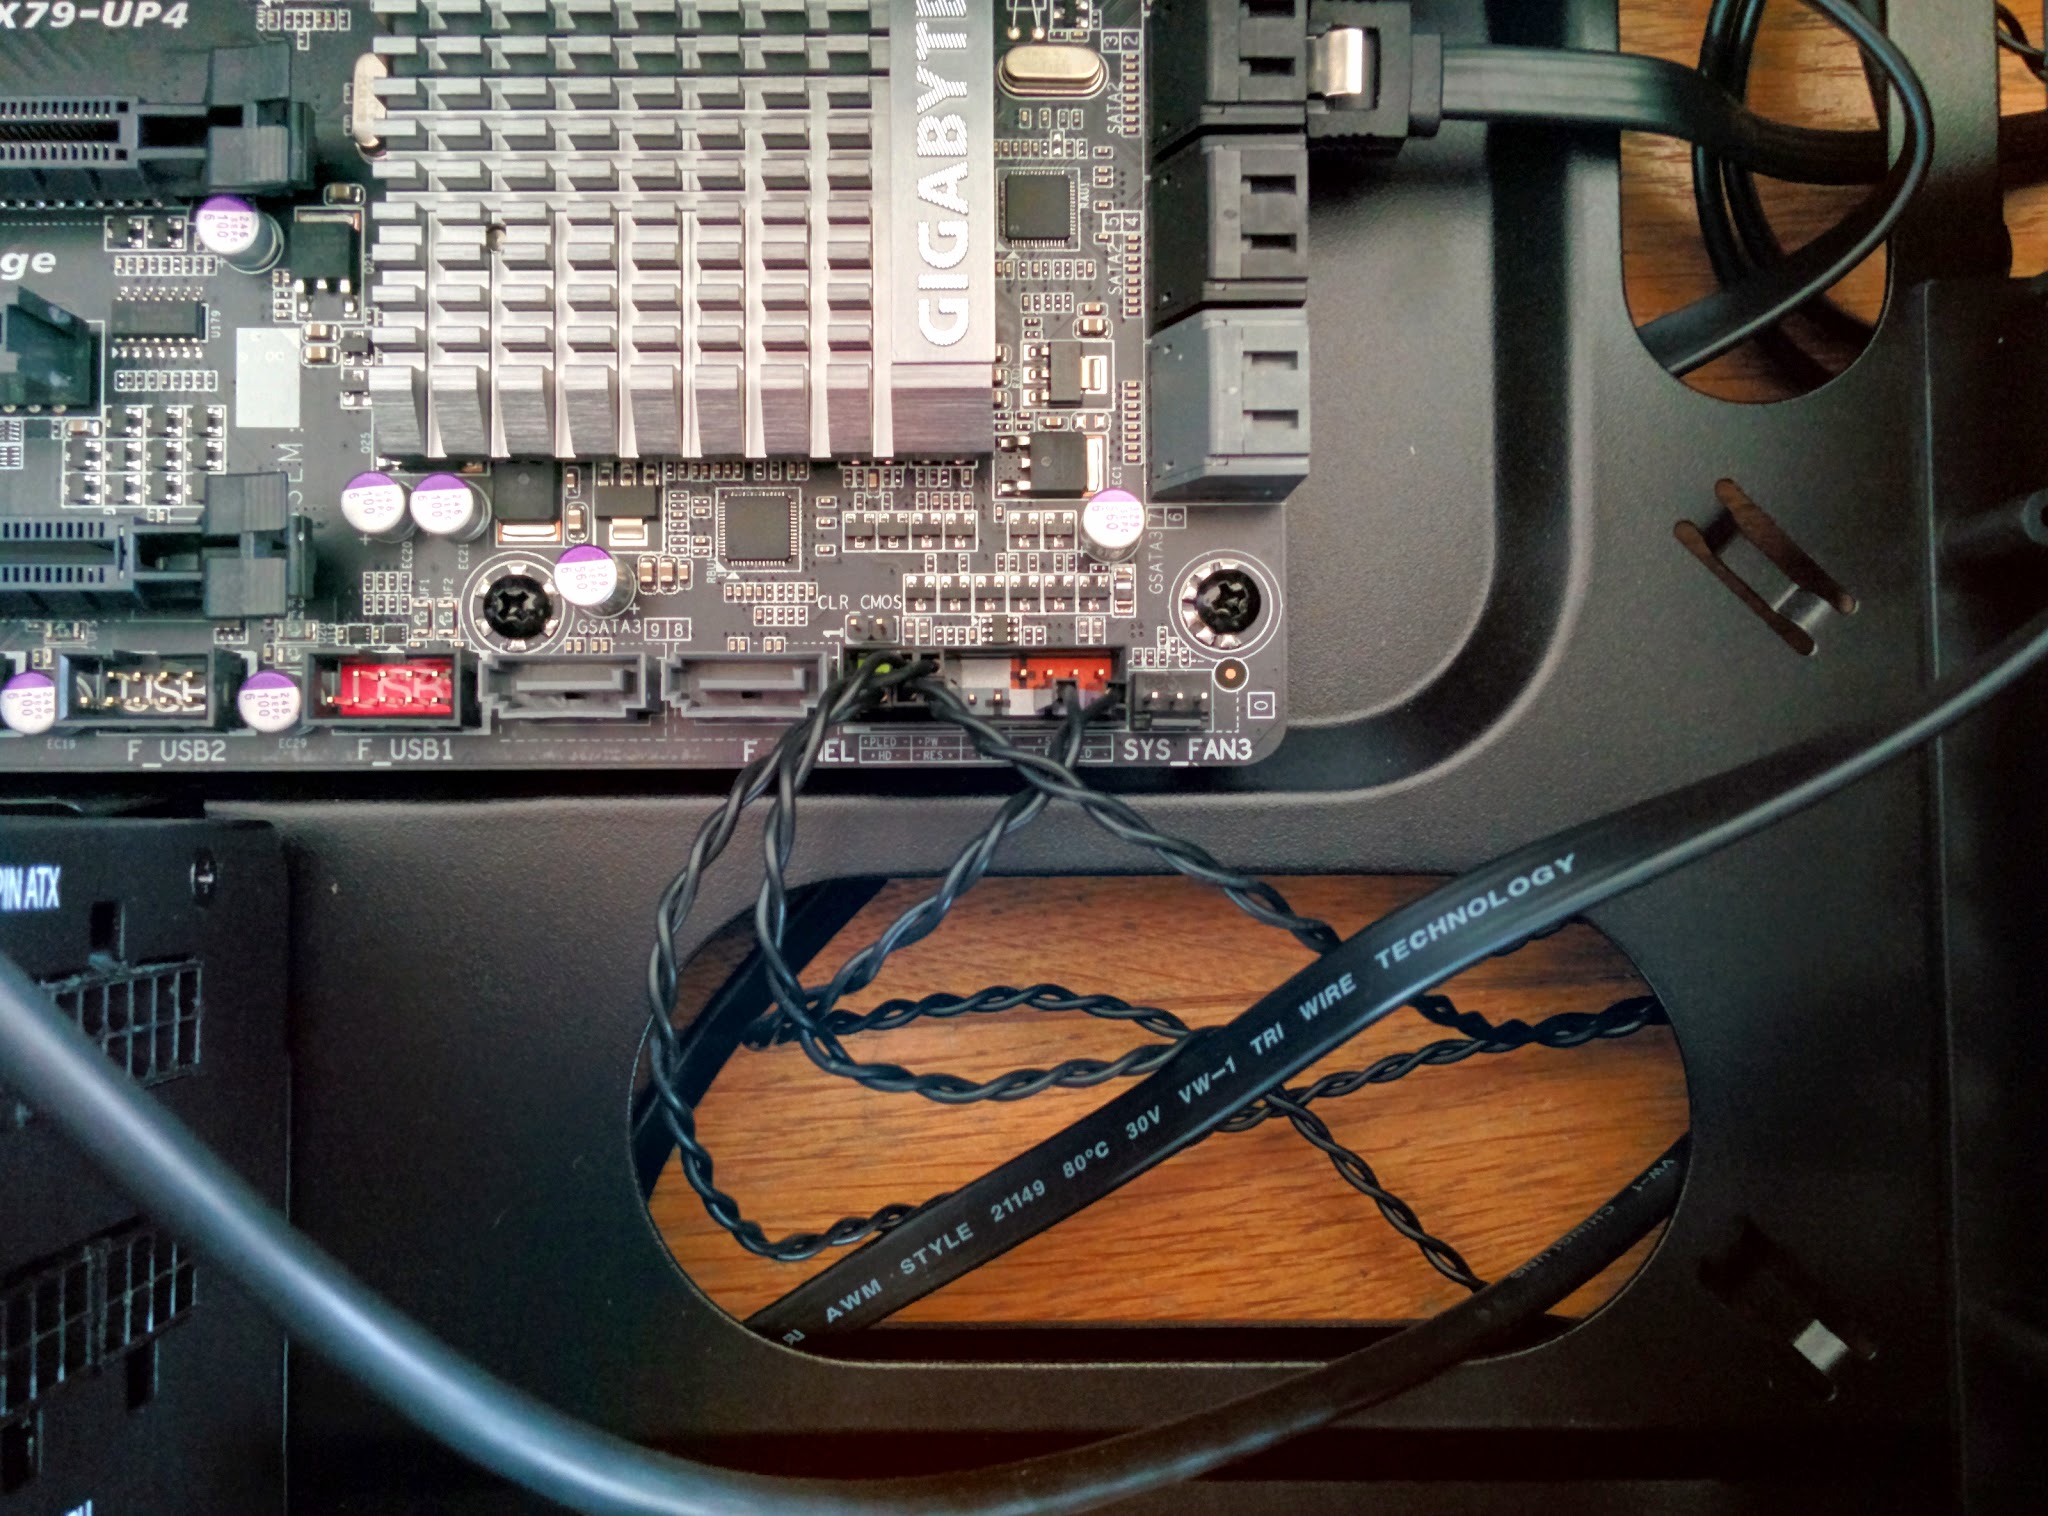
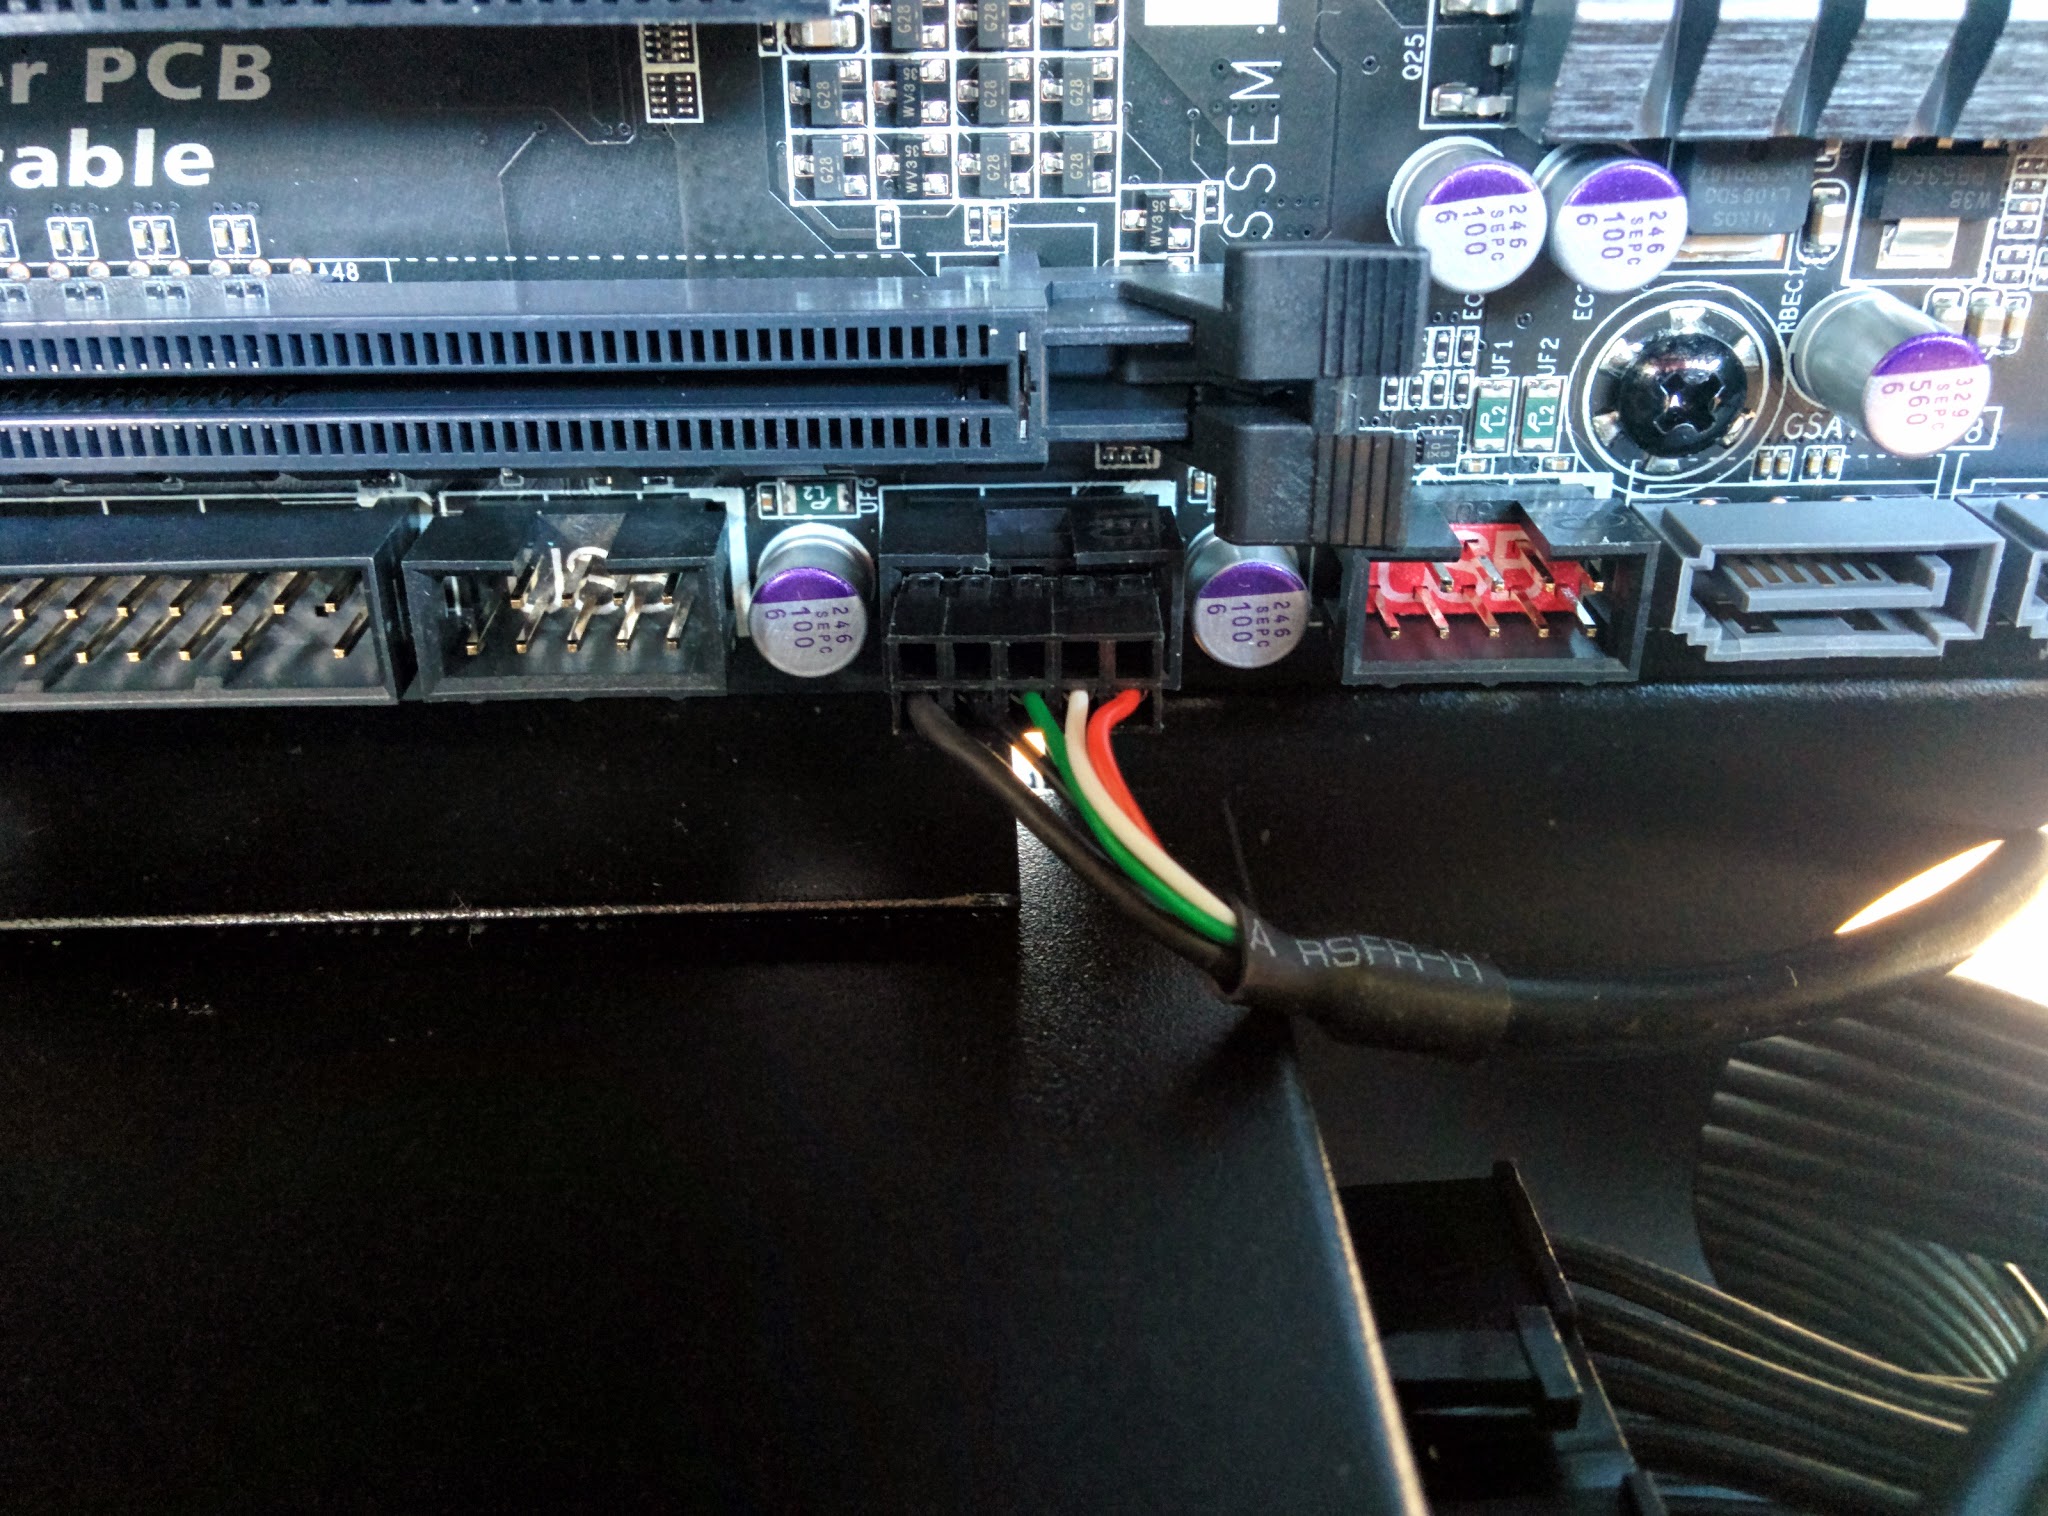
Front-panel Connections
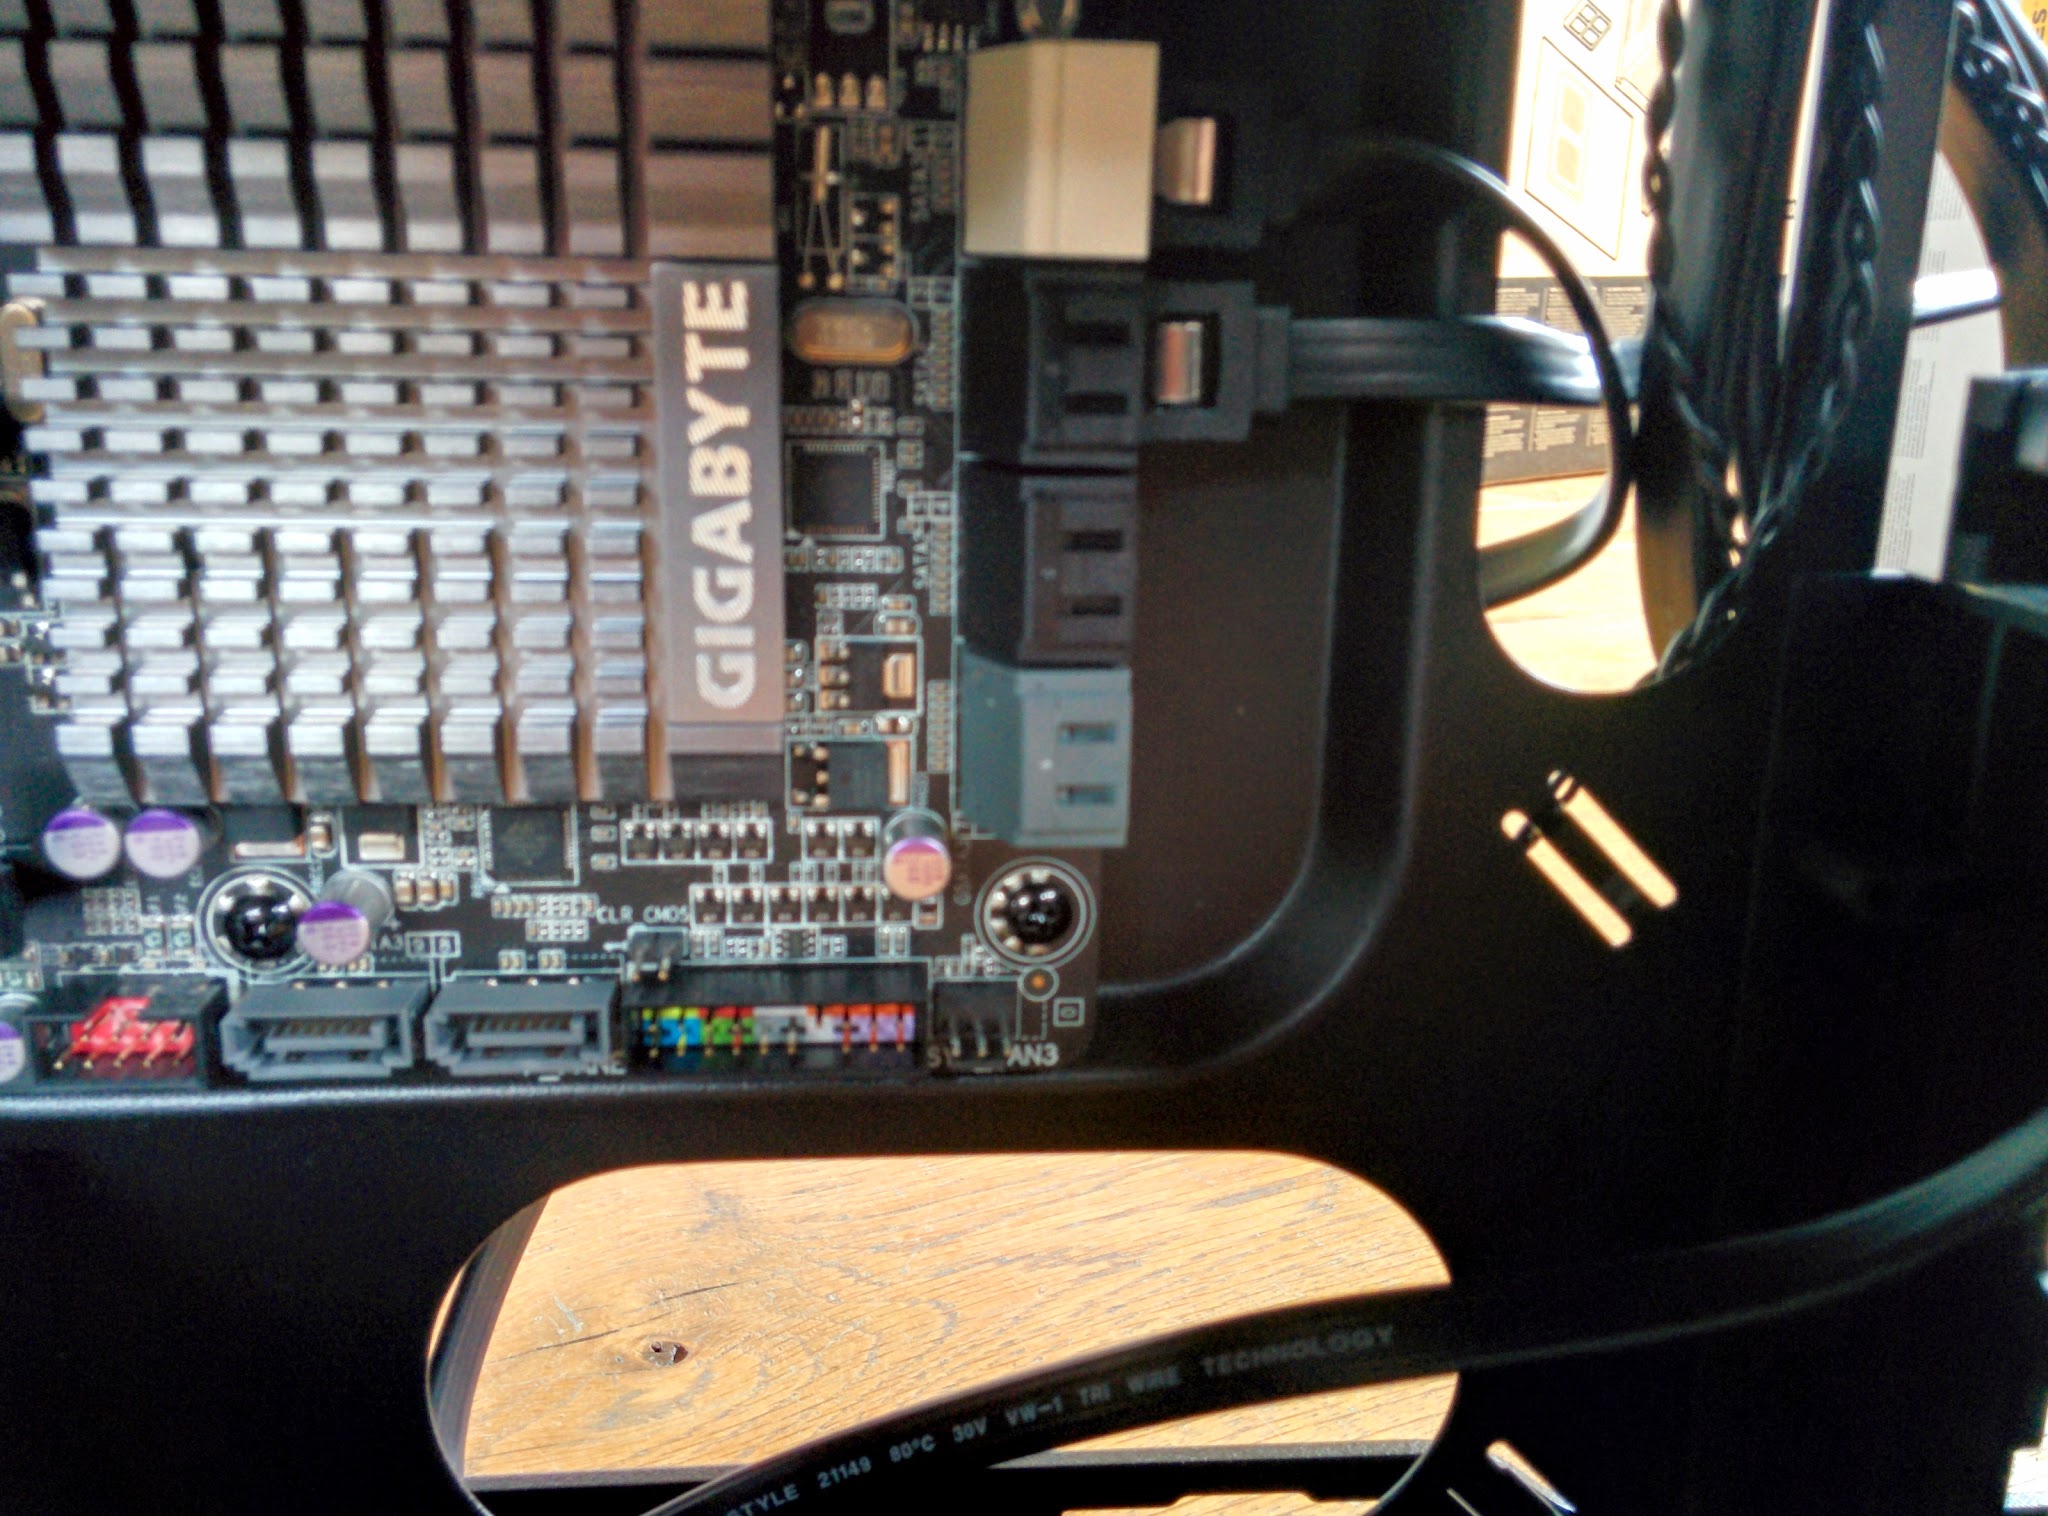
In order for the power button and USB ports on the front of the case to have any effect, you’ll need to plug them into the motherboard. This is what the mess of cables coming from the front of the case is for. USB3 ports such as the ones supplied on the front of the 200R, are connected via a rather thick cable half way up the board. The other wires (LEDs, buttons, etc..) are connected to the collection of tiny pins at the front of the base of the board.
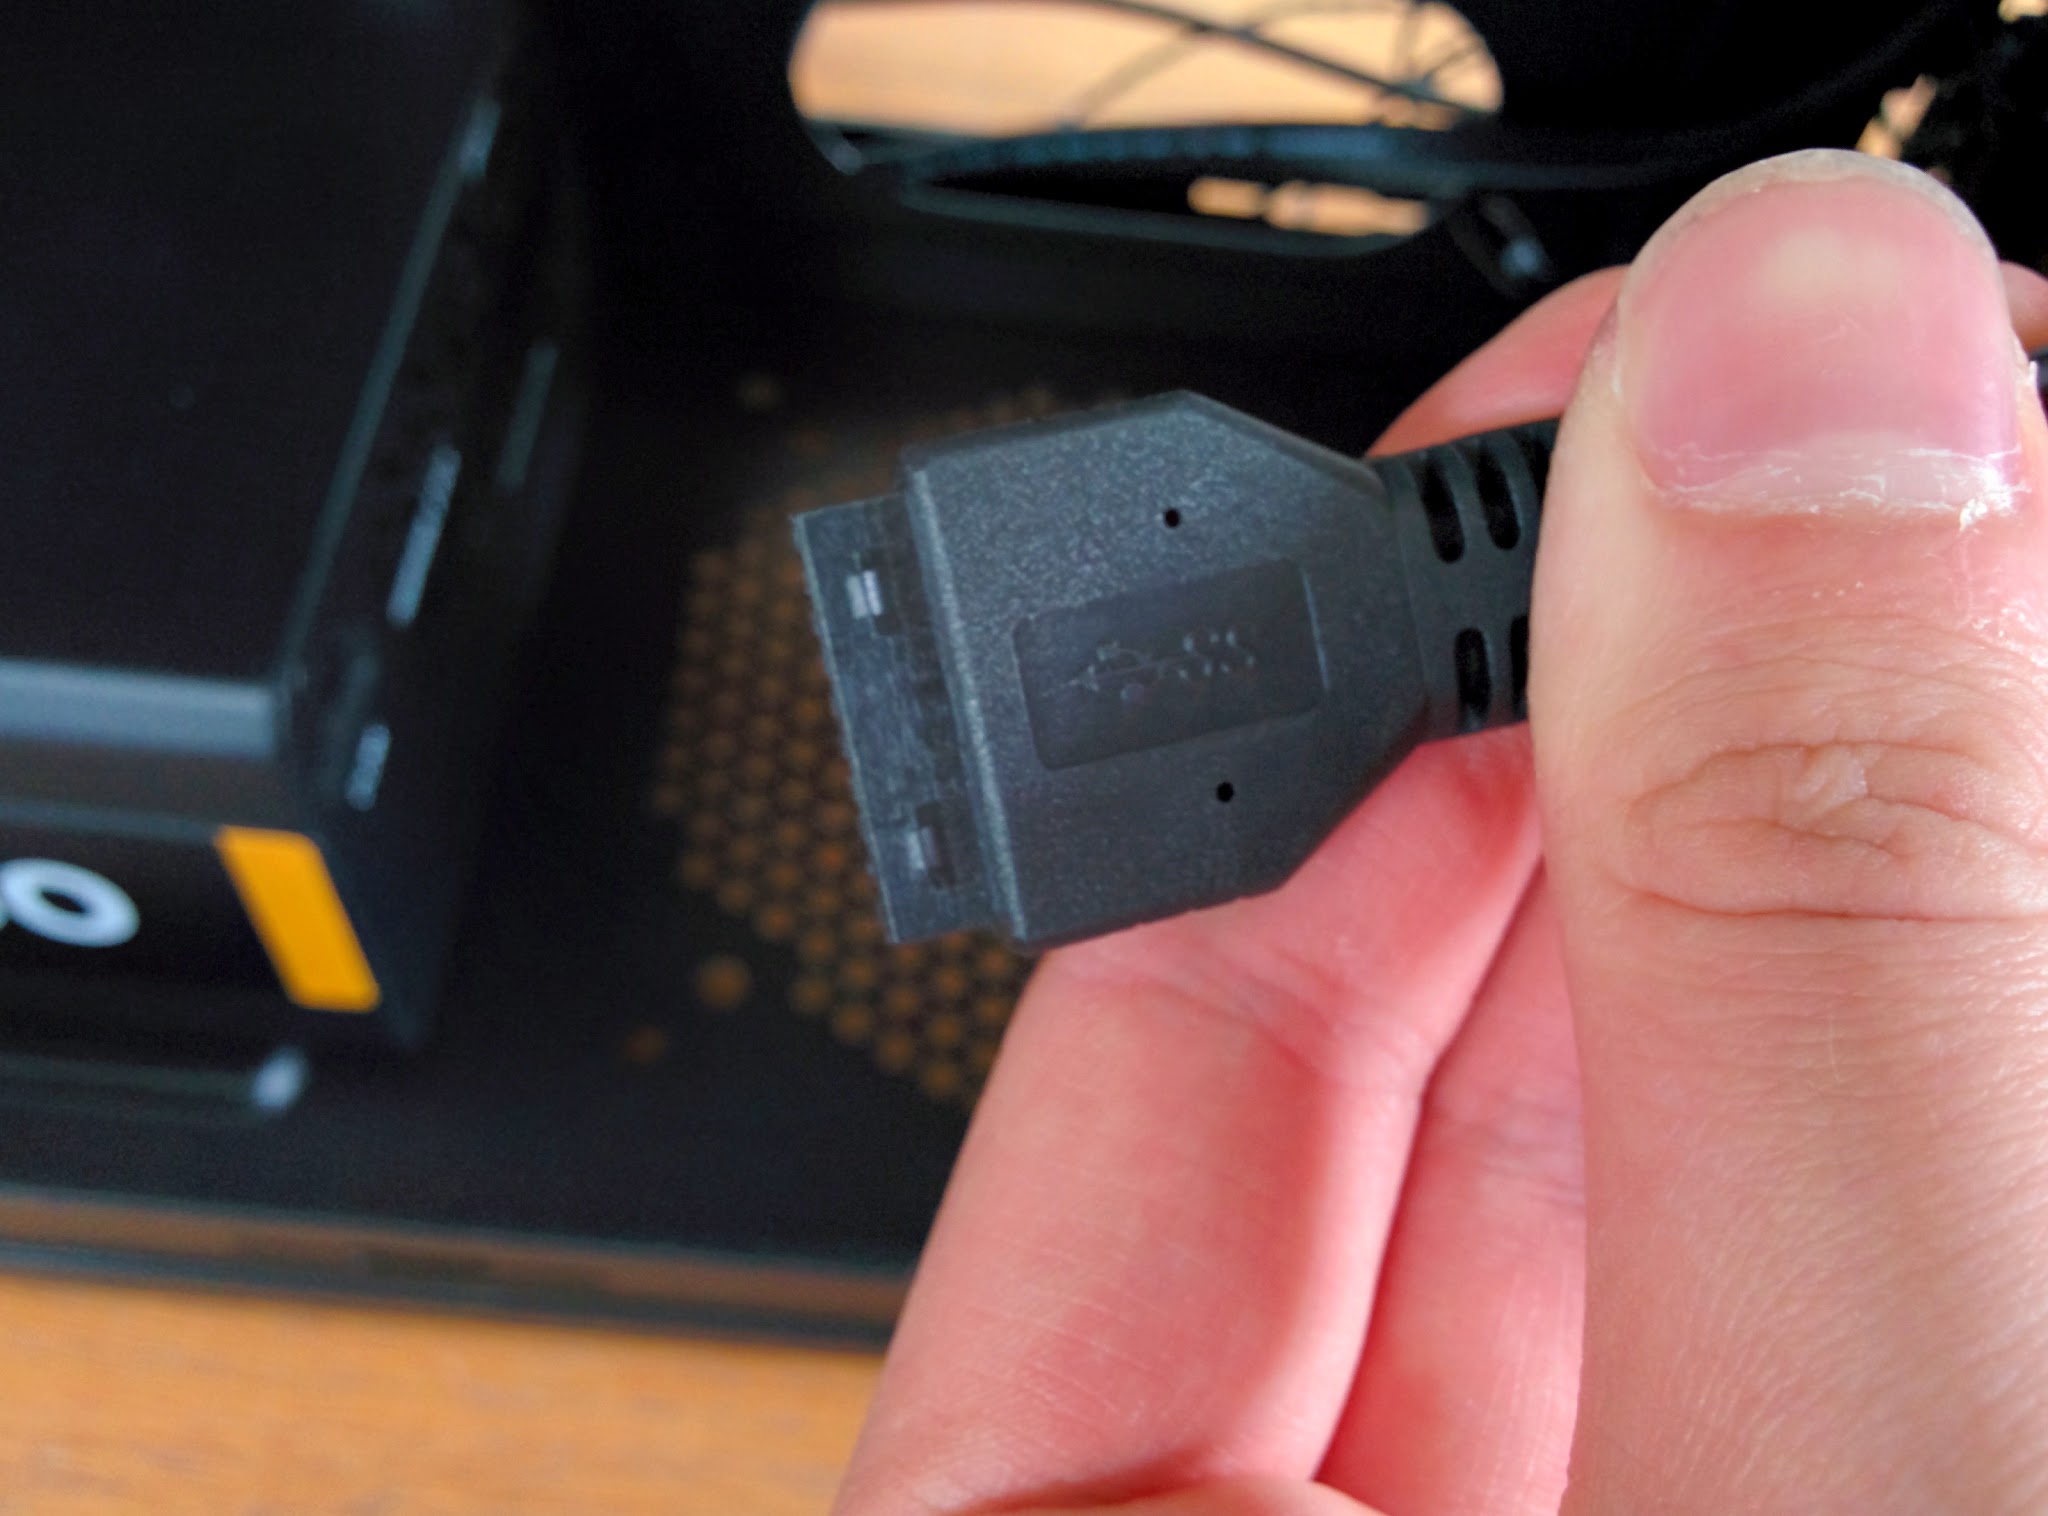
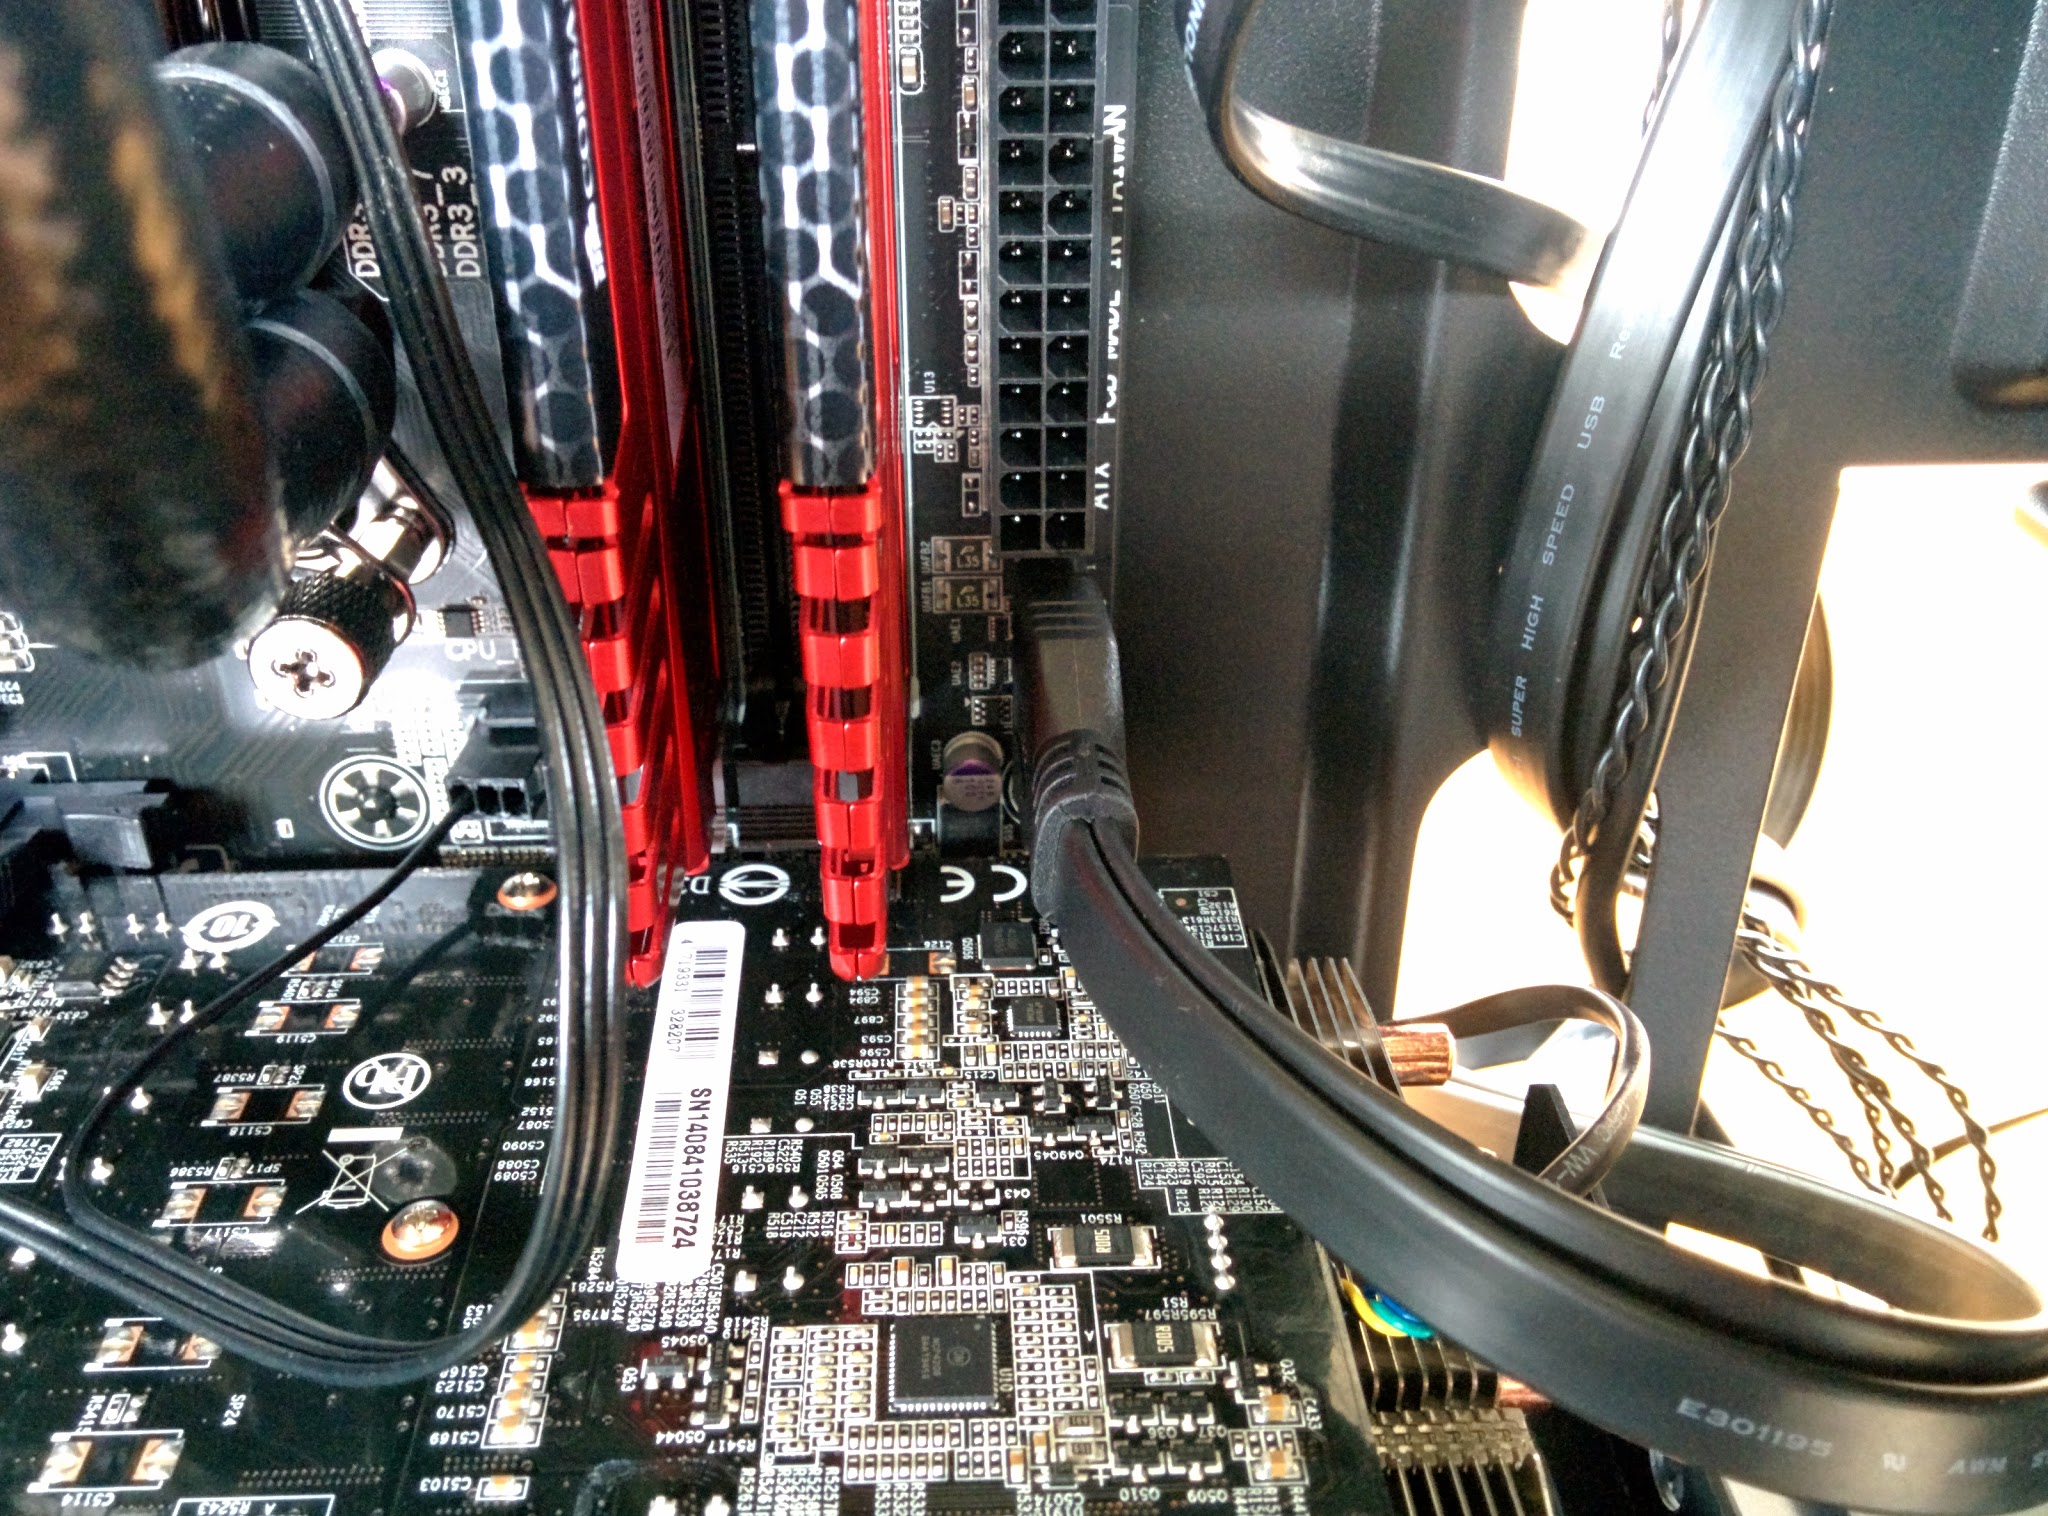
- Take the USB3 connector as shown above and insert it into it’s slot on the motherboard (often about half way up, above the SATA ports)
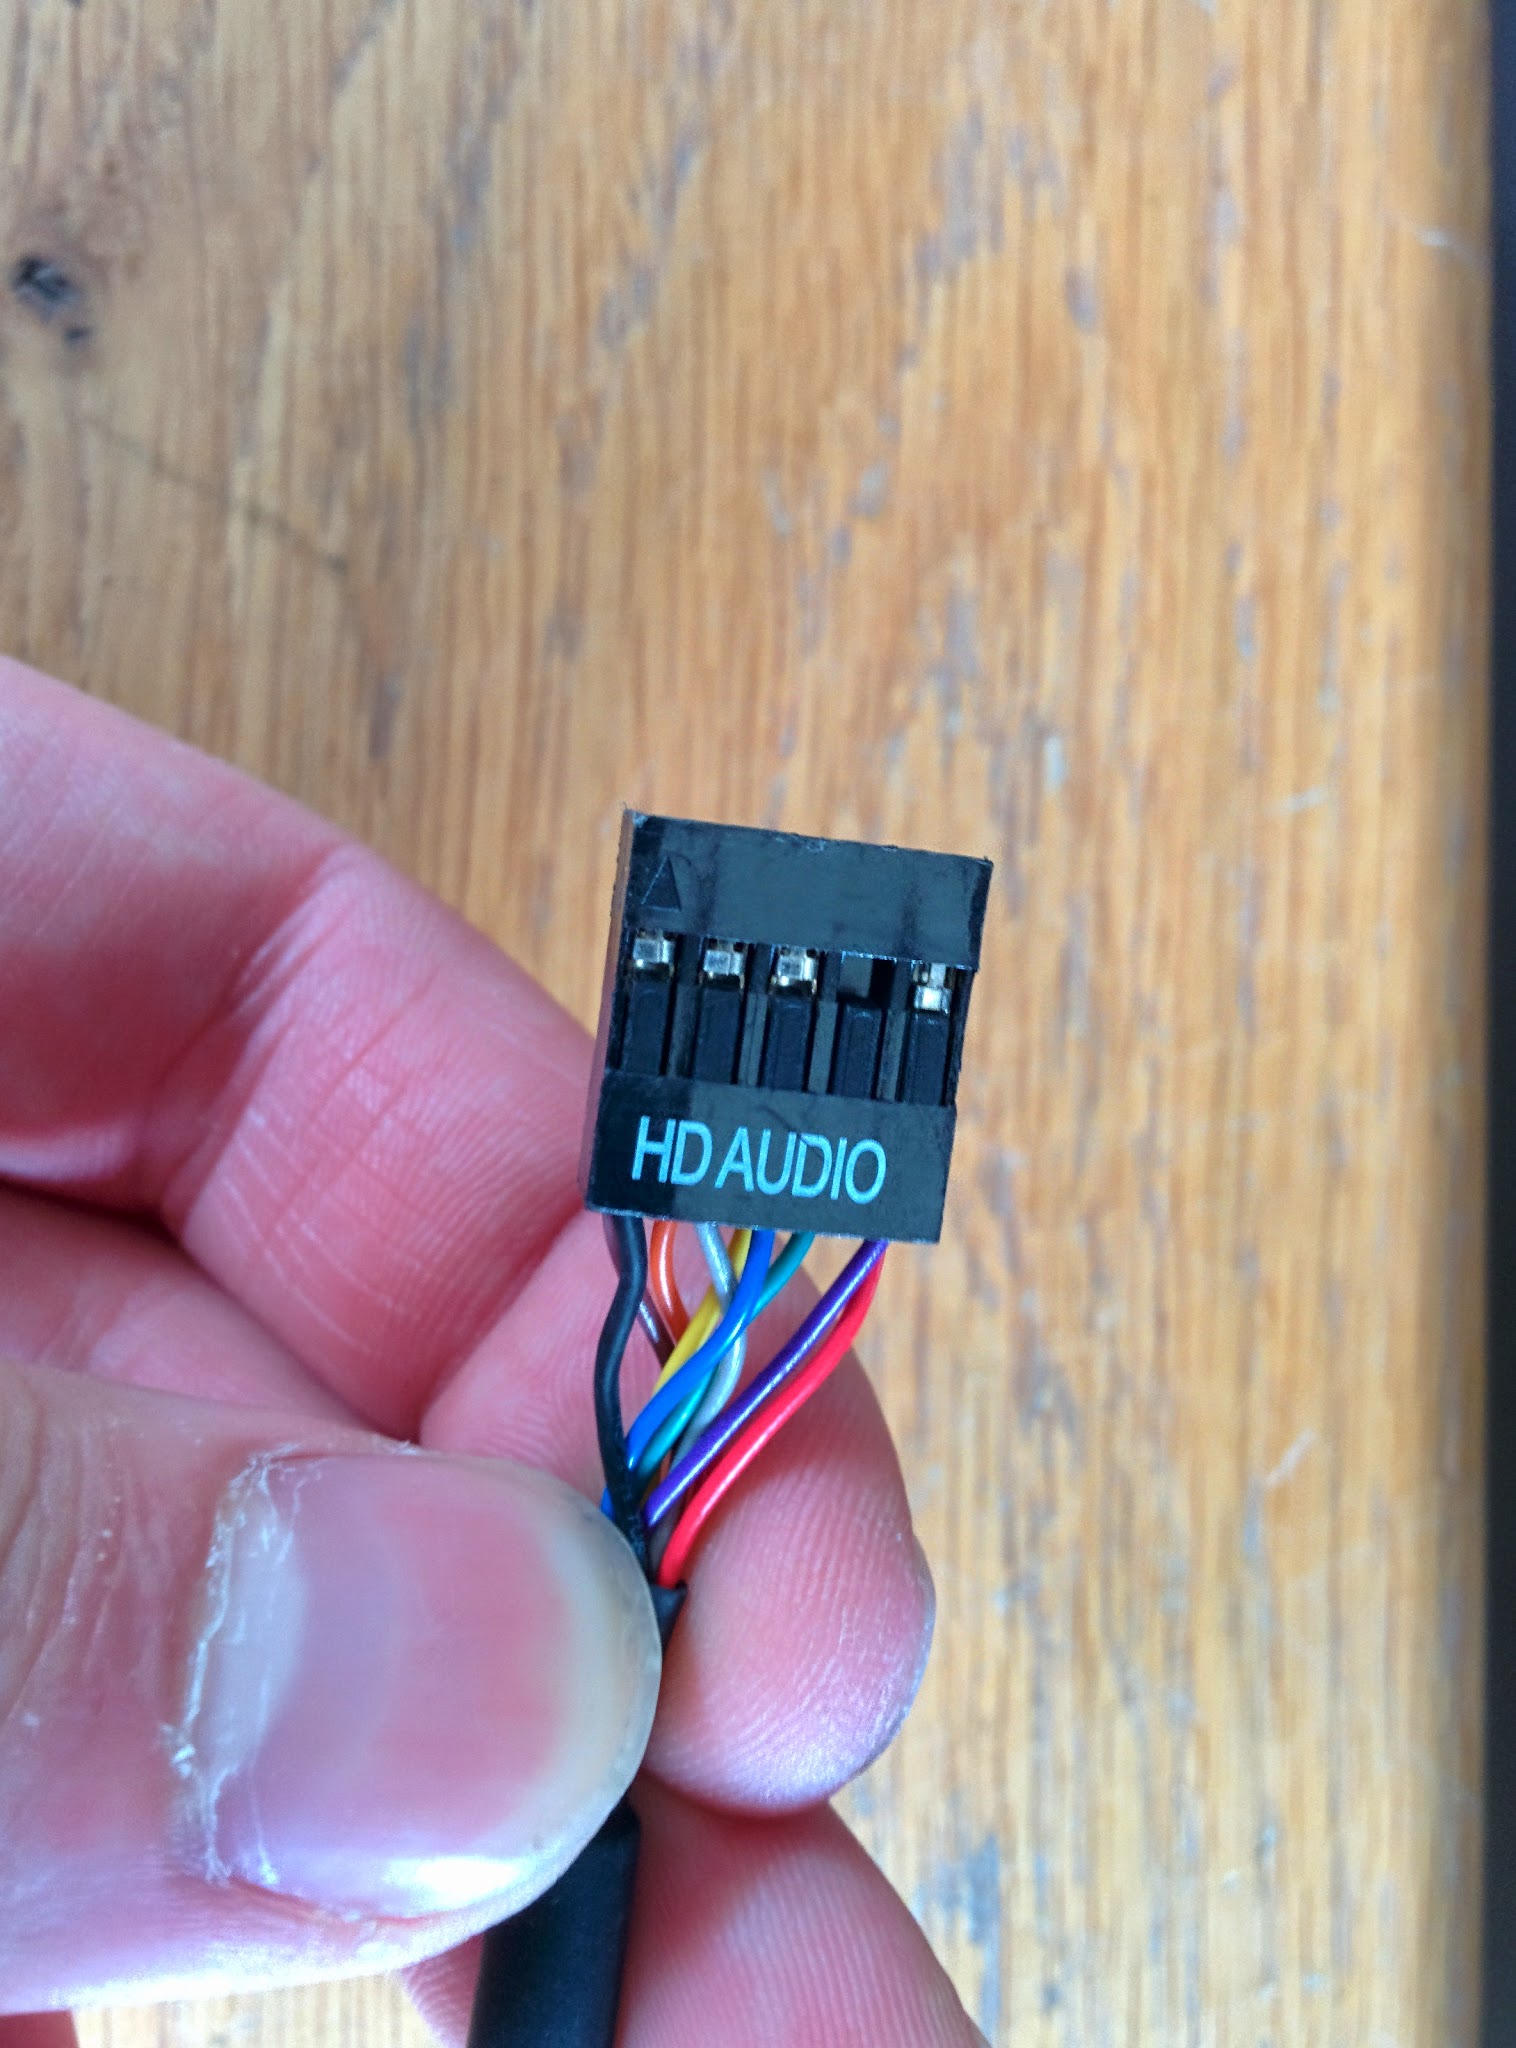

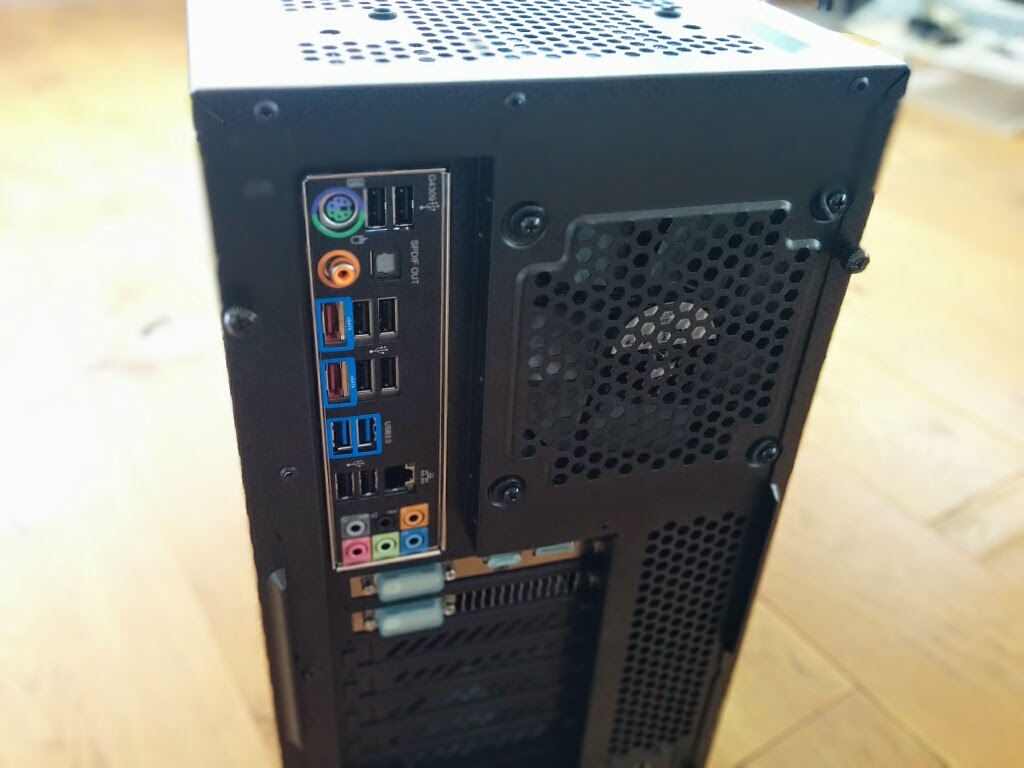
- Take the HD Audio connector and plug that into the port on the far rear of the board. This provides the connection for the headset/microphone ports
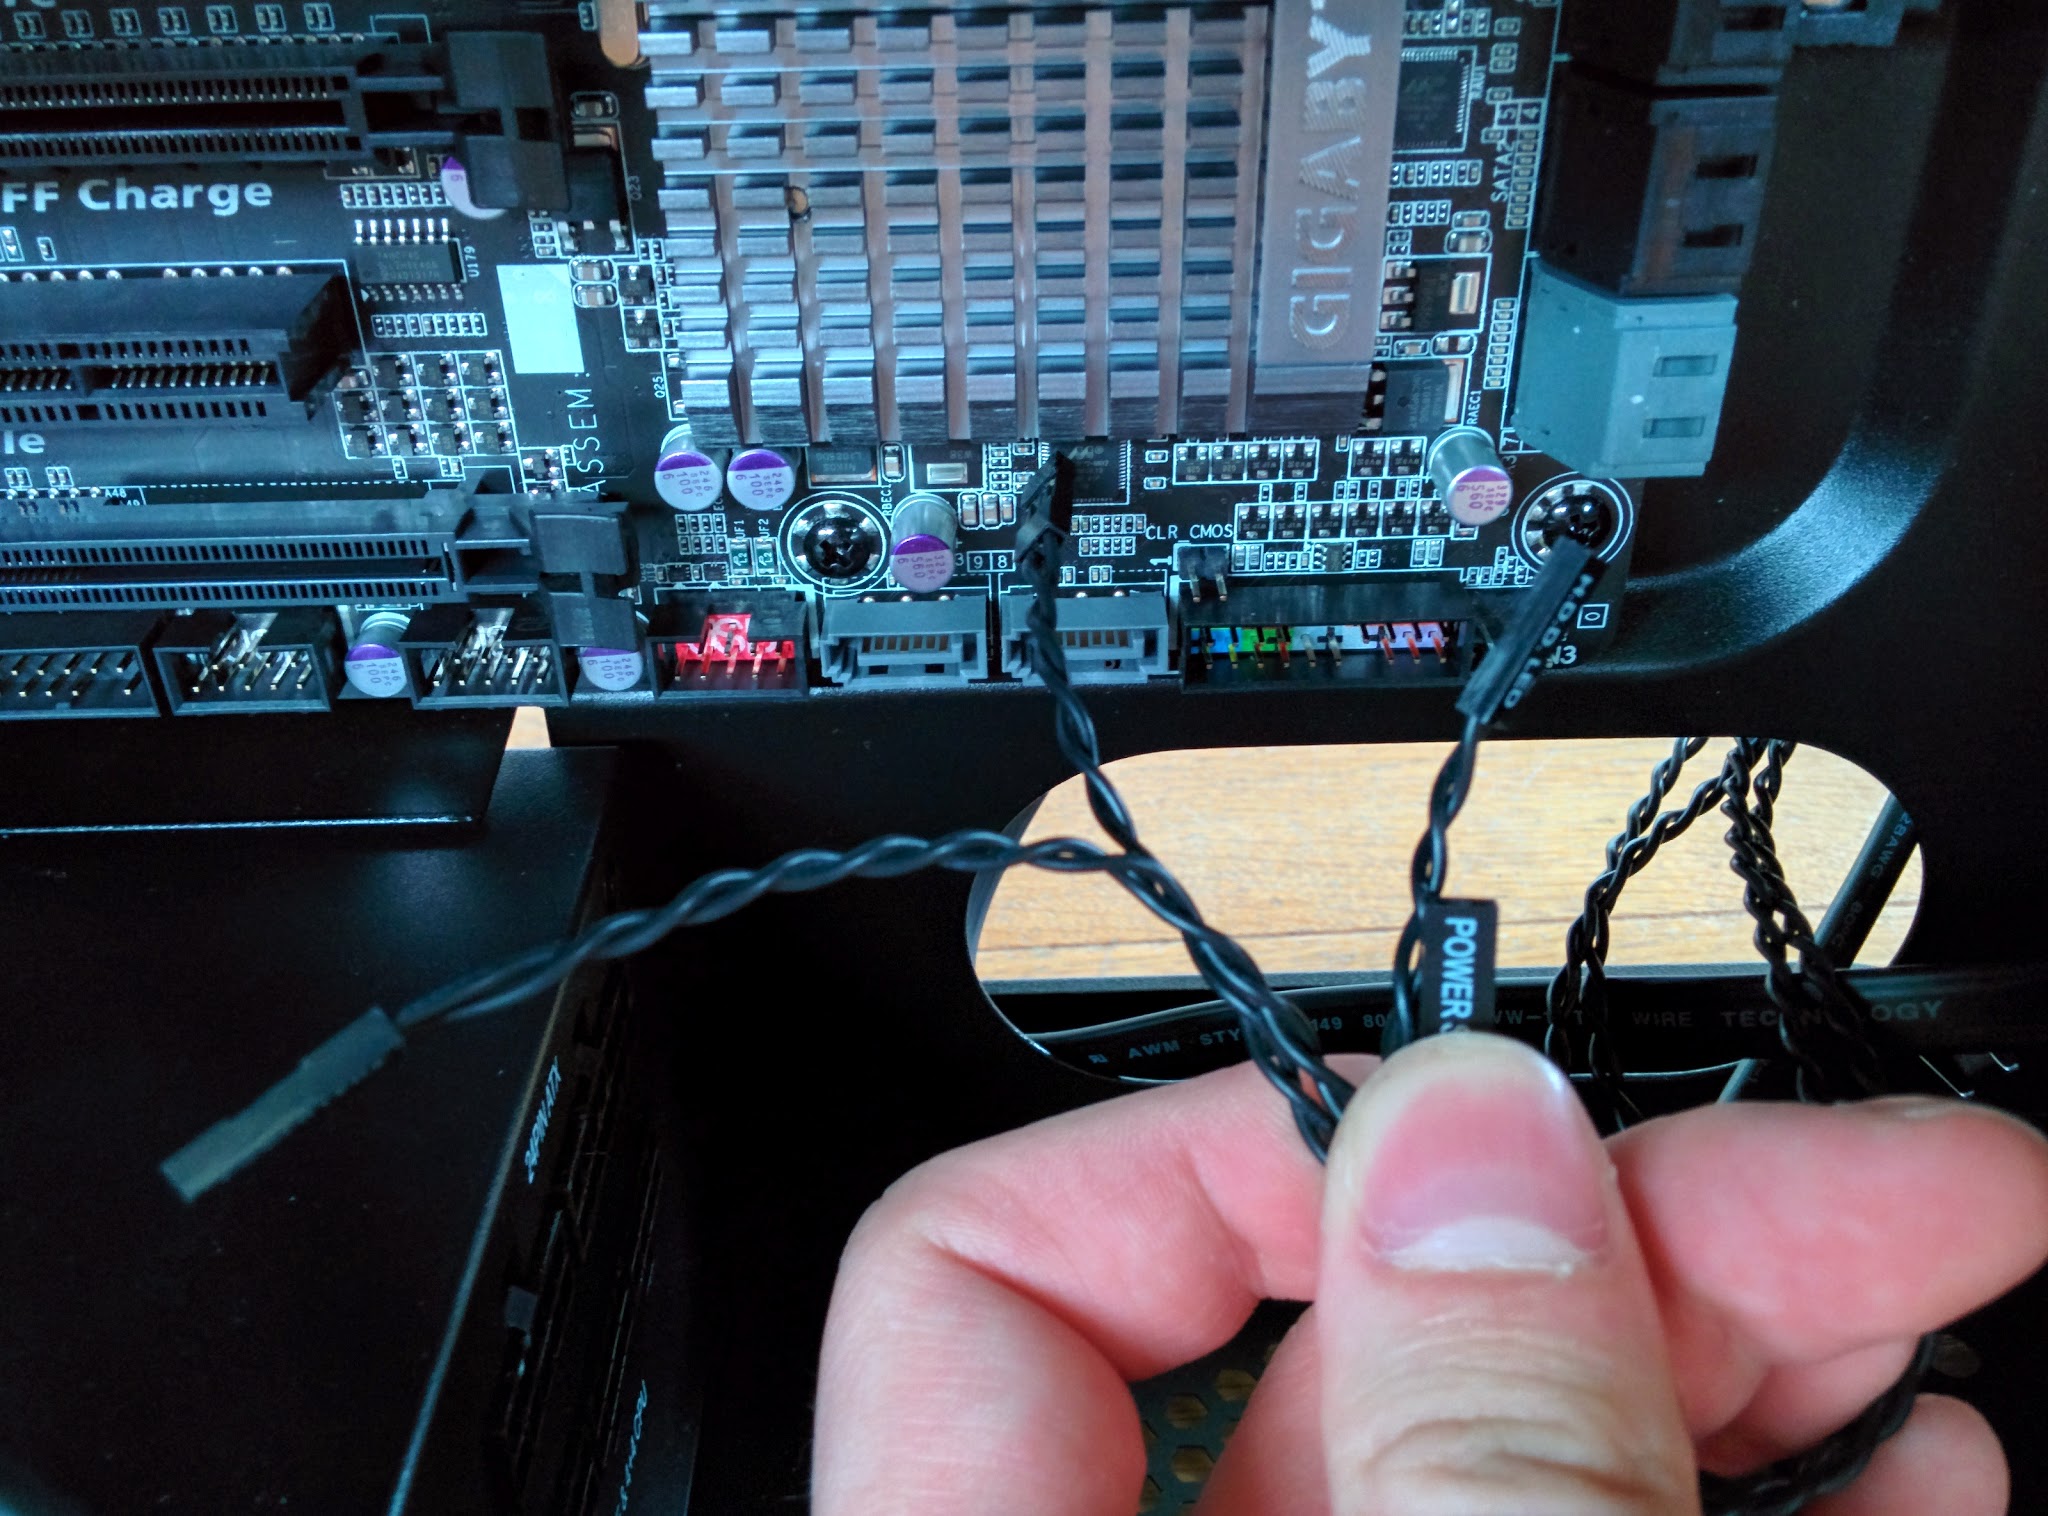
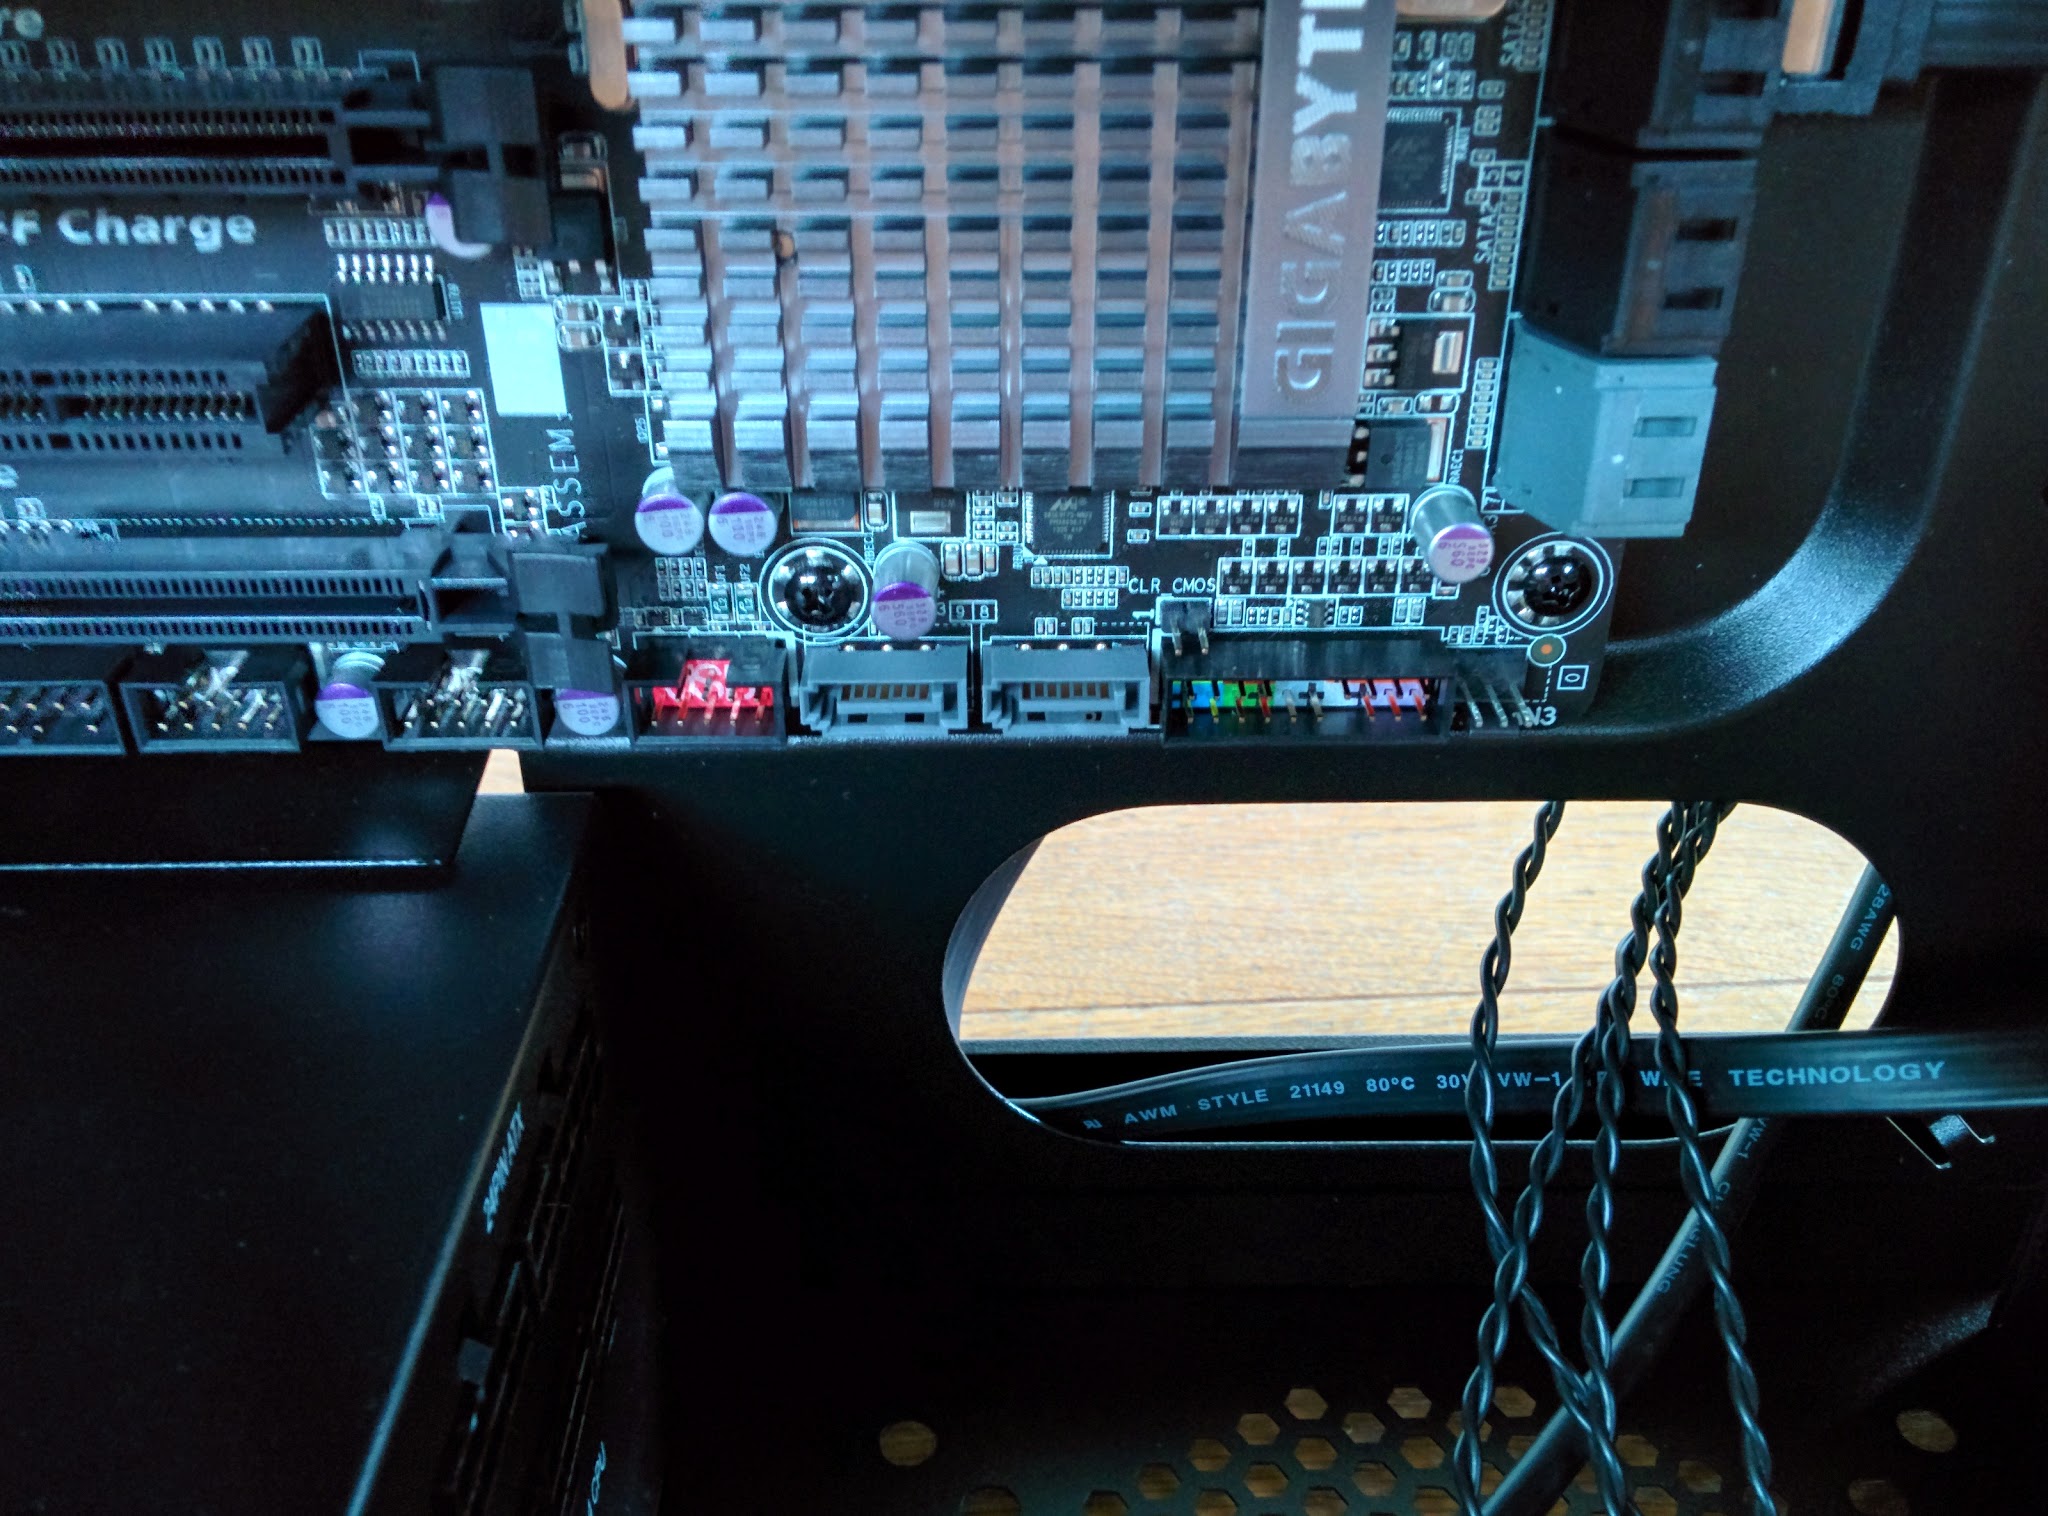
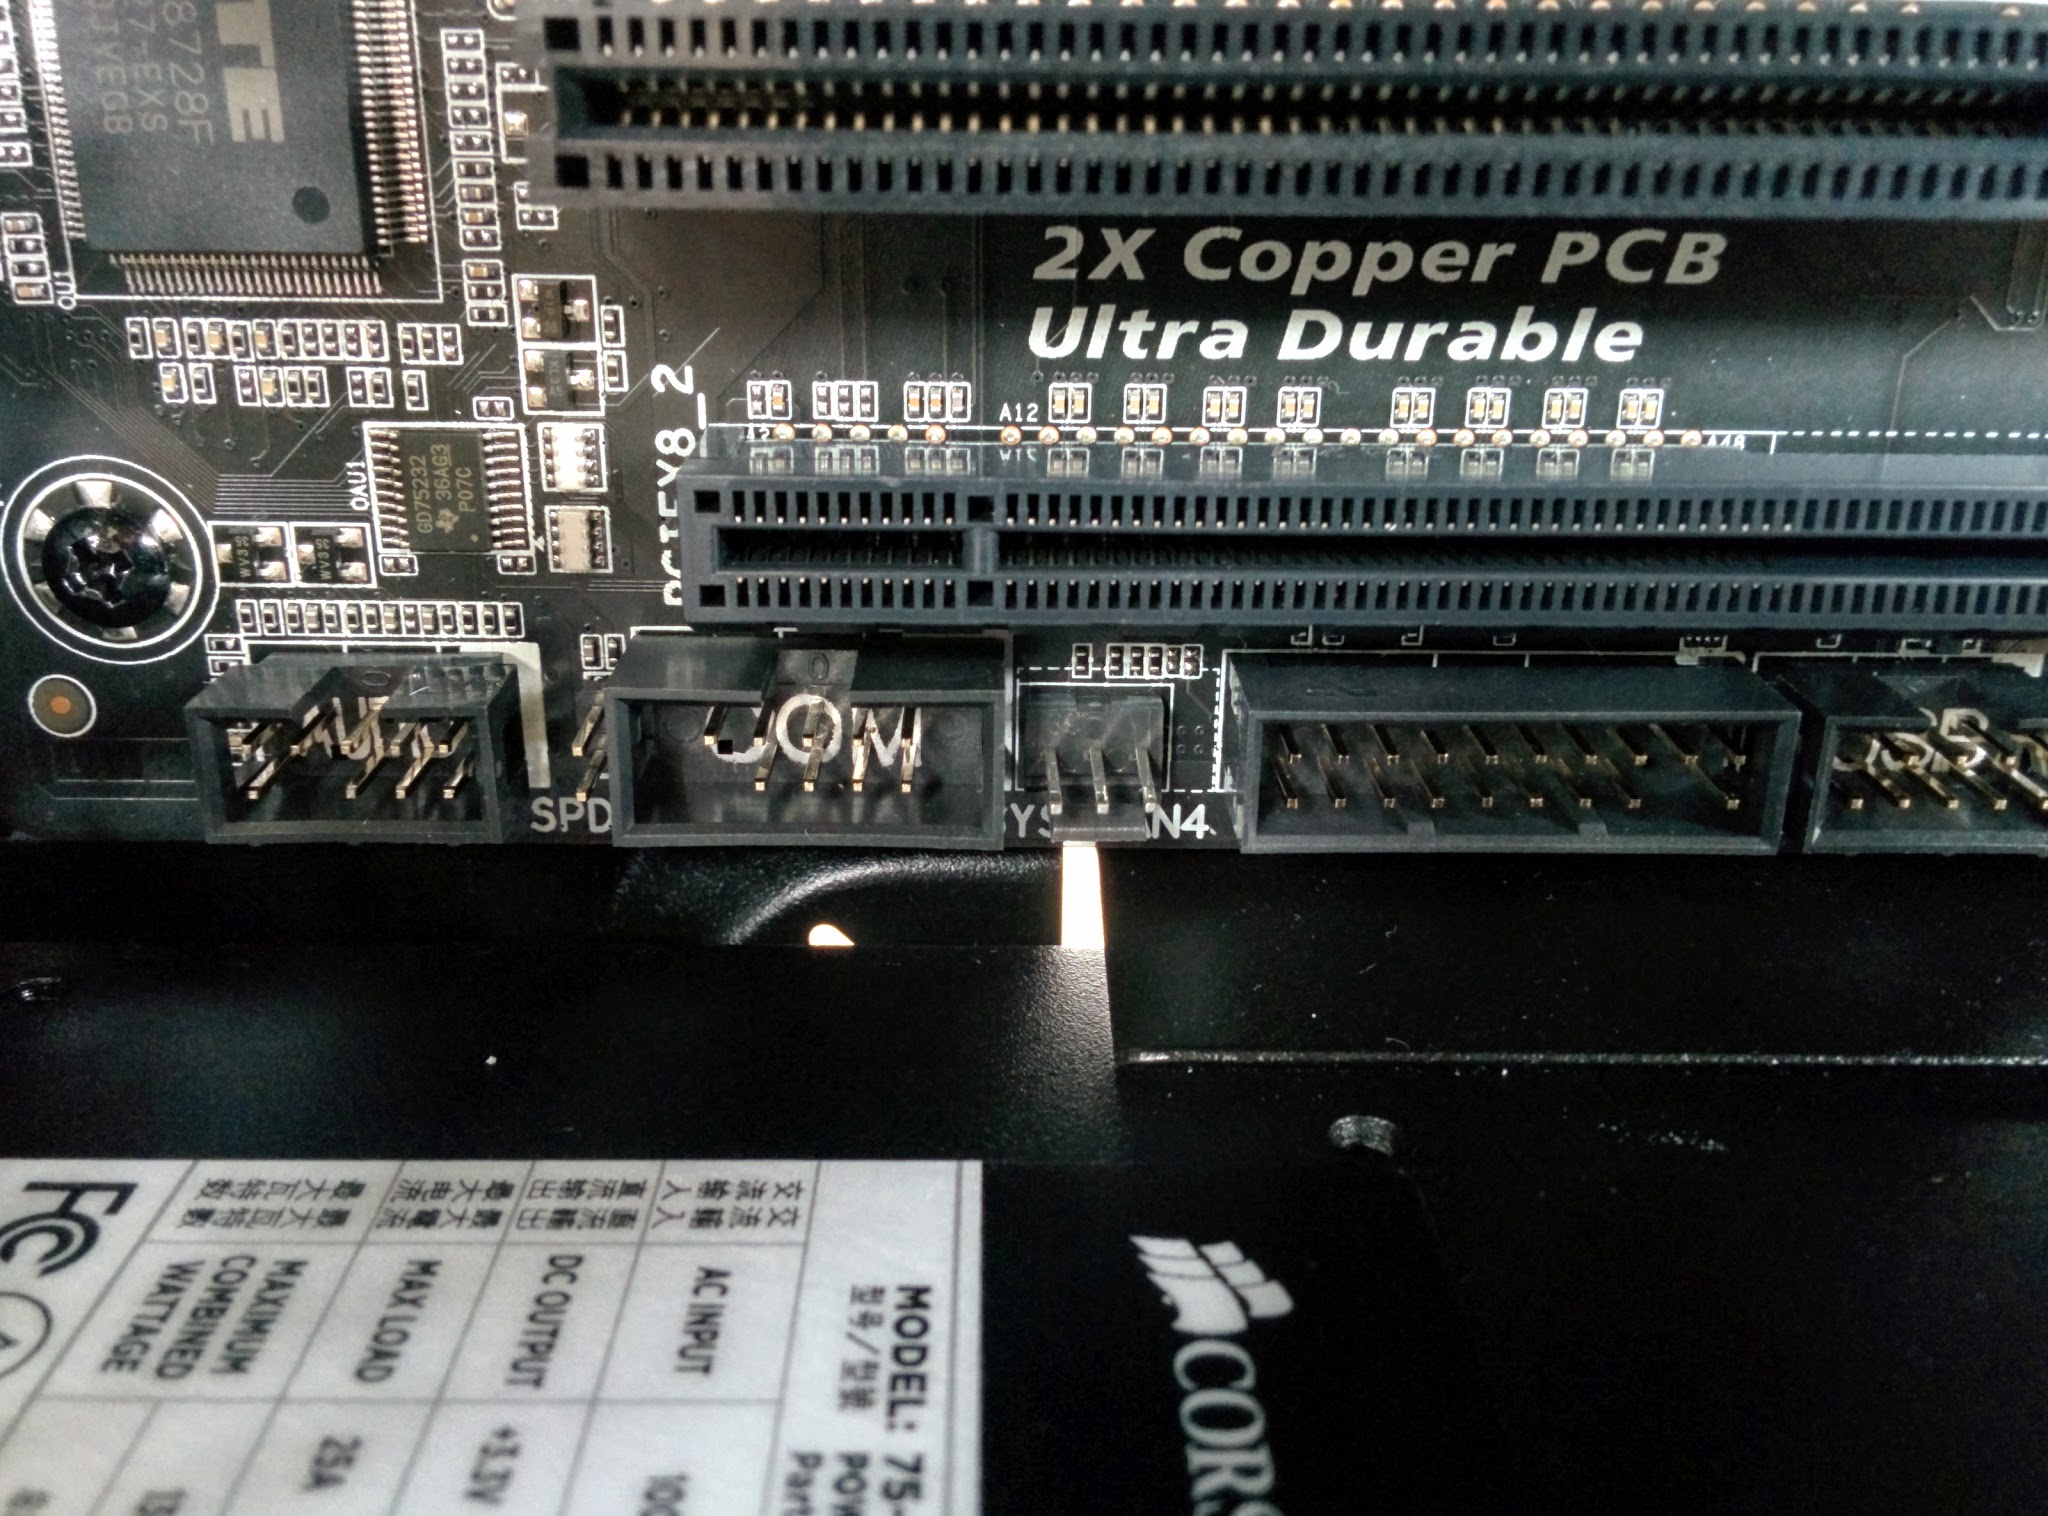
- Finally take the mess of remaining smaller cables and plug them into the pins on the base of the board. The heads of the cables will be labelled. Match these to the labels on the board itself, usually below the pins. Make sure to get the polarity (+ and -) correct for LEDs. You may have an easier time referring to your motherboard’s manual for the correct arrangement of pins
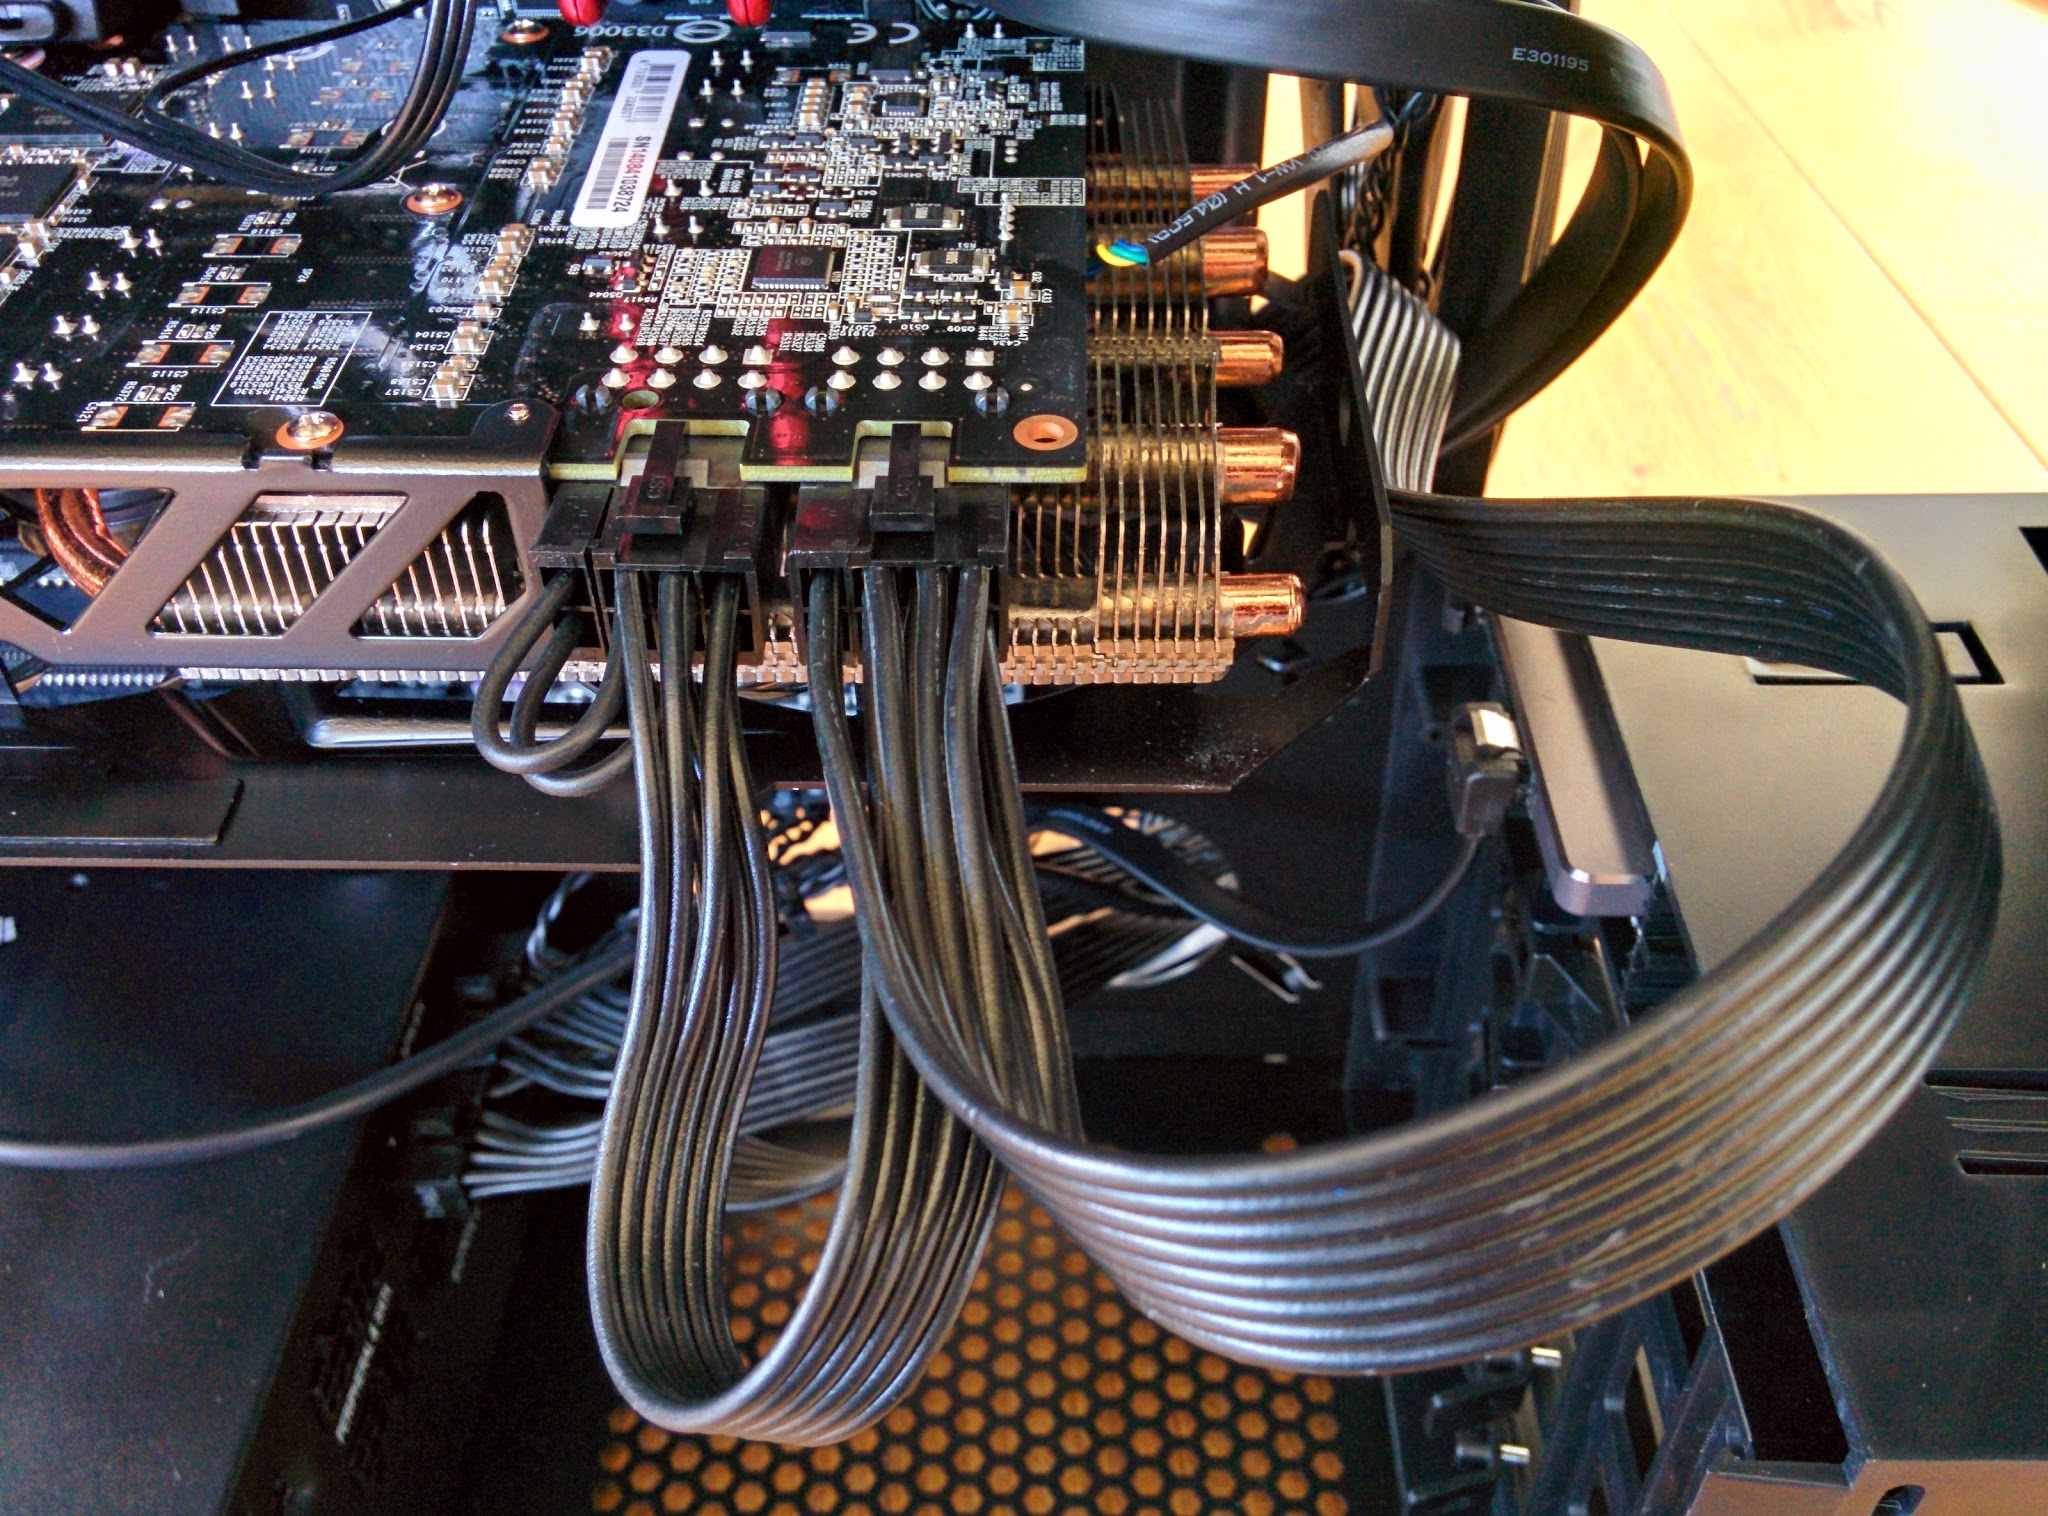
Power
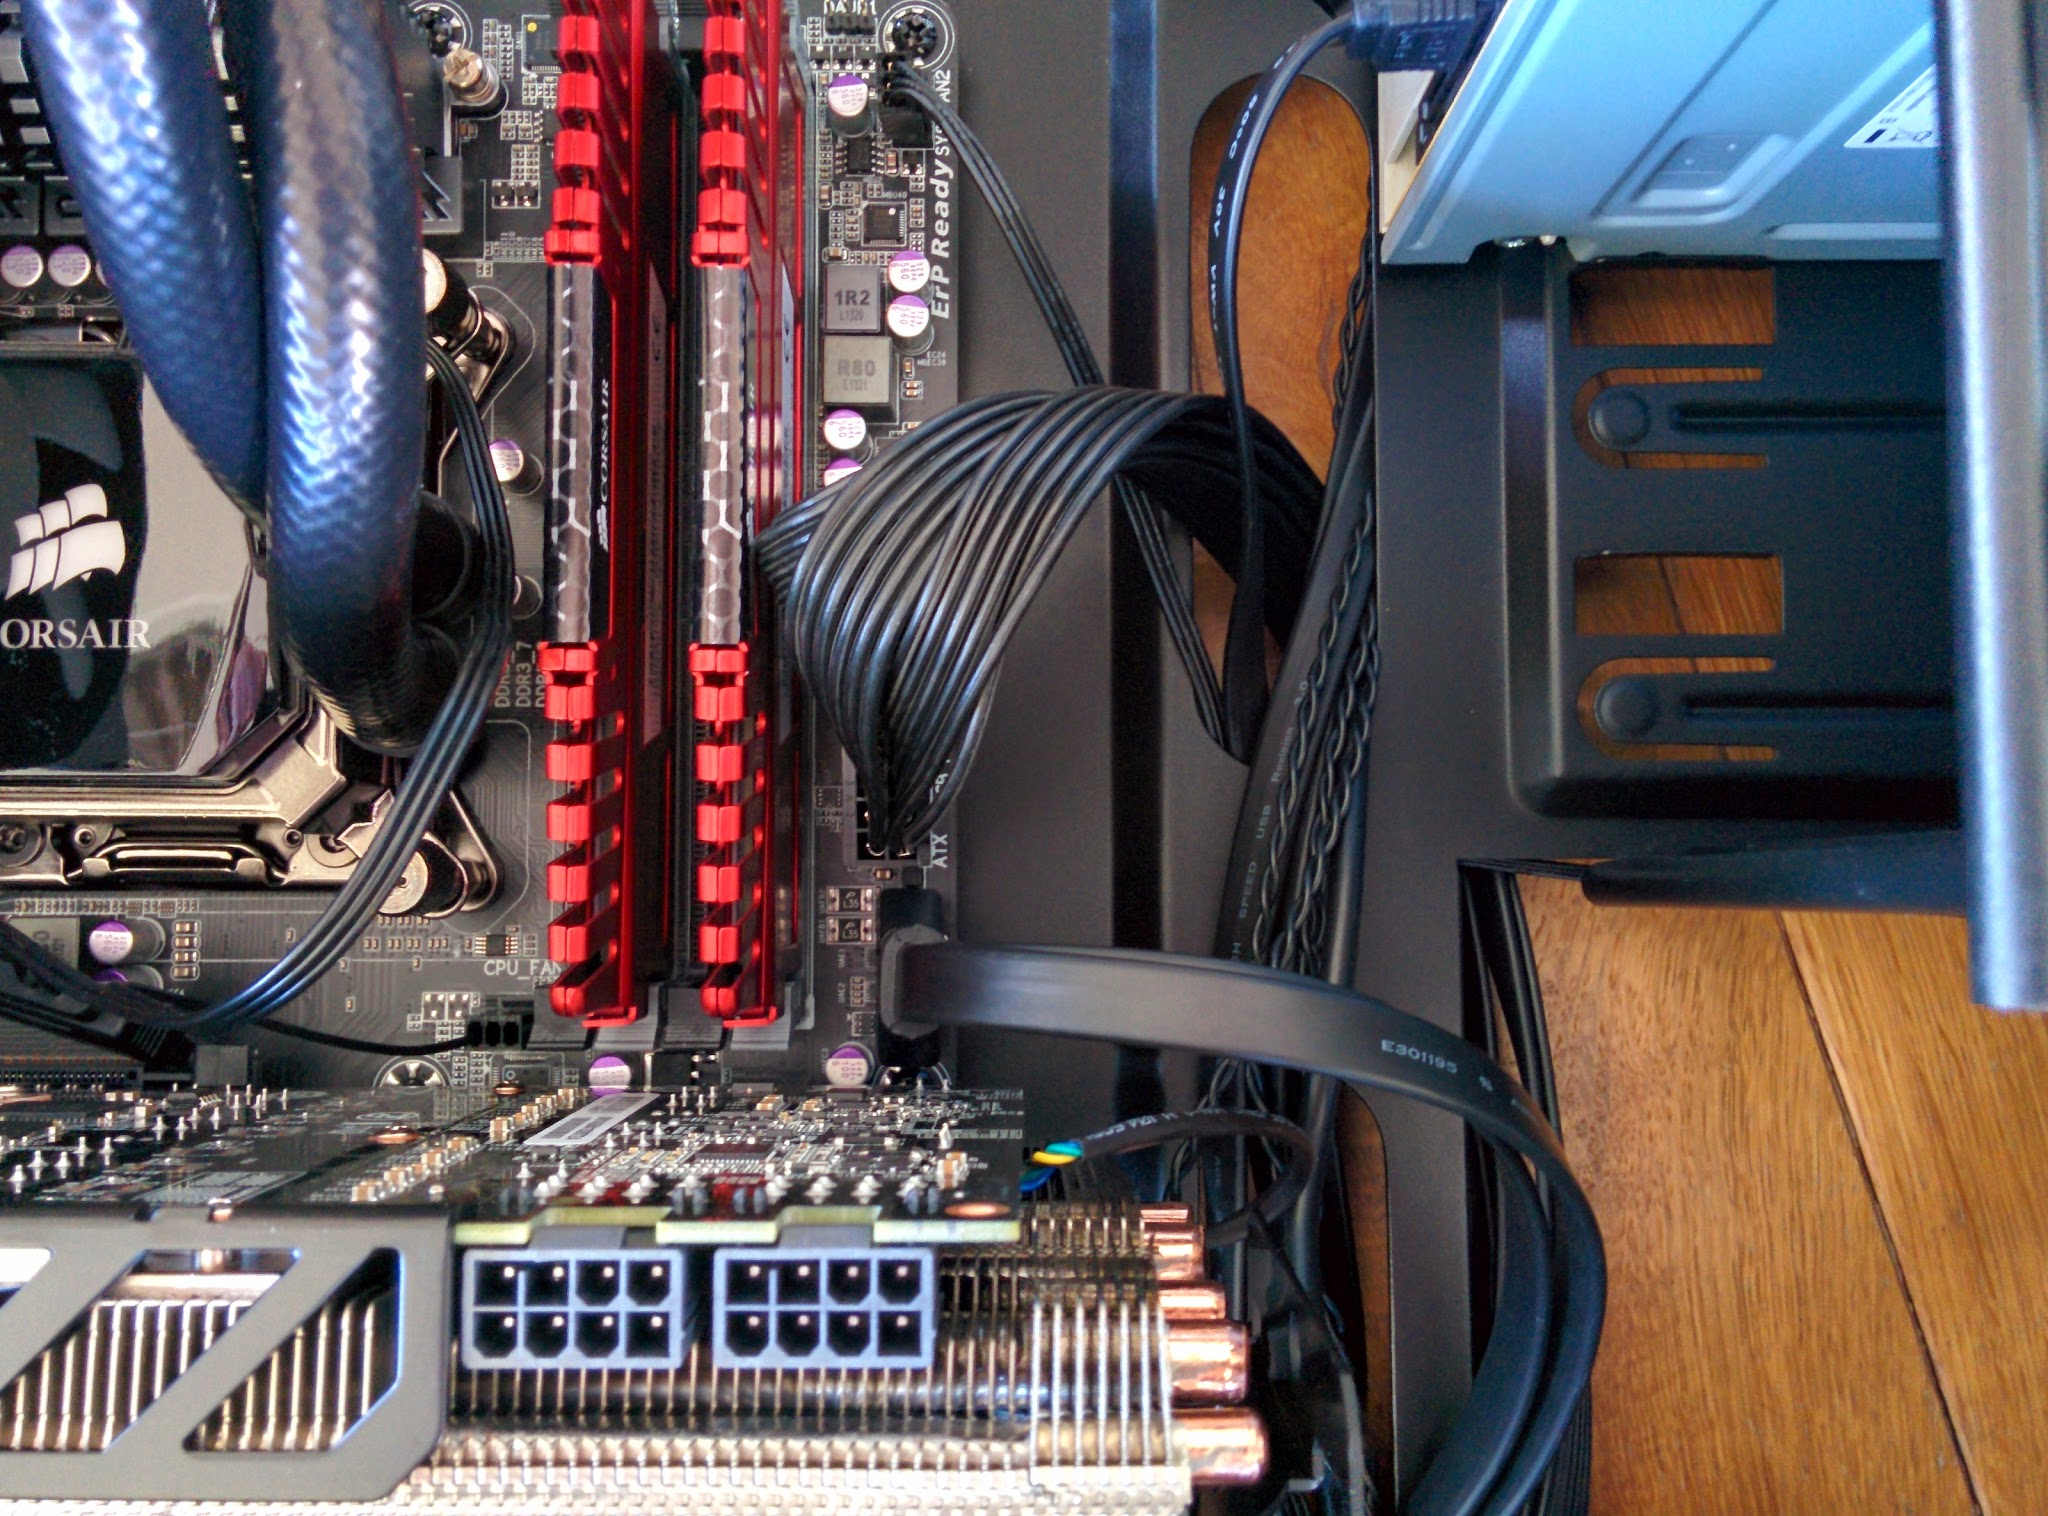
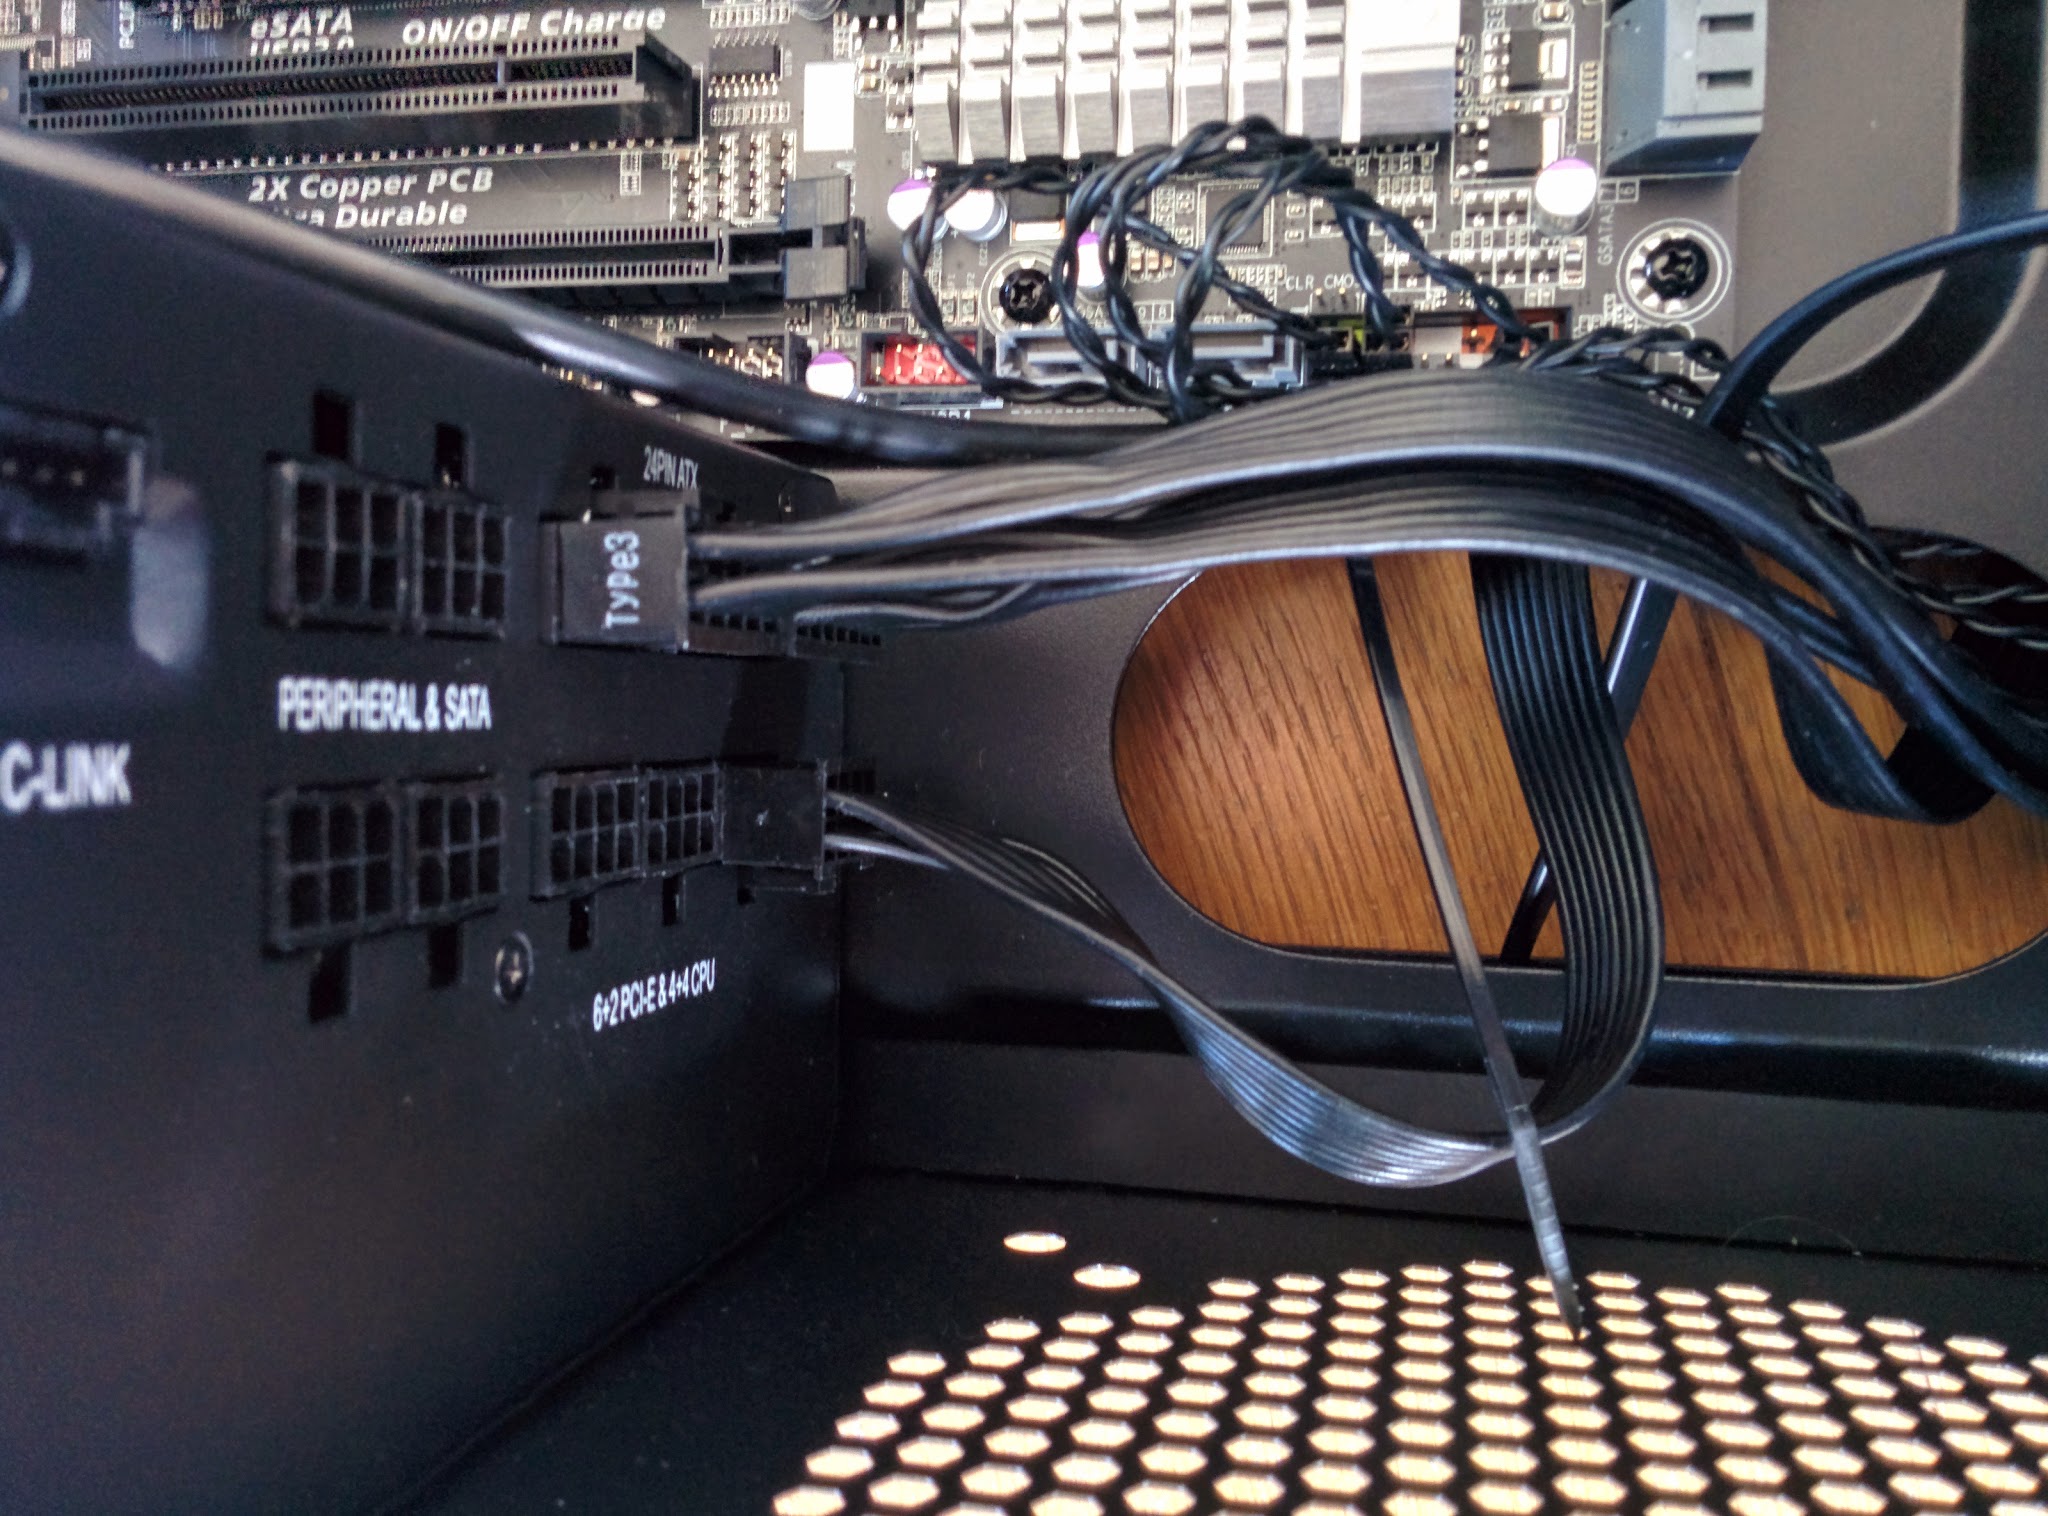
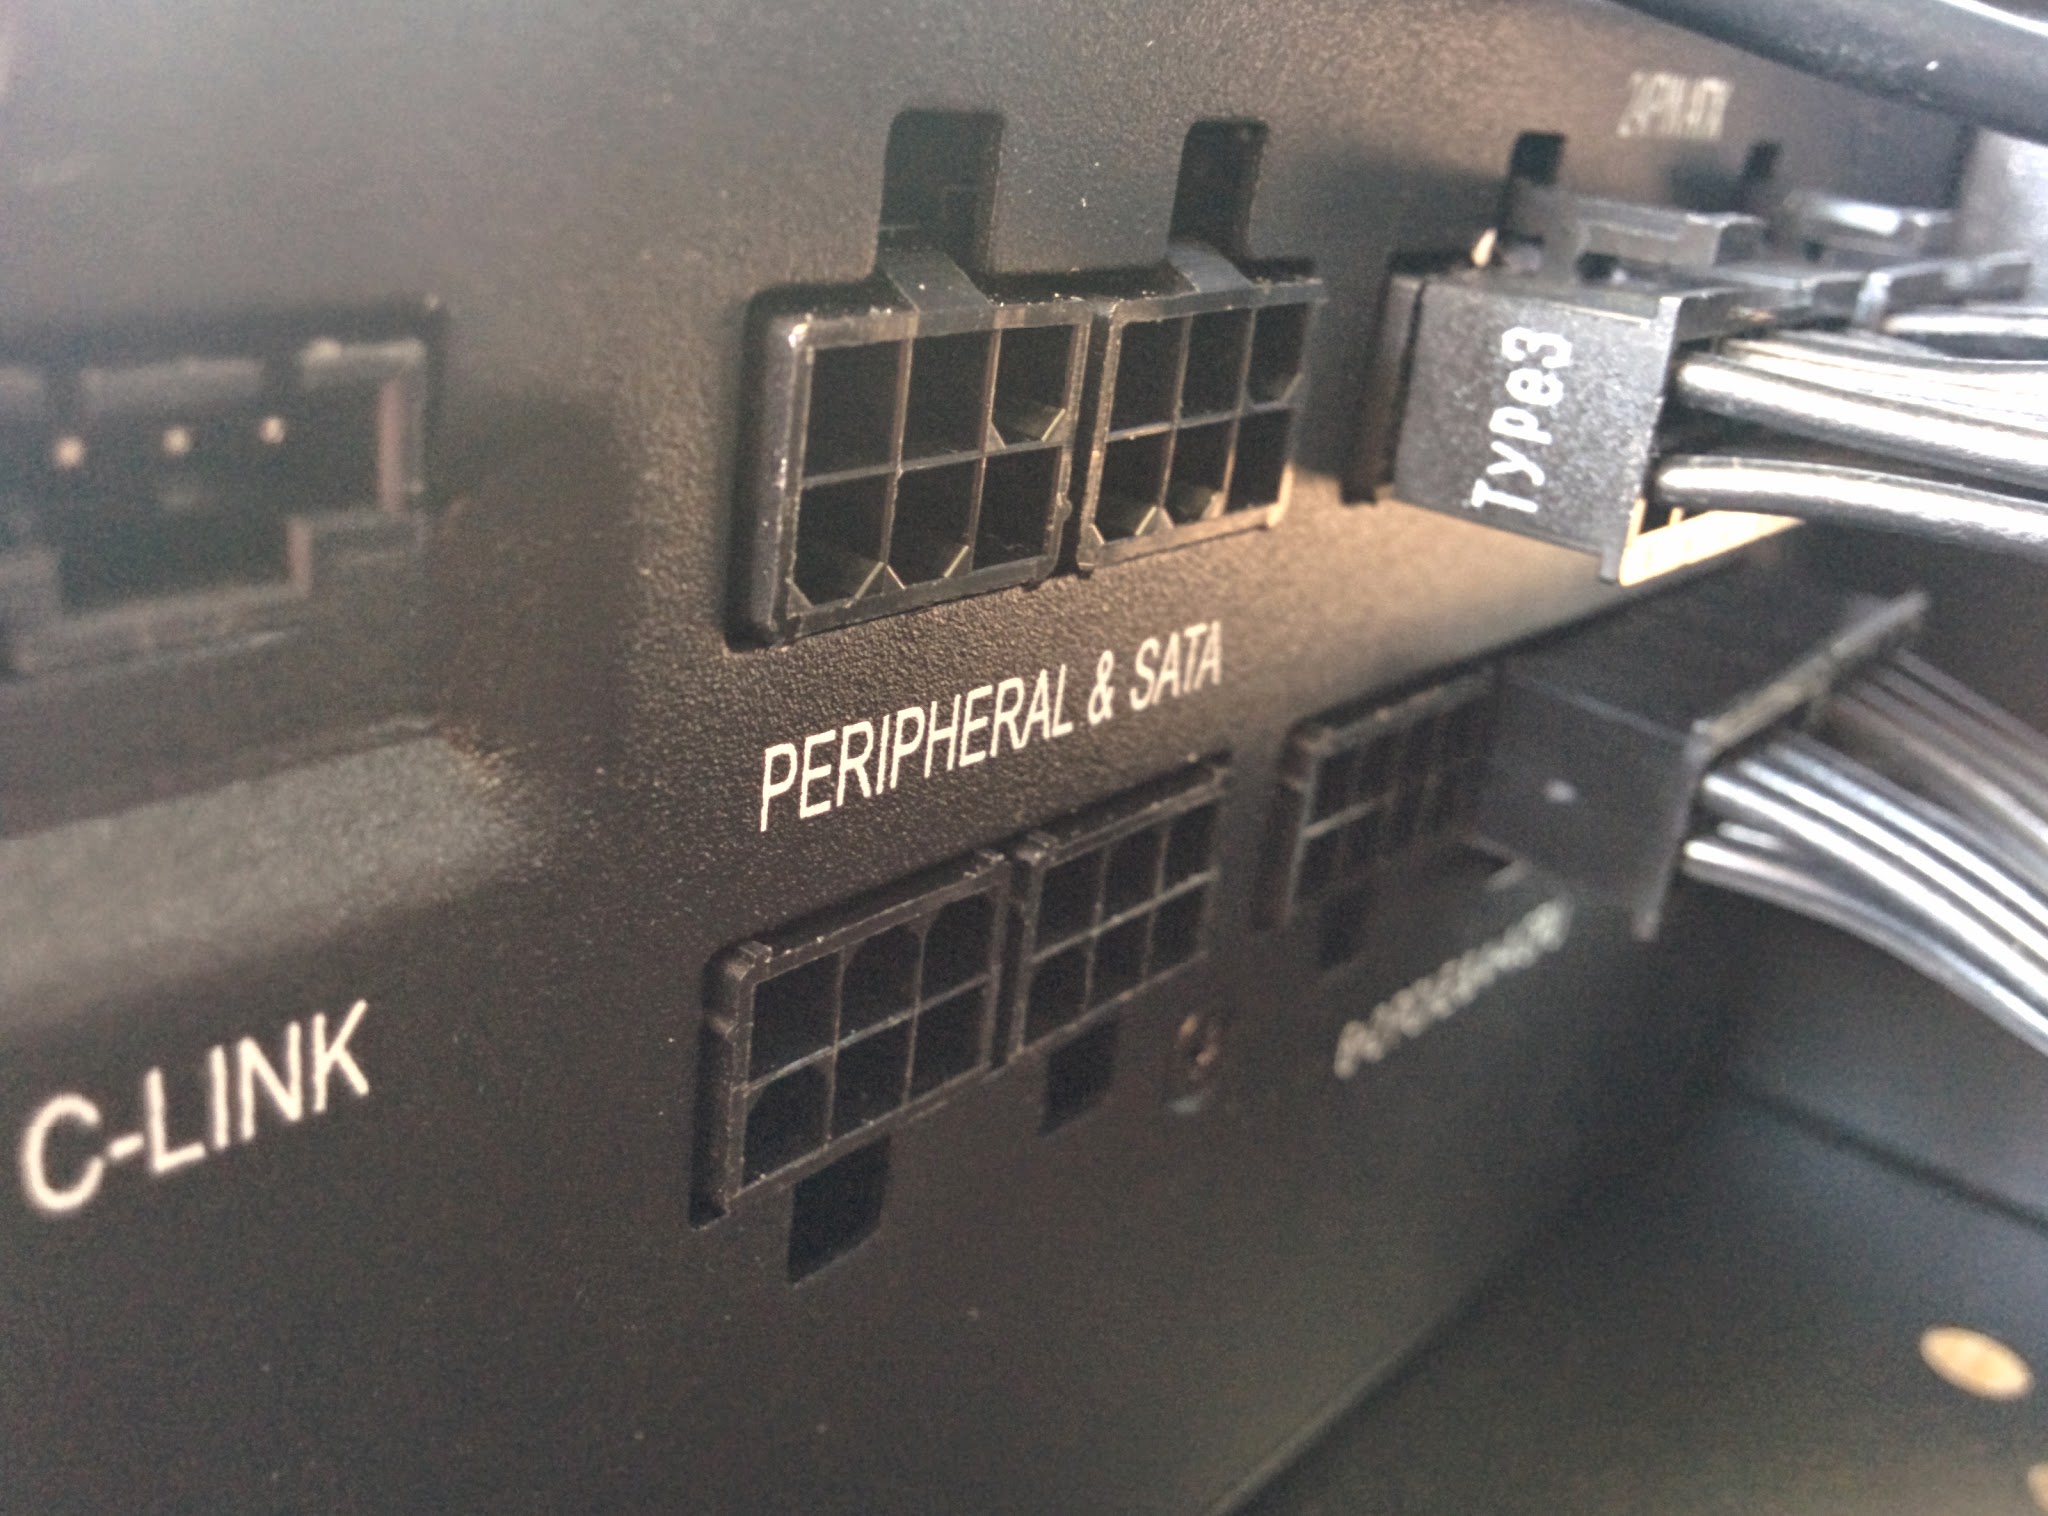
The last remaining physical build task is to hook up the power supply to the components it’ll be powering. With the modular nature of the RM650 I’m using, it’s easy to just add power cables as I go. Non-modular supplies will have a bunch of cables hanging off them already. Some manufacturers - such as Corsair’s CX430M - provide a semi-modular option, where the ATX and CPU cables are attached to the supply as they’ll be needed for any build and the PCI-E and SATA power cables are separate.
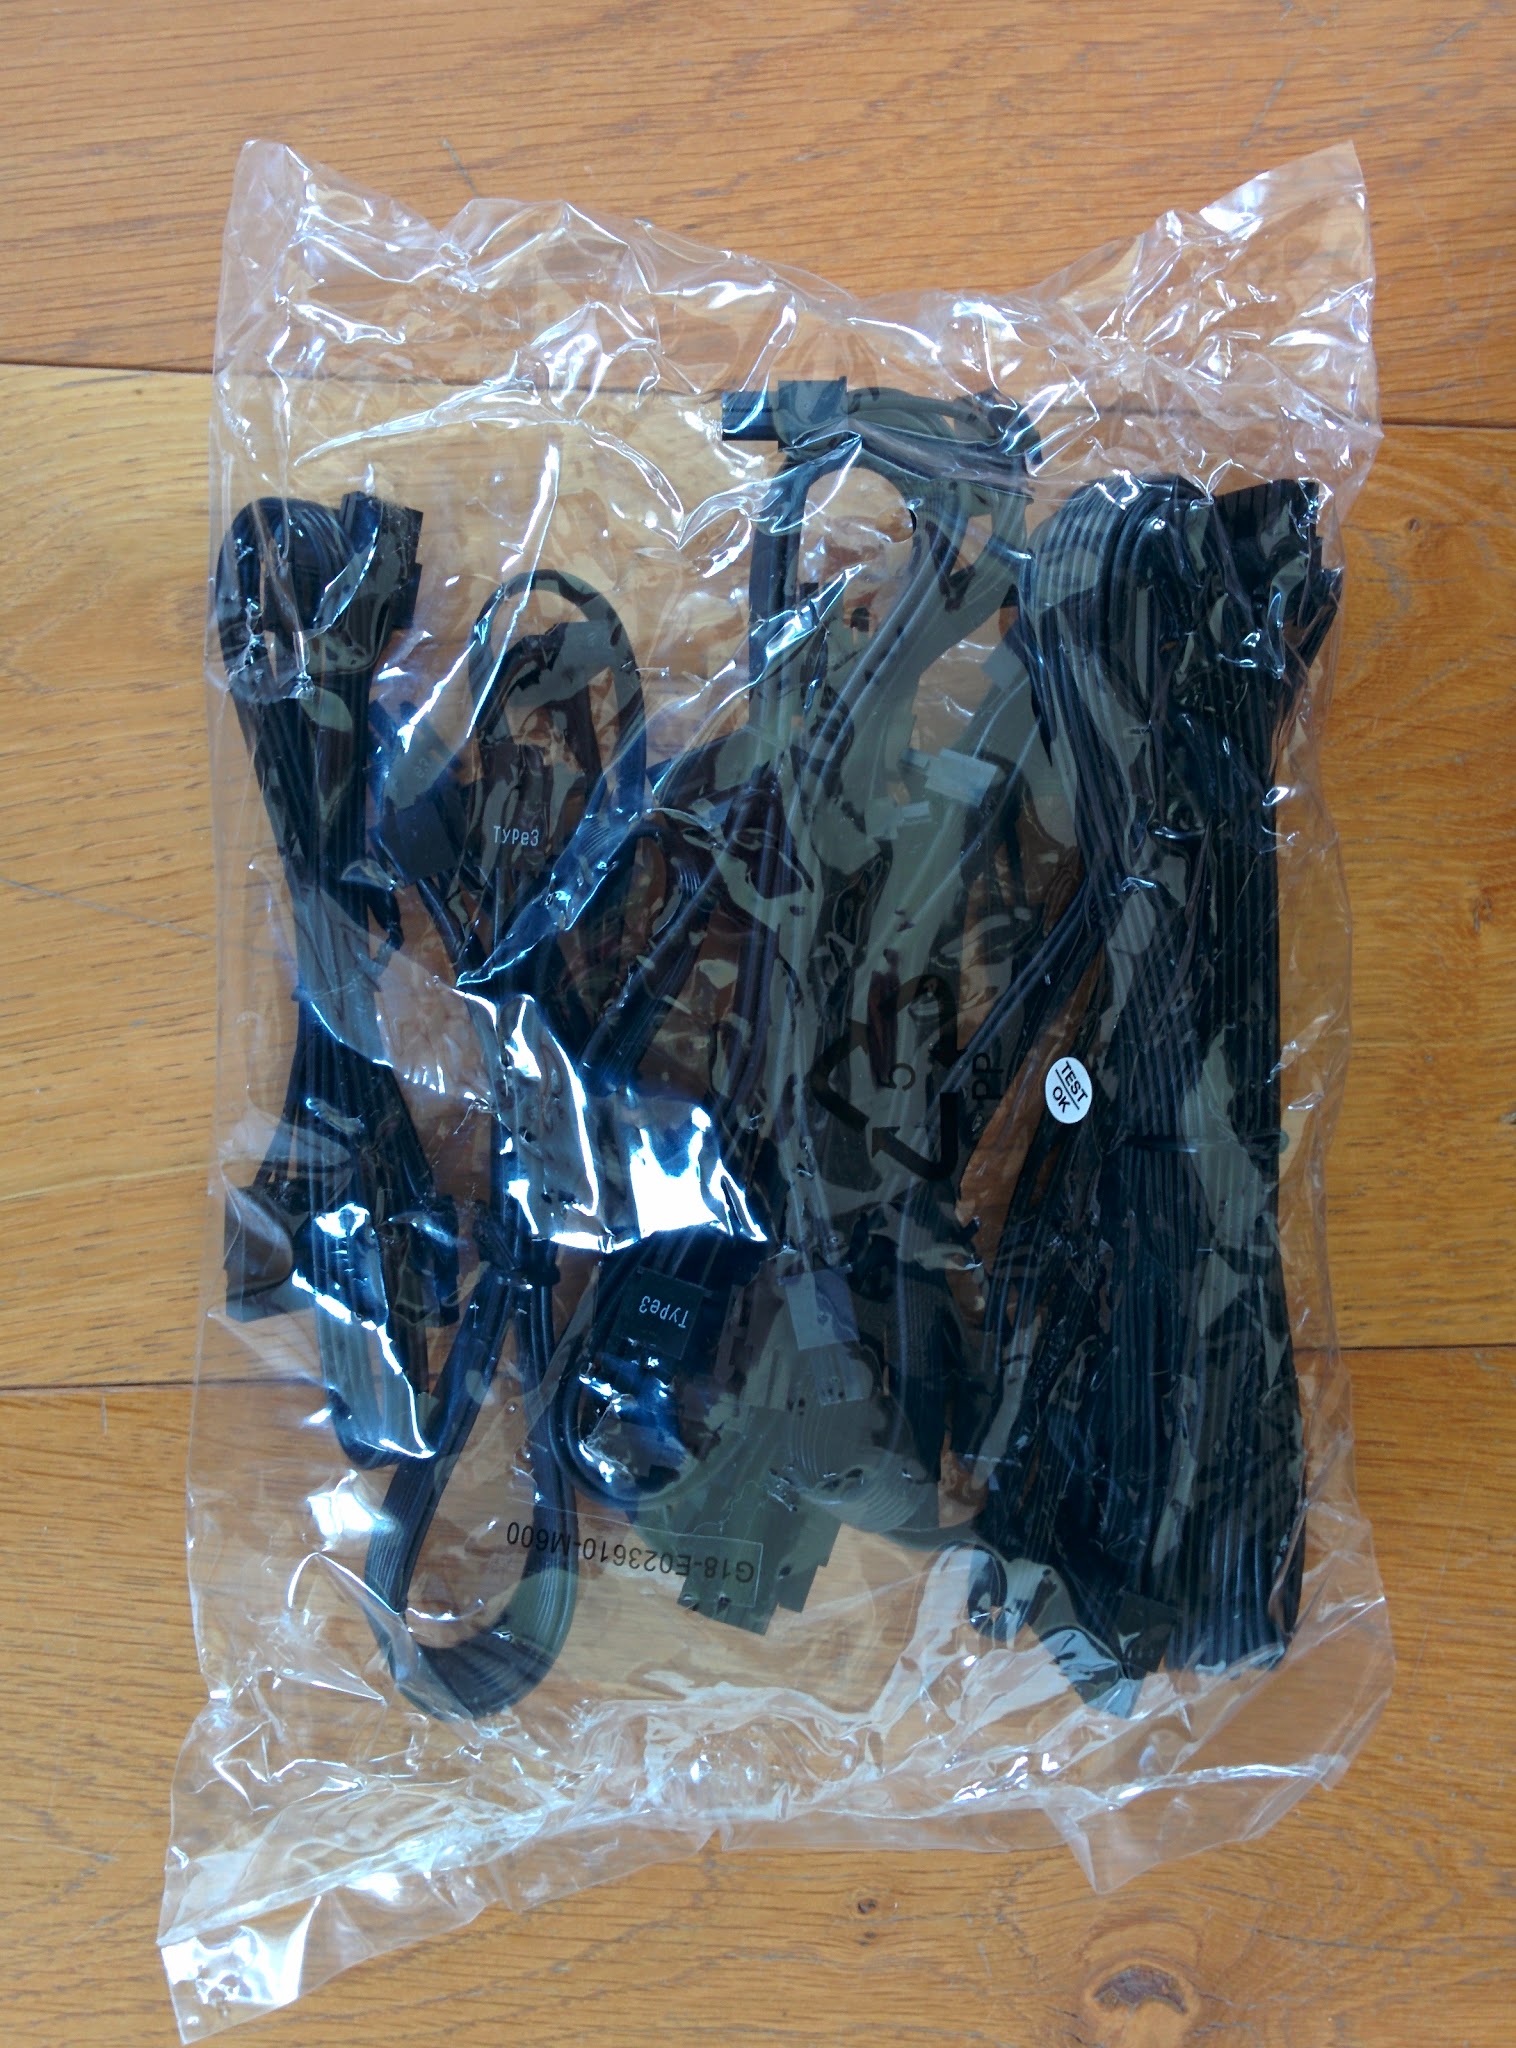
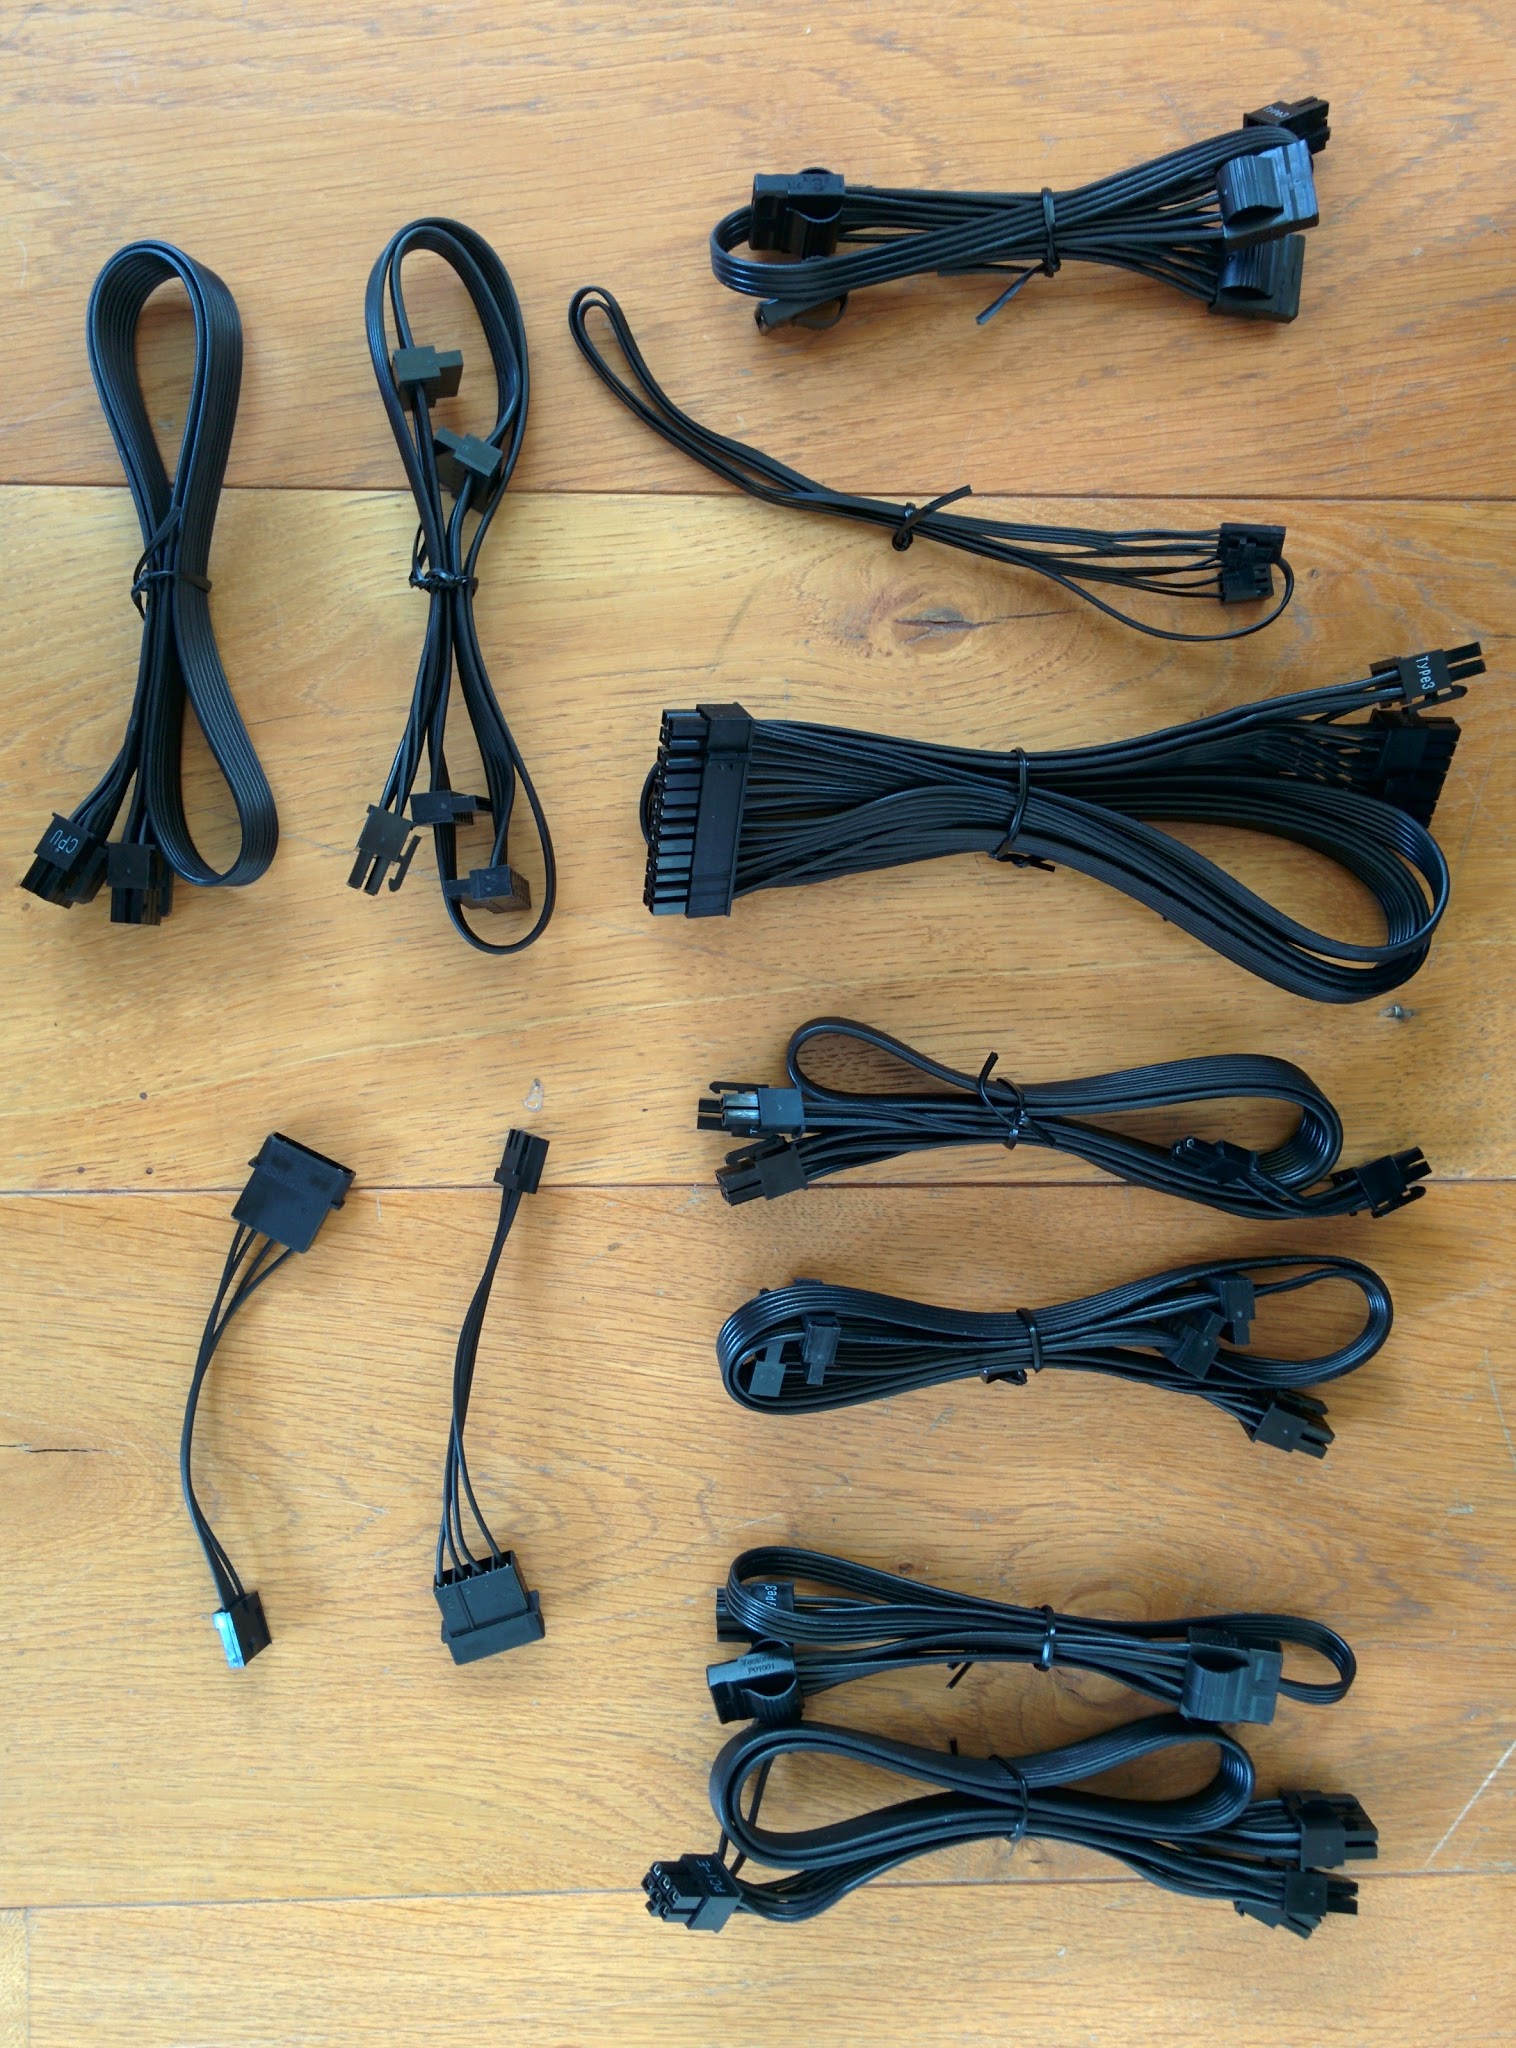
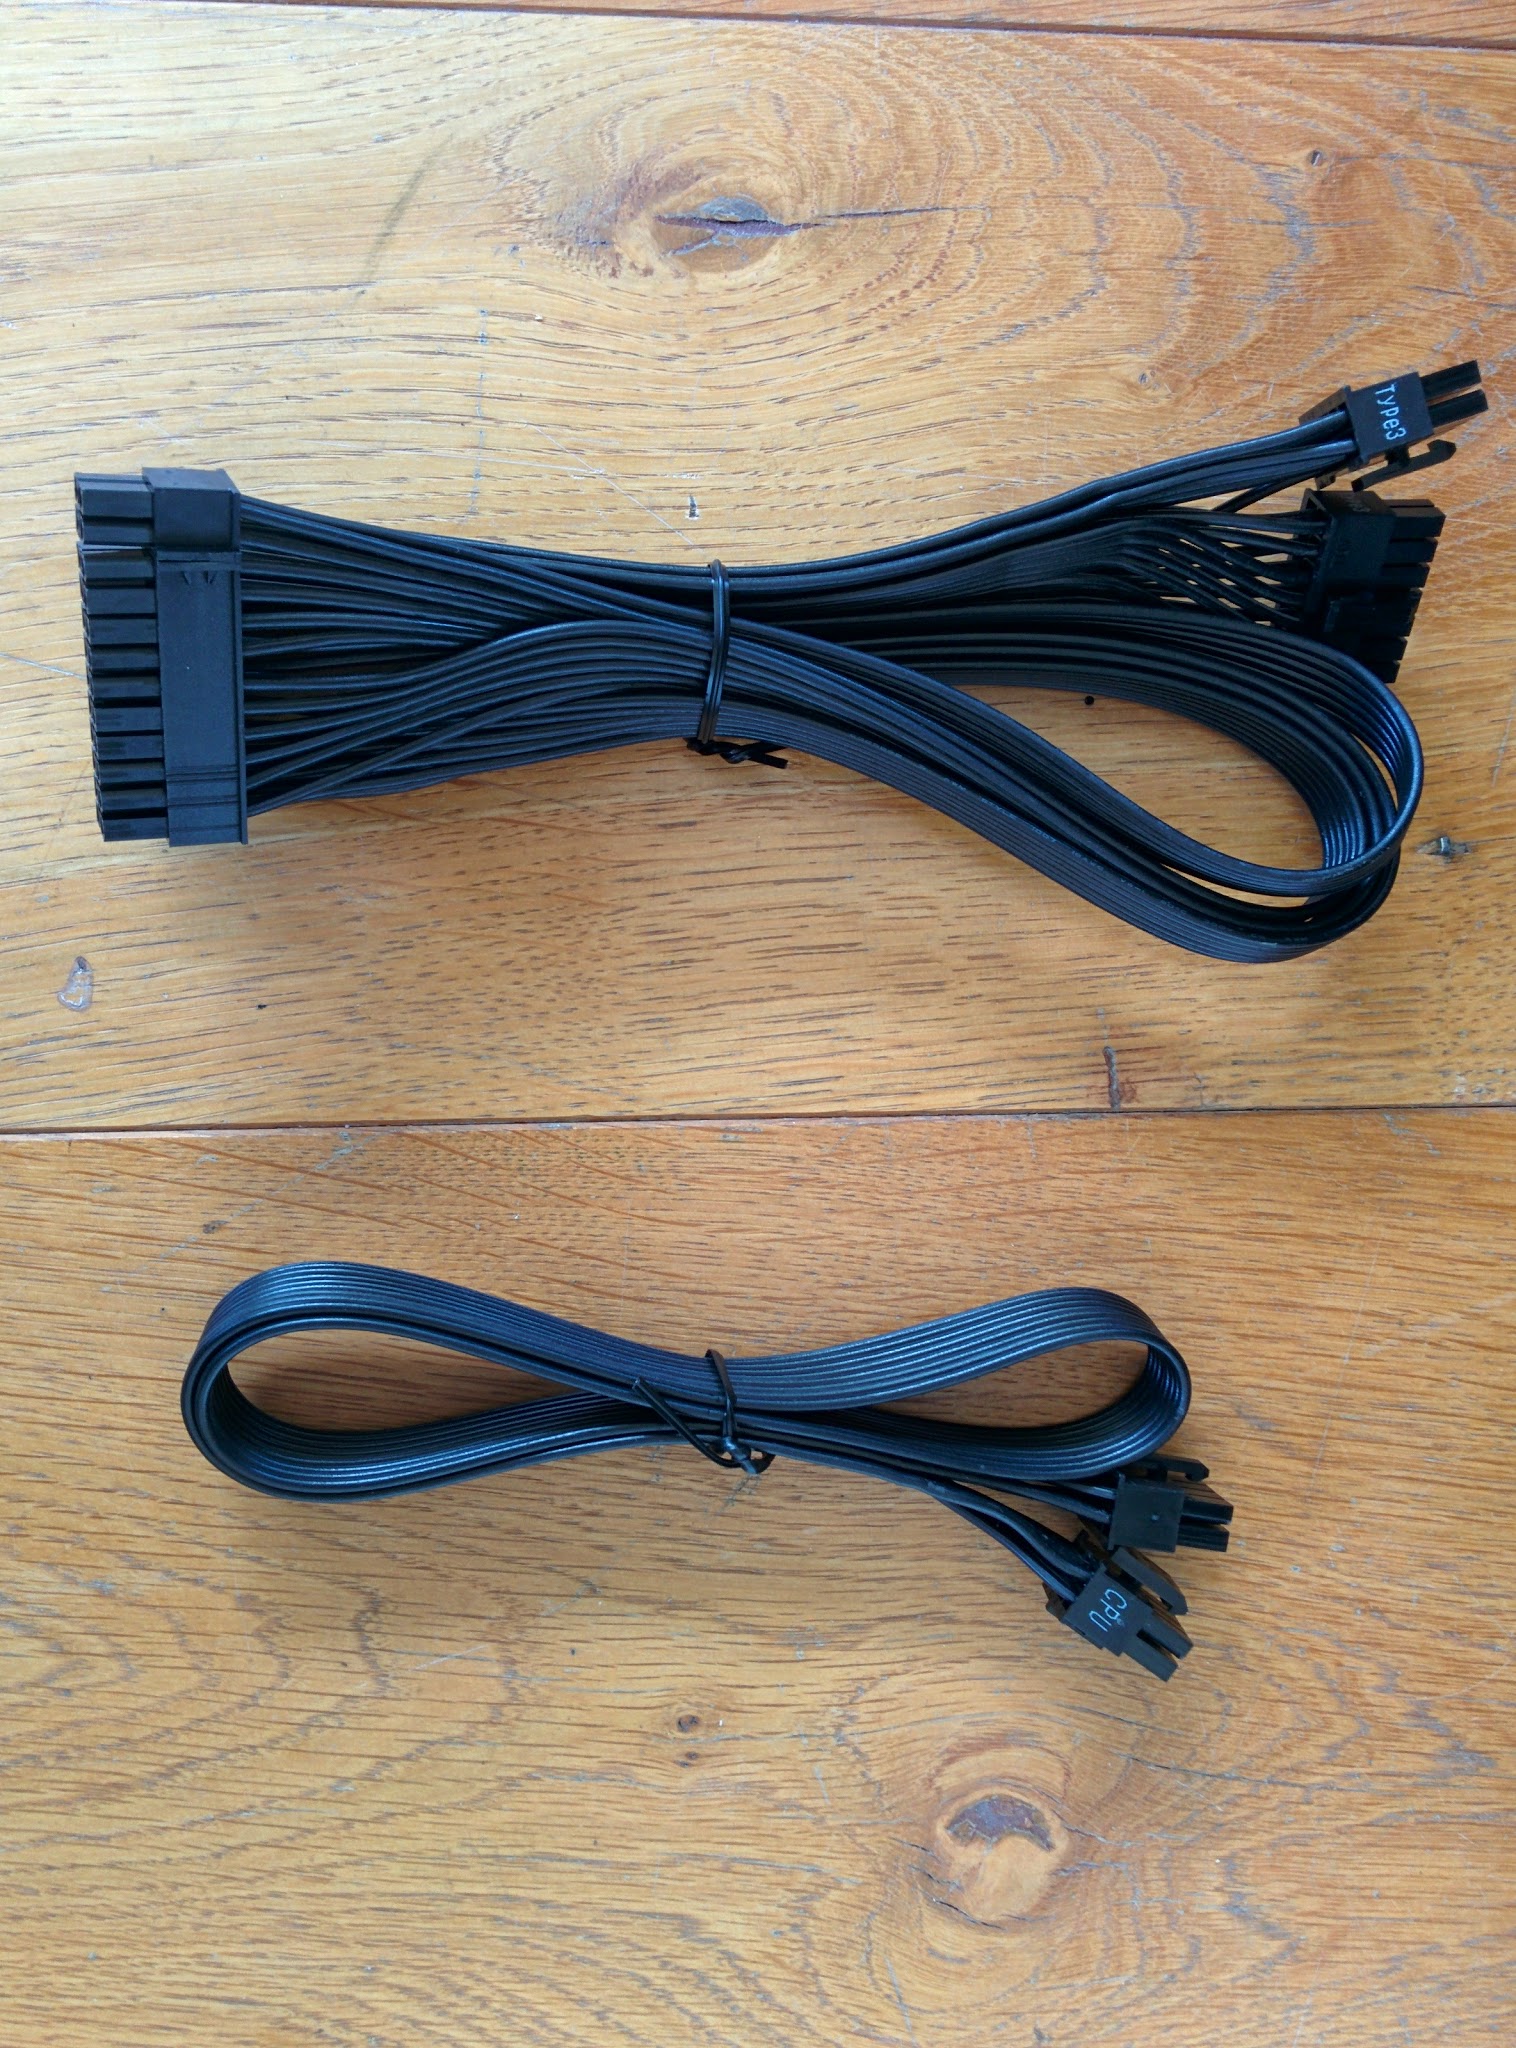
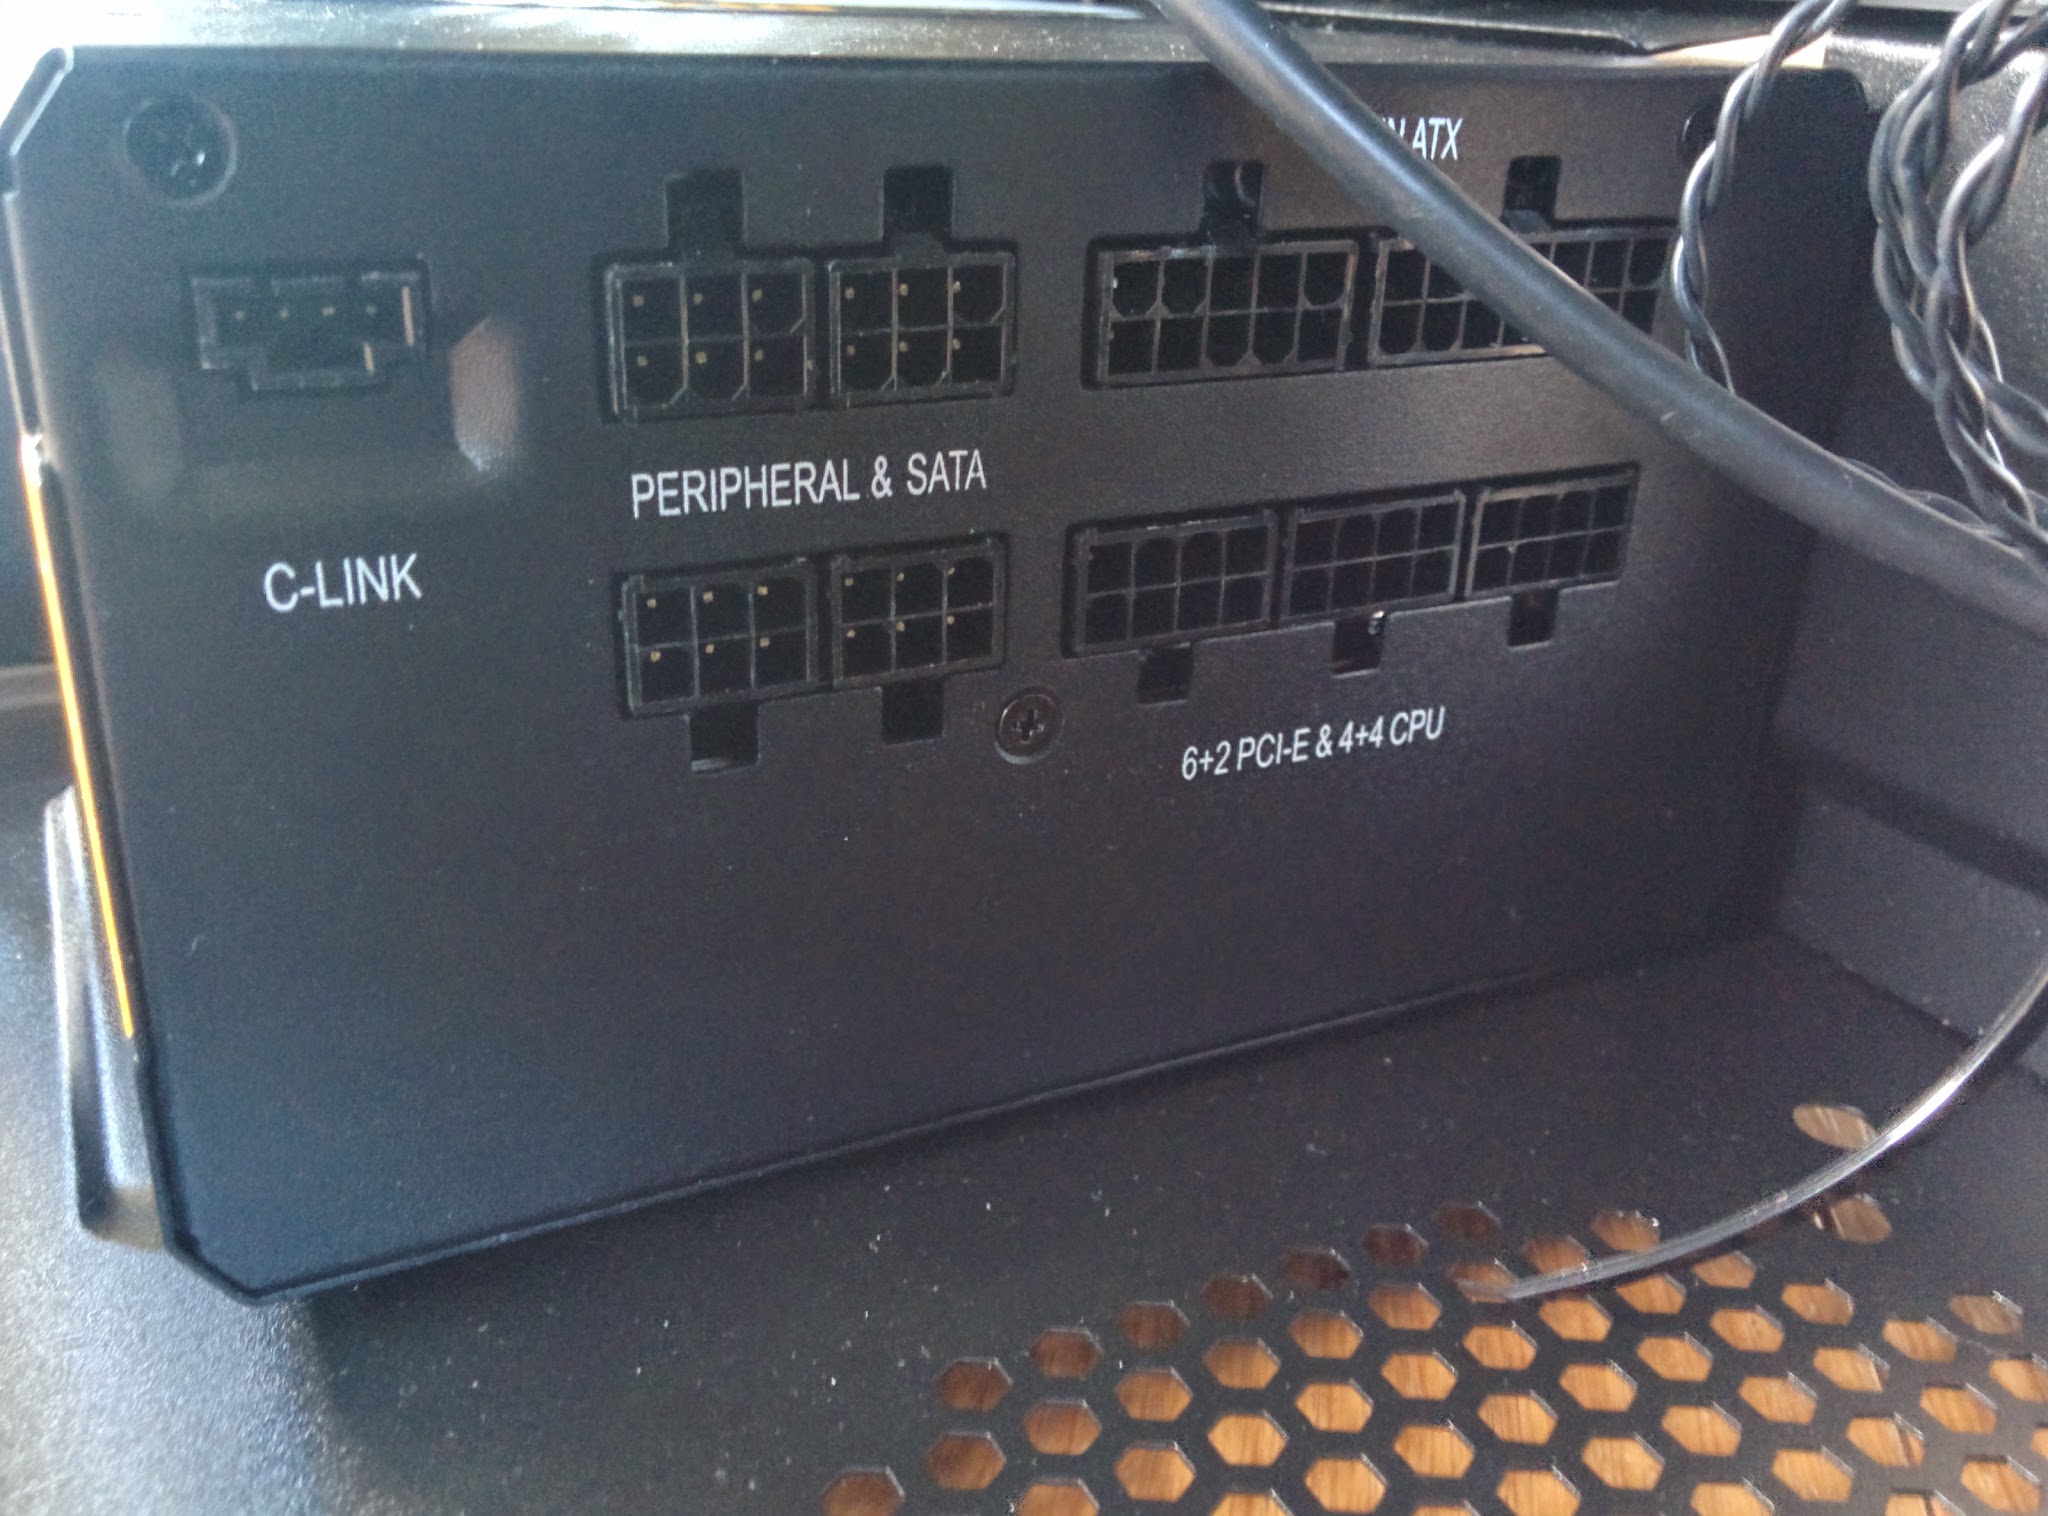
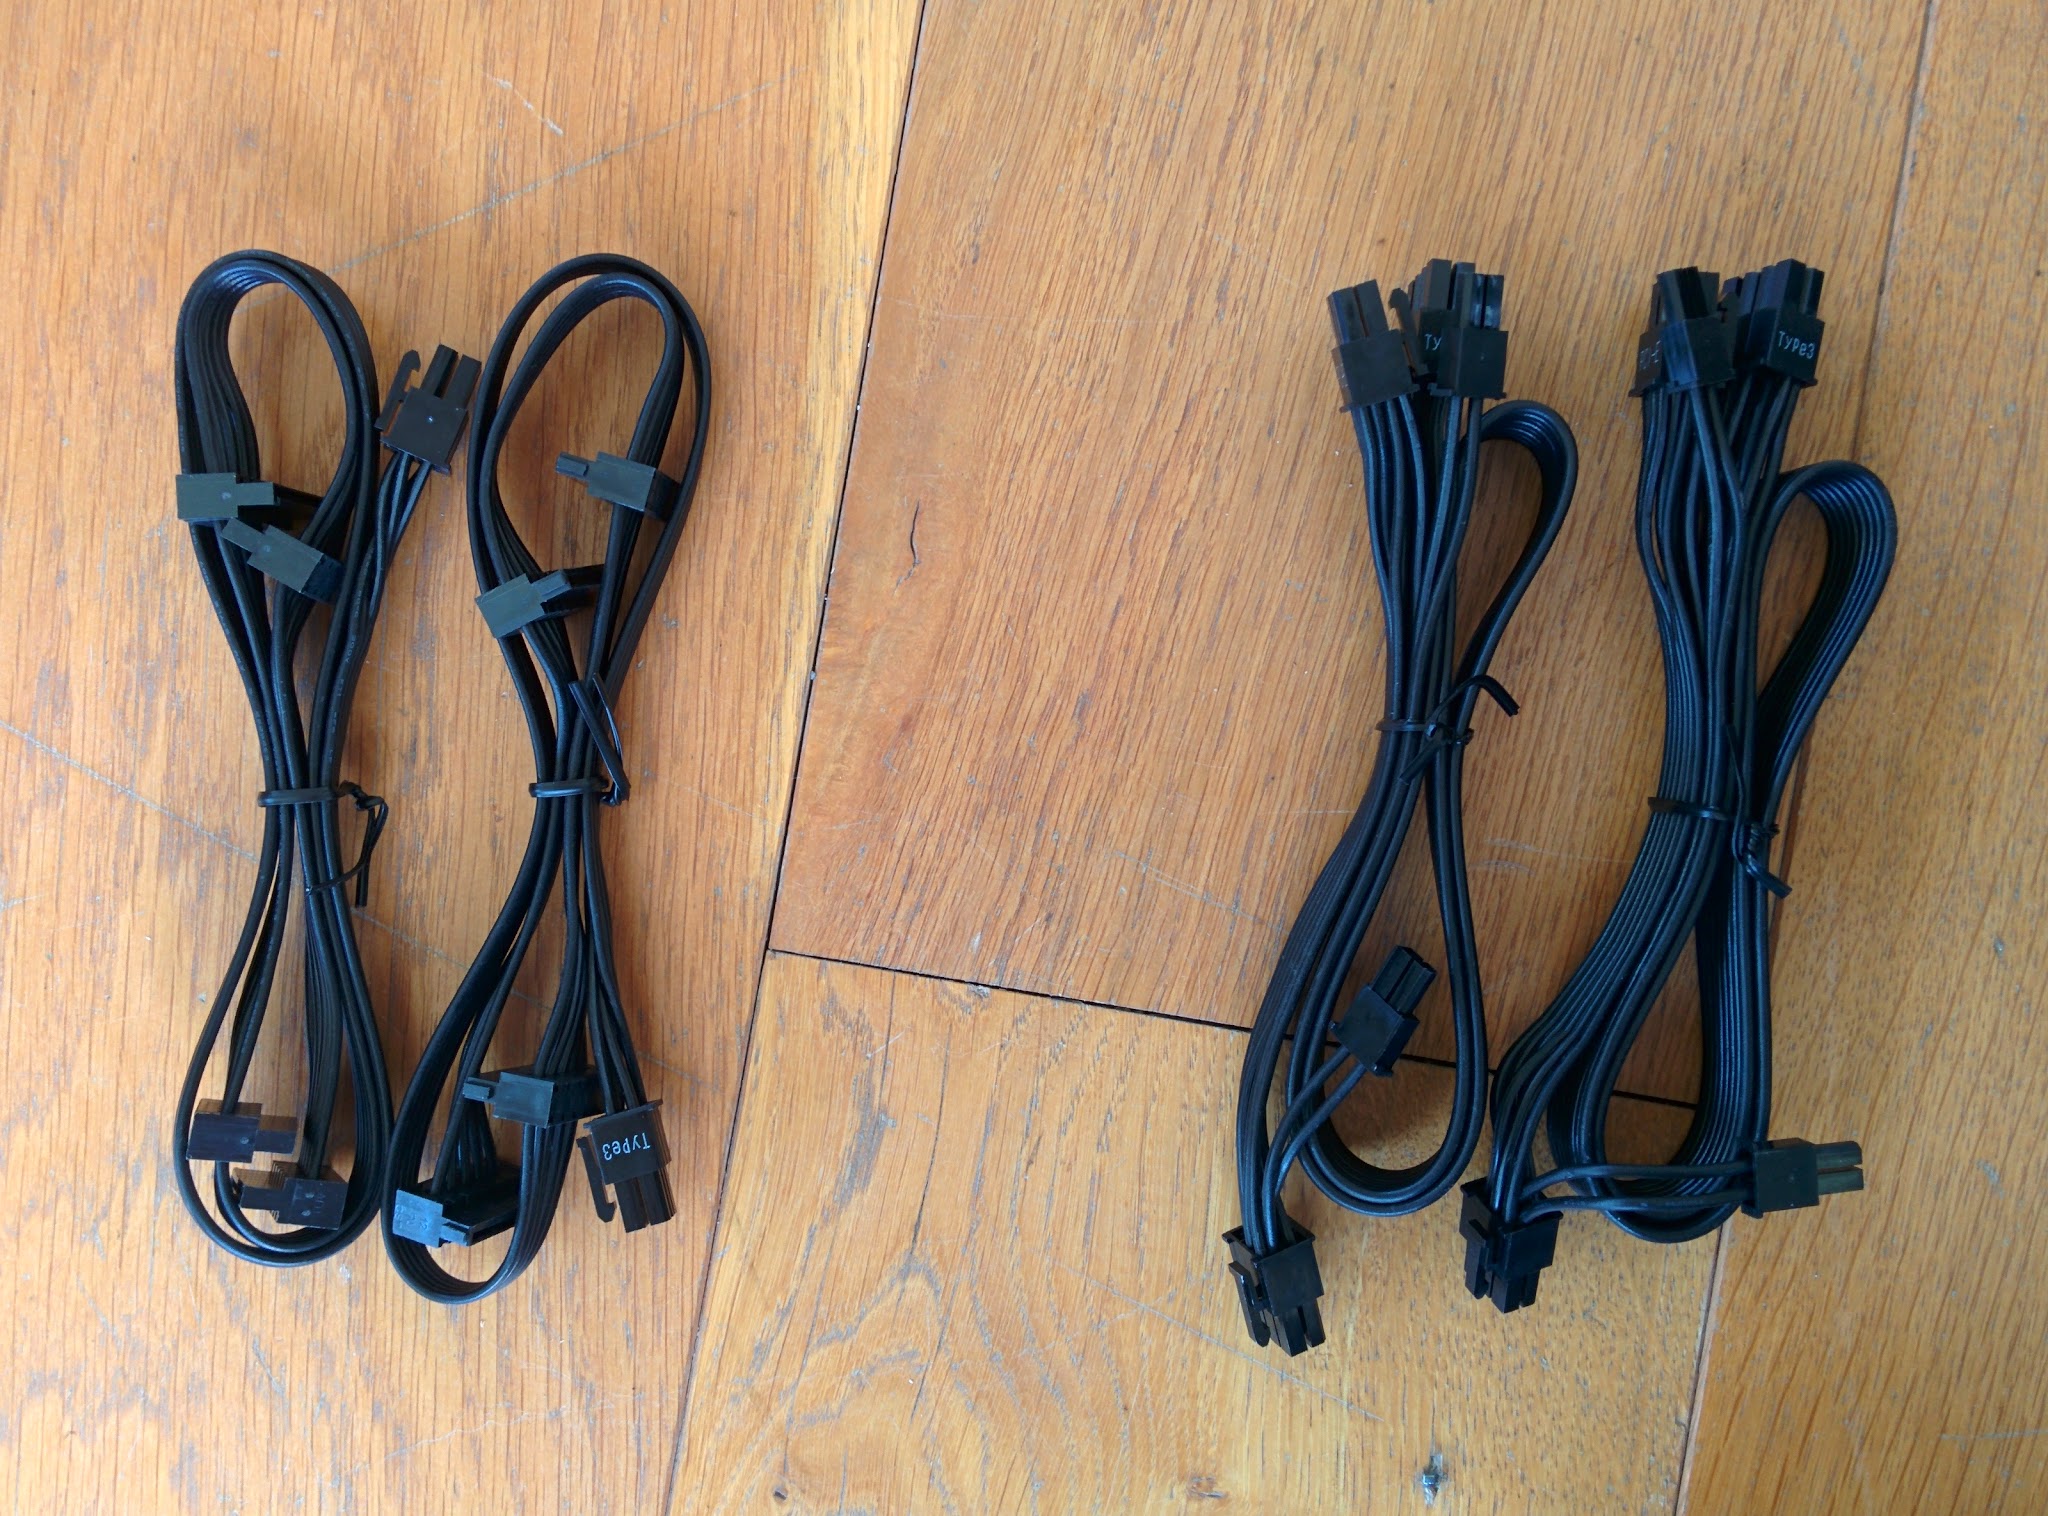
- If you are using a modular supply, take the ATX and CPU cables (shown in the far-right photo above) and connect them to the front of the PSU in the correct labelled slots
- Now run these two cables up the case with and plug the CPU cable into the port at the top-left of the motherboard, near the CPU socket. This will provide power to the processor itself
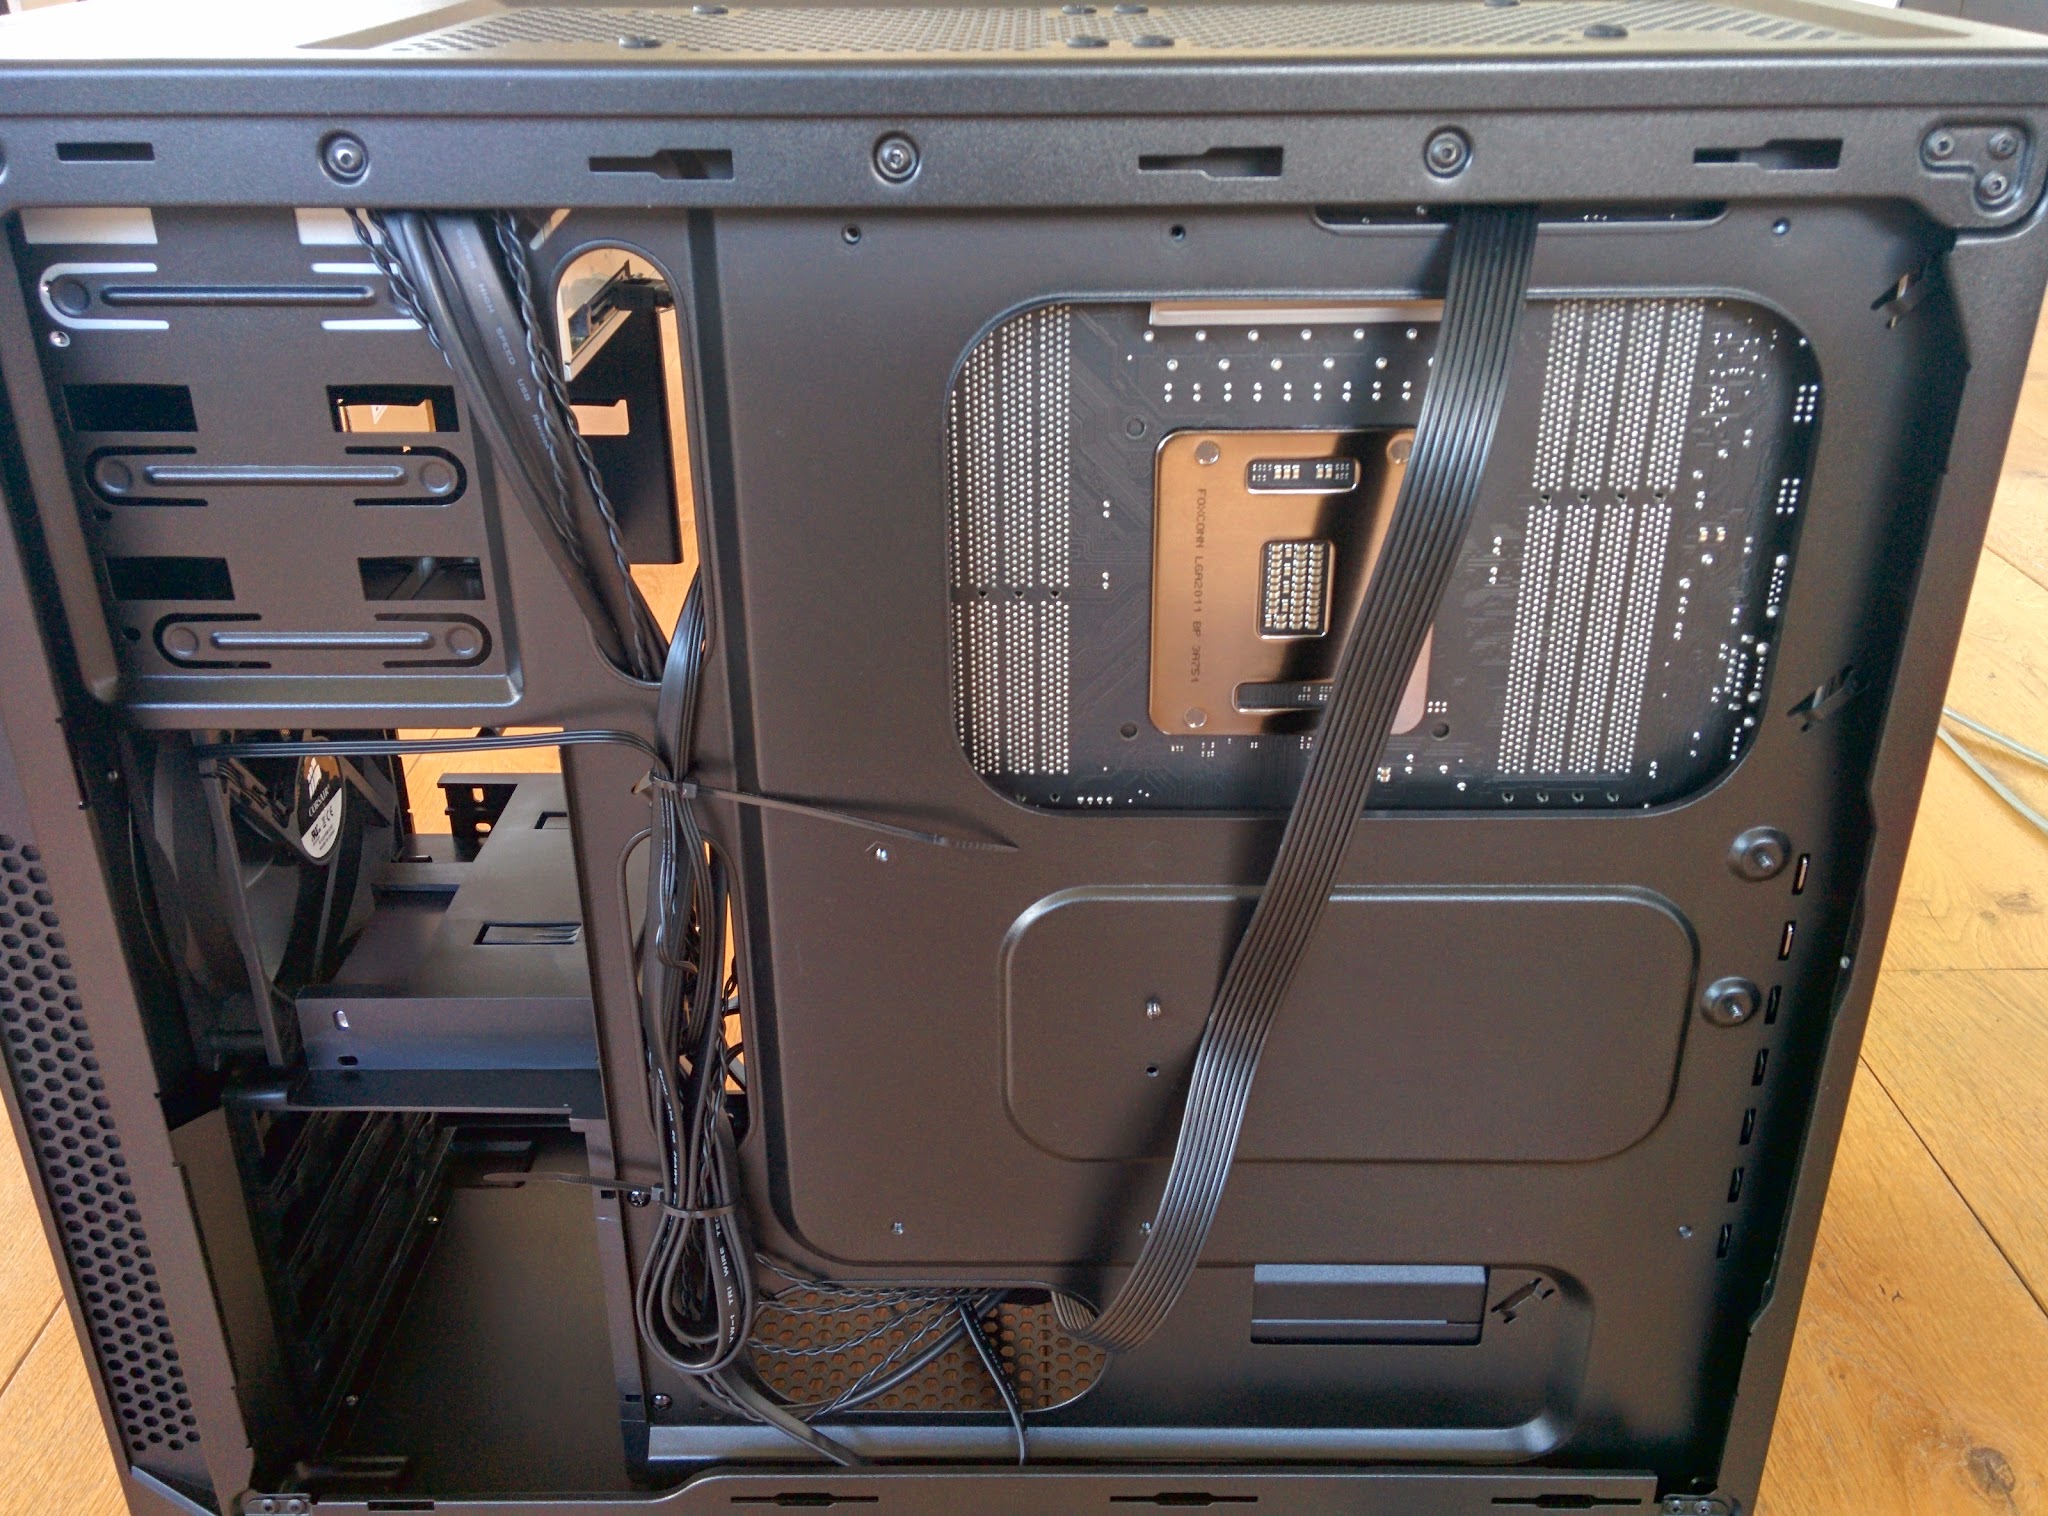
- Plug the ATX cable into the large 24-pin ATX port on the right-side of the motherboard. This will supply power to the rest of the board as well as any expansion cards that do not use external power
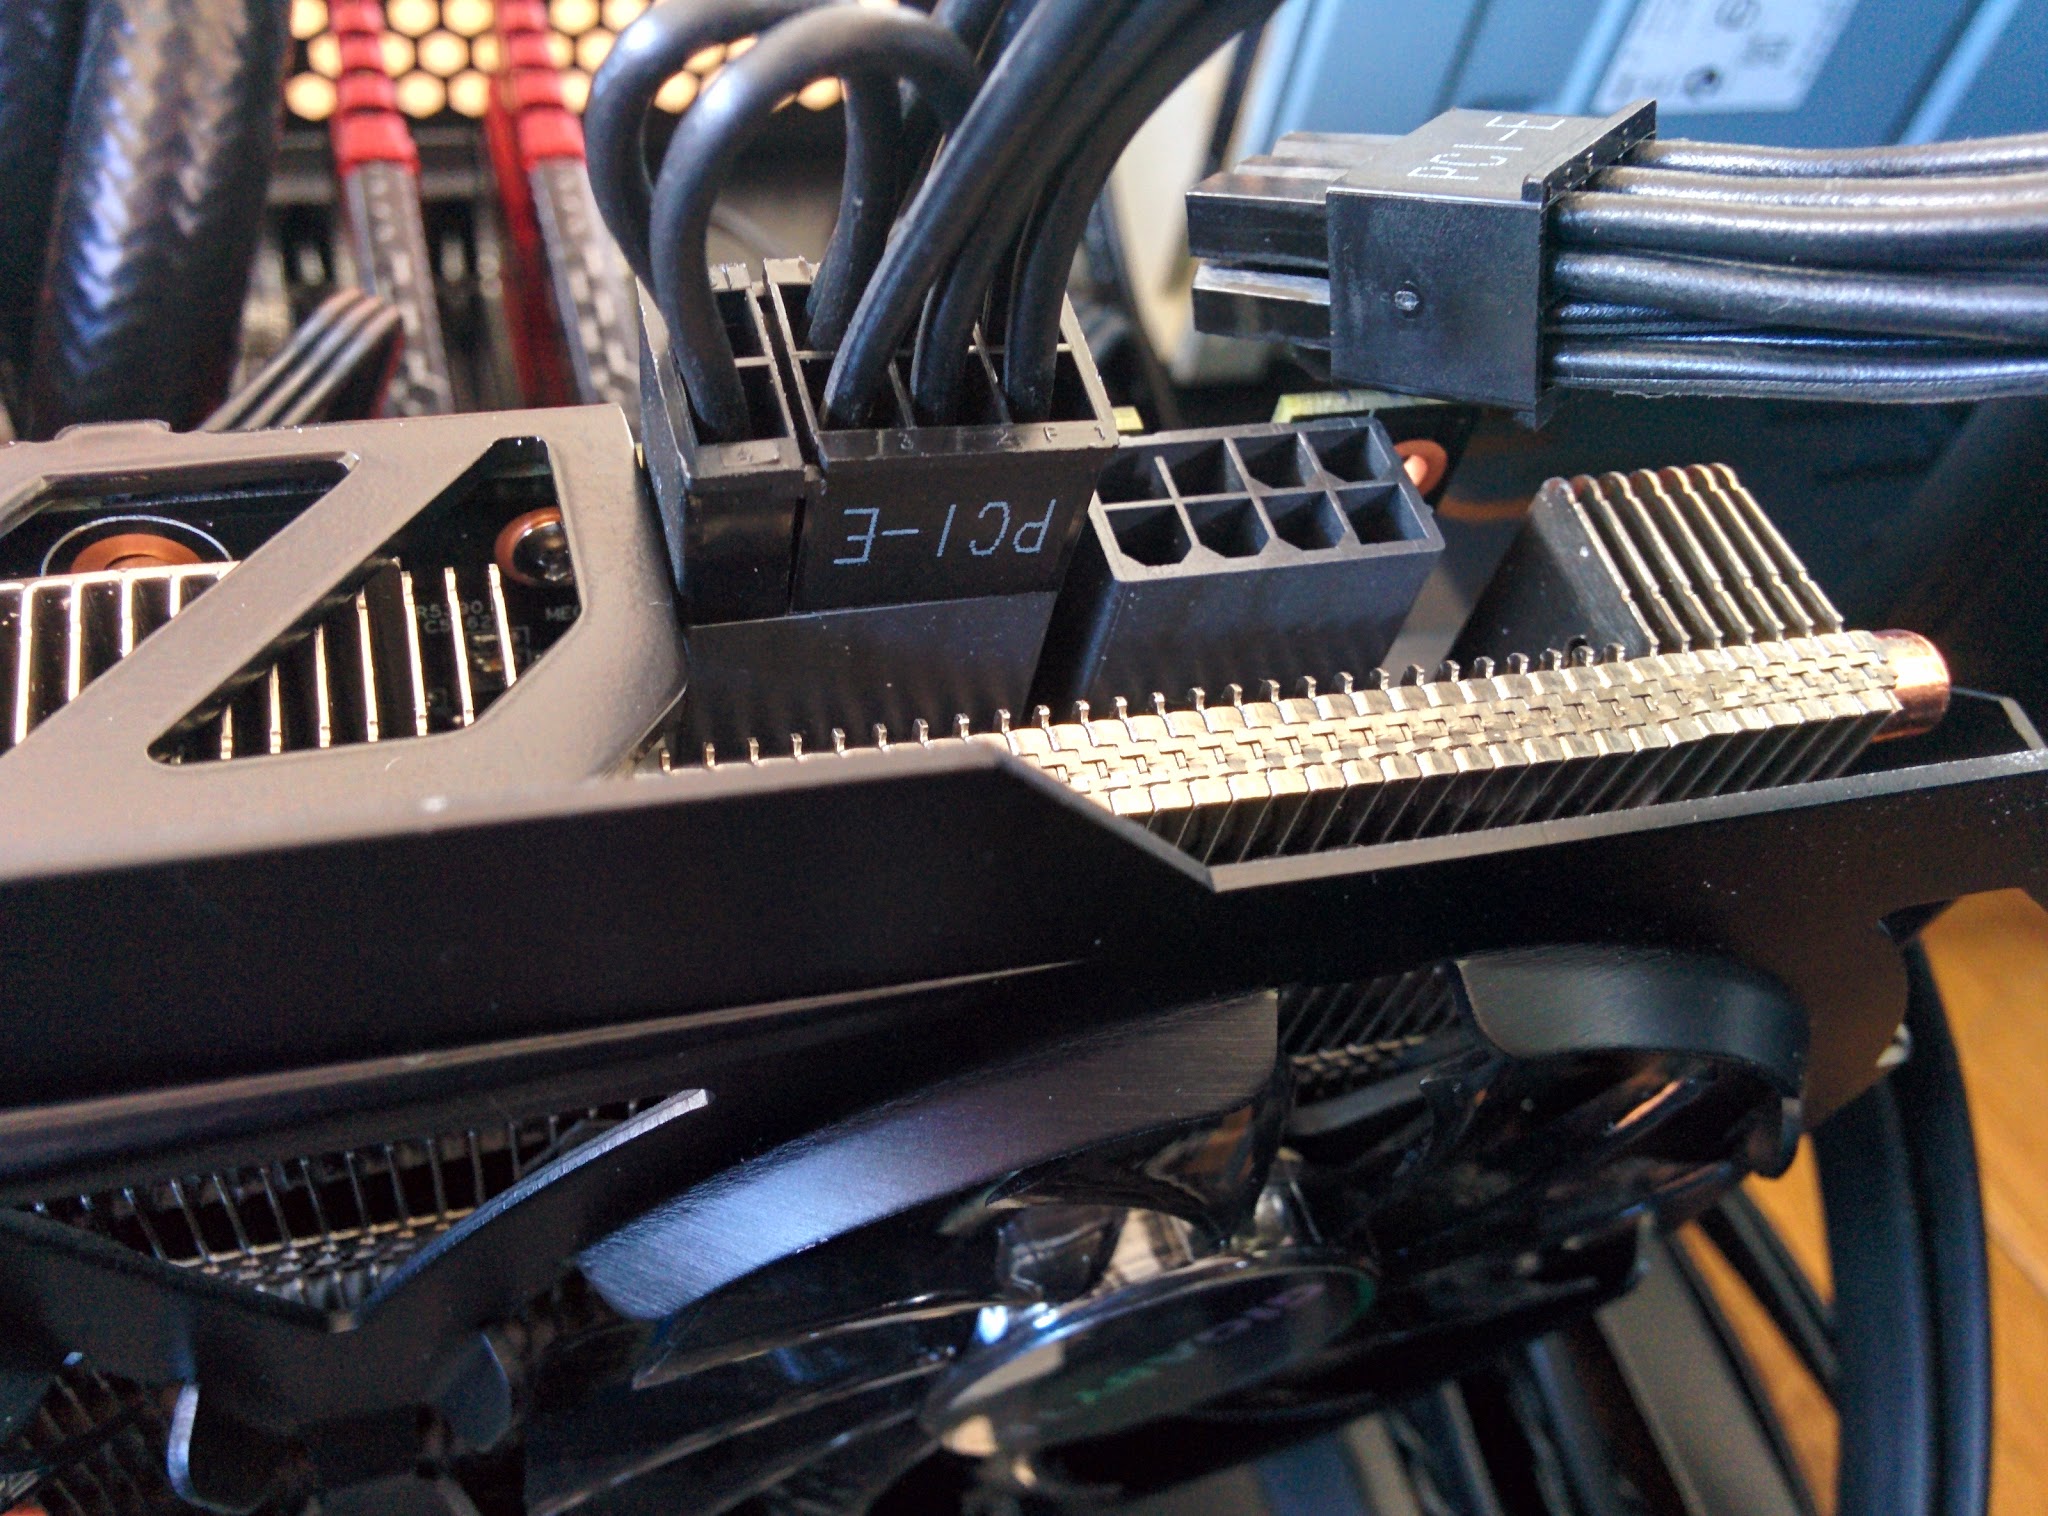
- If you are using a graphics card that requires external PCI-E power (refer to your card’s manual for information), connect the PCI-E power cable to the card

- Now connect the SATA power cables to any hard disk drives, solid state drives and optical disc drives you have
Finishing Touches
Lastly, there are a few odds and ends to clear up. For the H80i radiator I’m using, an external SATA power connection is required to power the pump. It also requires a USB2 connection for using Corsair Link software to control the fans and lighting.
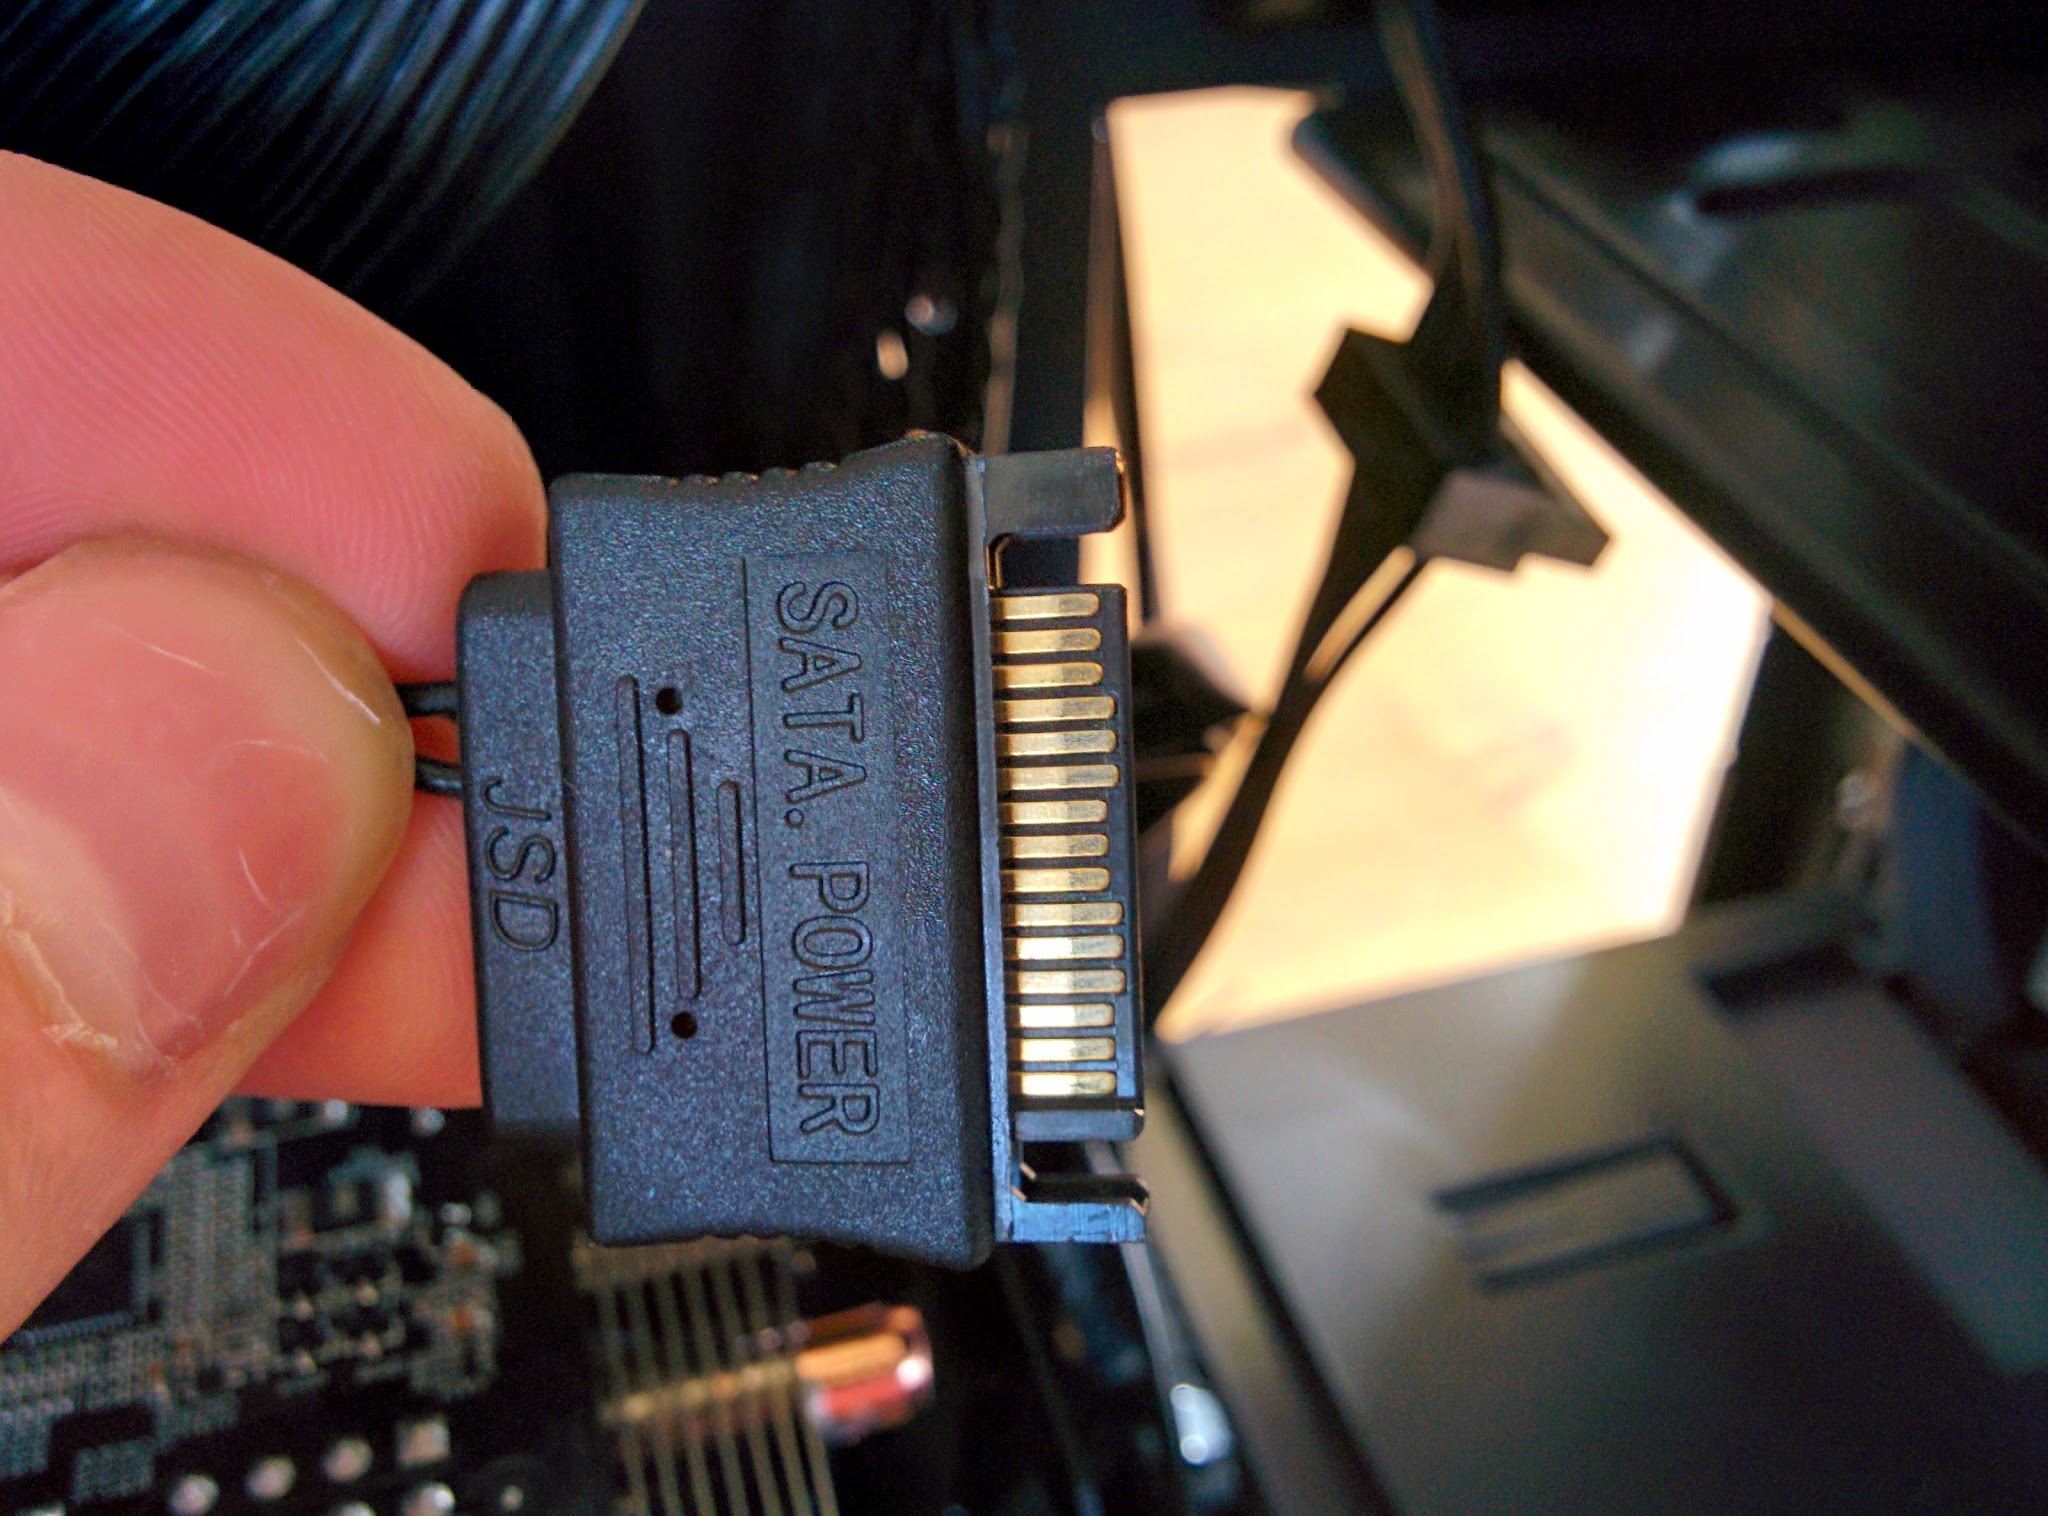
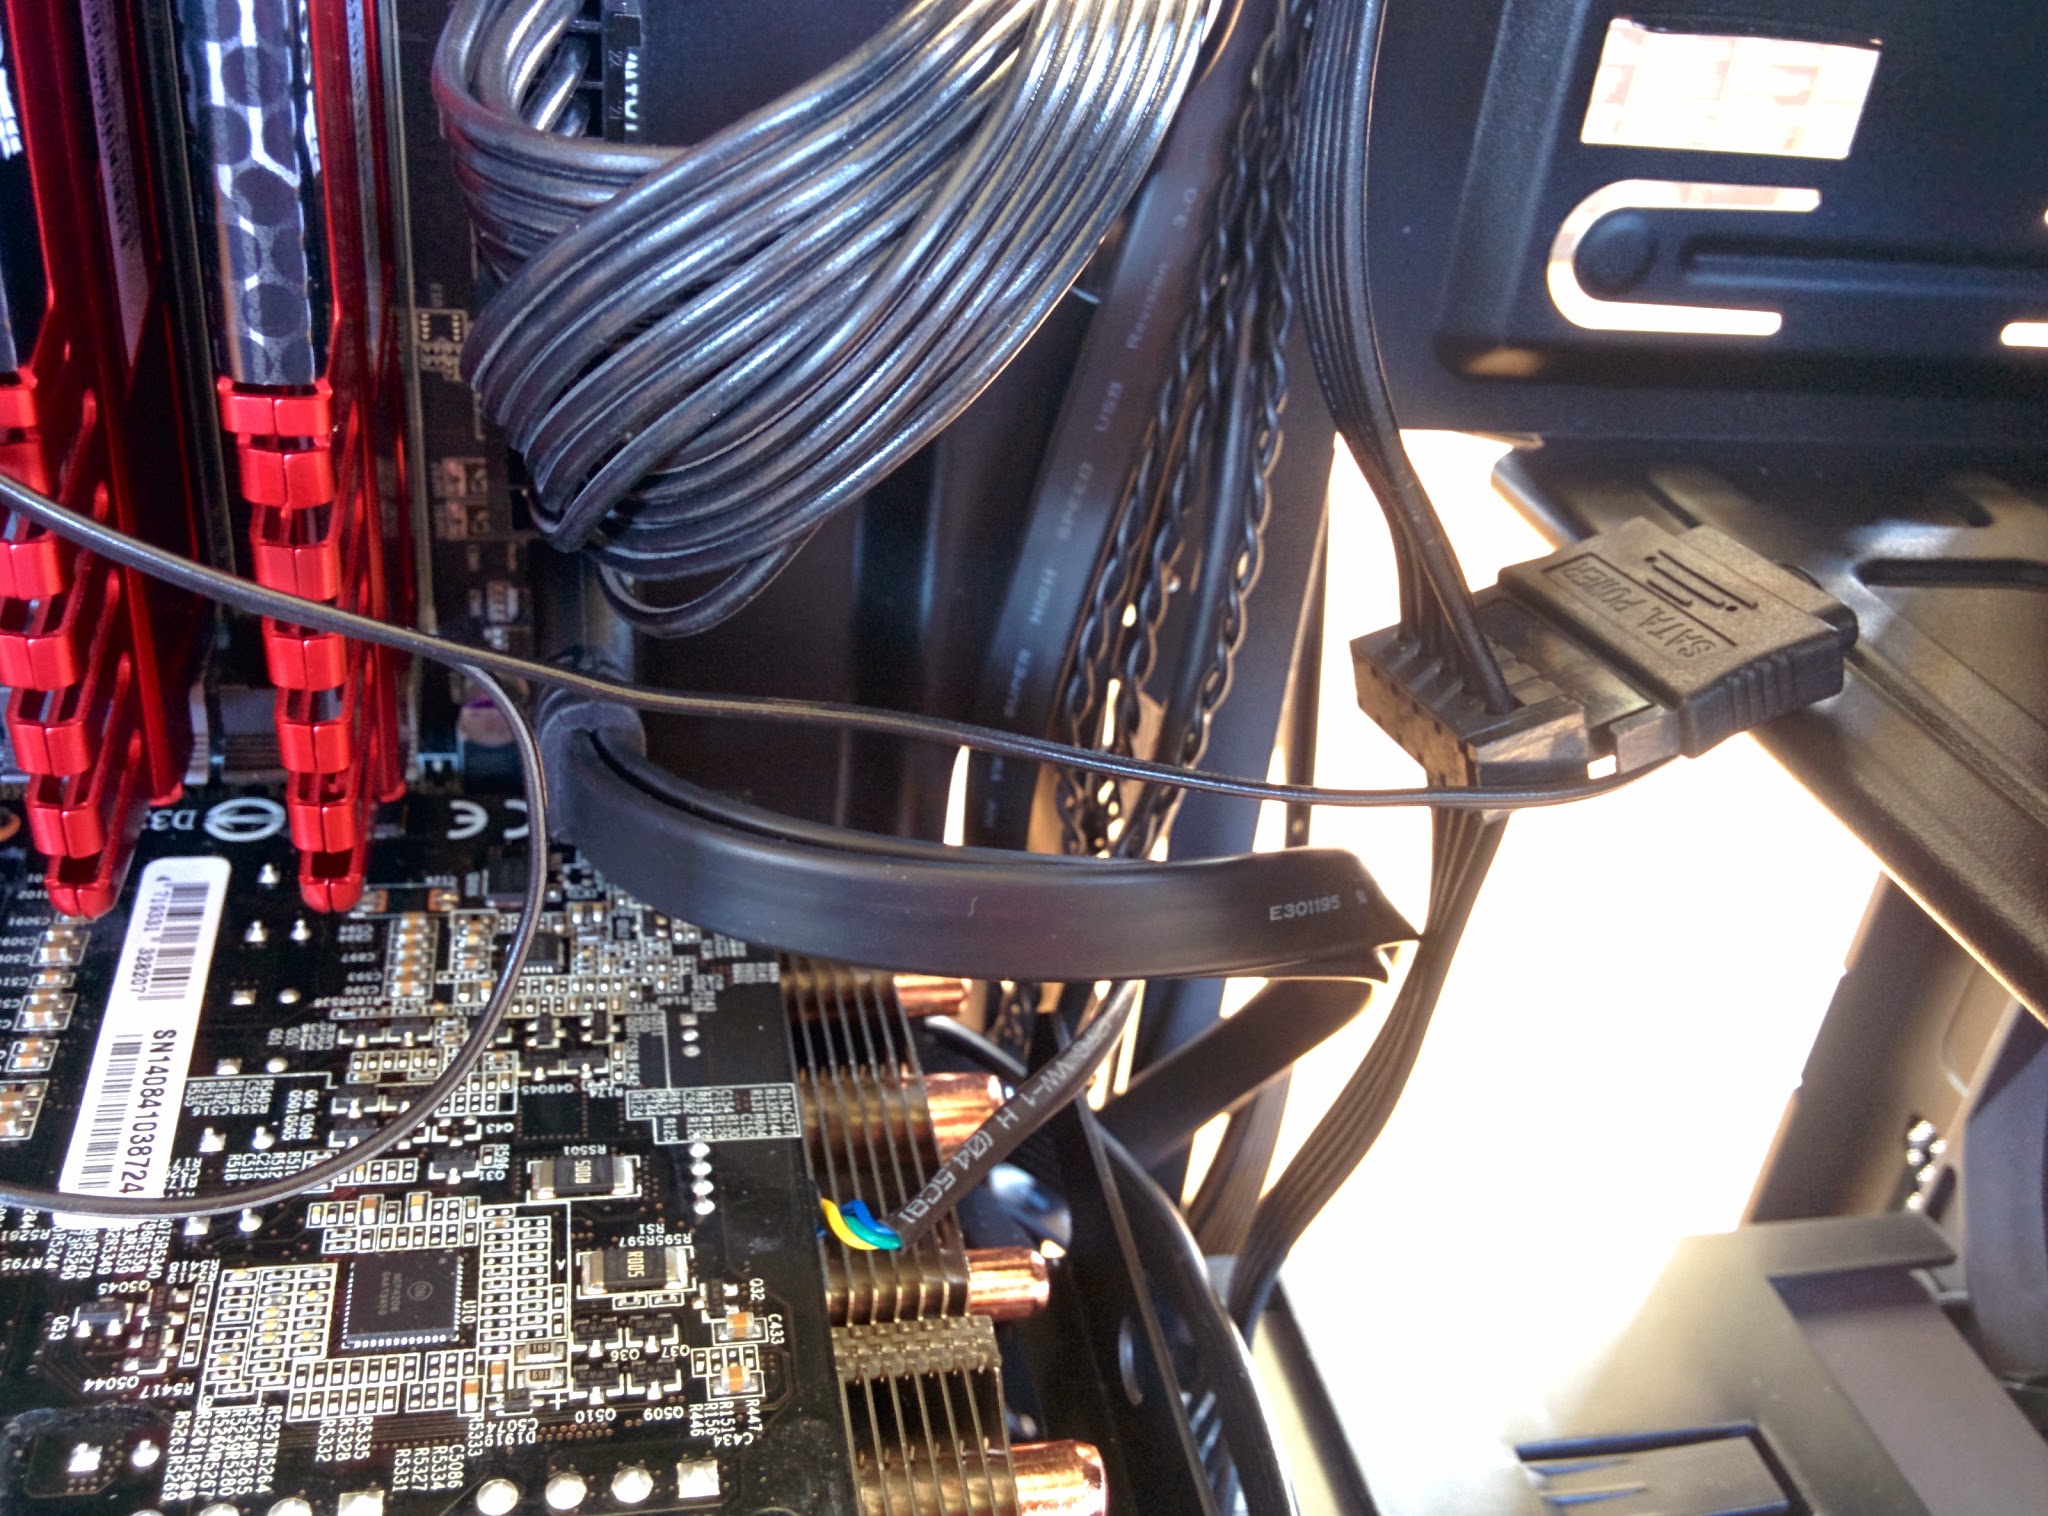
- If using a Corsair radiator or similar, connect the SATA power connector to a spare SATA port along one of the power cables
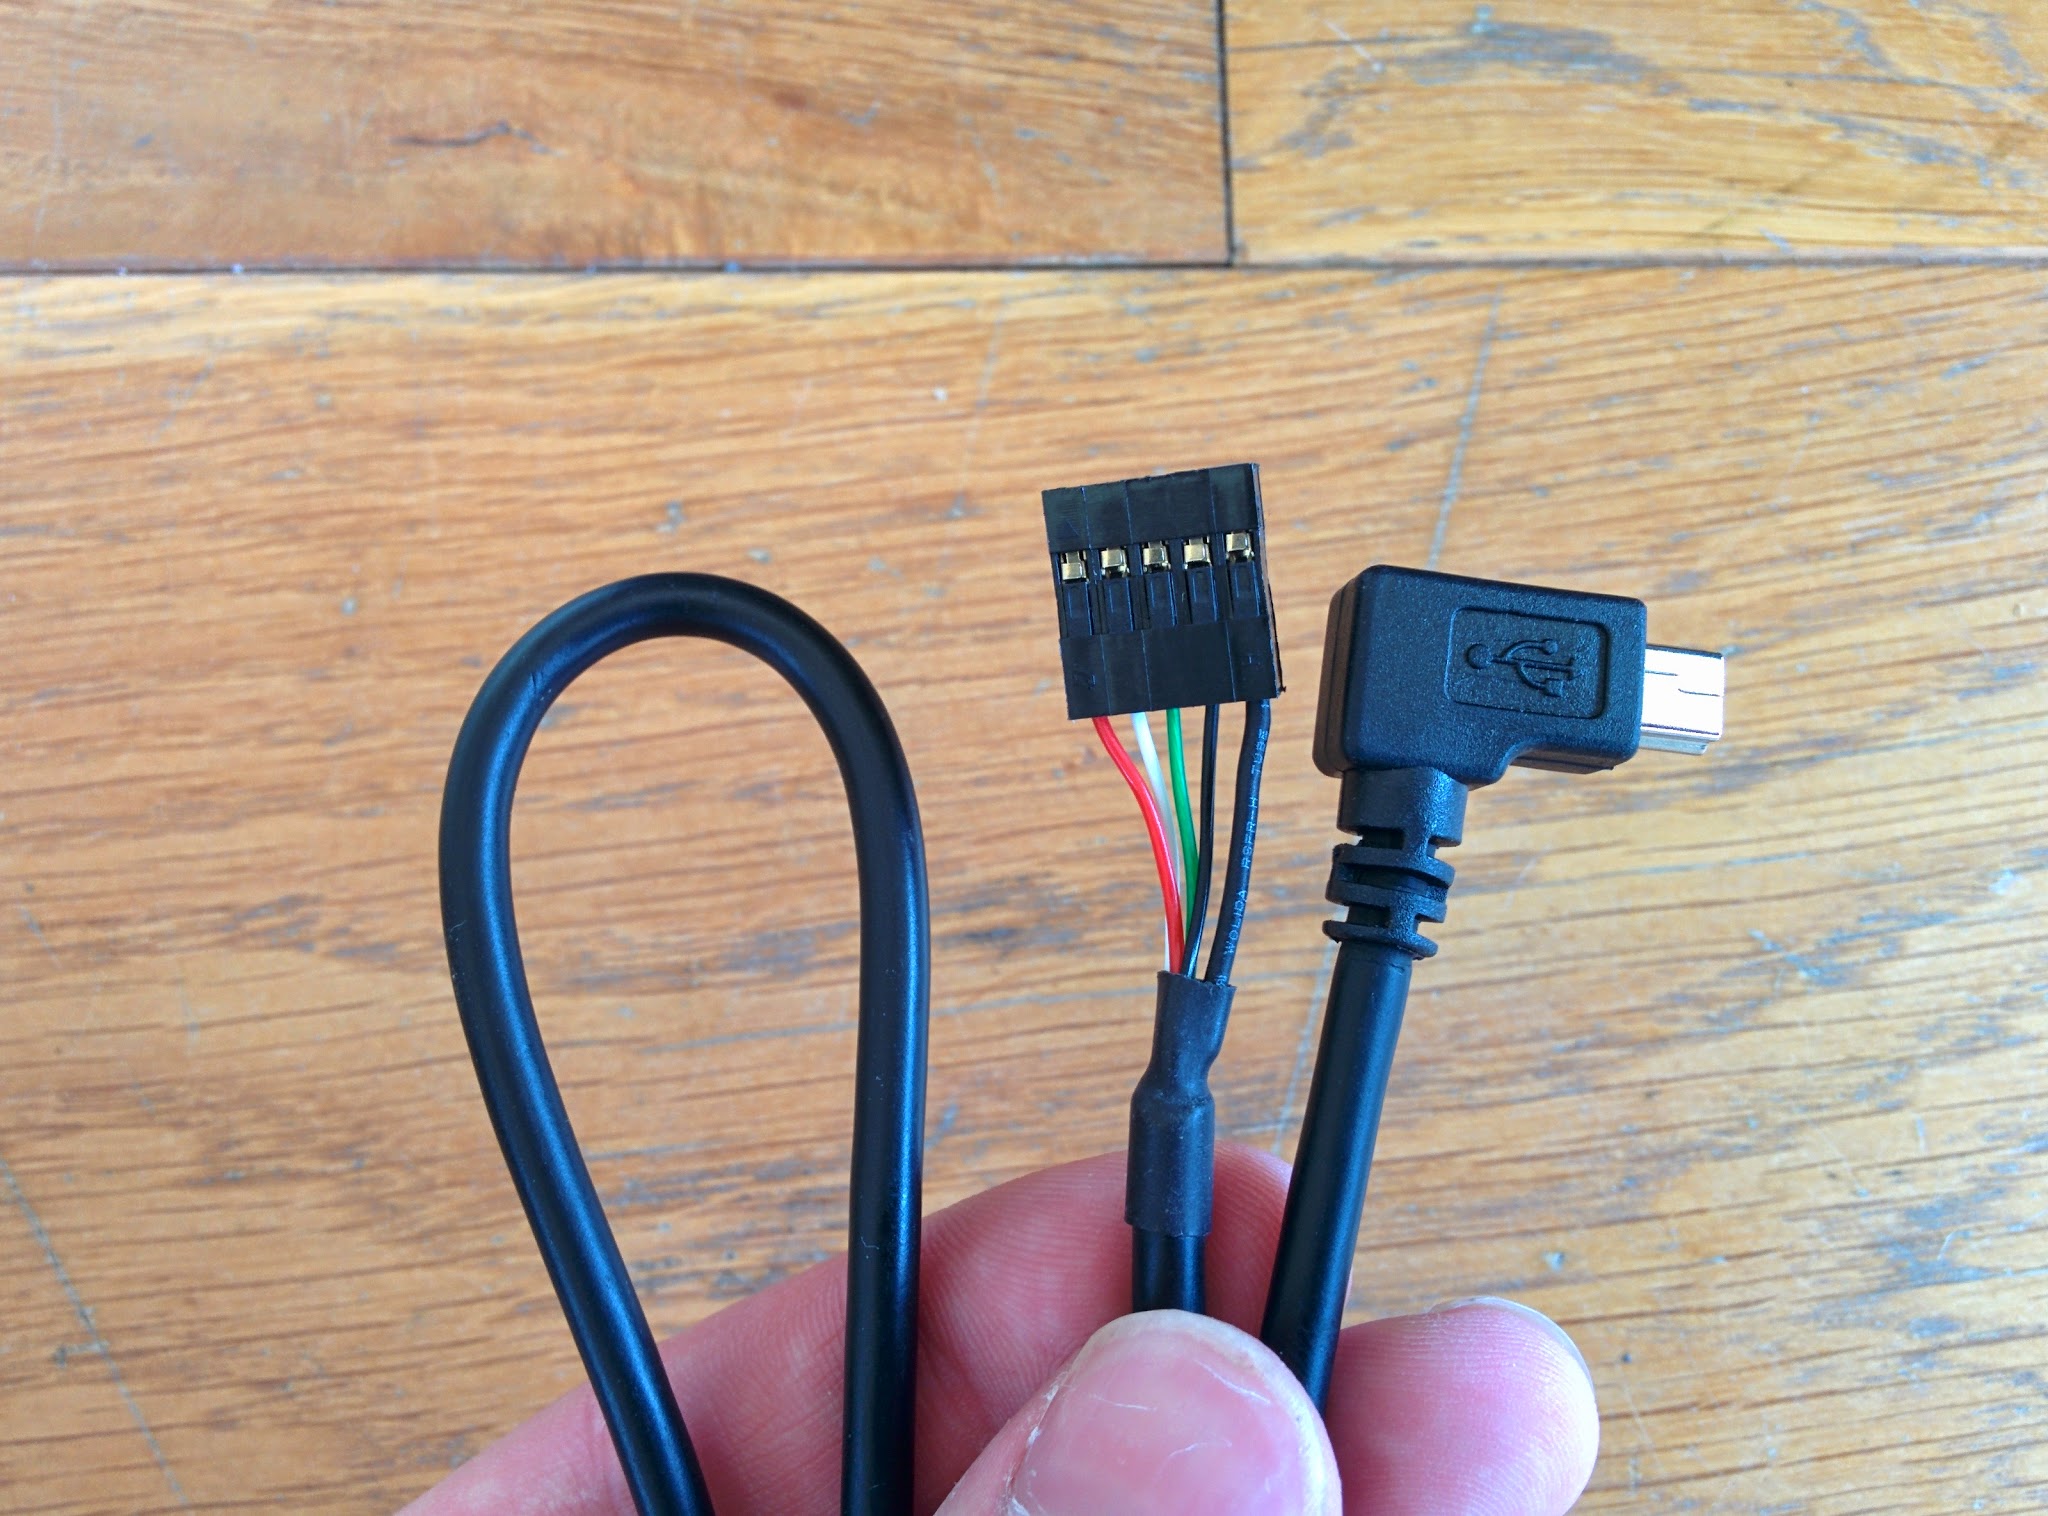
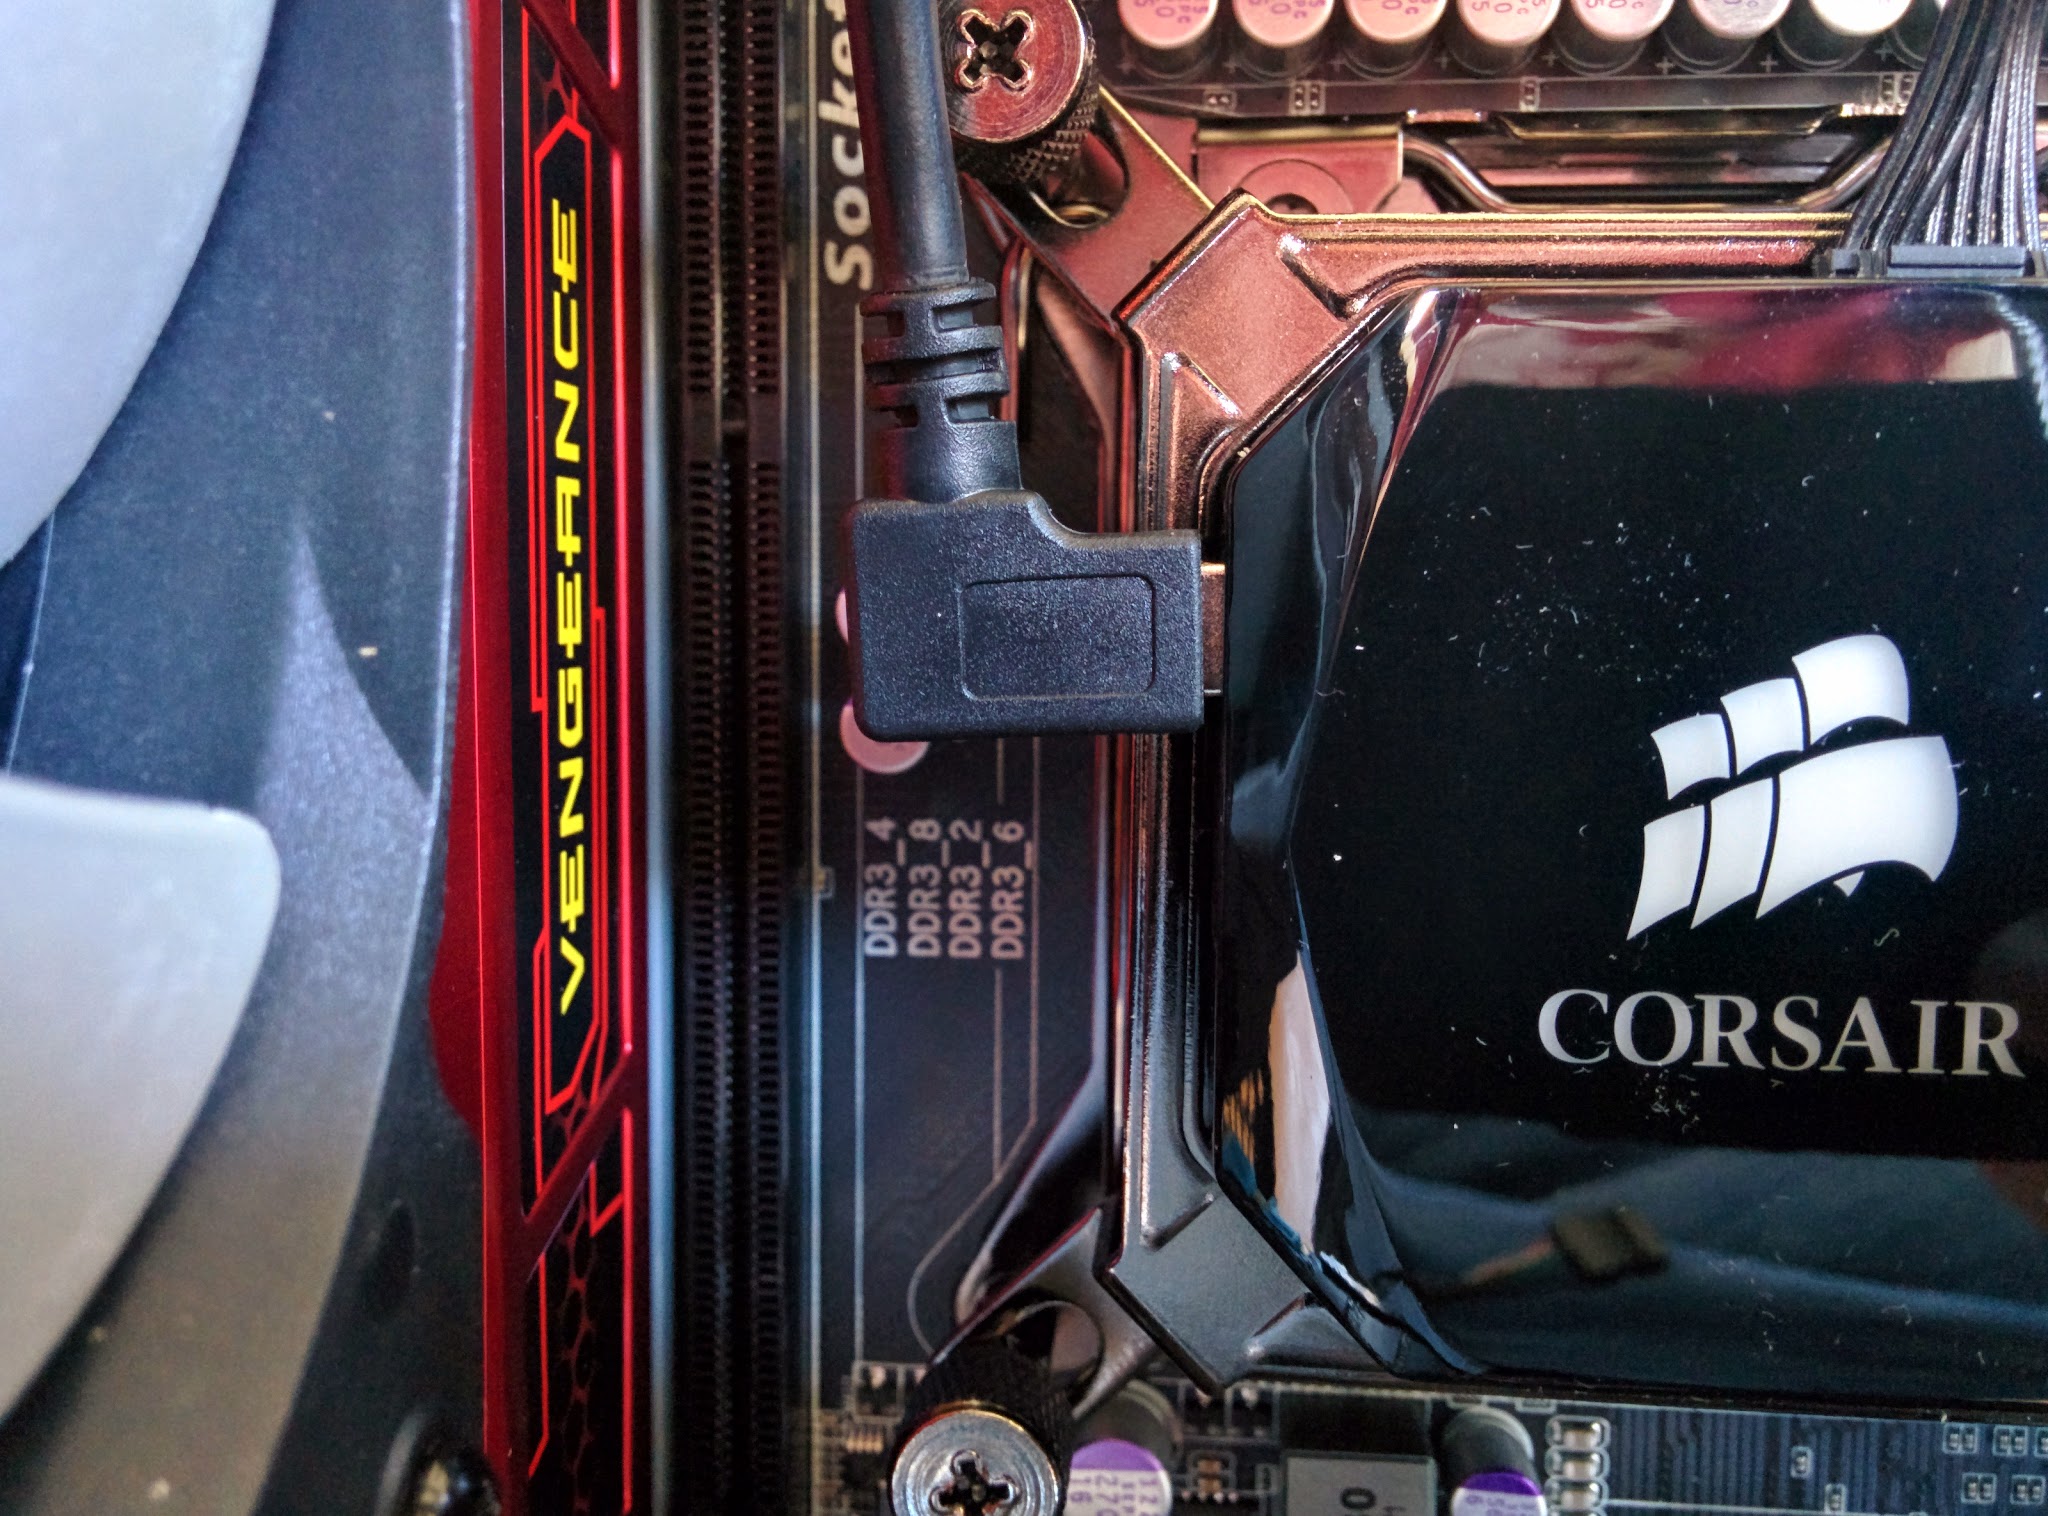
- Connect the Corsair Link cable from the cooler’s Mini-USB port to one of the motherboard’s USB2 headers

System complete. All the physical inside-the-case building complete. Now to hook it up to a display and install an operating system.
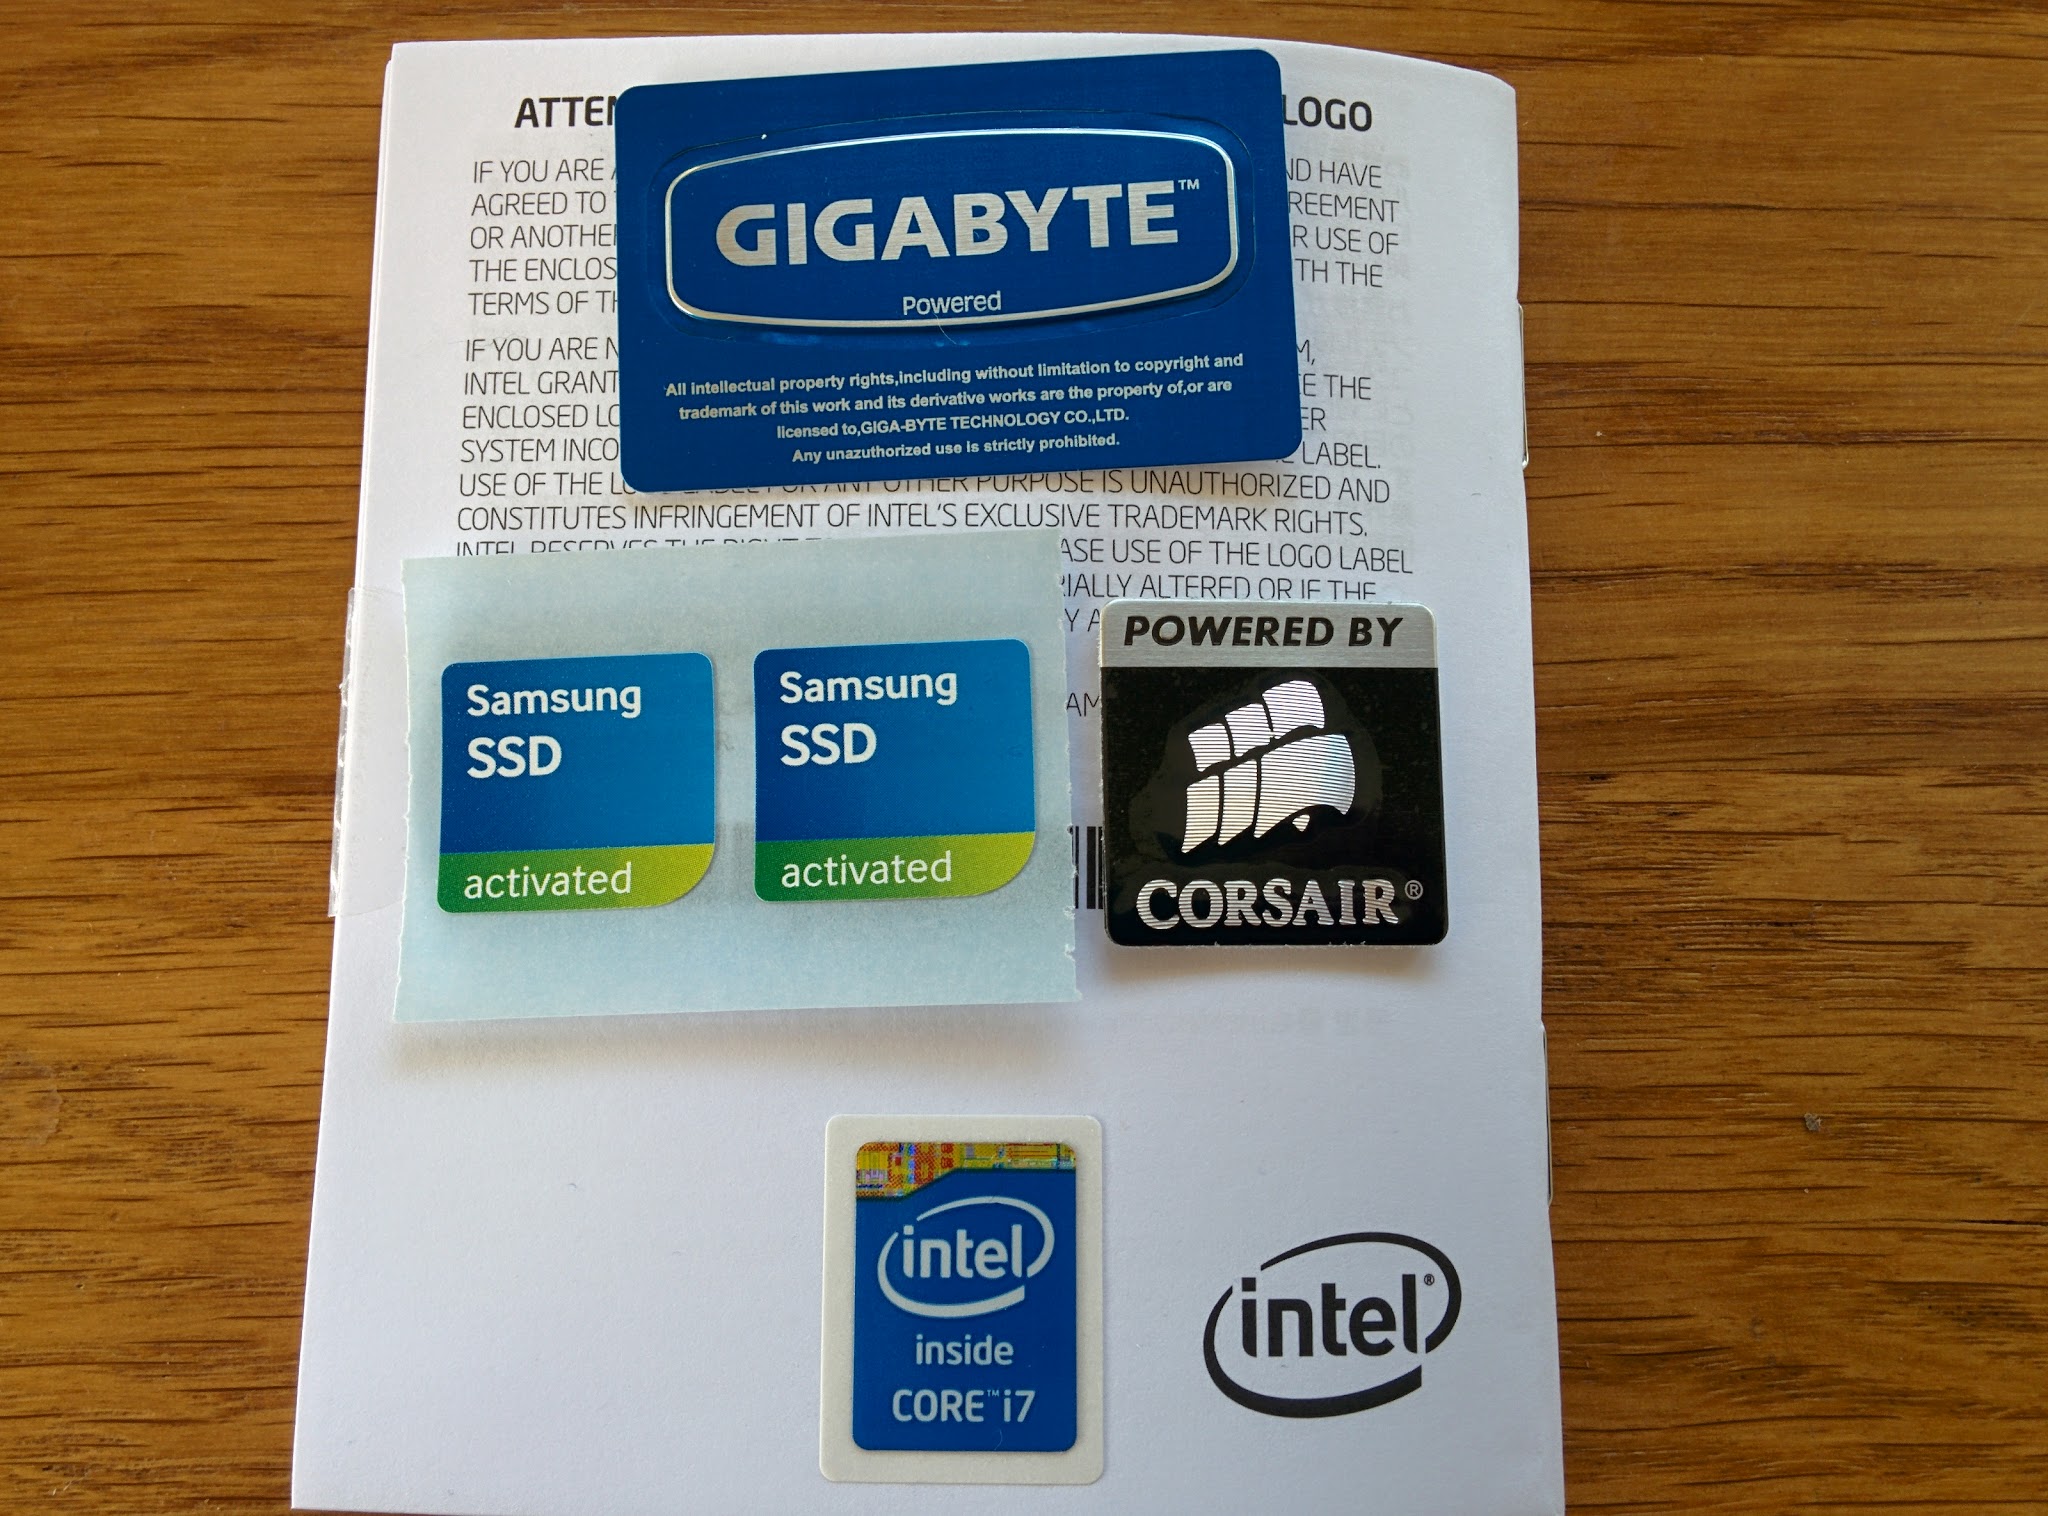
Don’t forget to add your stickers!
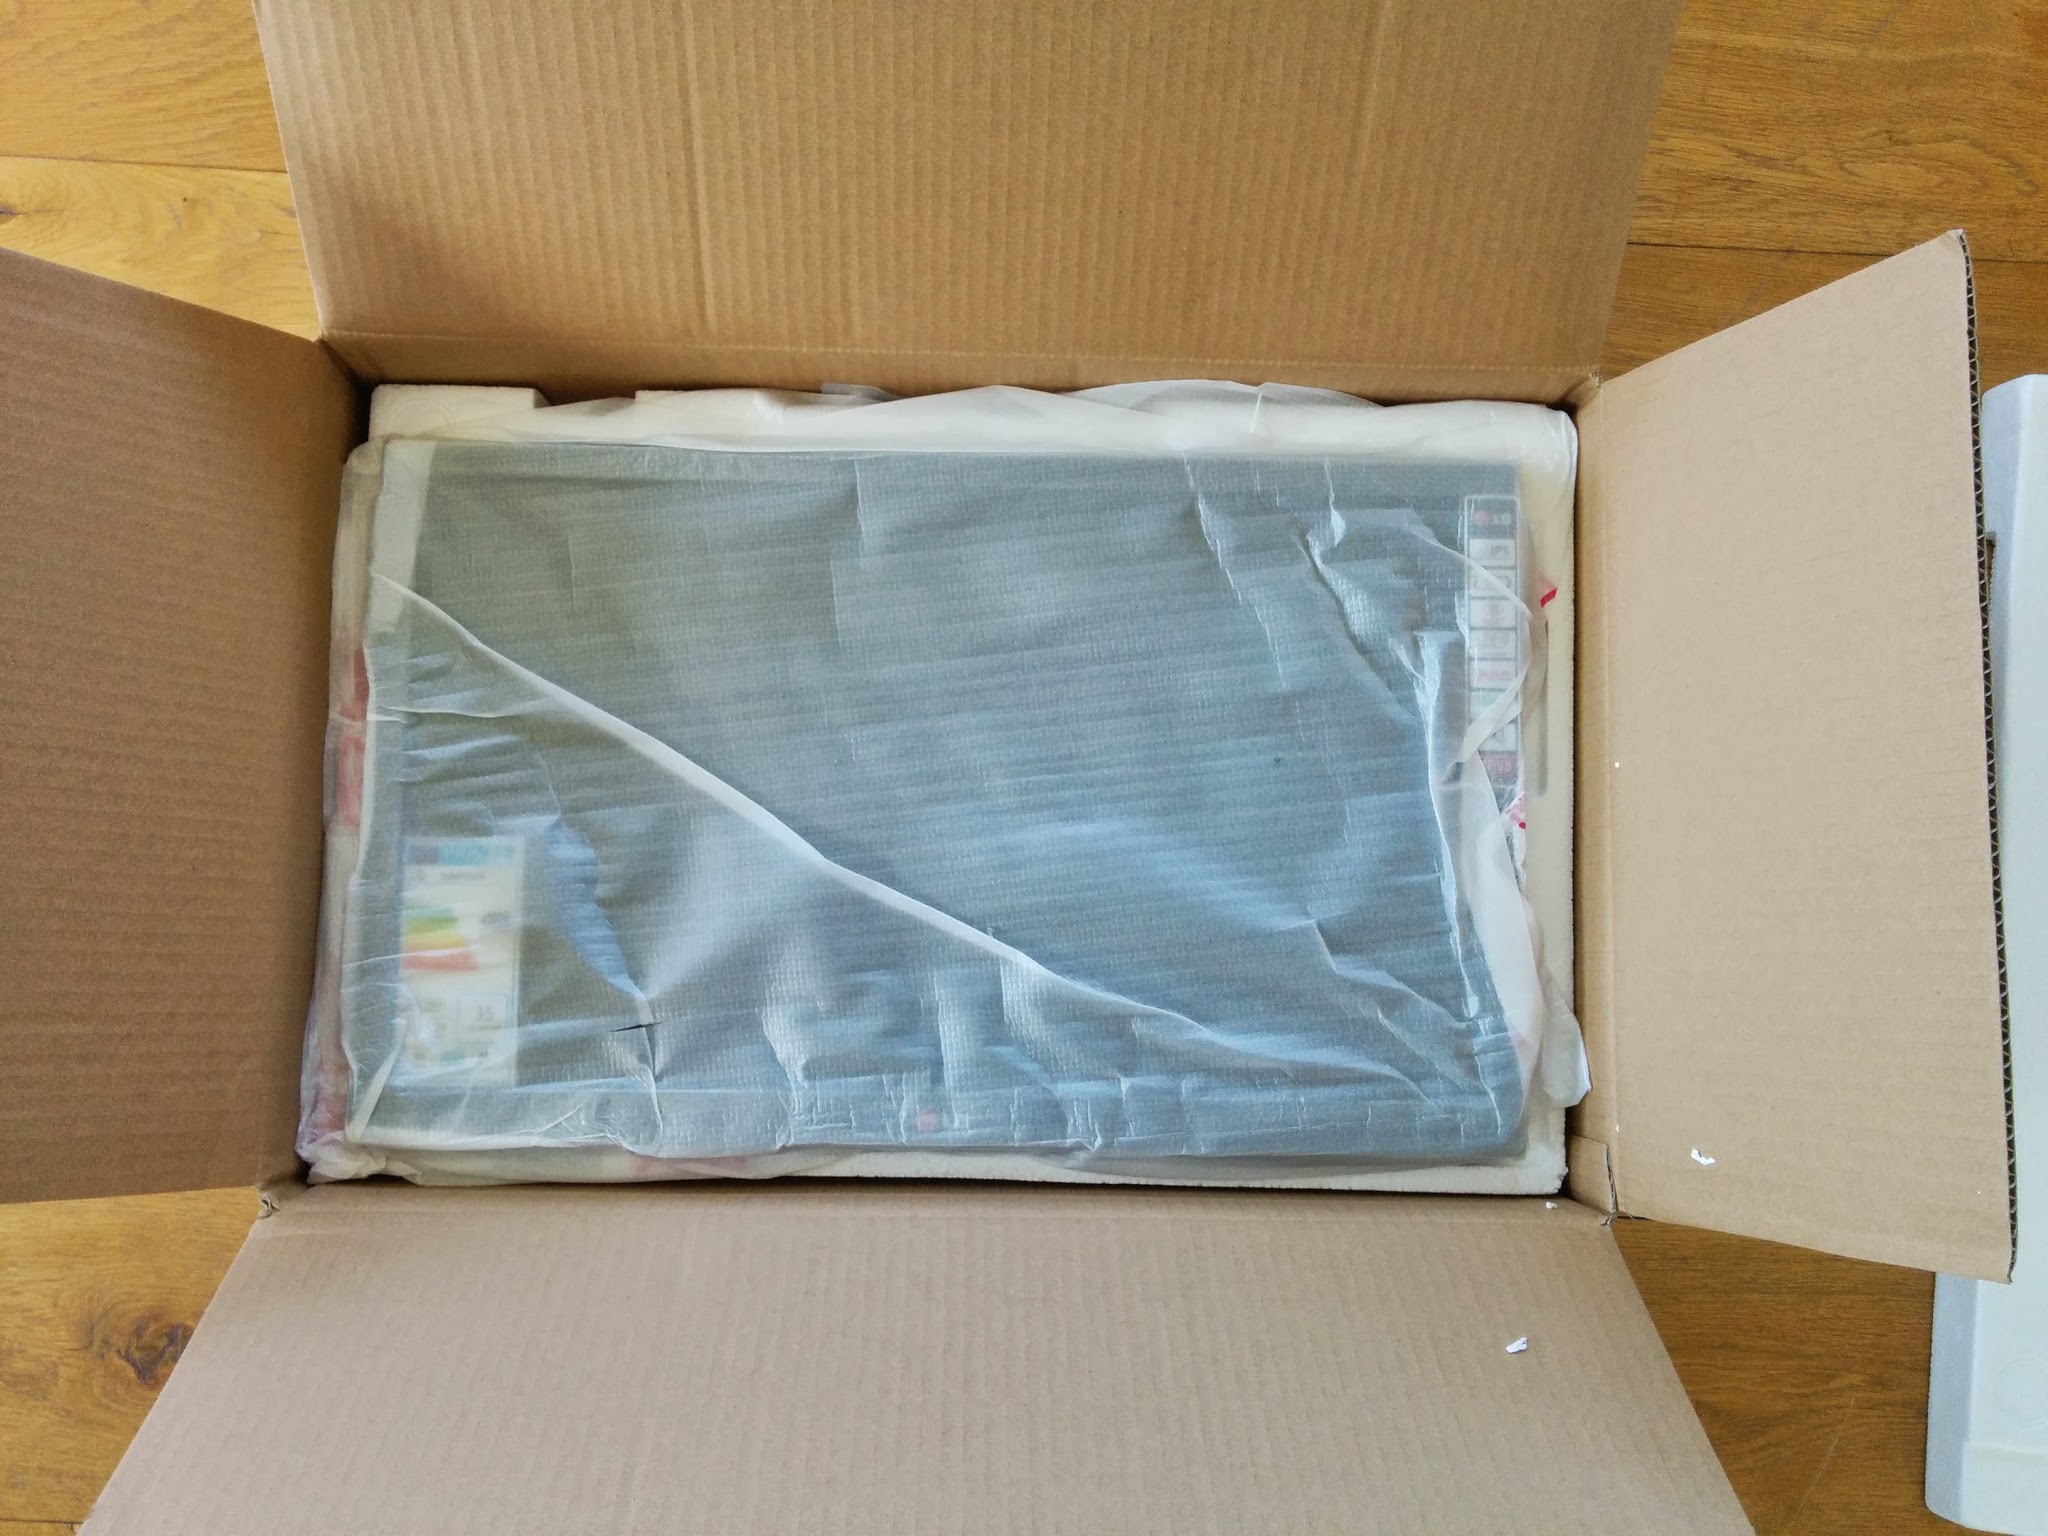
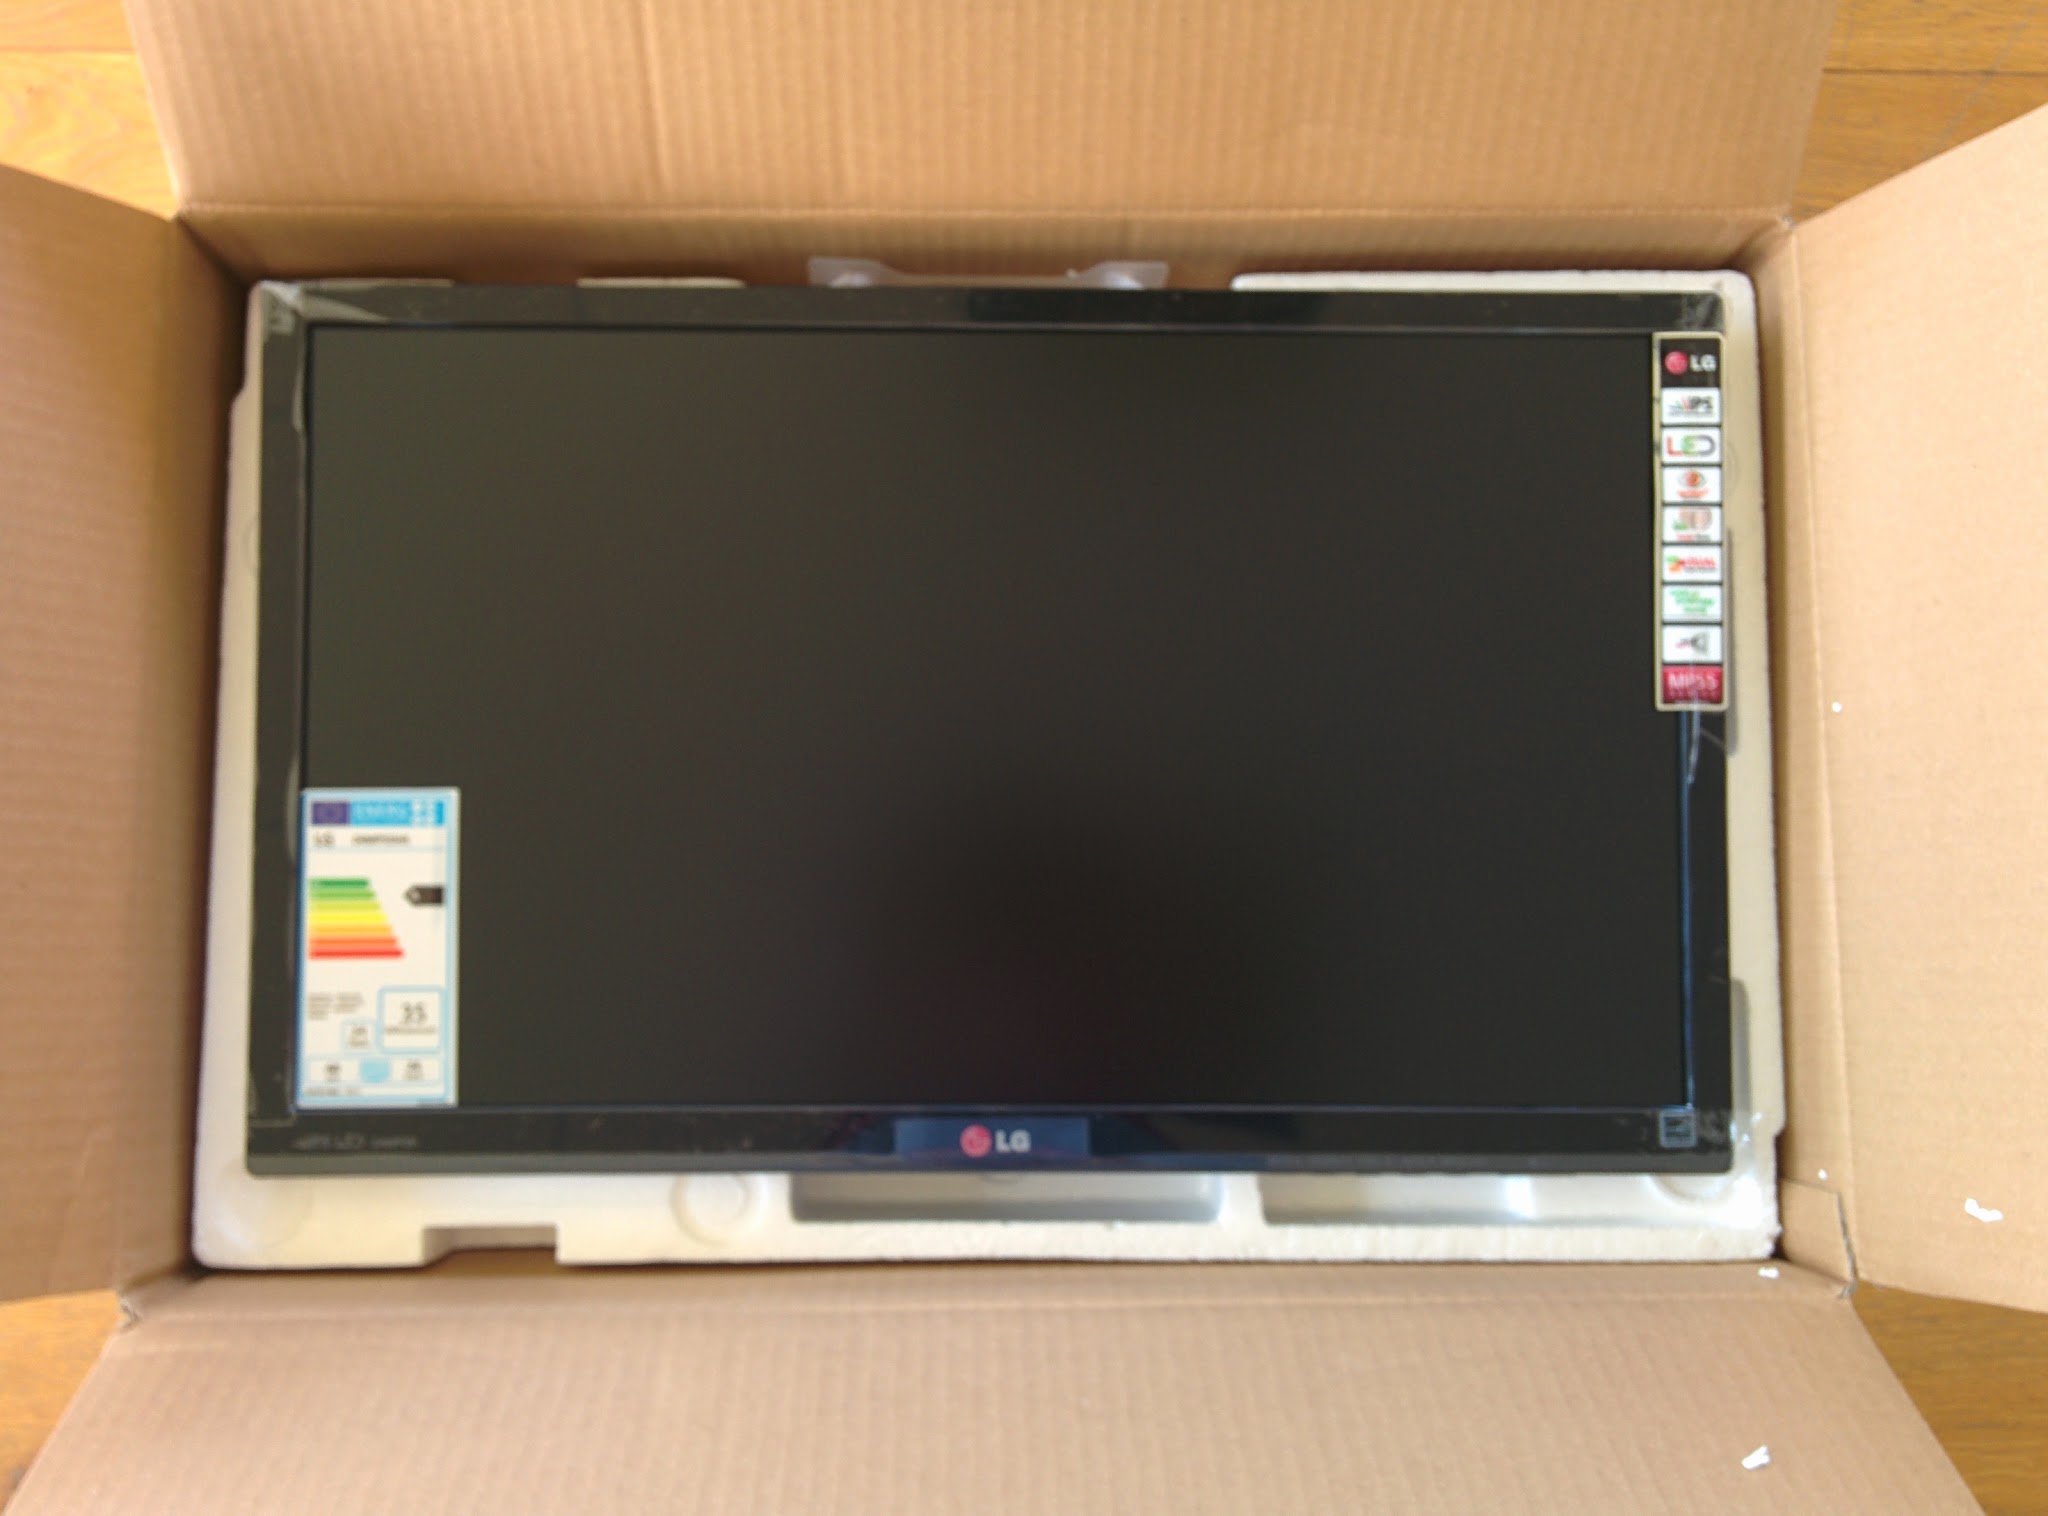
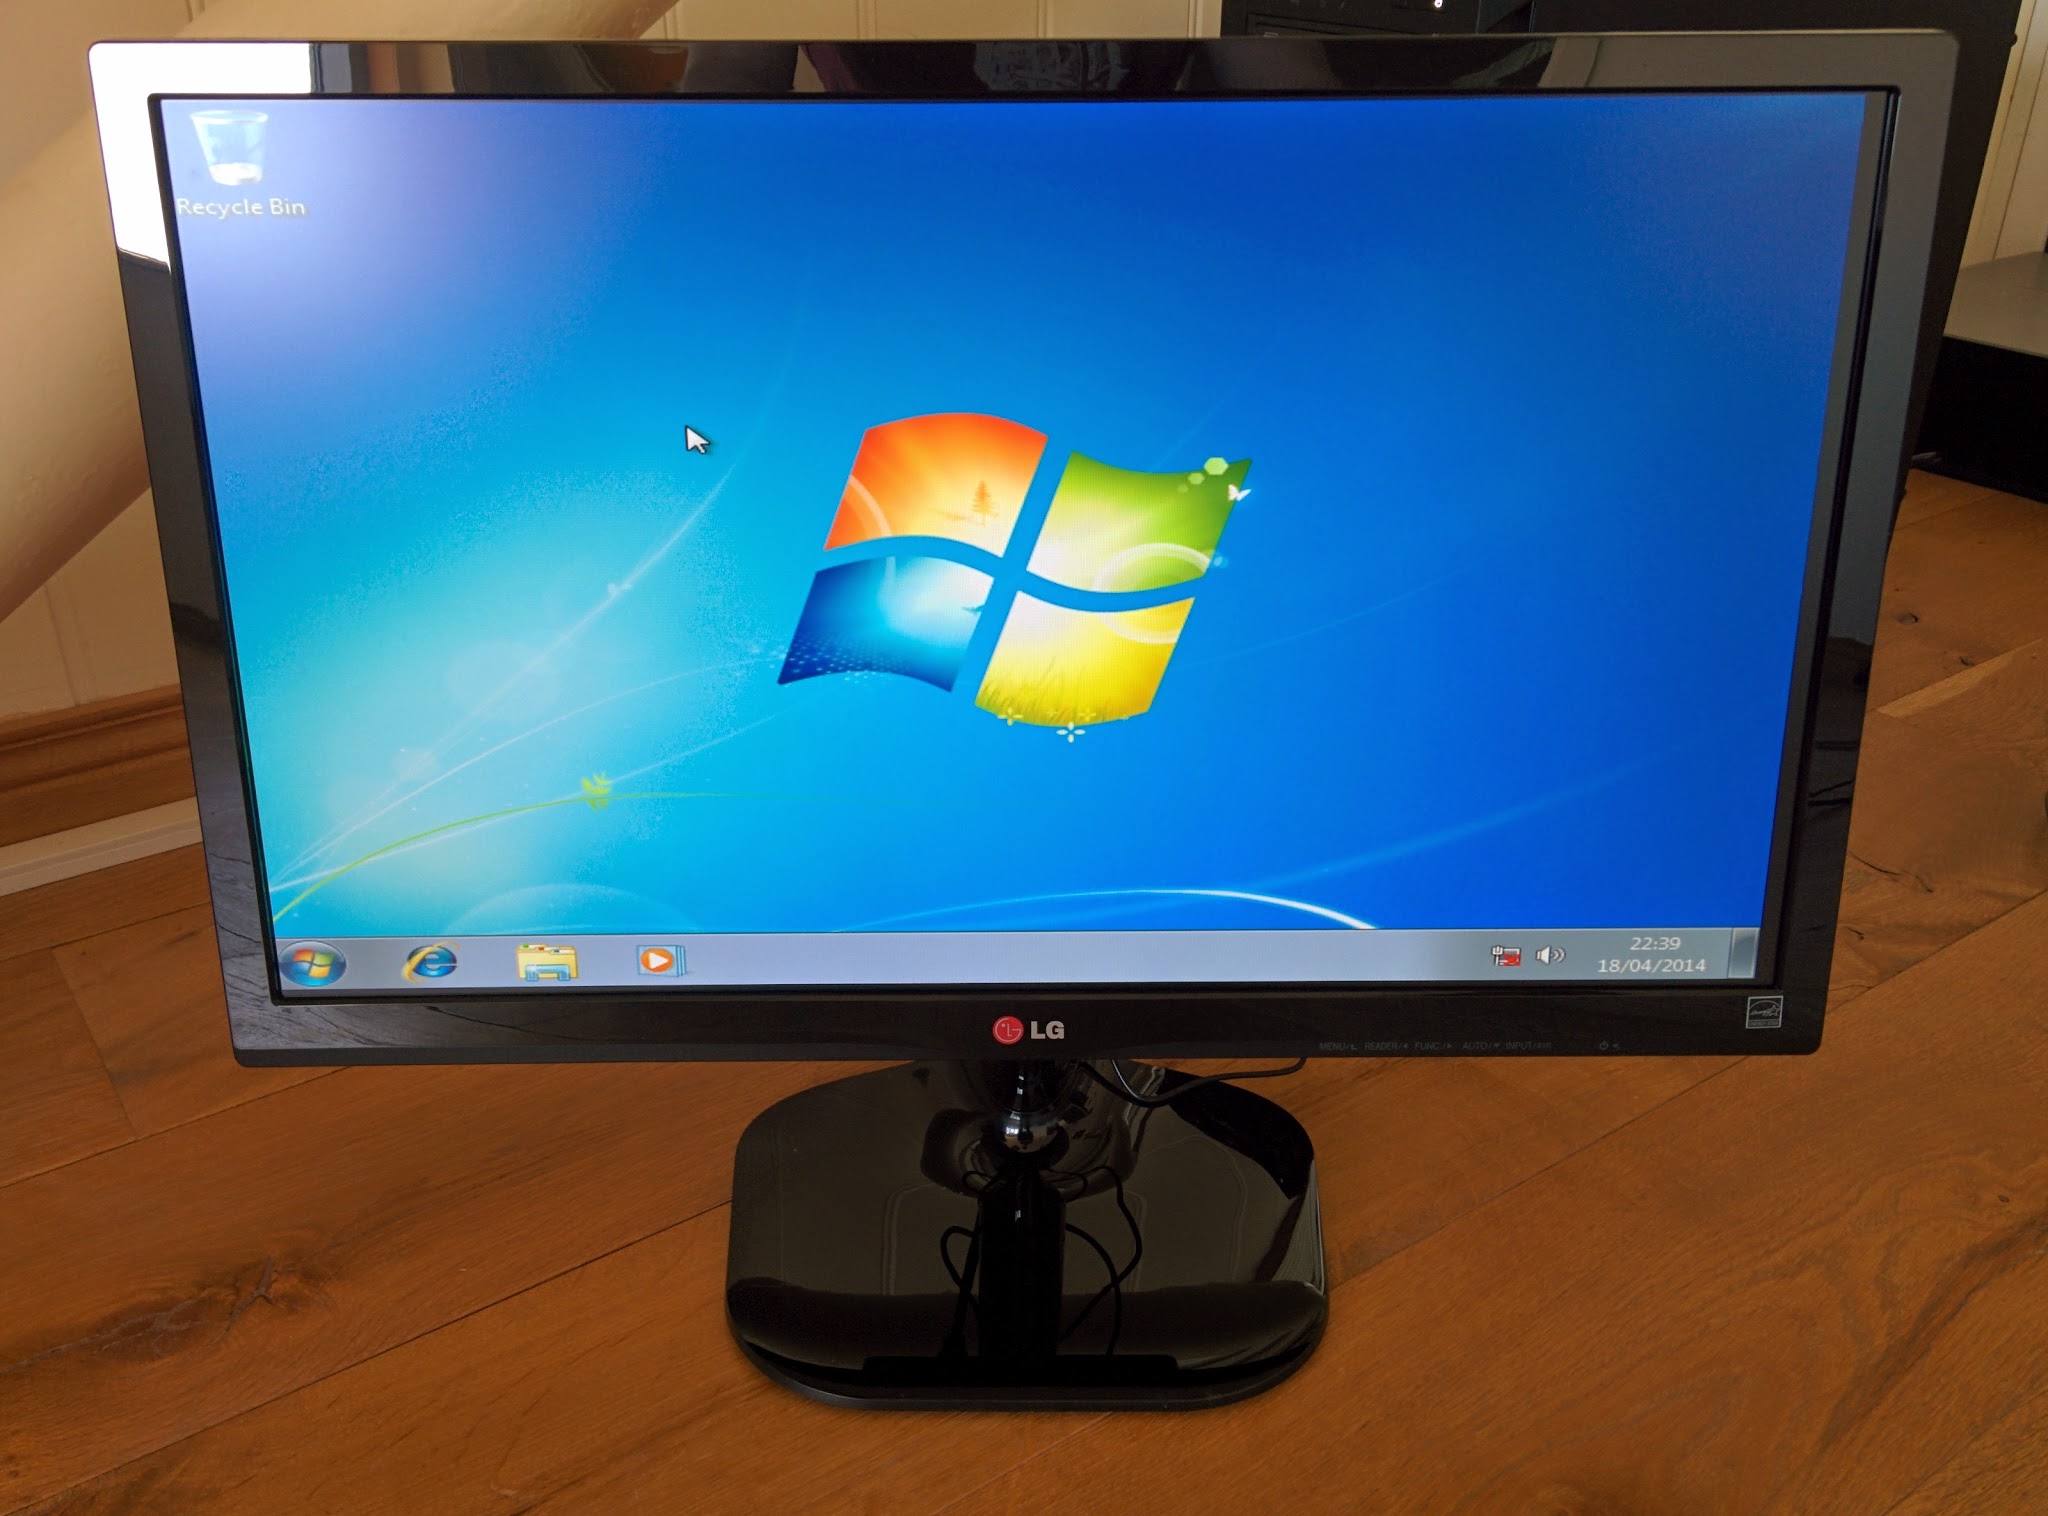
Monitor
To make the most of this rendering workstation, a large monitor is required. I am using a 24” LG IPS monitor with a standard 1920x1080 resolution.
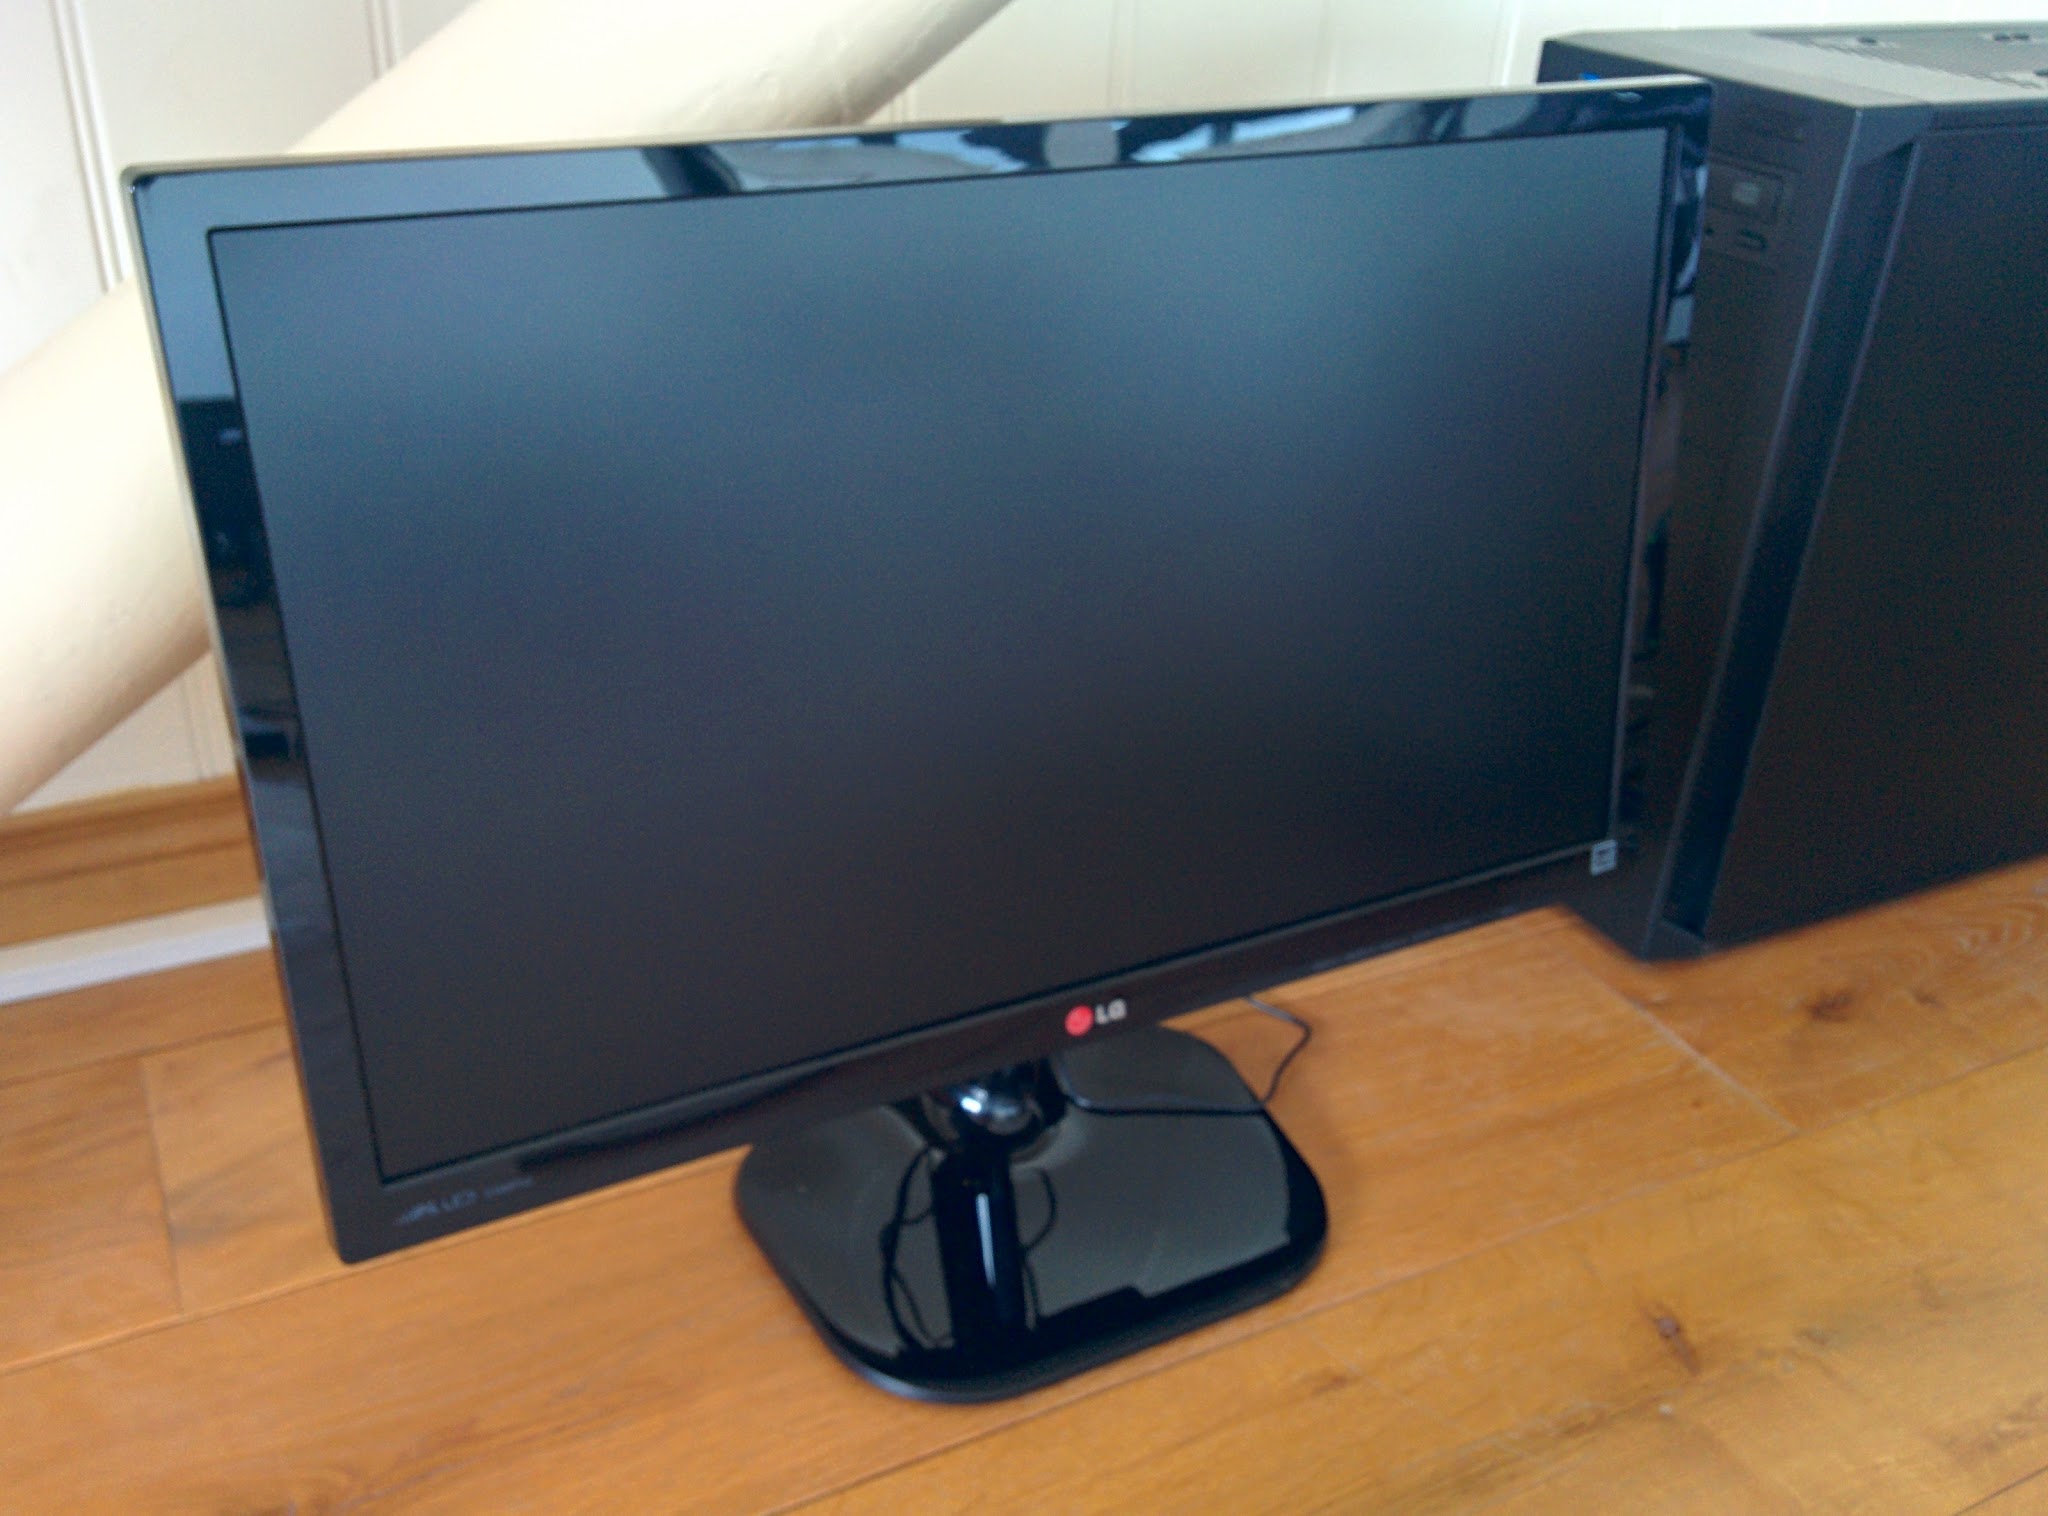
- Connect the monitor to it’s stand. Most modern monitors just slot-into their stands
- Connect the power cable to the monitor
- Connect a DVI cable from the monitor’s DVI port to the DVI port on the rear of your graphics card
- Plug in a keyboard and mouse
- Plug the power cable supplied with your power supply into the rear of the PSU on the computer and switch it on
Operating System
Most people will be looking to install Windows on their computers. If you are not
- Using the computer for gaming
- Using professional applications that only run on Windows
then I highly recommend you jump the Windows train. You are free to pick a much better system such as Mint, Ubuntu or elementary.
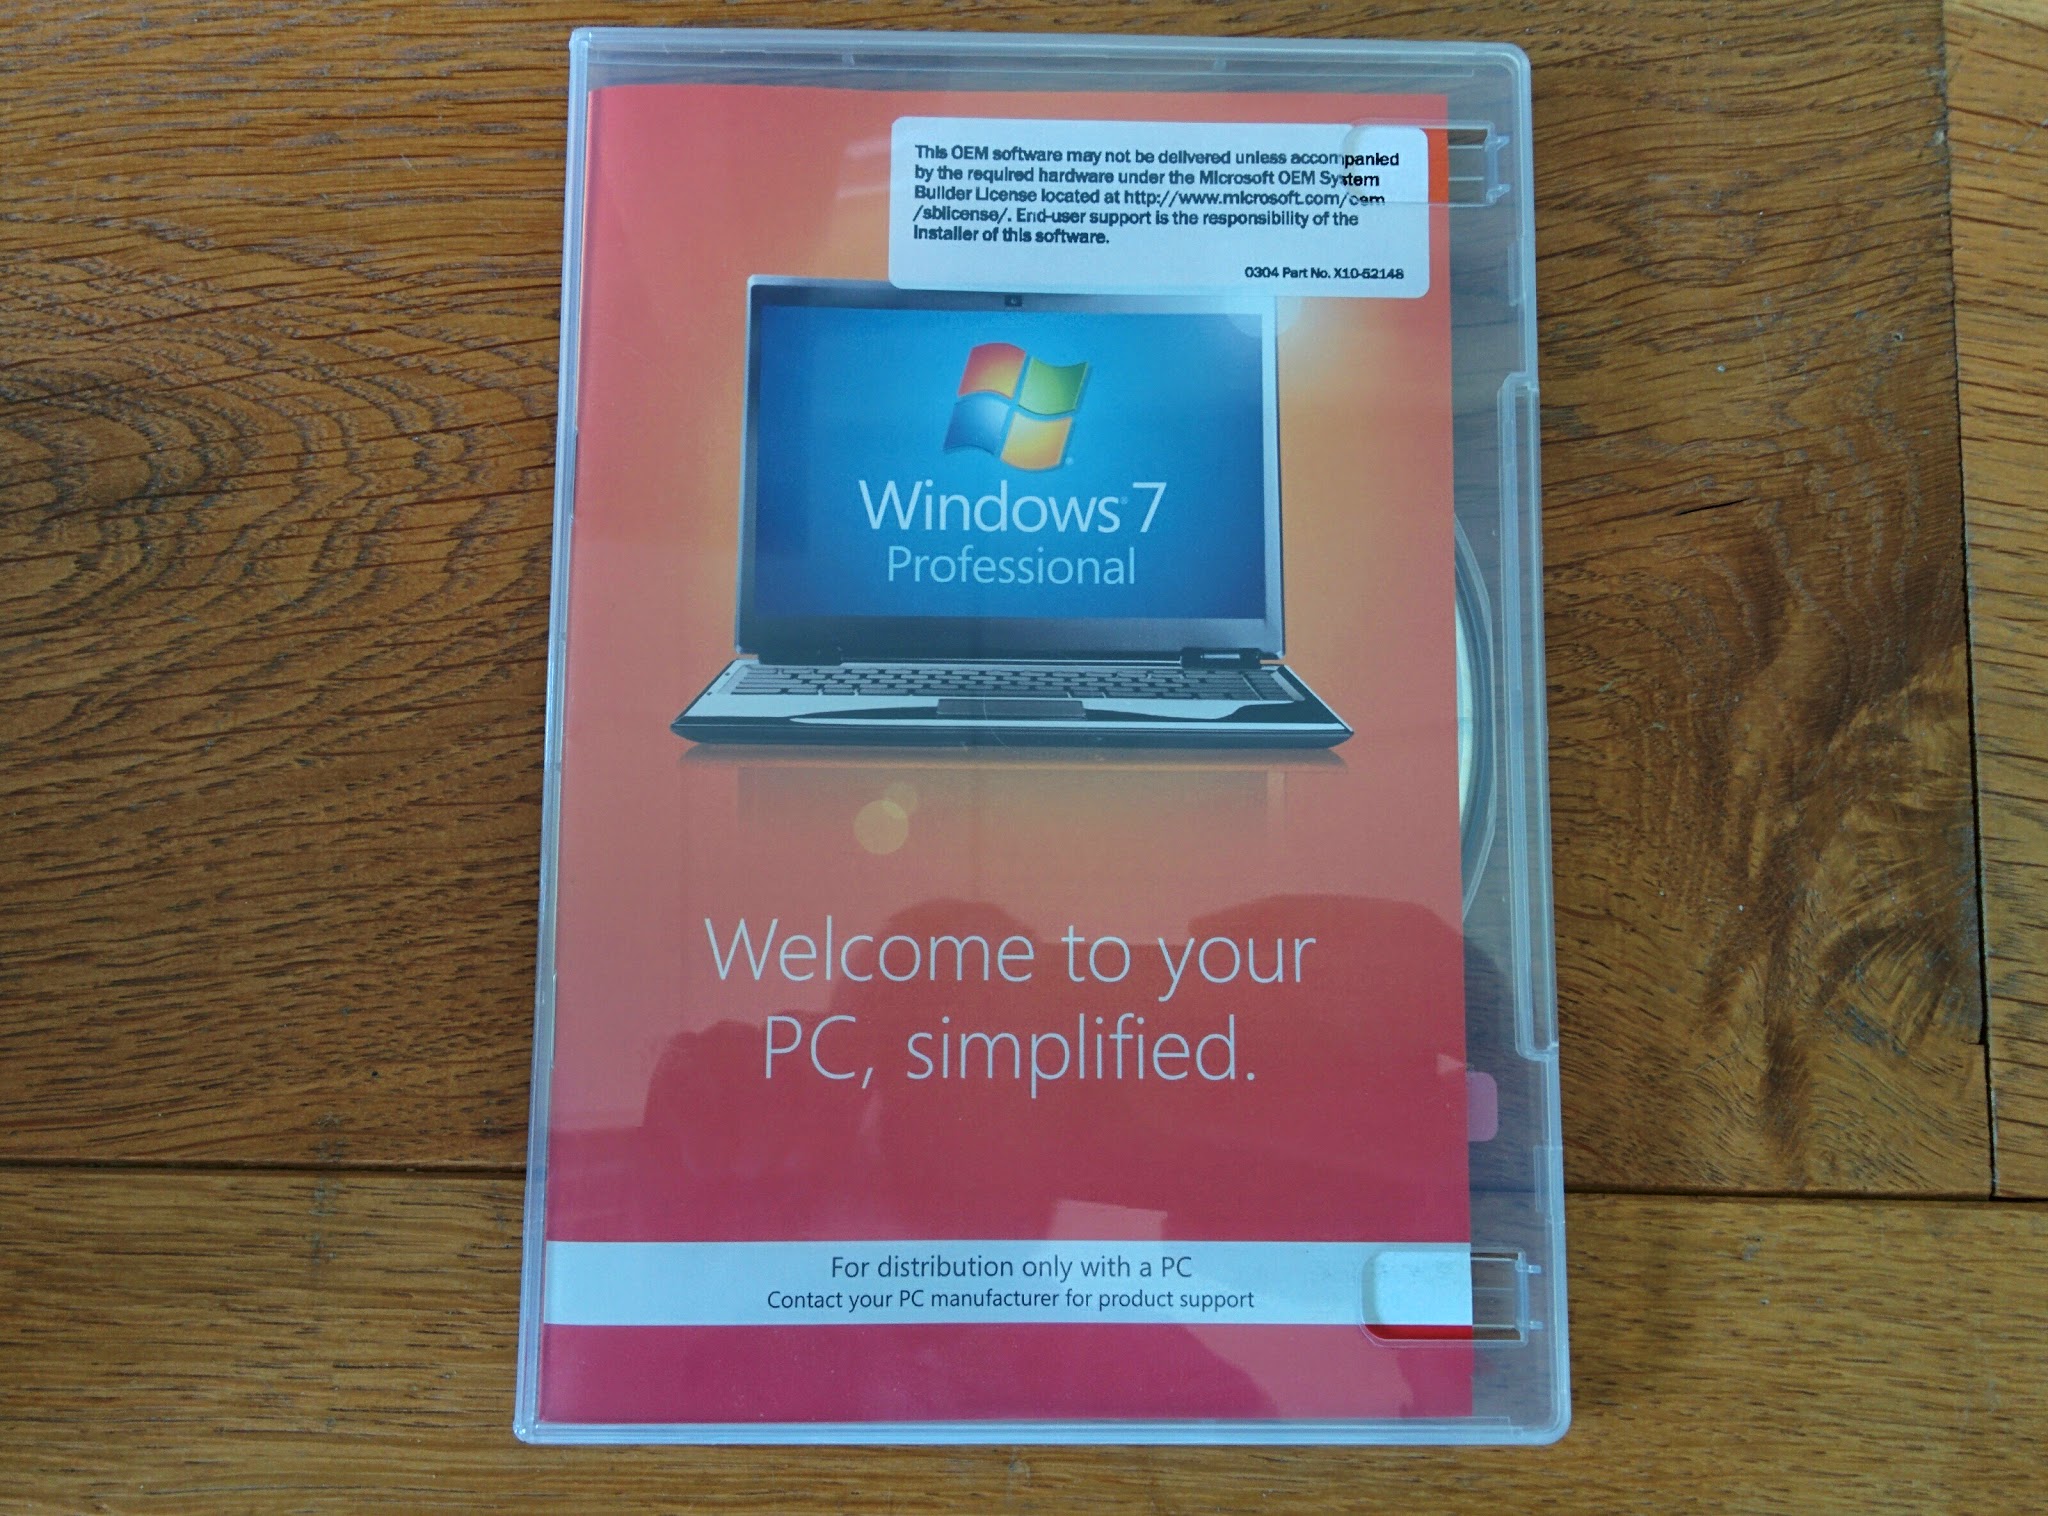
However, if you are looking to play games or need Windows for specific software for which alternatives cannot be found on other systems, then you’ll need to buy a copy of Windows.
Here I am using Windows 7 since this is what the rest of the computers on our network use, the system that our employees are comfortable with and the system which is required for our CAD programs.
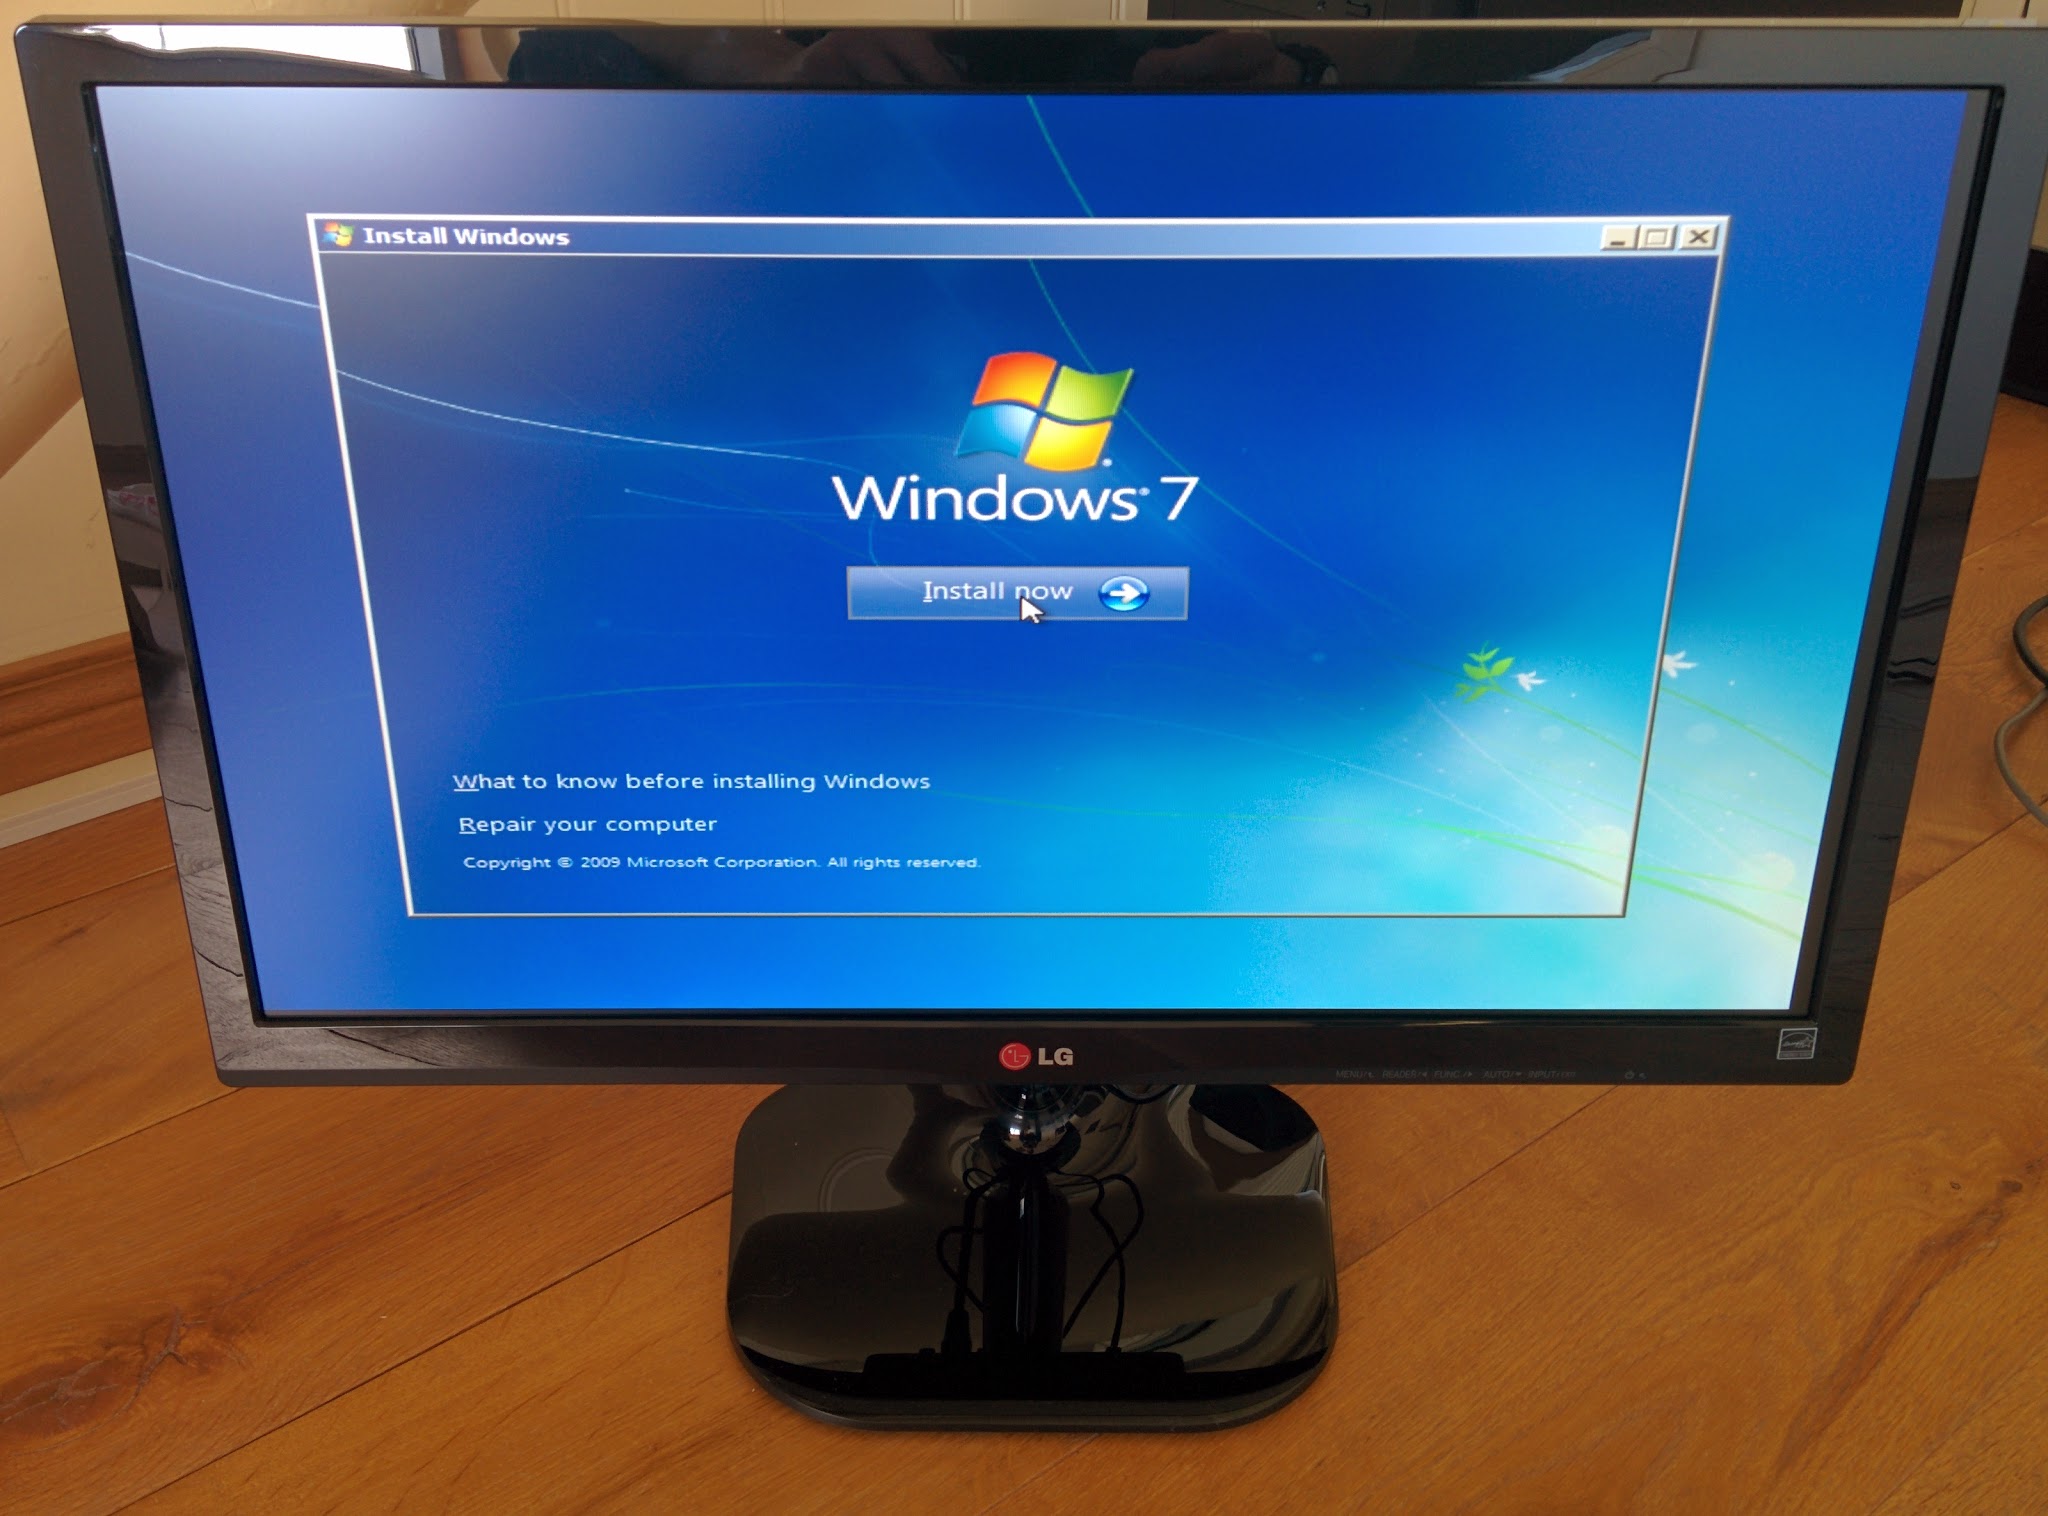
- Press the power button on the front of the PC and open the disc drive
- Insert the windows disc and close the drive. You may have to restart the PC now
- When prompted to “press any key to boot from DVD”, press a key

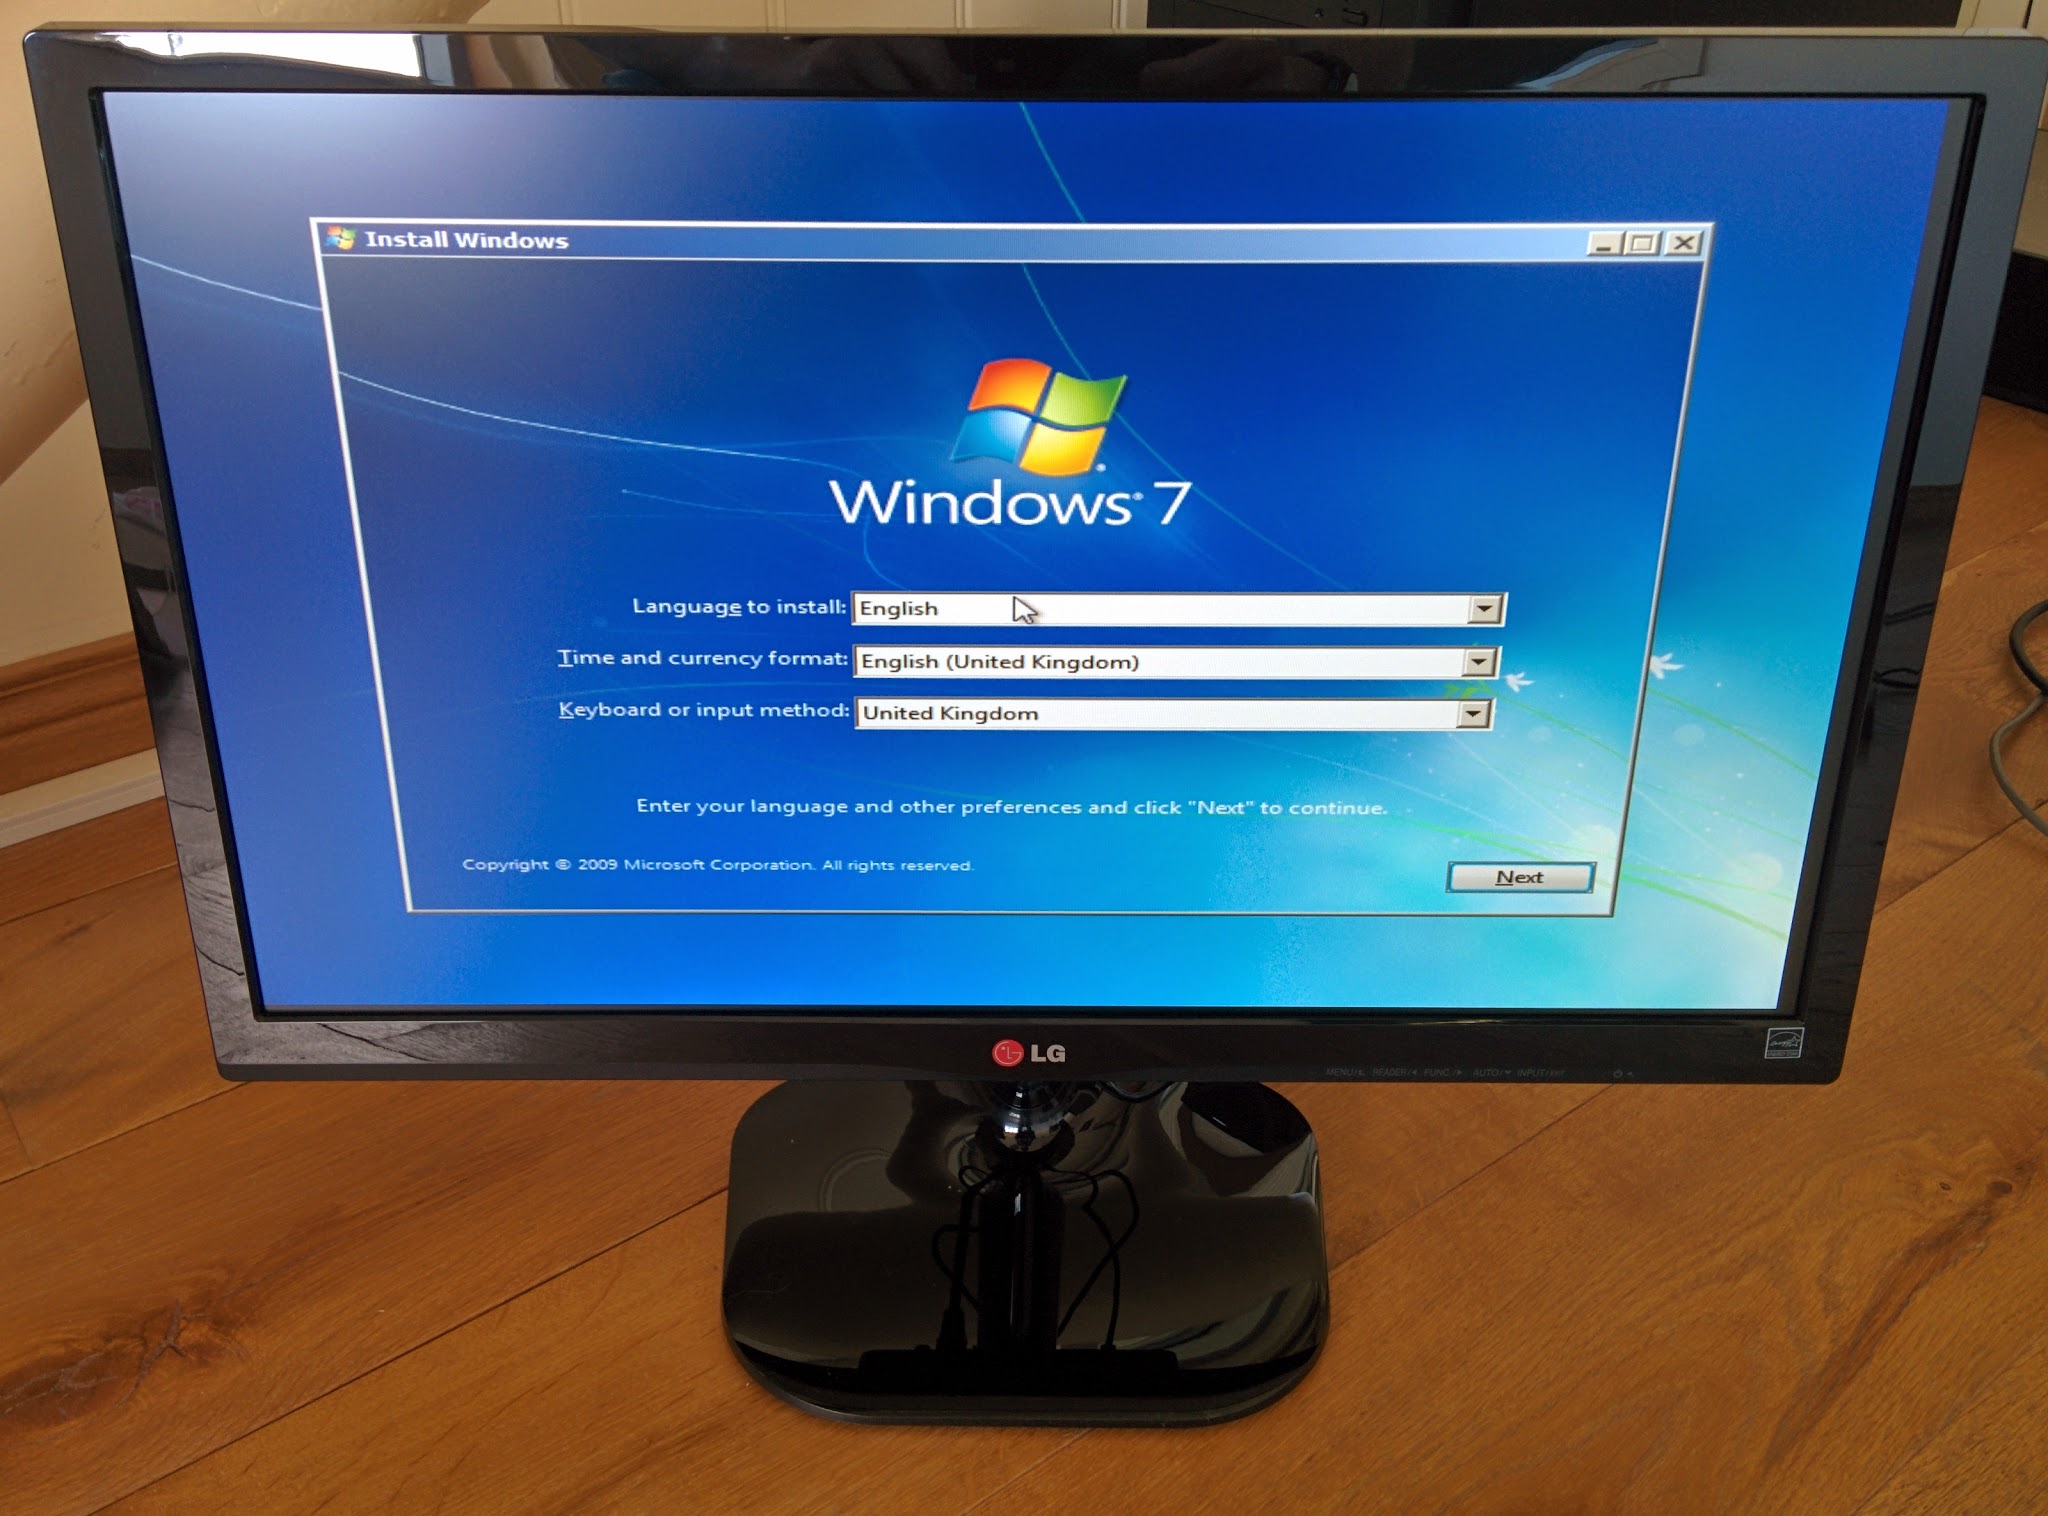
- Select your language options on the first screen of the installer and click next
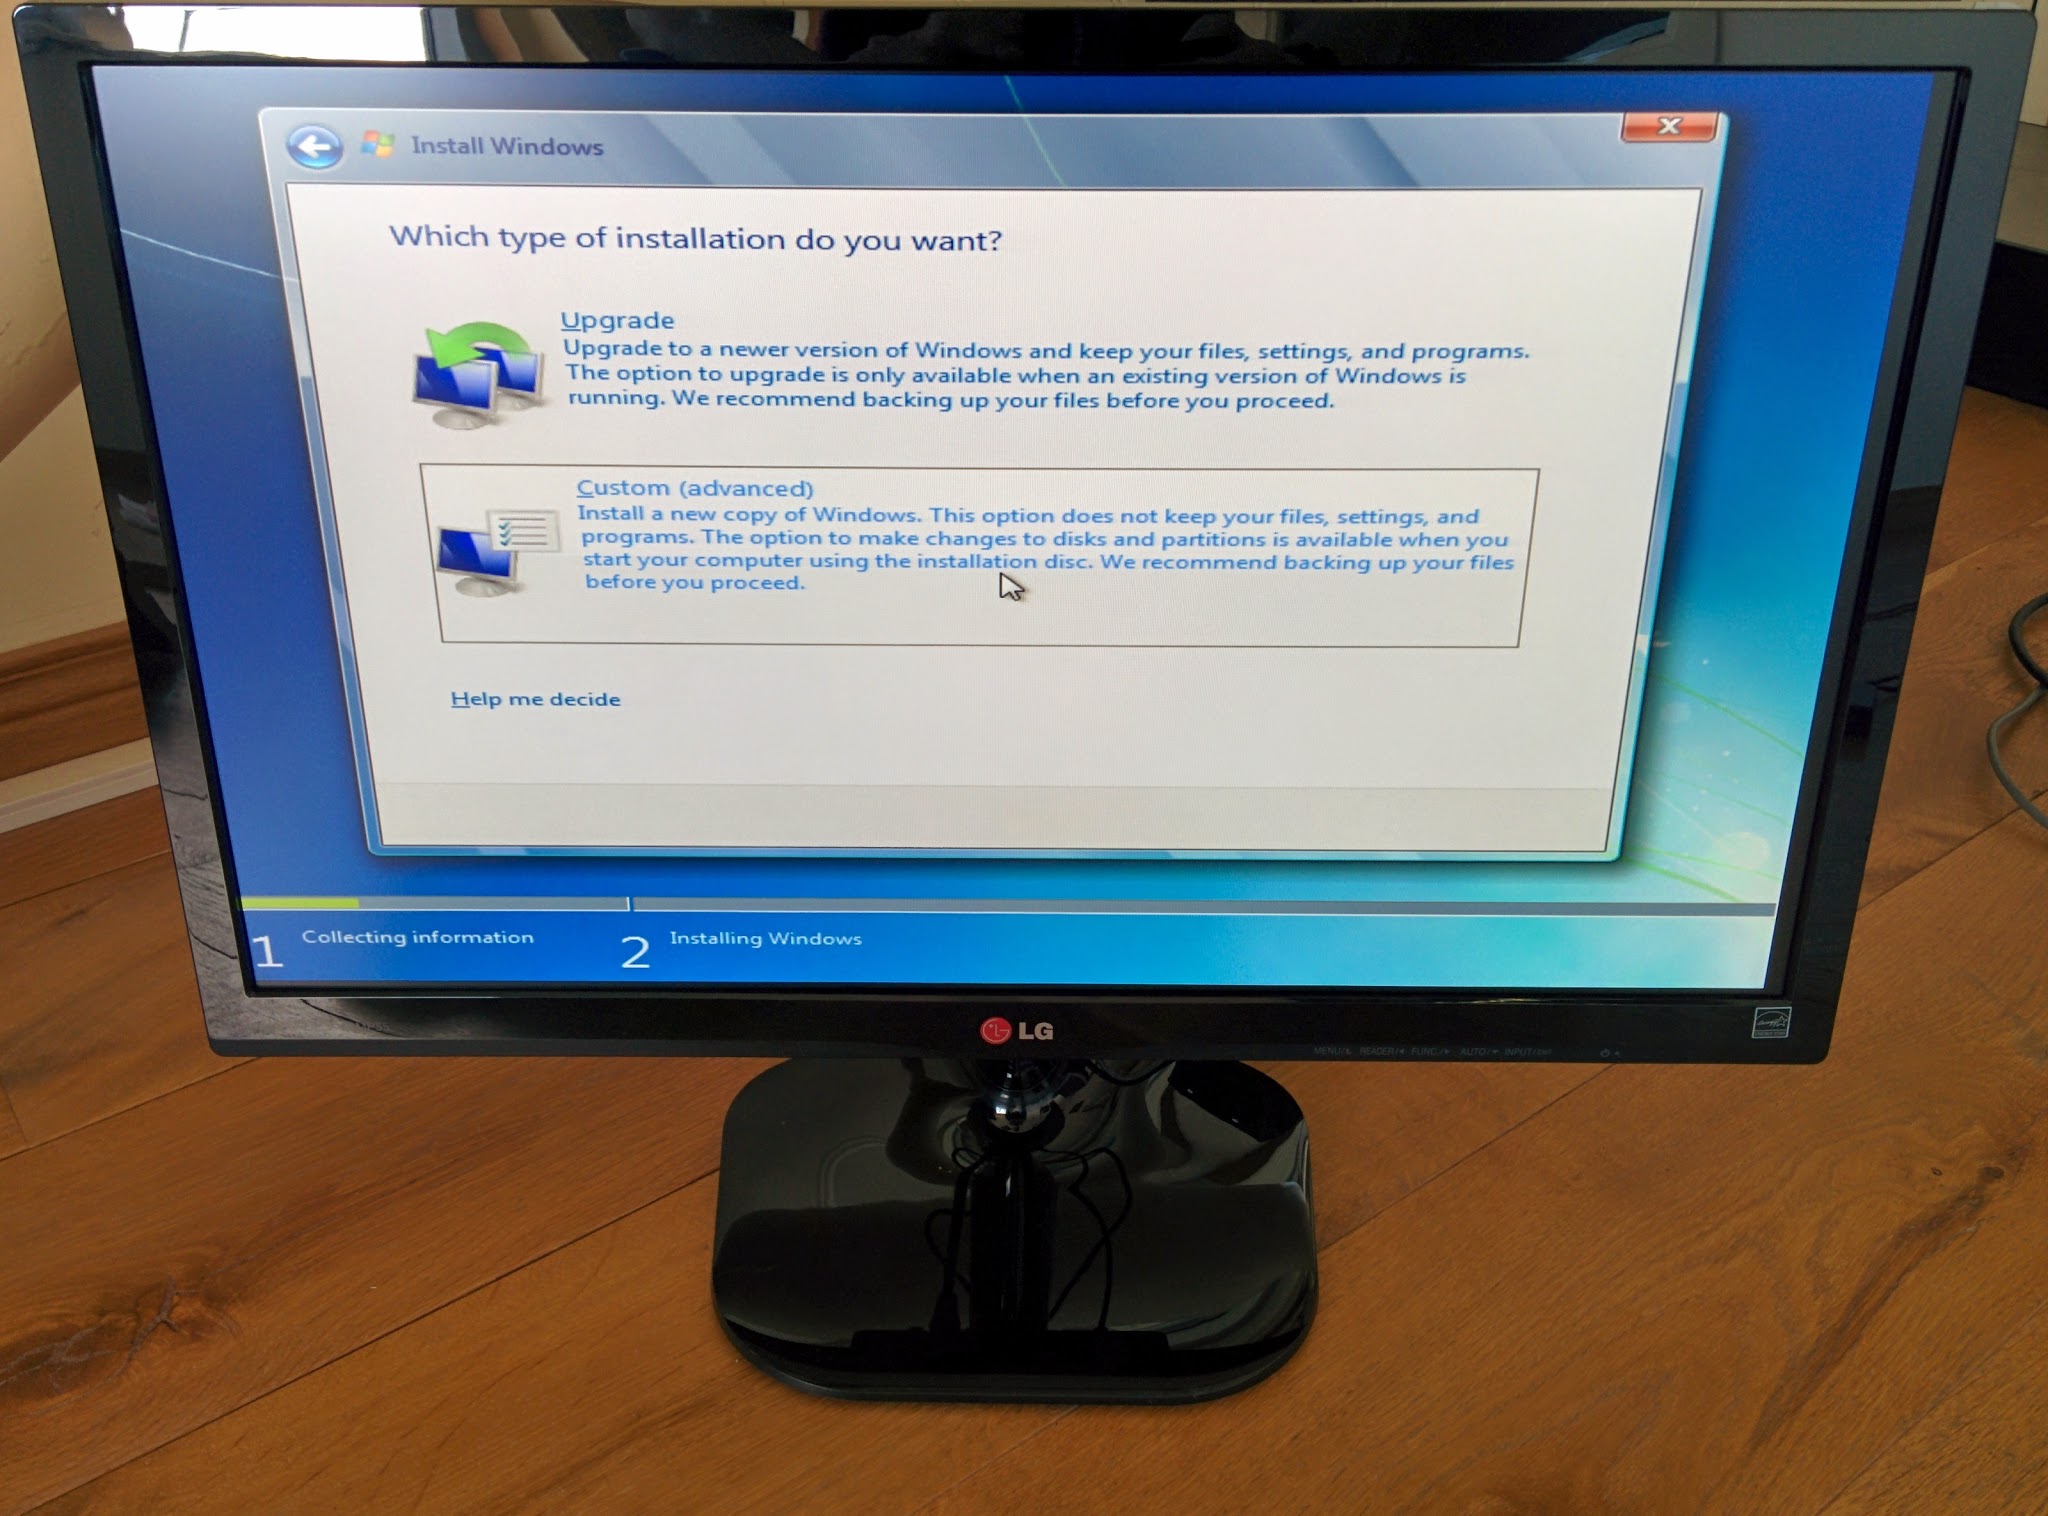

- Select the “Custom (Advanced)” option
- Select the “Unallocated Space” on Disk 0 and click next
- Windows will now create the required partition table on your SSD. You can create more complex partition setups, but that is outside the scope of this guide. Search elsewhere on Xydre for more information
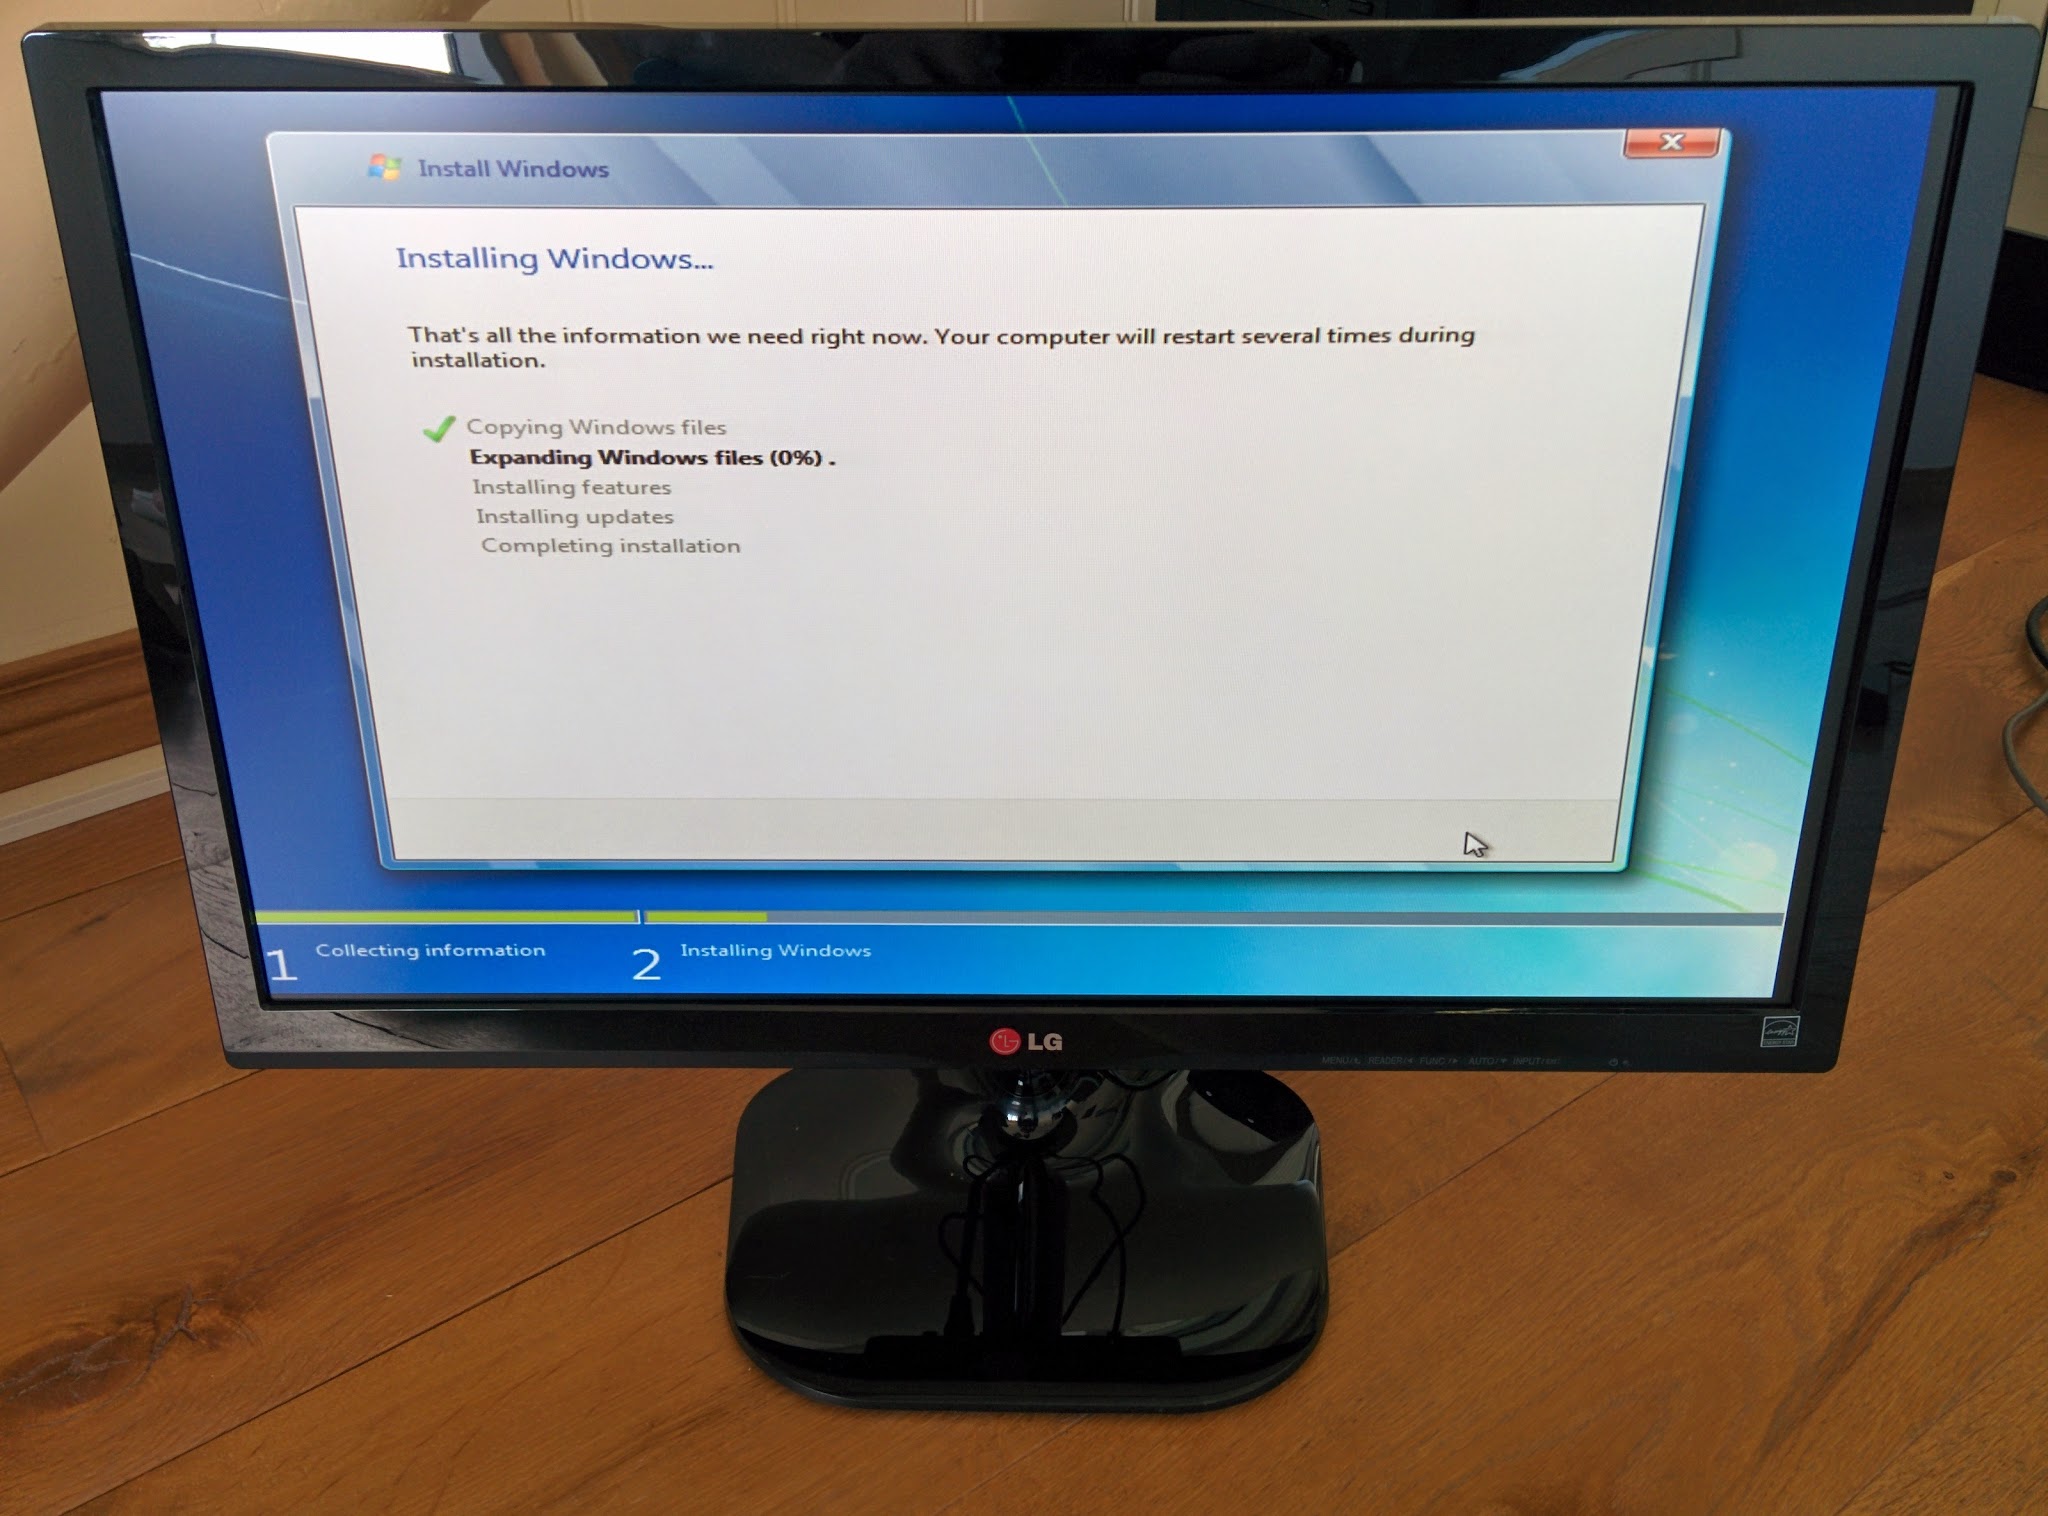
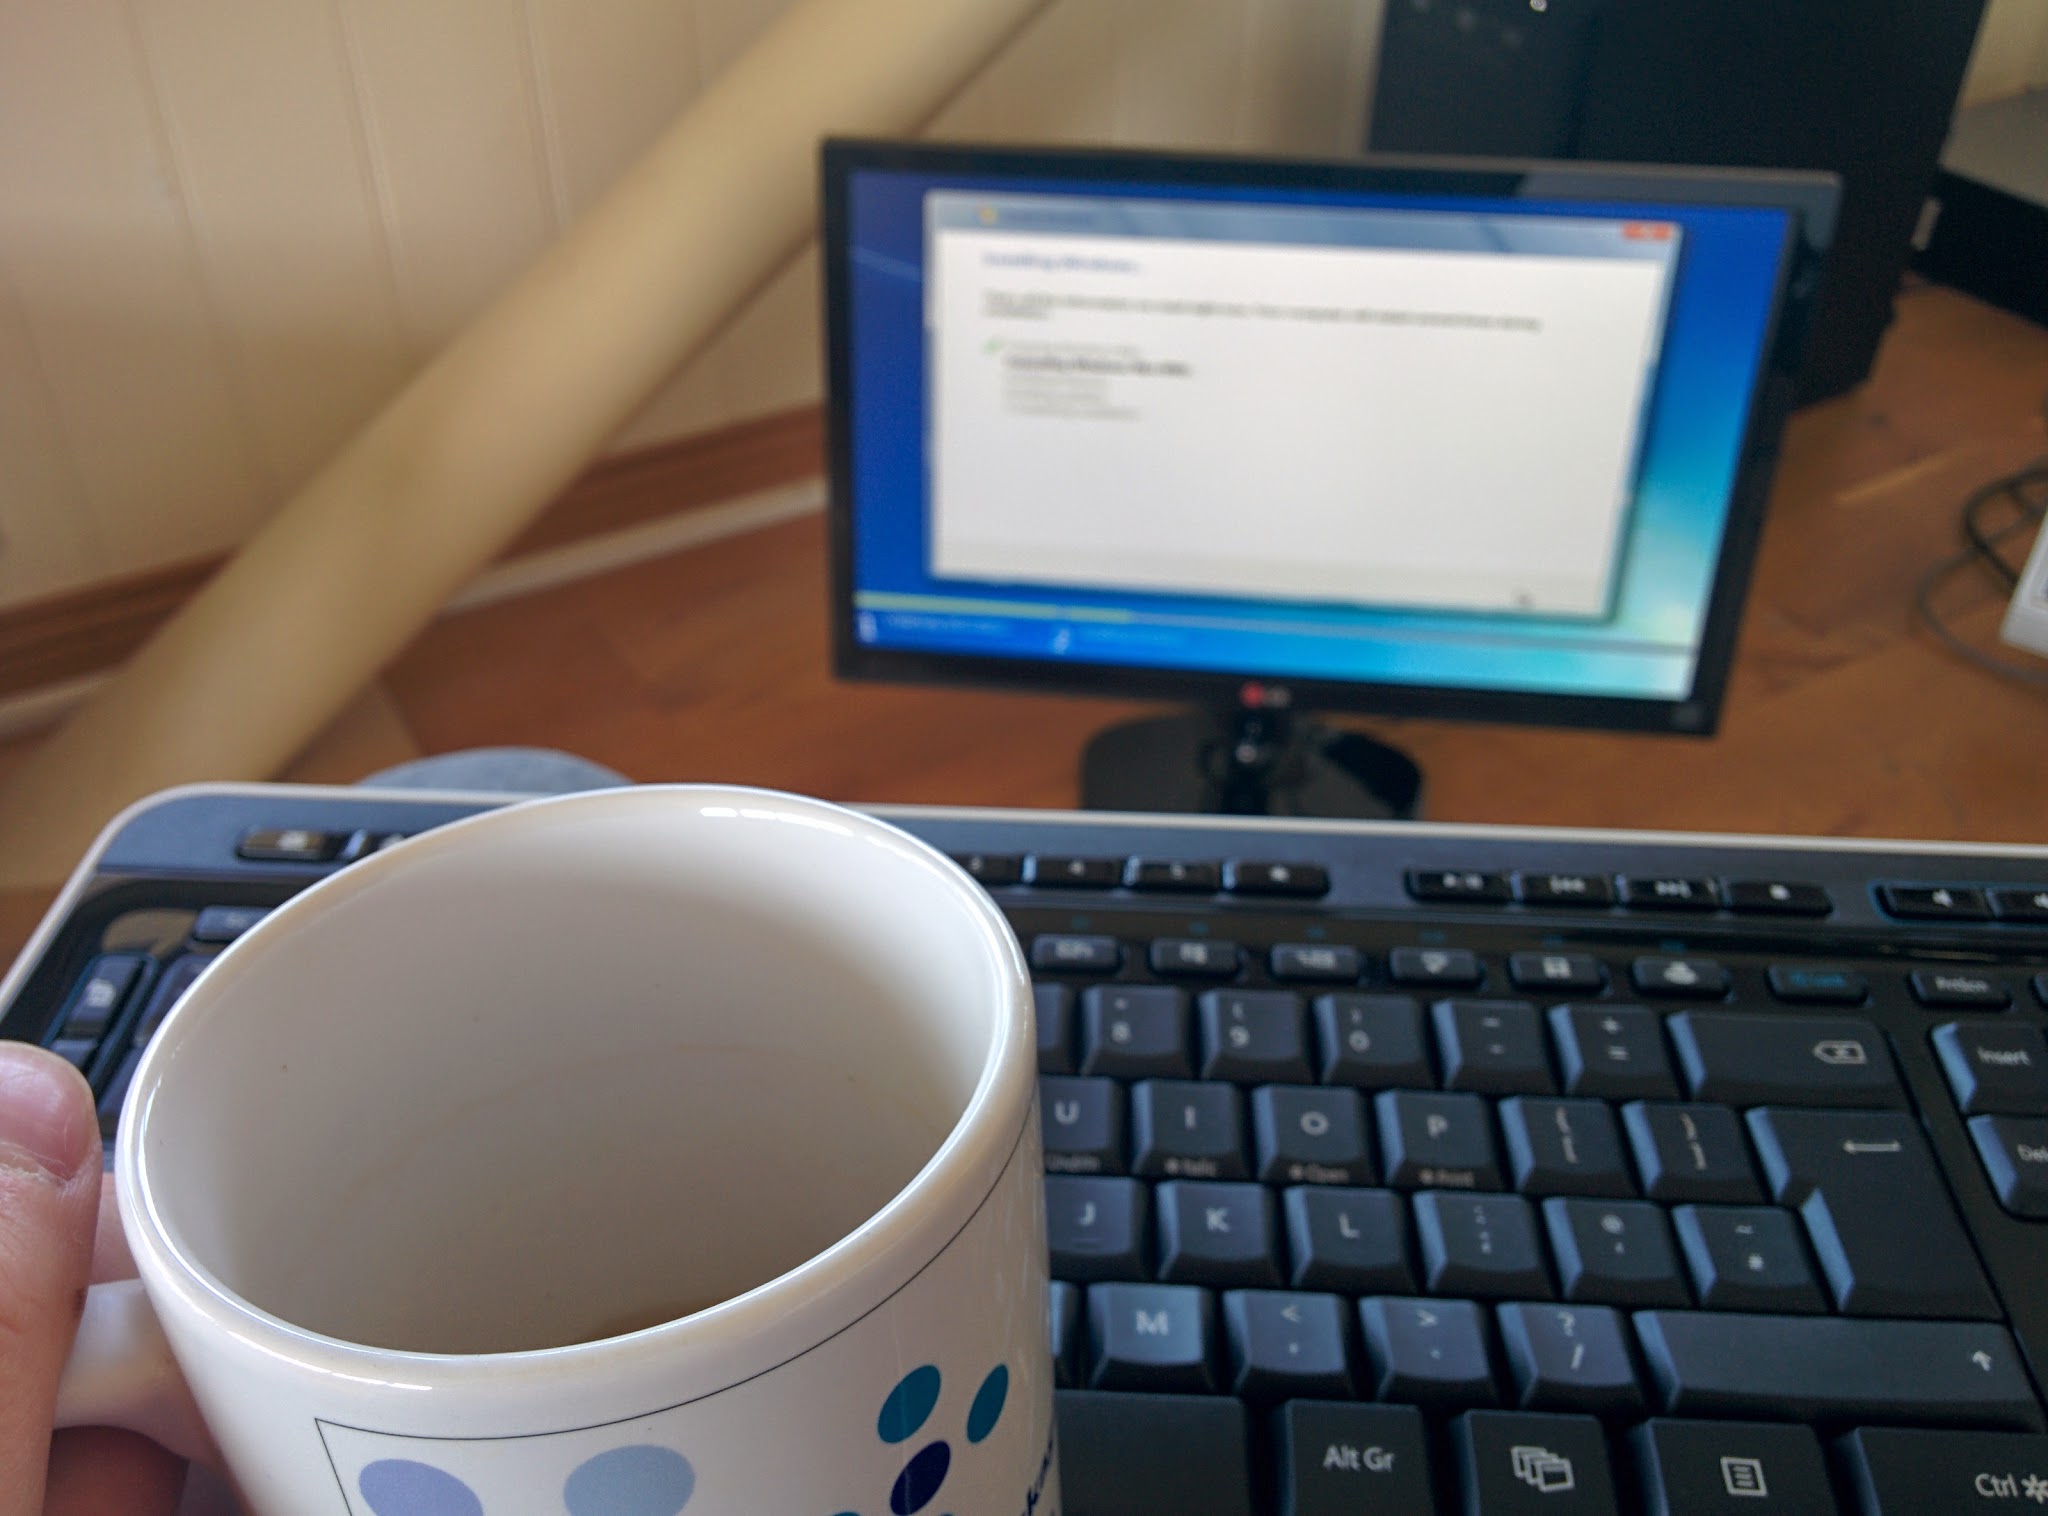
- Grab a cup of tea and wait for the installation to complete
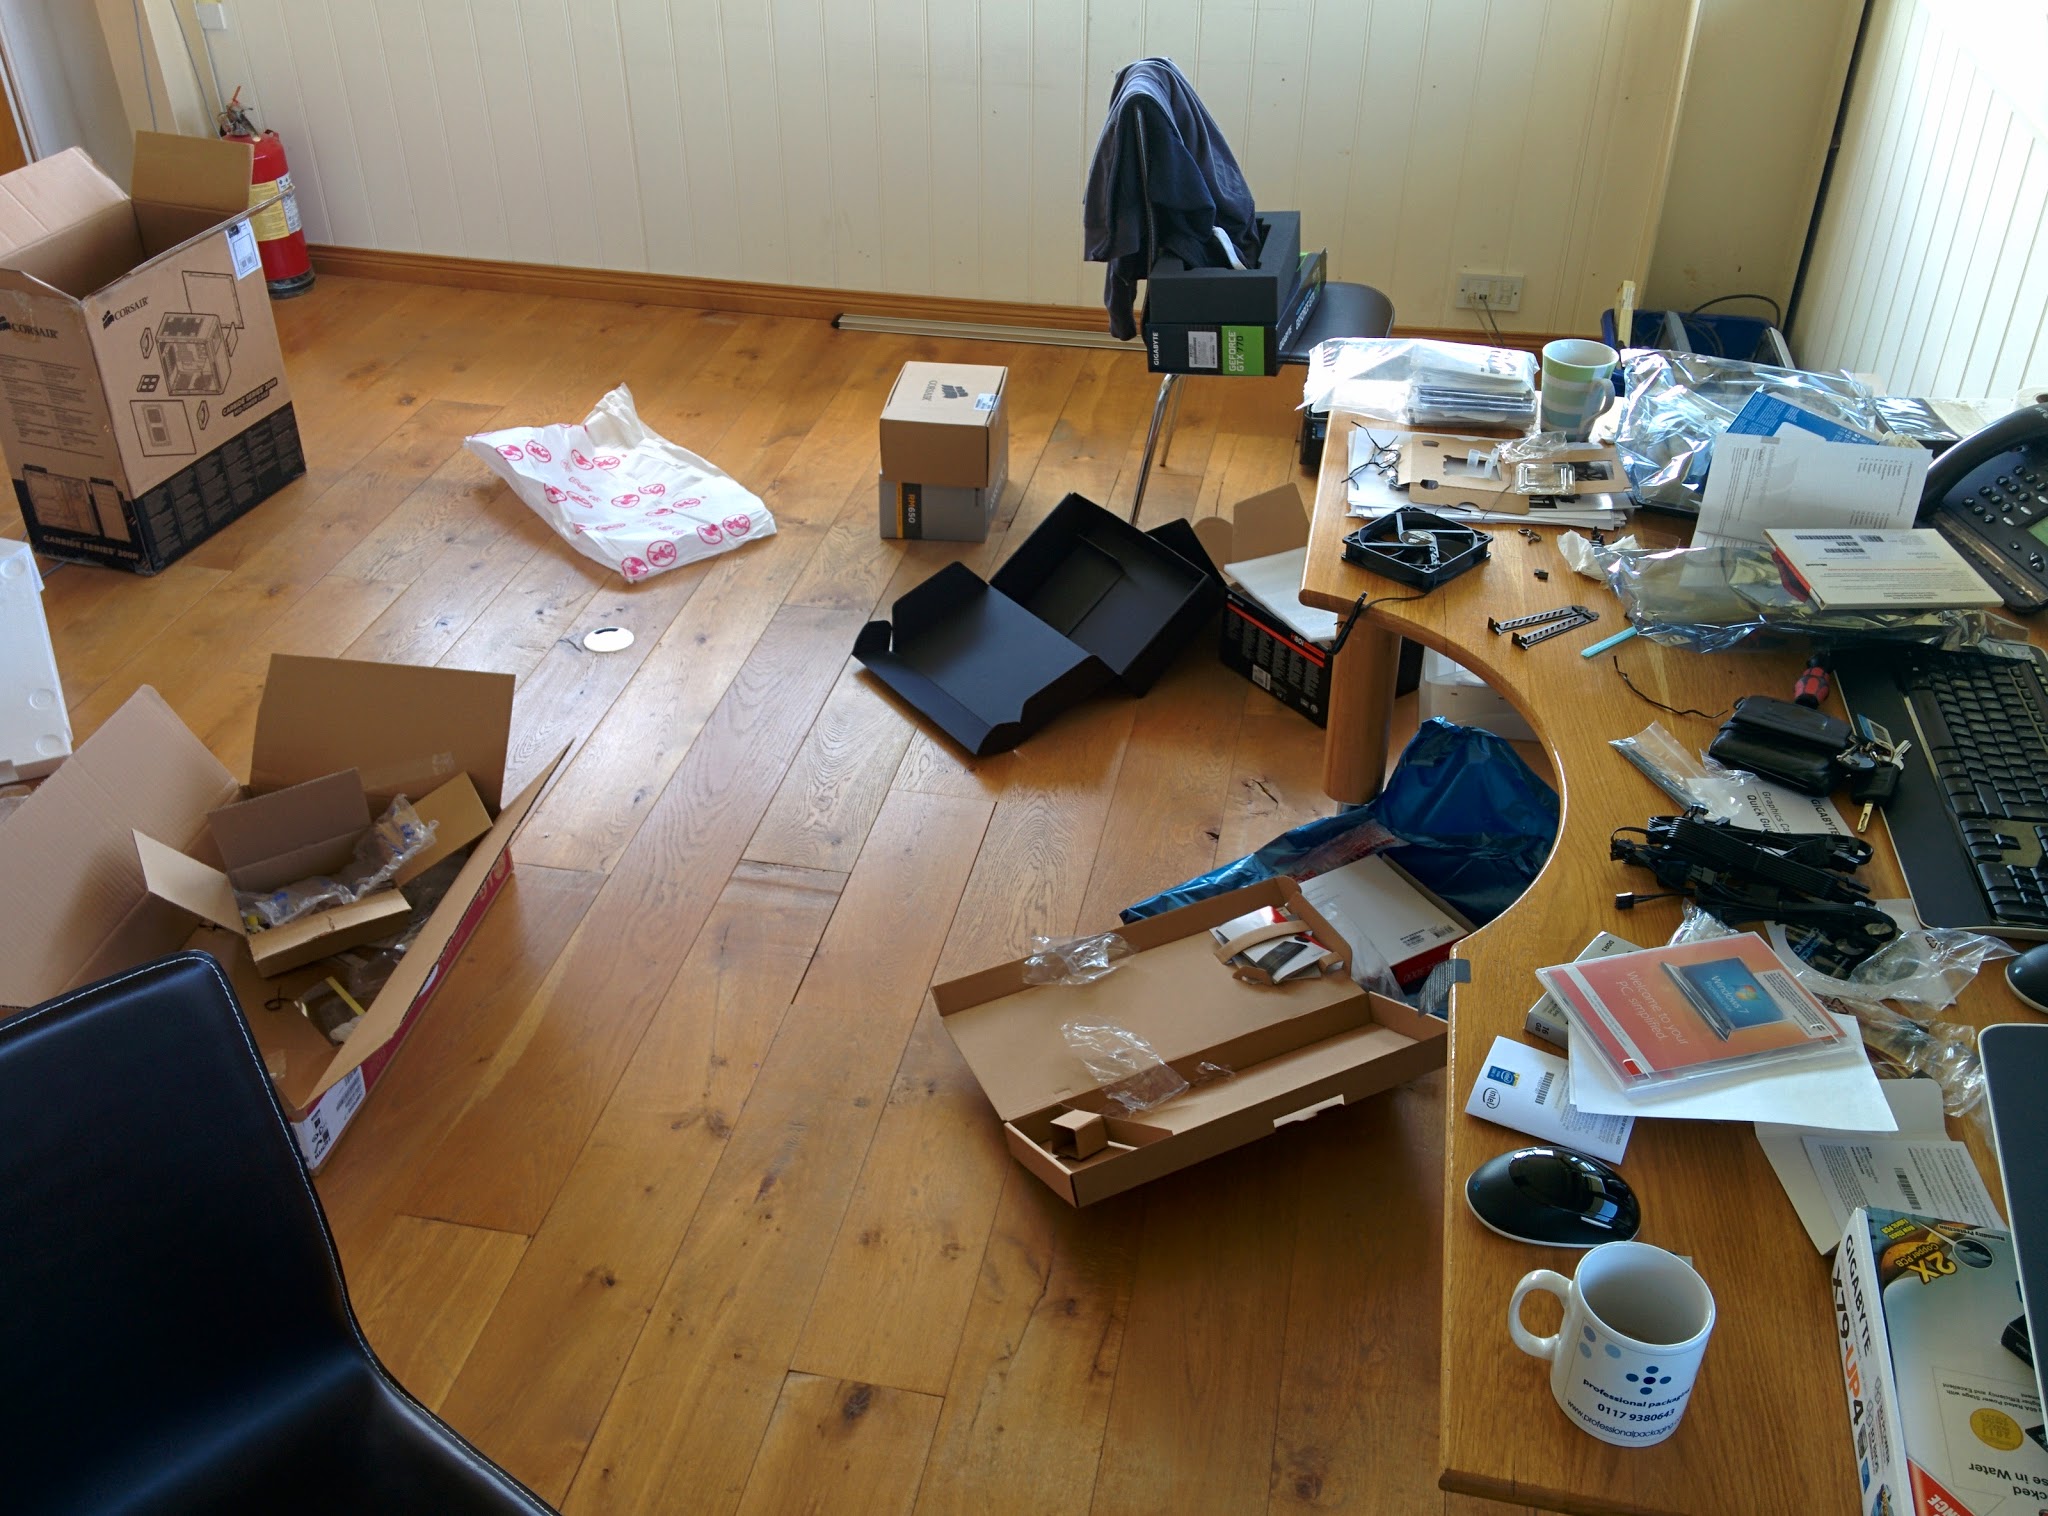
- Oh, you better clear up that packaging mess while you’ve got some time!
- Your computer will restart once the installation is complete. Do not boot from DVD this time
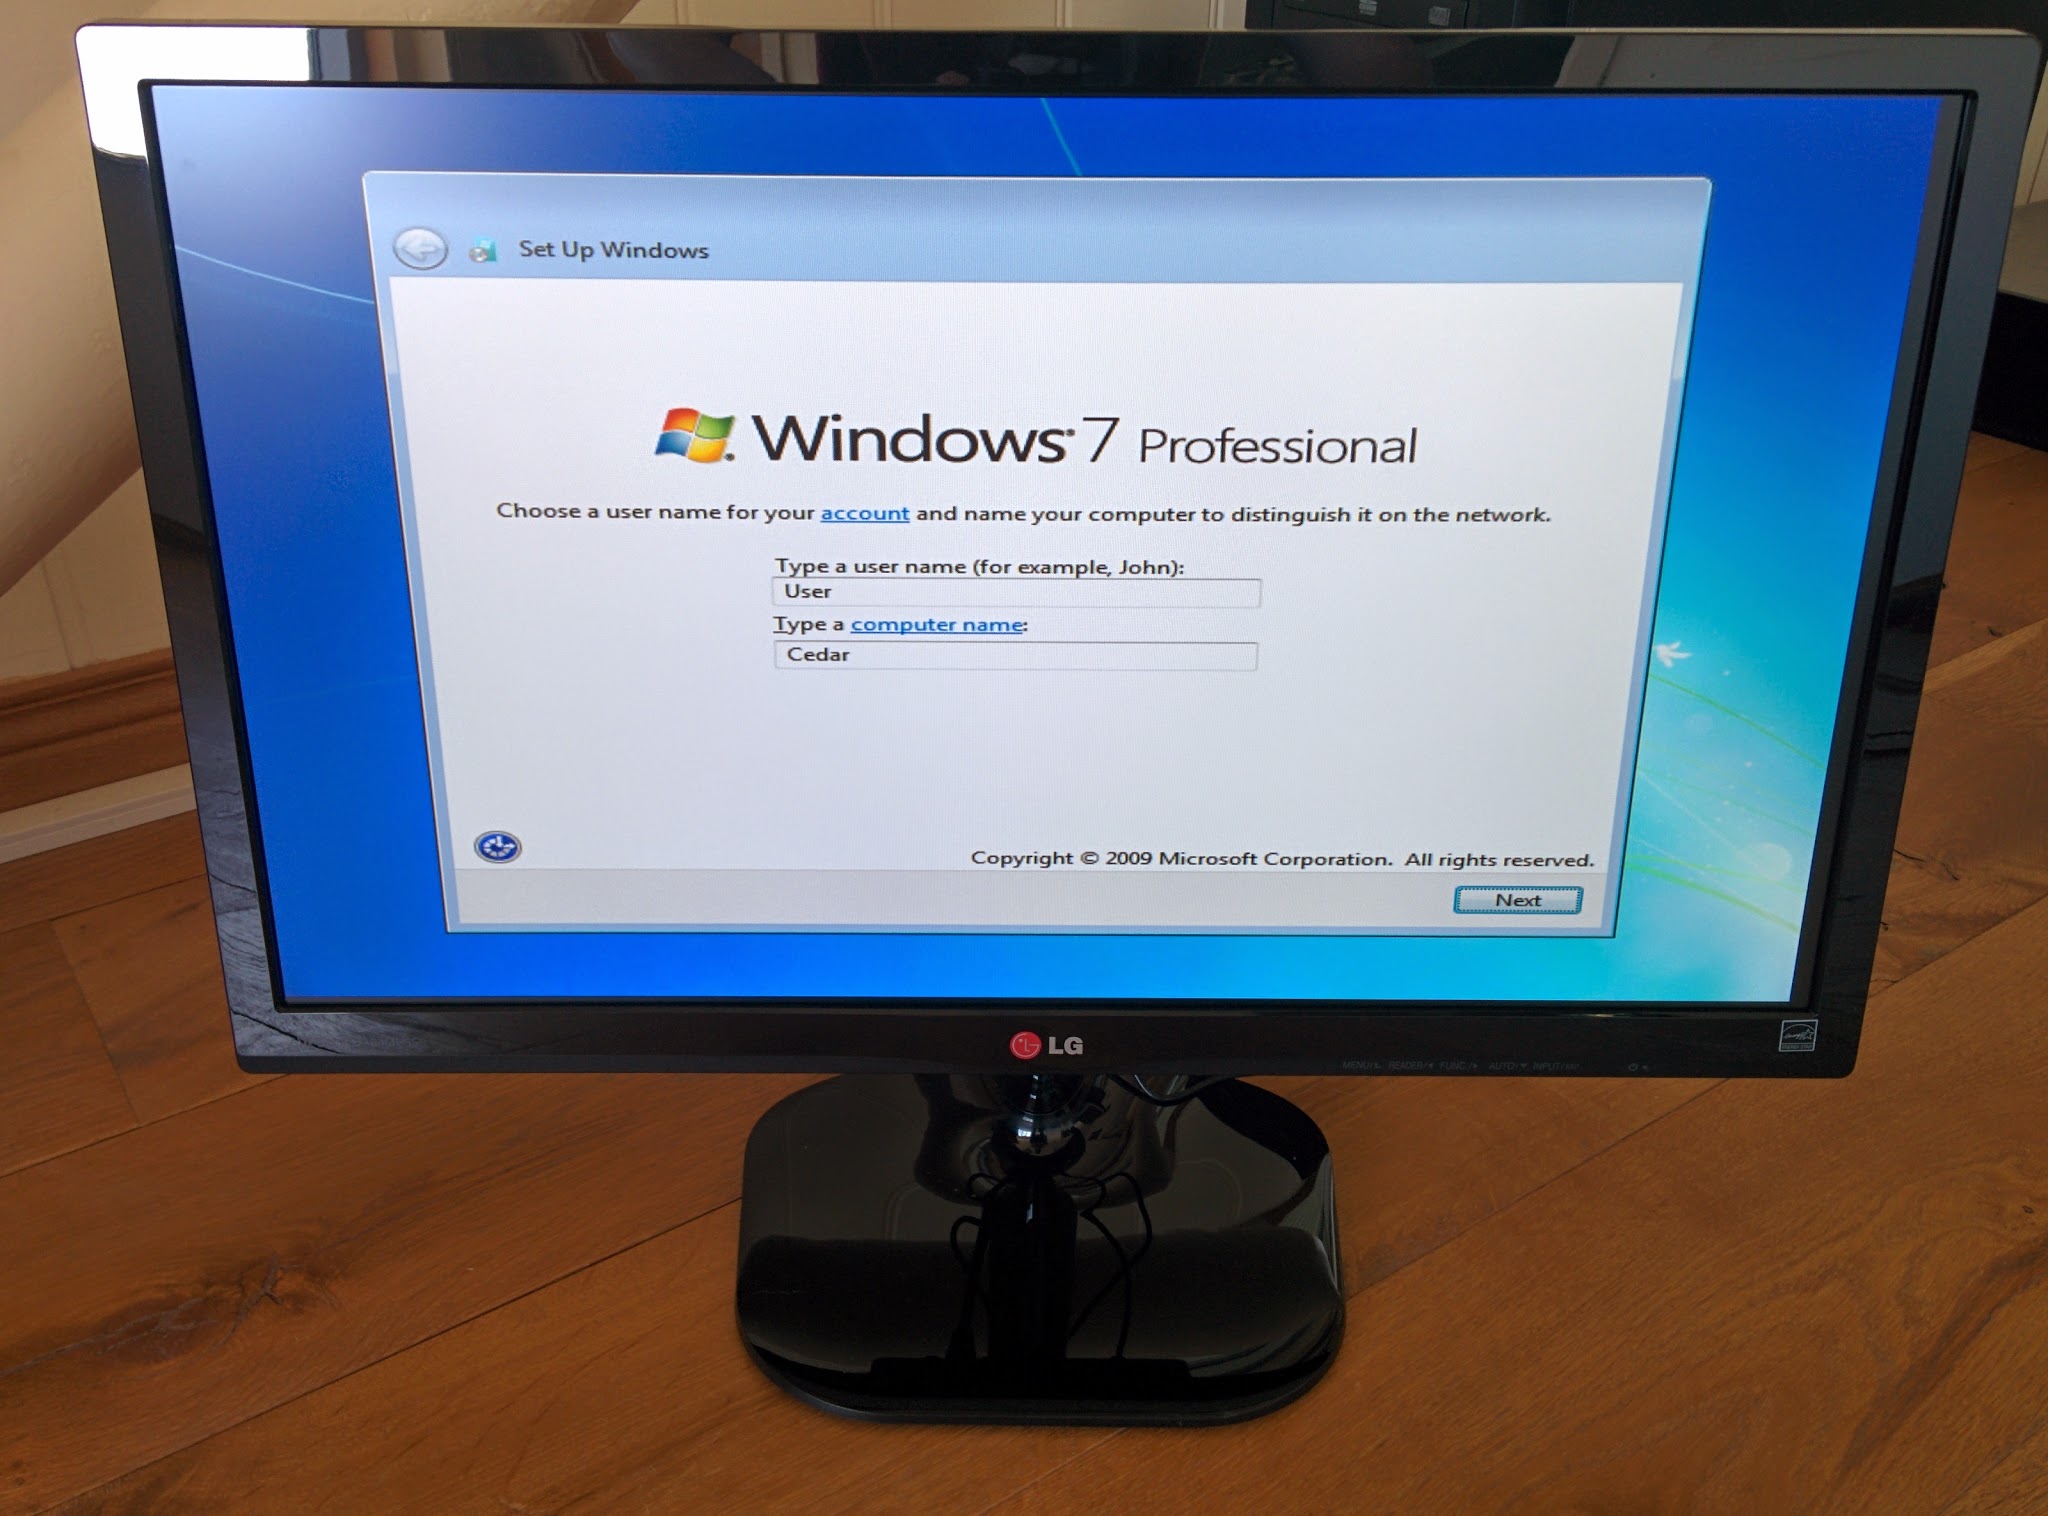
- Insert a username and password
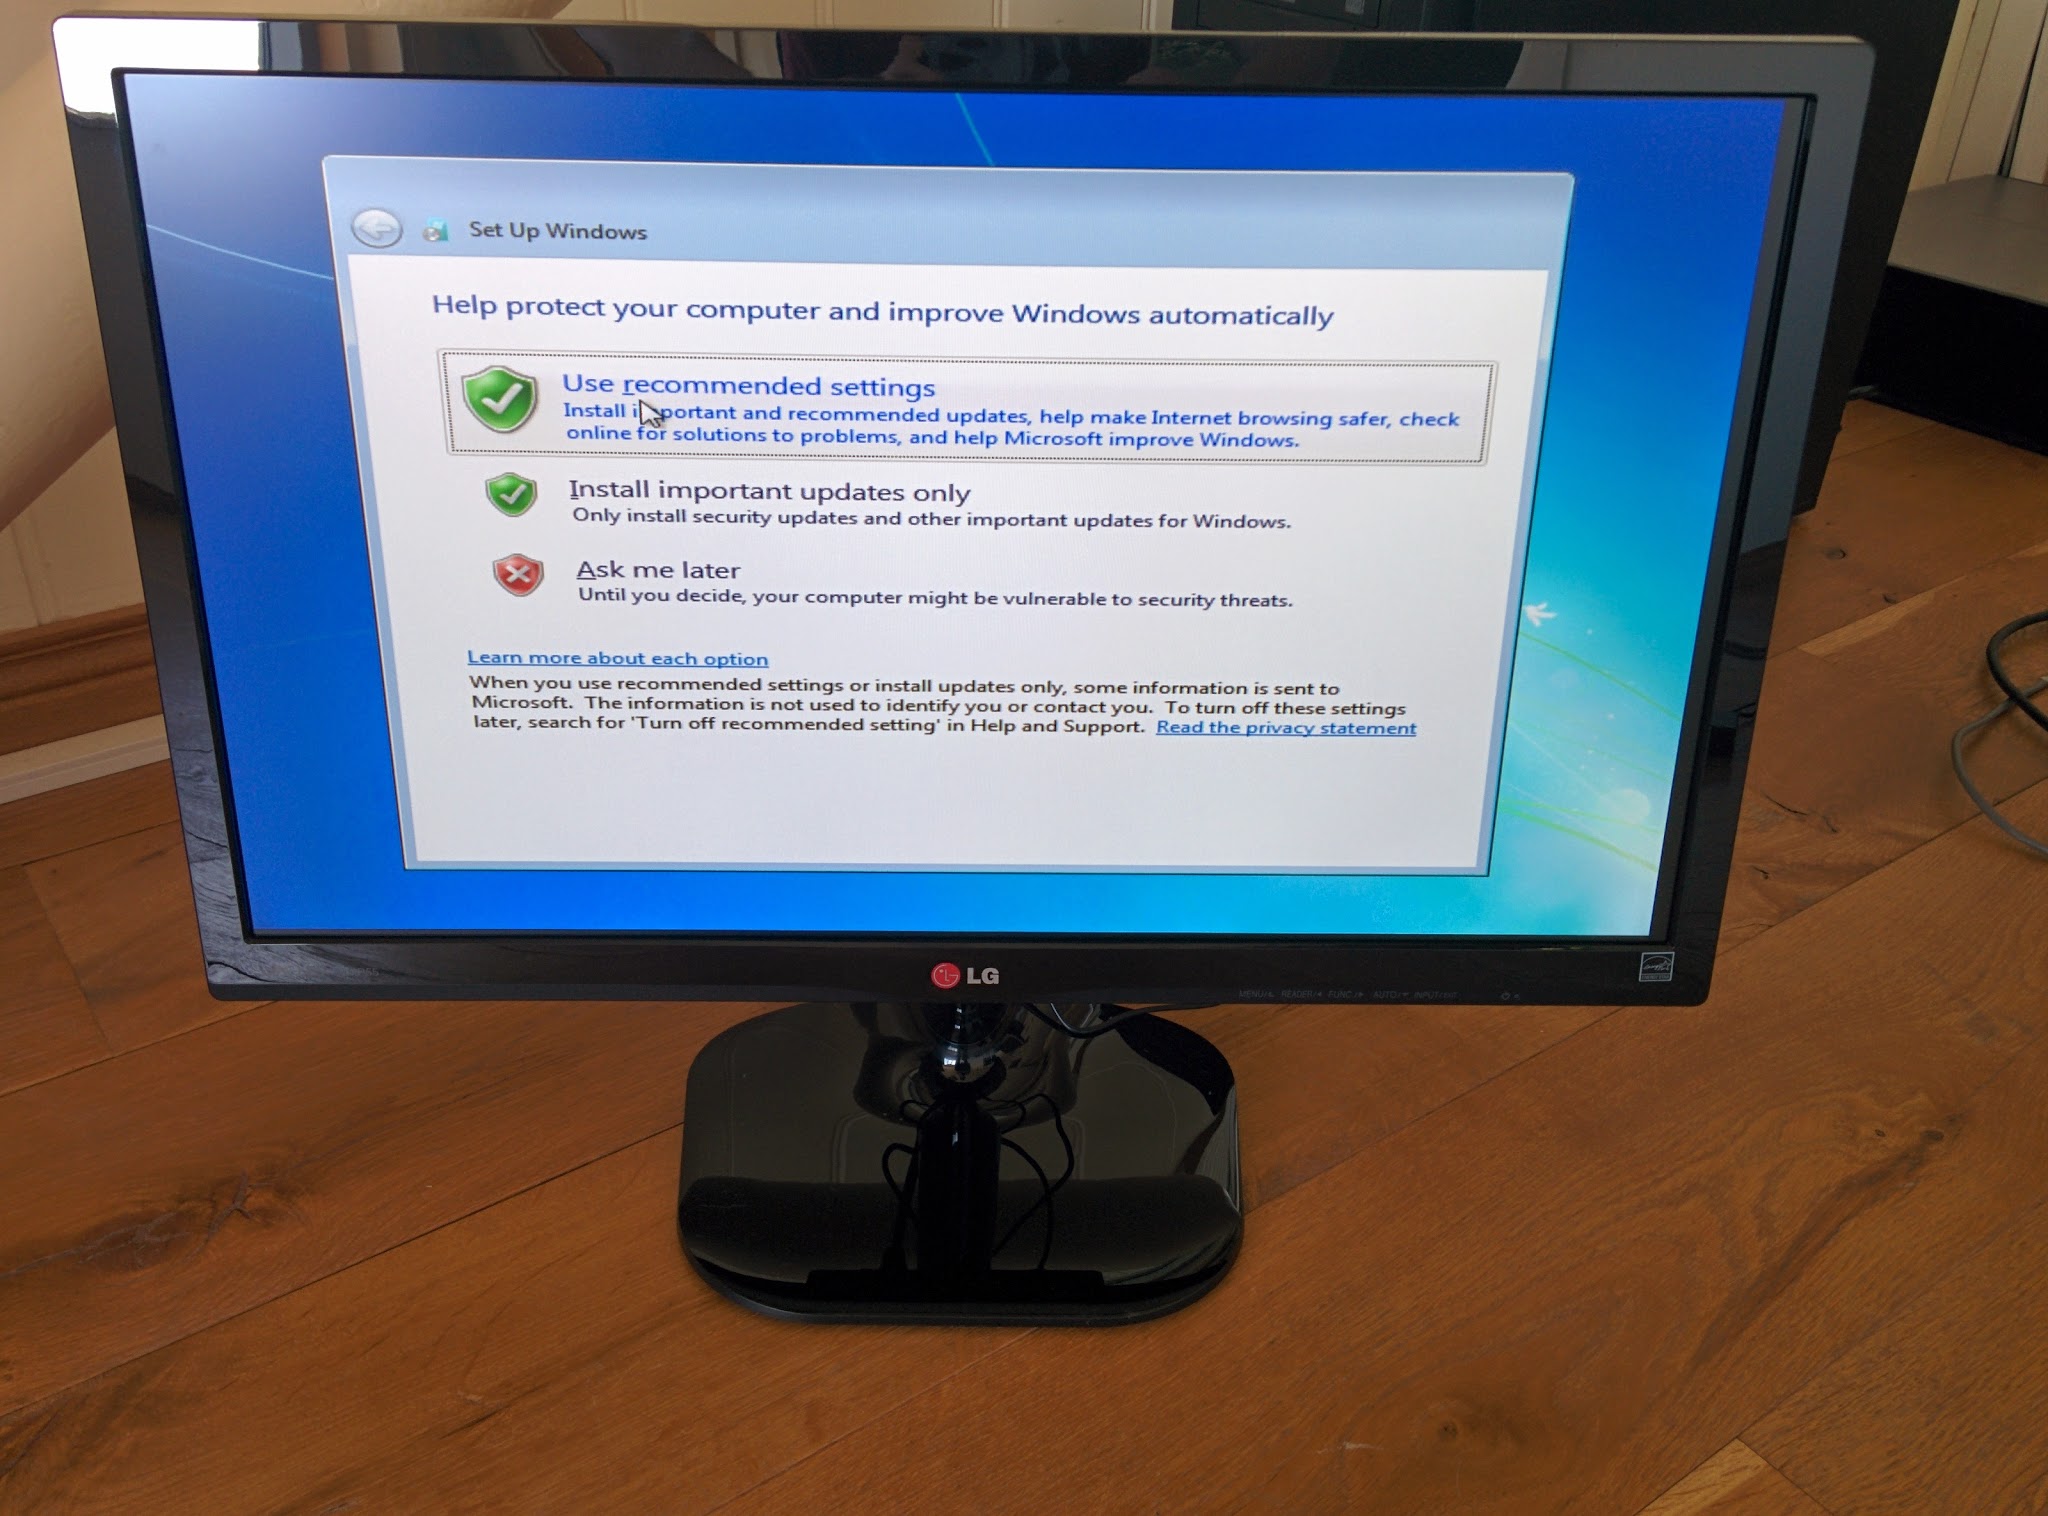
- Use the recommended settings for Windows Update.
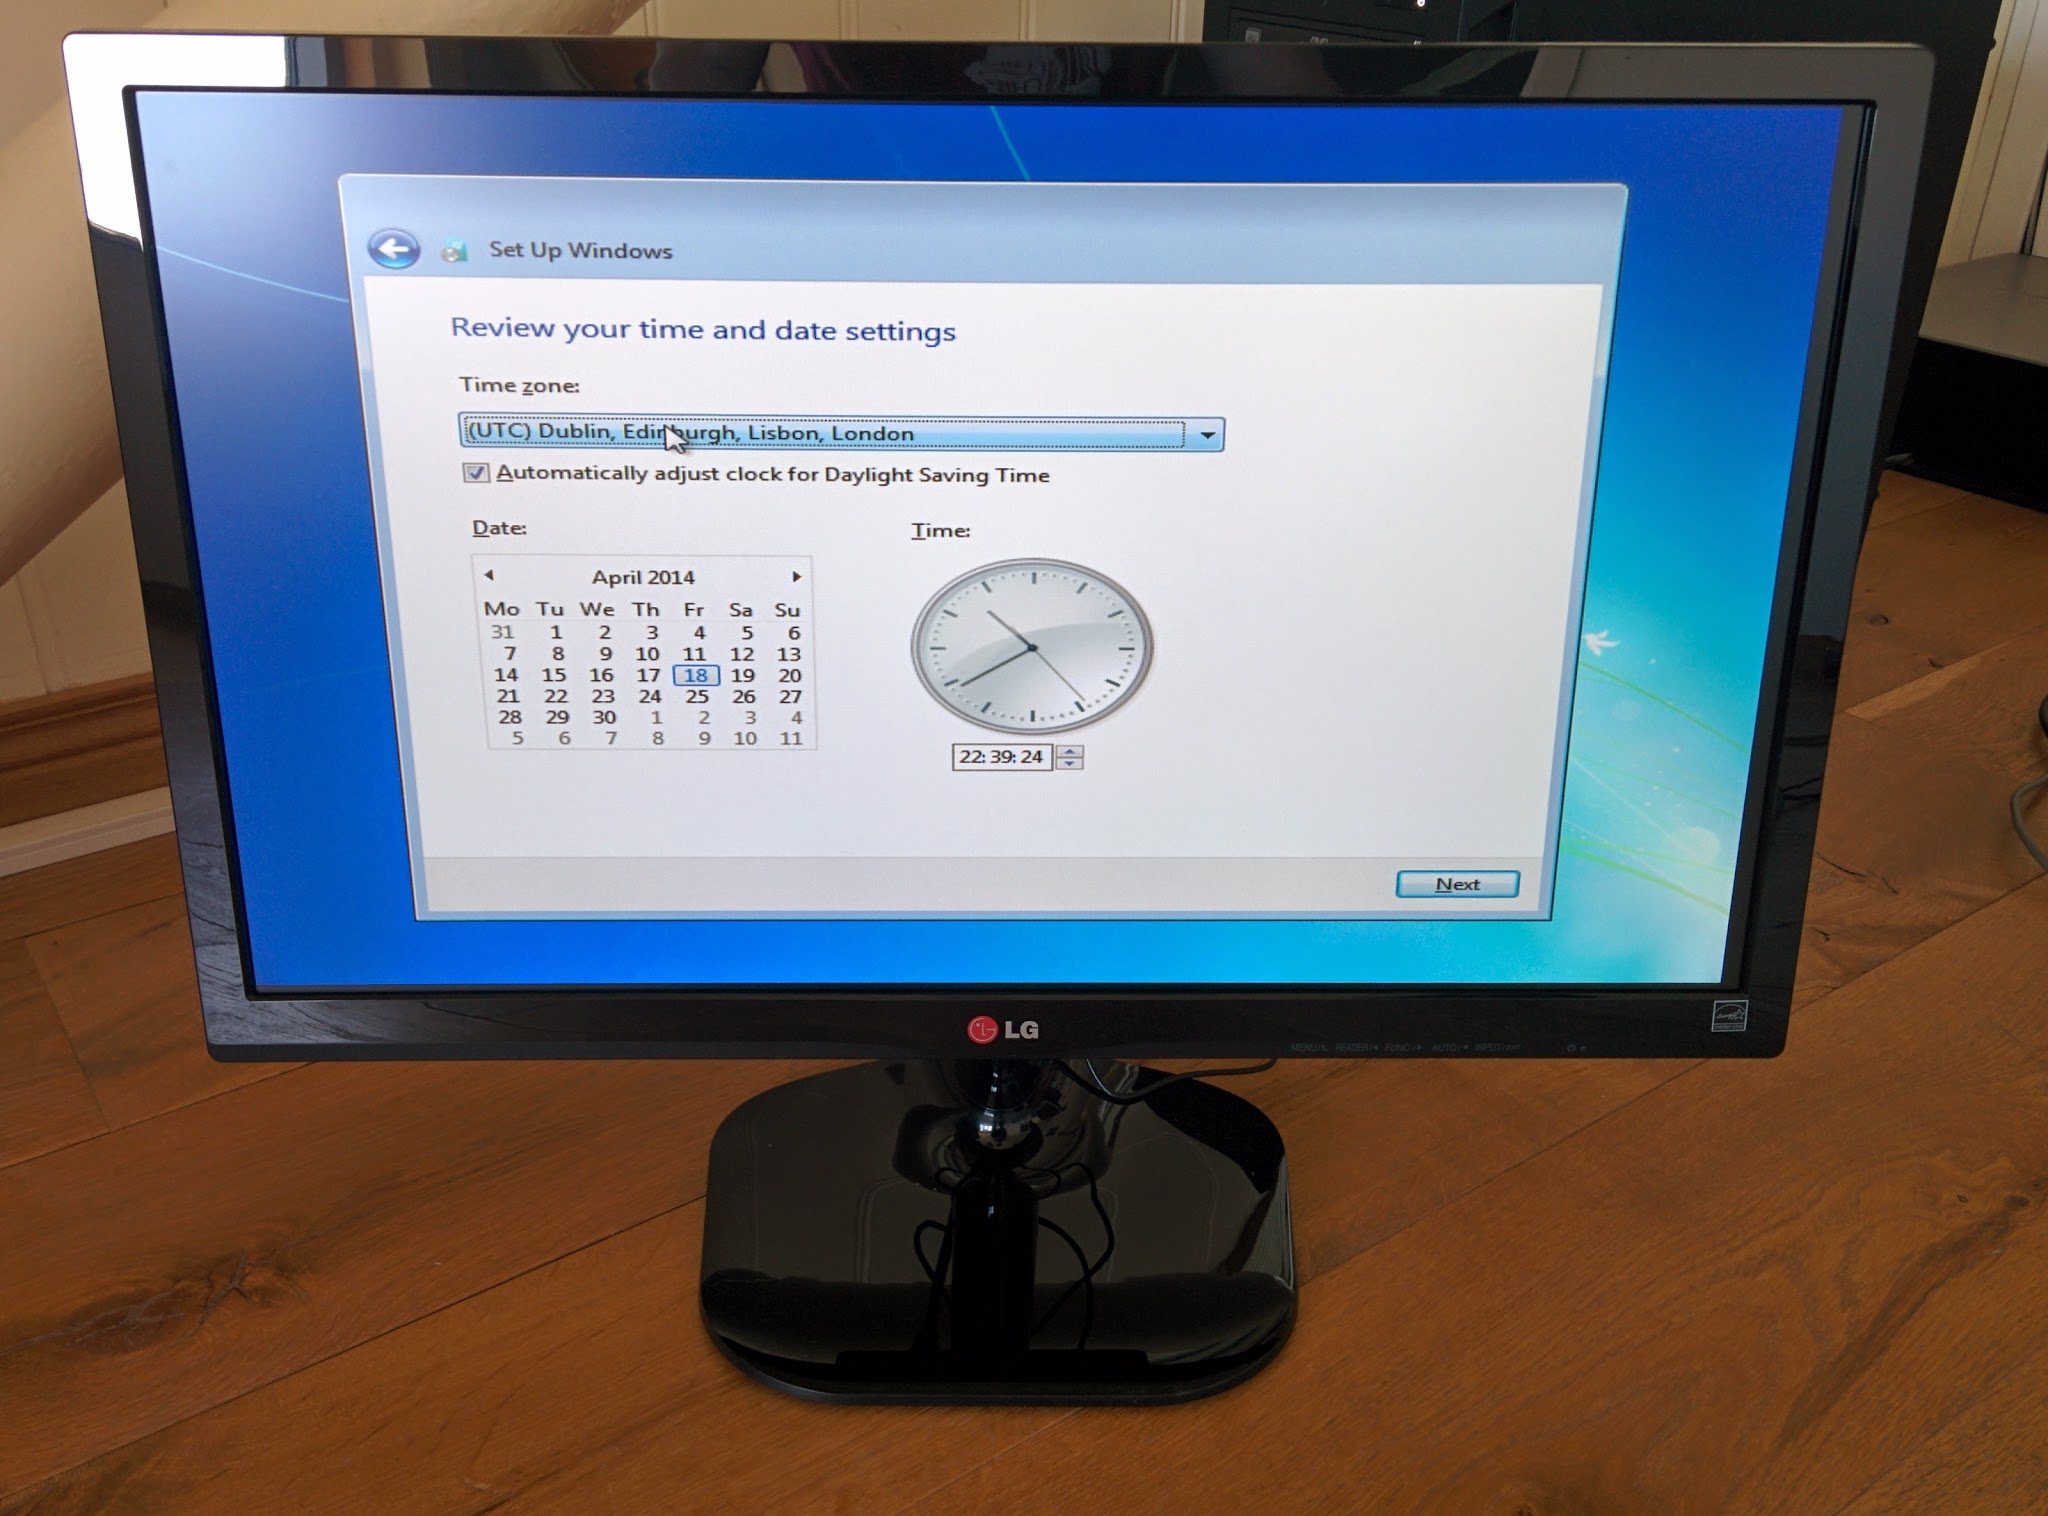
- Choose your timezone and set the clock.
You’re done! Welcome to your new desktop.
Your next step is to perform Windows Updates. You will be required to update many multiple times for security patches and improvements made to Windows since SP1. This will restart your computer a fair bit. Once your updates are complete, you will need to install the drivers for your components. This is outside the scope of this build guide, but you can find plenty of information on where to find drivers and how to install the correct ones elsewhere on the Xydre website, just search the forums.